How does mapping fit in the PB real-time architecture?

I’m trying to map pixelBlaze to an LED matrix that is a 4x4 layout of 8x8 panels with a total of 1024 APA102 LEDs. I have the “mapping” code working in Arduino C, so I need to translate it to Java in the PB mapper. I will wrap the mapper Matrix example (one 8x8 panel) to account for its position in the overall matrix of 16 panels.

I also found the “Mapping matrix displays” discussion that I’m working through.

I’m having a problem understanding the “live” environment of PB while learning the Java Script.

I gather that the Pixel Mapper is one function: “function (pixelCount),” and all the mapping code goes in here.

pixelCount comes from the current settings unless I reassign its value in the mapper during testing.

How do I create a new function in the mapper function and save it? I can only load the examples and there is no “Save As.”

How do I associate a particular mapping to a particular pattern and/or different physical LED layouts (which is why I need the mapping in the 1st place).

Loading a mapper example changes my CURRENT displaying pattern in real-time but I don’t see a “render” function in the mapper code or the current pattern.

If this info is presented somewhere, my apologies. I collected pieces of PB info scattered across several sites, but may have missed some.

You don’t. The mapper is assumed to be based on a physical layout, which doesn’t change unless you make physical changes to it.

It keeps it’s current setting, unless you change LEDs and then it’s assumed you’ll change the map.

Copy and save as text is the only current way to save the map code.

I agree, this could be improved, and allow saving maps to let you change it dynamically. For example… Changing from an XY to a R/Polar map might be desirable for different patterns, but then again, you can always convert those on the fly.

What’s your use case?

Because all the mapper code does is return an array of coordinates. It’s agnostic and in fact accepts any set of values (2 or 3, unsure about more, @wizard ?). And then it normalizes all values into a 0…1 set of values per field so THAT is what is available to all patterns.

So essentially it’s a setup routine only and all patterns can access the result.

I assume this means this means with code in the pattern.

Looking at mapping as a setup function makes sense now. And copy/paste also.

I look forward to the next hardware and software releases and have my pre-order in at CrowdSupply.

Actually I meant it a different way, and will flesh this out more when I find the time to do the tutorial/example I plan on.

Converting XY into R/Polar is a matter of math. If you have a pattern that uses one, but your map is the other, you can either change the map OR you can add that conversion into the pattern you want. There aren’t a ton of R/Polar patterns (yet), but I’m planning on making more because sometimes that a way easier way of doing something. Most people have/use XY mapping, but I’m hoping to explain why each has advantages over the other, and sometimes it’s easier to map out as R/Polar.

Thankfully @wizard recently added a page that allows people to take a photo and click points which will make XY mapping easier for newbies.

More when I find the time to start my planned series. I may make it a blog series, since my goal is to steer WLED/LedFX etc into using PB mapping as Superior to the current matrix approach most take.

I plan on discussing and fleshing out not just why XY (or XYZ) isnt the only way, but documenting how to think about patterns, math, waves, etc.

I was going to just convert patterns and then I realized it would be better to document it all, as we’ll get more users who understand how it works, and build on them, rather than just cut and paste.

1 Like

Hi @DrOldies,
You mention the thread, but I wanted to be sure to point out this framework for arranging arbitrary matrixes with various offsets and rotations:

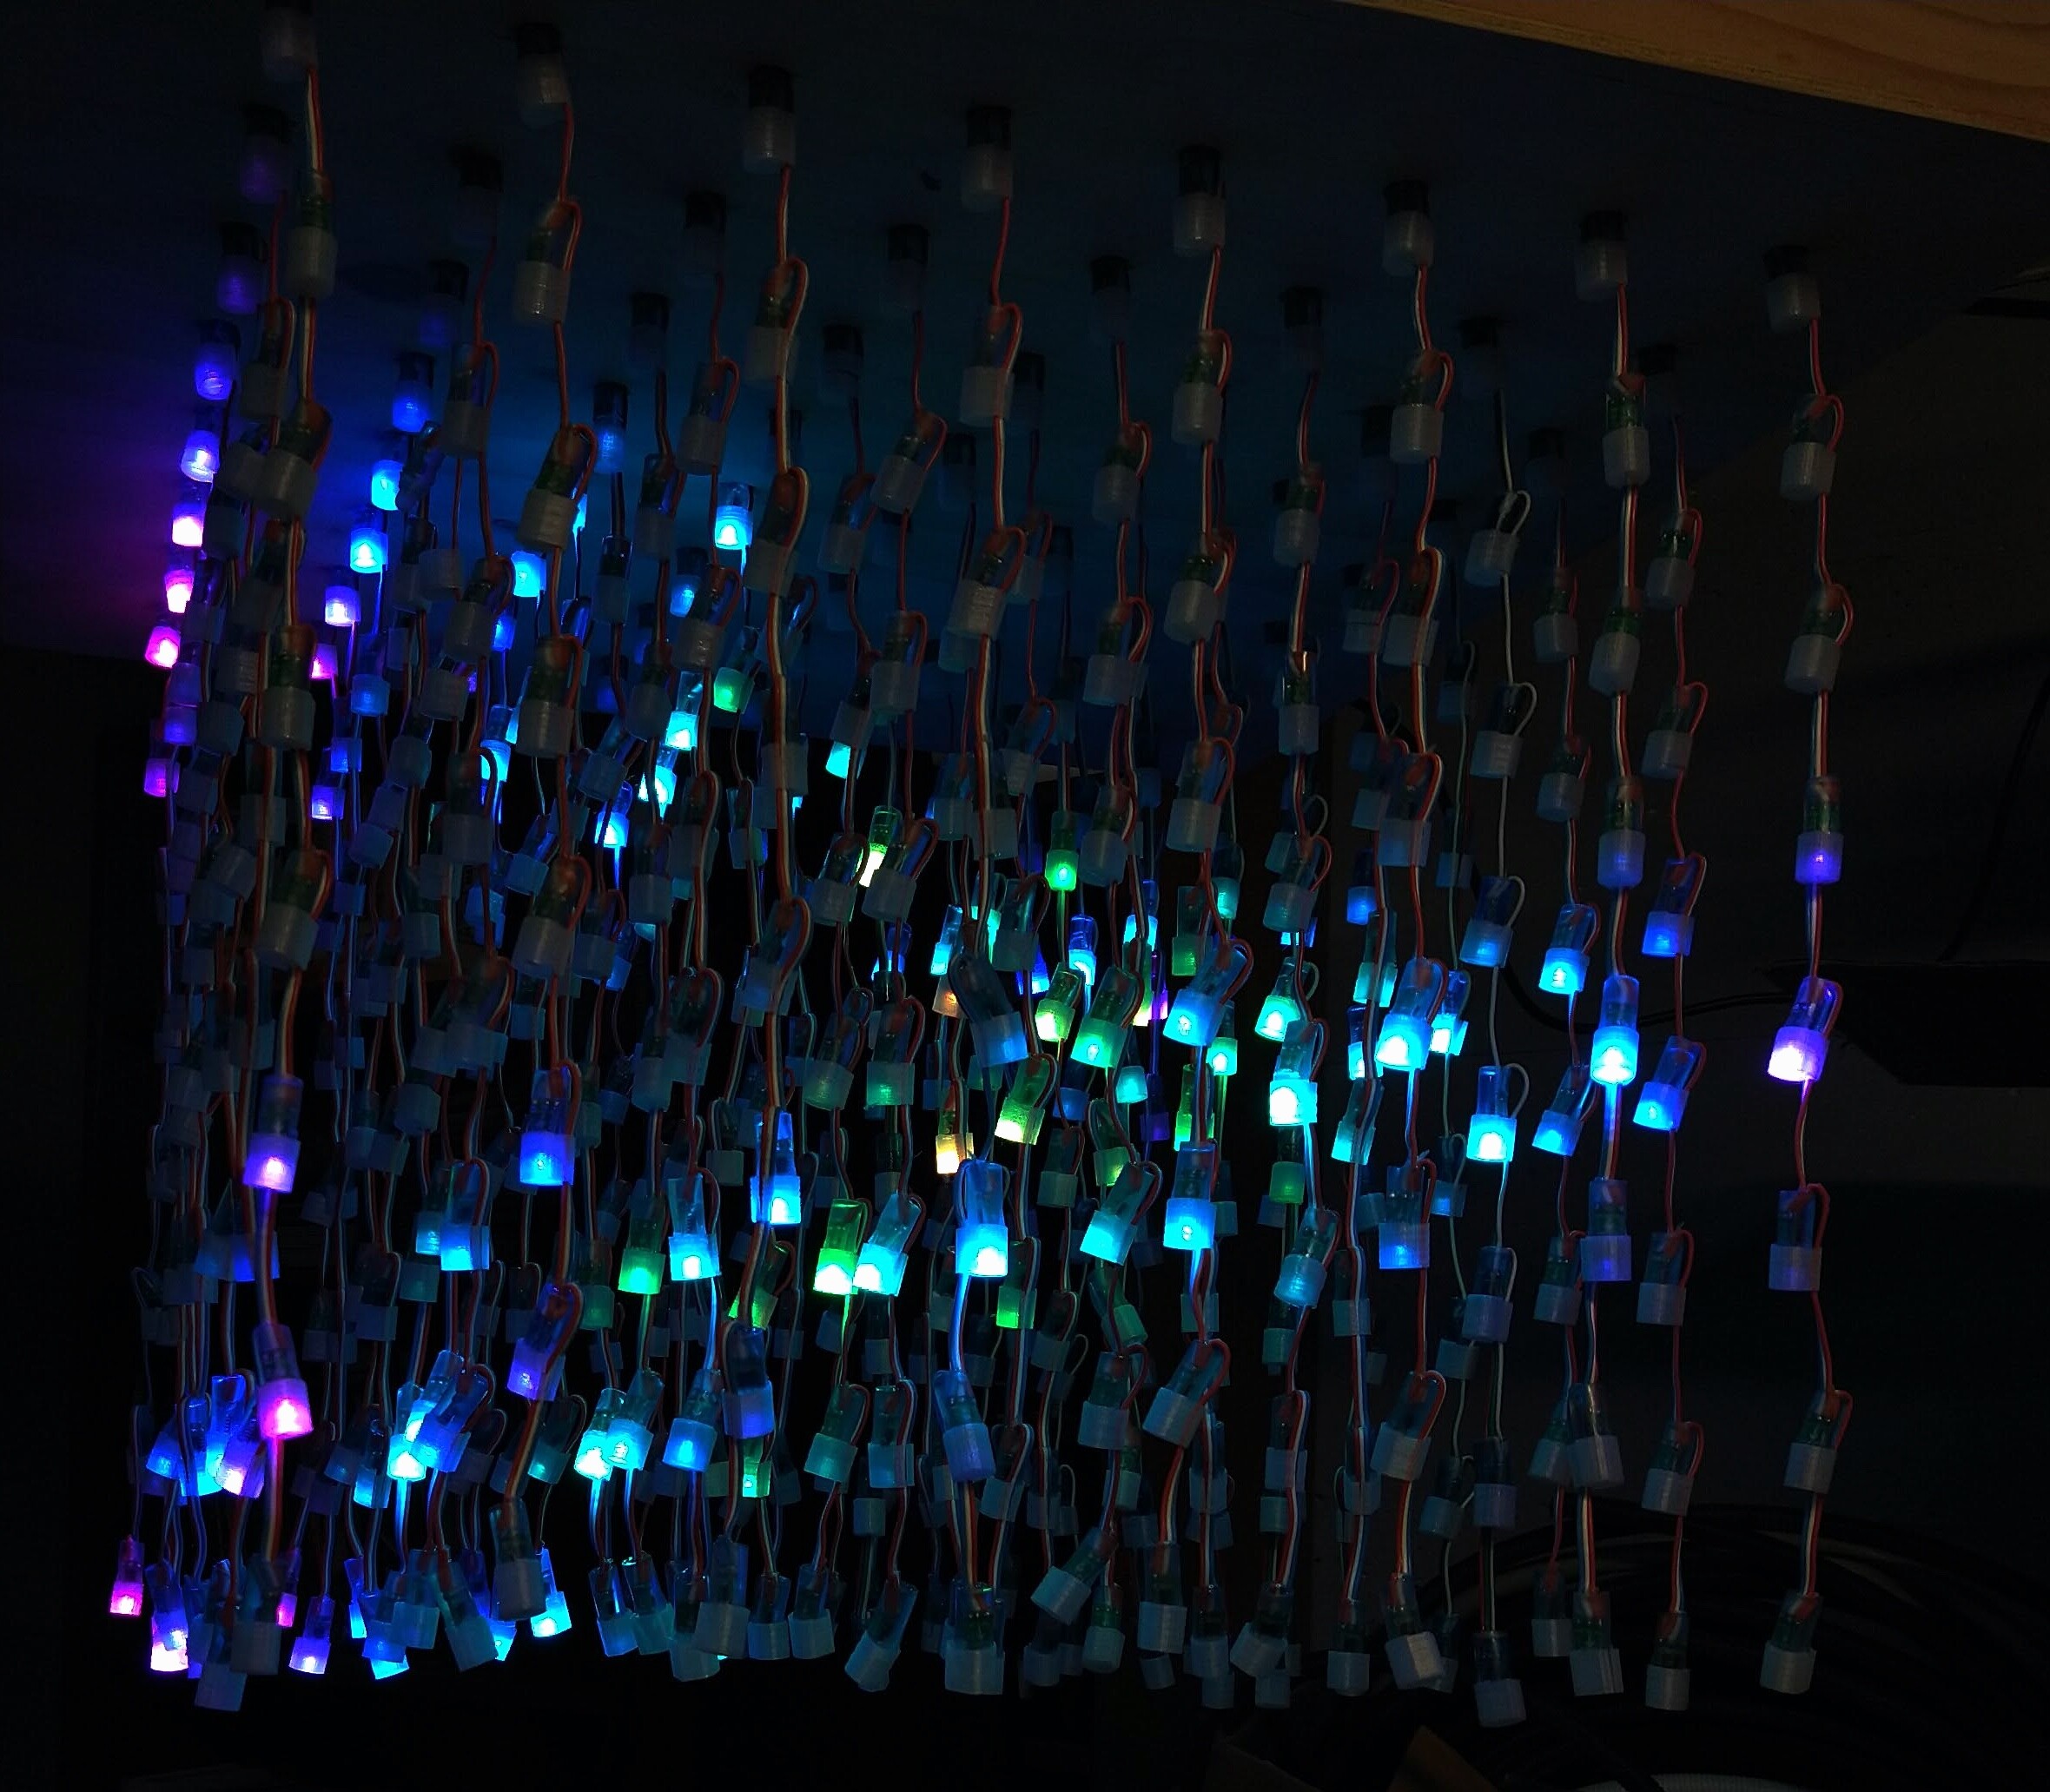
Yes, the pixel map is rendered in your browser using real JavaScript, and a 2D or 3D normalized map of the pixel coordinates is stored. While you can live code that part too in order to get the mapping right, the ideas is as @Scruffynerf mentions, the map itself is usually static once set.

The mapper text should resolve to either a json array of arrays, or a javascript function that when executed will return one. You can define helper functions inside this function as demonstrated in the examples.

These coordinates are then fed in to render2D or render3D depending on how many dimensions are defined in the map. Generally the idea is that your pixel map has the Cartesian coordinates of each pixel, and most patterns are written for that. It is not limited to that, you can use it for any arbitrary 2 or 3 dimensions of data. If you do store coordinates, you can use the built in math functions to calculate other things such as the radius from a center and angle, if you prefer to work in polar space.

For example, “firework nova” calculates radius from the center in 3D space:

export function render3D(index, x, y, z) {
  //center coordinates
  x -= 0.5
  y -= 0.5
  z -= 0.5
  //get pixel distance from center
  r = sqrt(x*x + y*y + z*z) * scale
  //...
}

Likewise angle can get obtained from atan2.
Note that atan2 is broken in v2.23 and will be fixed, use this until then:

var HALF_PI = PI/2
function arctan2(y, x) {
  if (x > 0) return atan(y/x)
  if (y > 0) return HALF_PI - atan(x/y)
  if (y < 0) return -HALF_PI - atan(x/y)
  if (x < 0) return PI + atan(y/x)
  return 1.0
}

Here’s a pattern with these as utility functions, displaying a rotating gradient based on angle, with colors shifting outward based on the radius. On 3D pieces, it shifts rotation from z, causing a helix:


var HALF_PI = PI/2
//NOTE: atan2 has a bug in V2.23, when fixed this can be replaces with atan2 directly
function arctan2(y, x) {
  if (x > 0) return atan(y/x)
  if (y > 0) return HALF_PI - atan(x/y)
  if (y < 0) return -HALF_PI - atan(x/y)
  if (x < 0) return PI + atan(y/x)
  return 1.0
}

//return the angle in radians, can be negative
function getAngleInRads(x, y) {
  //center the coordinate, then get the angle
  return arctan2(x - .5, y - .5)
}

//return the angle as a value between 0 and 1.0
//most of Pixelblaze's animation language uses this range
//it also happens to rotate the angle so that 0 is north
function getUnitAngle(x, y) {
  return (PI + arctan2(x - .5, y - .5))/PI2 
}

function getRadius2D(x, y) {
  //center coordinates
  x -= 0.5
  y -= 0.5
  return sqrt(x*x + y*y)
}

function getRadius3D(x, y, z) {
  //center coordinates
  x -= 0.5
  y -= 0.5
  z -= 0.5
  return sqrt(x*x + y*y + z*z)
}

export function beforeRender(delta) {
  t1 = time(.1)
}

export var t, x1, y1, z1
export function render3D(index, x, y, z) {
  if (index == 0) {
    t = getRadius3D(x, y, z)
    x1 = x
    y1 = y
    z1 = z
  }

  //get the angle of the pixel, and move it clockwize over time
  //pass that into triangle() to turn into a gradient
  v = triangle(getUnitAngle(x, y) + z + t1)
  v = pow(v, 10) //for contrast
  h = getRadius3D(x, y, z)

  s = 1
  hsv(h, s, v)
}

//for broad compatibility, support 2D maps as well
export function render2D(index, x, y) {
  render3D(index, x, y, .5)
}

angle and radius from coordinates.epe (5.5 KB)

GlowFlow by Roger uses matrix transformations to rotate the mapped 3D coordinates and create the effect of a bucket of glowing liquid that follows gravity. It’s super cool!

1 Like

I’ve made some progress and I thought I understood the Mapping function but it’s not working for my array.

Using KITT as a test I want KITT to span the across the 4 horizontal panels then move down/up vertically.
So I modified the mapping code from the 2 example in Mapping Matrix displays Mapping matrix displays from indexing down each panel before moving to top of the next one, to index row 0 across the 4 horizontal panels then down 1 row at a time, reversing each odd row.

My code works properly for 1 8x8 panel/64 LEDs for both the map animation and the actual panel. However, when I expand the map to all the panels 4x4 panels/1024 LEDs, the animation is correct but the physical panel is just random single LEDs lighting at variuos intnesities.

I assumed with the world coordinate system I would not need to change KITT.

I have 16 8x8 panels laid out in a 4x4 square as shown above with 1024 LEDs.

panel schema
-0–1—2---3
-4–5—6---7
-8–9--10–11
12-13-14-15

8x8 LED indexing
panel:::::::0.--------1---------2--------3
scan row 0 ---------------------------->
. . .
scan row 7 <---------------------------
after row 7 go to top of panel 5 and repeat

// my version 2 - Scan across all 4 panels 
//then down 1 LED row at a time//reversing for each odd row.

function (pixelCount) {
  
  //enable zigzag if every other LED row travels in reverse
  //if they are all straight across, disable it
  zigzag = true
  angle = 0
  pxSize = pySize = 8  //panel size
  panelWidth = panelHeight = 2  //num panels per direction
  ylines = (panelHeight * pySize)

  
  //roate a point (x, y), along a center (cx, cy), by an angle in degrees
  function rotate(cx, cy, x, y, angle) {
    var radians = (Math.PI / 180) * angle,
        cos = Math.cos(radians),
        sin = Math.sin(radians),
        nx = (cos * (x - cx)) + (sin * (y - cy)) + cx,
        ny = (cos * (y - cy)) - (sin * (x - cx)) + cy;
    return [nx, ny];
  }
  //create a set of coordinates for a matrix panel
  // sized (w, h), rotated by an angle, and offset by (sx, sy)
  function panel(w, h, sx, sy, angle) {
    var x, x2, y, p, map = []
    y = sy    //get actual y for odd/even rows //ppd
    //for (y = 0; y < h; y++) {		//just make ysize = 1 row
      for (x = 0; x < w; x++) {
        //for zigzag, flip direction every other row
        if (zigzag && y % 2 == 1)
          x2 = w - 1 - x
        else
          x2 = x
        p = rotate((w-1)/2, (h-1)/2, x2, y, angle);
        p[0] += sx
        p[1] += sy
        map.push(p)
      }
   // }
    return map;
  }
  
  
//assemble one or more panels
  var map = [];
  //step thru all x's in each row across all panels horizontally
  //step thru y one row at a time i.e. ySize = 1
  for (yOffset = 0; yOffset < ylines; yOffset++){
    for (x = 0; x < panelWidth; x++){
      xOffset = x * pxSize
      map = map.concat(panel(pxSize, 1, xOffset, yOffset, angle))
    }
  }


return map
}

Hi @DrOldies,

KITT is a 1D pattern. Patterns can implement any combination of render, render2D, and render3D. Patterns that only implement render will not know about 2D or 3D coordinates. They can still be used, but will only use the pixel index for positional information.

The pixel map does not change in order to change the pattern animation. The pixel map represents the actual physical positions (or relative positions) of the pixels.

I’m not 100% clear on your pixel or panel arrangement. So forgive me if this doesn’t match.

If you have 8x8 panels, you’ll have 64 pixel indexes per 8x8 panel. All of those need to be contiguous since that is how the data will travel. You don’t want to try to tear the panels apart into rows. Instead, assemble an array of whole panels. If instead you have 32 rows of 32 pixels each, then treat it as one large 32x32 matrix.

For your 8x8 panels, the first 2 arguments to panel(w, h, sx, sy, angle) will be 8 and 8 (or pxSize and pySize with values of 8 if you prefer).

You can still make a loop to assemble the panels if they are in a regular arrangement, but you’ll do it in whole panel increments.

e.g.

for (var py = 0; py < 4; py++) {
  for (var px = 0; px < 4; px++) {
    map = map.concat(panel(8, 8, x*px, 8*py, 0))
  }
}

Dec-03-2020 09-25-08

Here’s a quick 2D test pattern. Inspired by Roger’s 3D sweep, but simplified for 2D:

/*
This pattern displays a sweep of color across a 2D pixel mapped display.
Red waves should travel left to right, and green waves from top to bottom.
*/

var axis, t1
export function beforeRender(delta) {
  t1 = time(.1)
  axis = t1 > .5
  t1 *= 2
}

export function render2D(index, x, y) {
  h = axis/3
  v = wave((axis ? y : x)/2 - t1 + .5)
  v = pow(v, 20)
  hsv(h, 1, v)
}

It is certainly possible to make a 2D version of KITT, of course. If you have a display where it’s 2D, and multiple panels, and you dont want KITT to zig zag, then defining the XY of all pixels and using a (to be written and really better defined) KITT that would go across all of the Xs (do you want it do draw a line, or a single pixel, maybe a bigger glowing “eye”?) Is doable.

I’ll add that to my growing list of “make 2D/3D versions”