I got my LED jack-o’-lantern on display for Halloween.
You have to use your imagination a bit. Have been tinkering with the pattern which has been pretty fun.
I just got the rotation effect working this afternoon (easier than I thought) which I think helps people recognize the face.
Here’s another pattern “block reflections” on display. Luckily the cat hasn’t taken too much interest in it yet (LOL).
Nice work. Needs some diffusion, to make the globe rounder. Have you considered covering it with something translucent? Or white? Try putting a white sheet over it, or a pillowcase.
The sphere looks pretty cool as-is when running block reflections! Diffusion will help with the jack-o’-lantern pattern (nice work), its easy to make out the face if I blur it a little (blur + diffuse glow in Affinity Photo):
Wow, Overflow’s project on Twitter looks amazing. Really shows the power of diffusion. And the geometry of it reminds me of some of the shapes derived from the “Superformula” that @Scruffynerf mentioned recently.
(Tried to link to his post, but best I can do is a link to a wiki on Superformula. )
Just concept phase at this point but I have a blank spot on a wall that needs an art. I’m thinking of doing framed rectangle grid. Probably 5’ x 3’. I want fairy light strings with flat glass marbles as diffusers for each LED. I’ll probably do a small scale mock up to sell it to the Fiance before doing a wall sized version. Still looking for decent addressable fairy lights. Anyone have any good suggestions?
As always, MS Paint might be able to explain this better than I do.
The 3 wire addressable fairy wire are only good for 200 pixels, so you’d have to add an output expander for more. (Depending on your matrix size you could do 20x10, or up to 15x15, with one strand, which is not going to much, so you’d want an expander likely at 5foot by 3foot… That’s huge). Some people like the 3+ wire (4 wires, but data runs alternatively), but I don’t like those.
Honestly, I’d use a real 5050 pixel matrix with marbles, or… You need to consider strands of normal 60/m, (which would give you 60 marbles in 3 foot or so, so 100x60 at 5x3 foot, that’s still 300 feet of 60/m lights) if you can make that work. Or something custom like pieces, etc.
At 4 inches between each light for the fairy lights, that’s only 12/m, so you end up with more rows to make up the matrix…)
But even at 30/m strips, the marbles get too wide or too big, I think. Even though the total amount is less (150 feet of 30/m?)
My school is replacing the old hub75 wall in our theater. Soon we will have hundreds of panels that are going to be available to play with. I wish that Pixelblaze could talk to them
I just got a 2nd strand so I’m going to try to double up the # of LEDs to make it look more continuous.
And I have some parchment paper to try difusion.
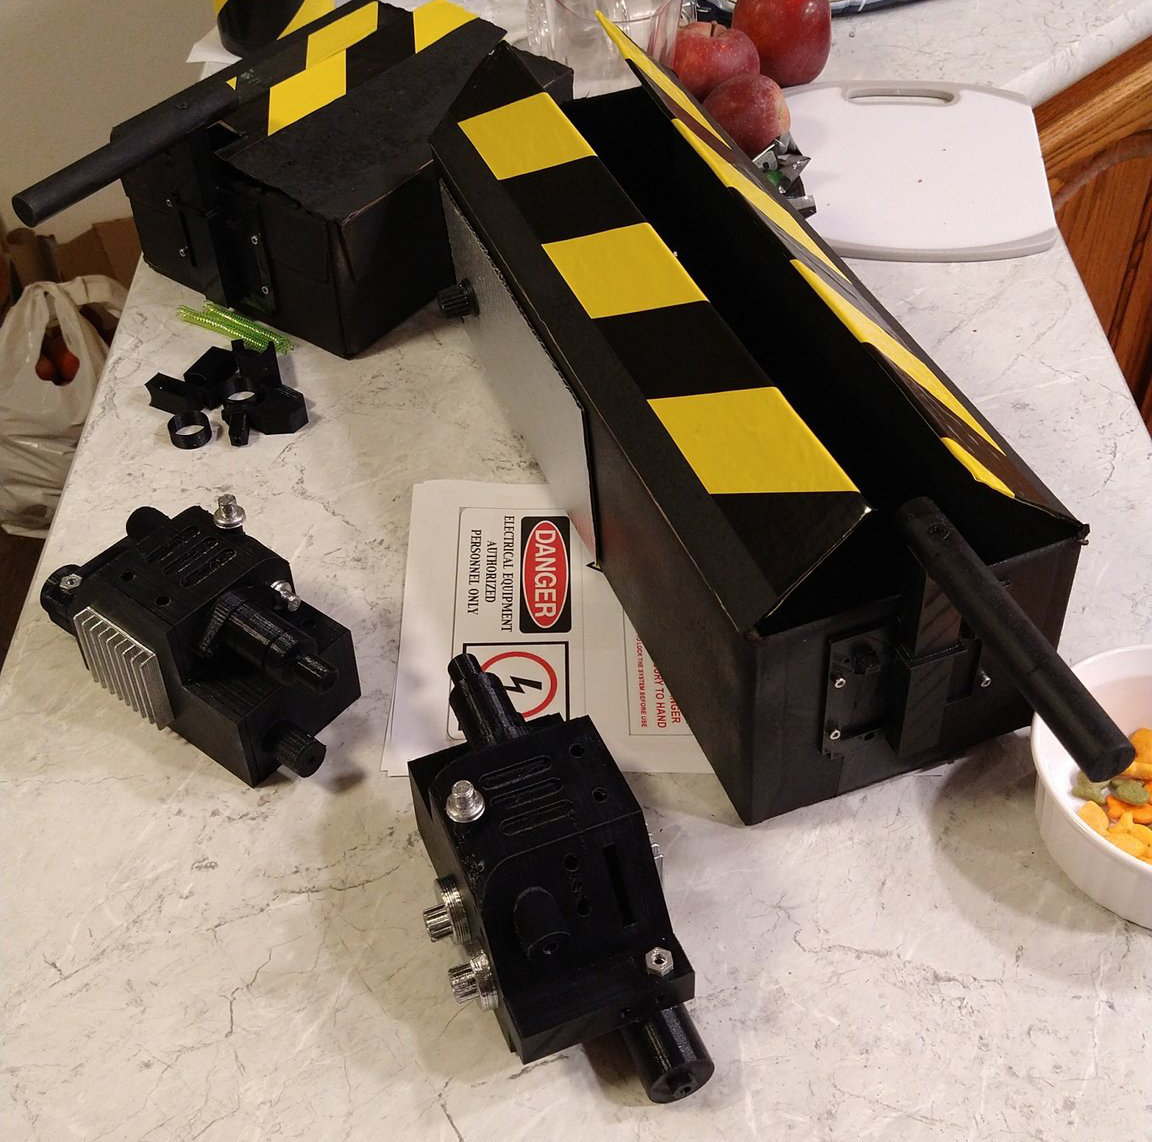
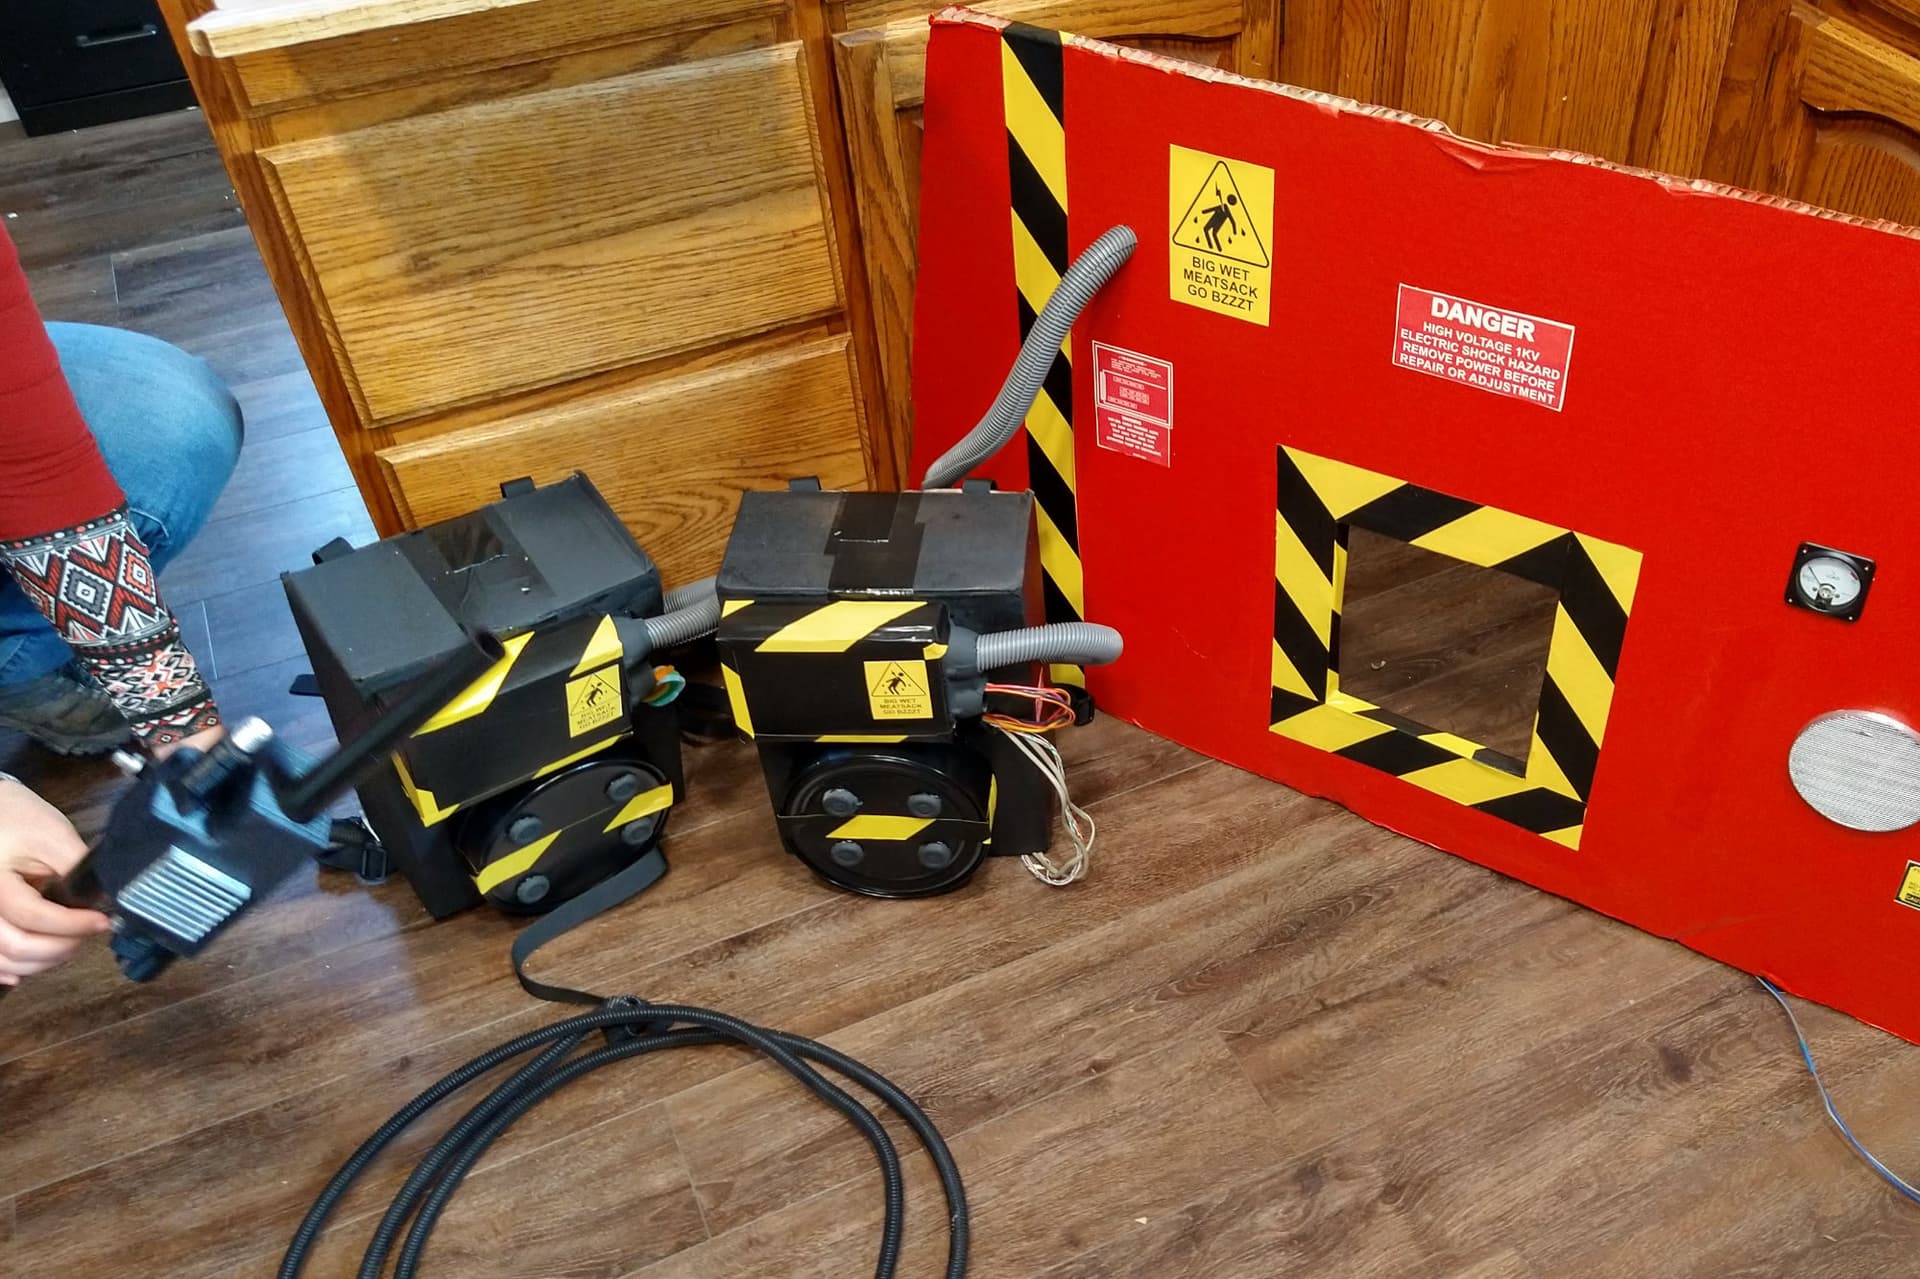
We’re doing a Ghostbusters themed “trunk or treat” this year.
Here’s the “ghost containment unit” LED + smoke test test:
All driven from a Pixelblaze of course The smoke is plain water vapor using an ultrasonic mister. That sits in a storage bin, and a fan blows in to move the mist out of the vent. There’s only 4 LEDs so far, probably more to come as time permits. The gauge is driven by a resistor + capacitor off of a GPIO using short pulses of varying length (PWM) to charge the capacitor and feed some millivolts to the gague. There’s only 4 LEDs so far, the containment status LEDs and 2 to give the portable reactor coolant system a nice glow.
The center ghost trap loader / window has an insert that slots in the back adding a plexiglass front, foil chamber, and ghostly parchment paper screen where a toy projector and raspberry pi play ghost video on loop:
We threw together some more props mostly by repurposing the recycle bin contents, plus a few 3d printed parts:
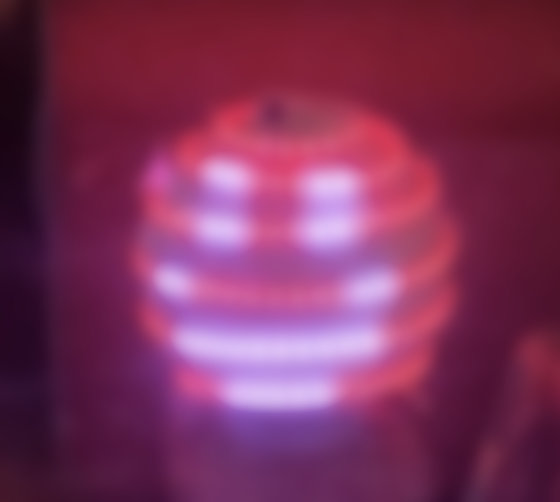
Here is the 2nd iteration of the digital jack-o’-lantern.
Its 2x the LEDs and added diffusion. And the pattern was modified to account for 2x the LEDs (obviously).
Thanks everyone for the diffusion recommendation. I cut 6 strips of parchment paper to more-or-less adhere to the spherical shape.
Am really happy with how this little project has taken shape for the upcoming holiday decorations. I see more spherical-fitting pattern writing in my future!
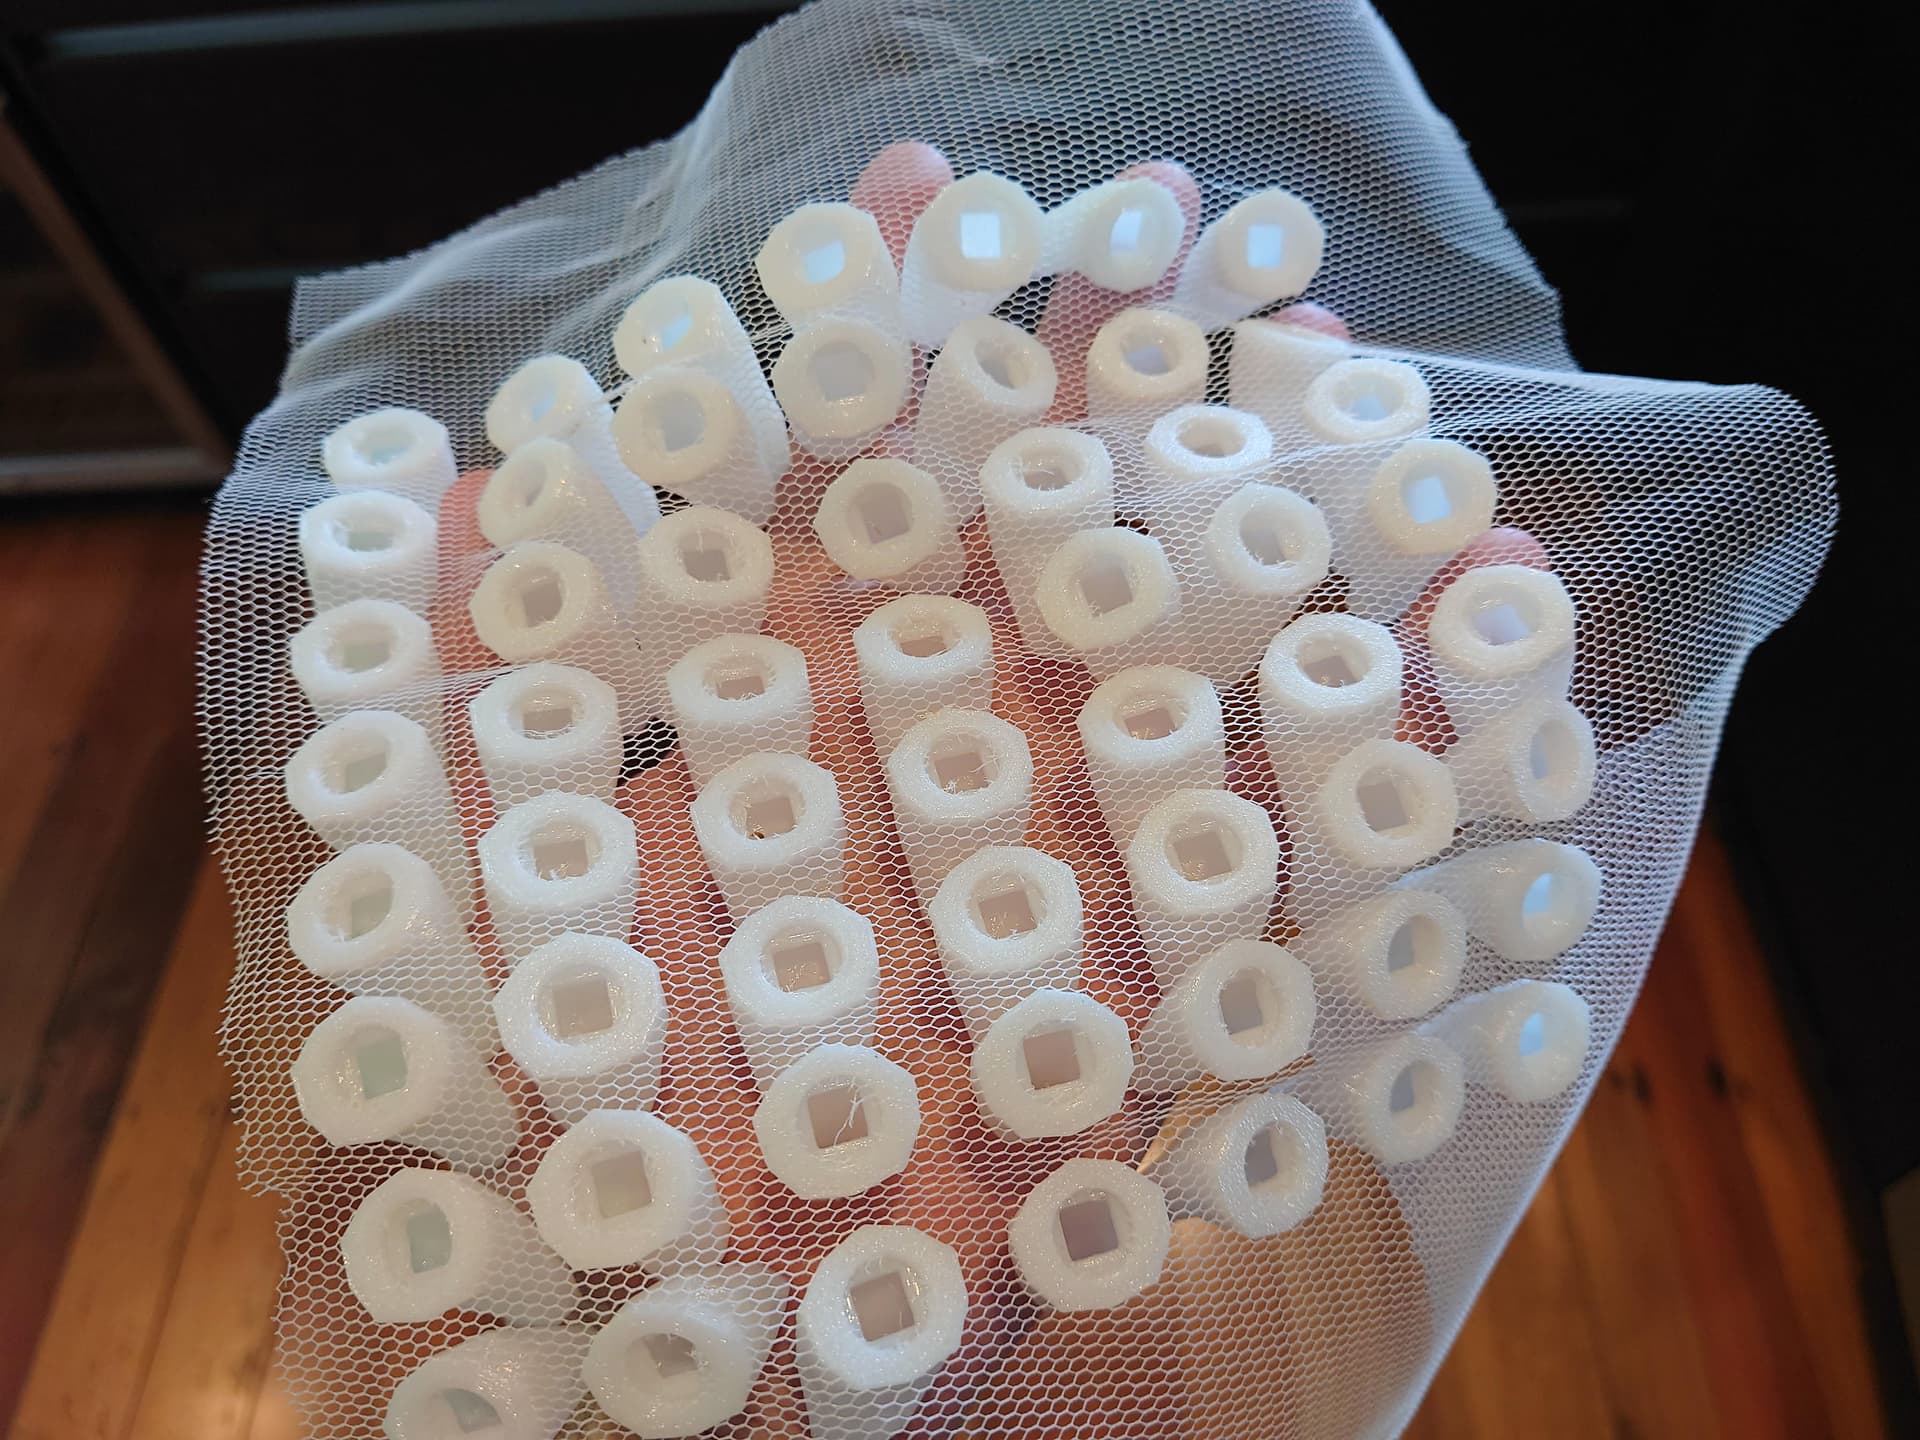
I found this great little tool while trying to get wled to do what I wanted. I’m making a wearable project for music festivals this summer in NZ, I’ve got an old cammelback type backpack I wanted to light up.
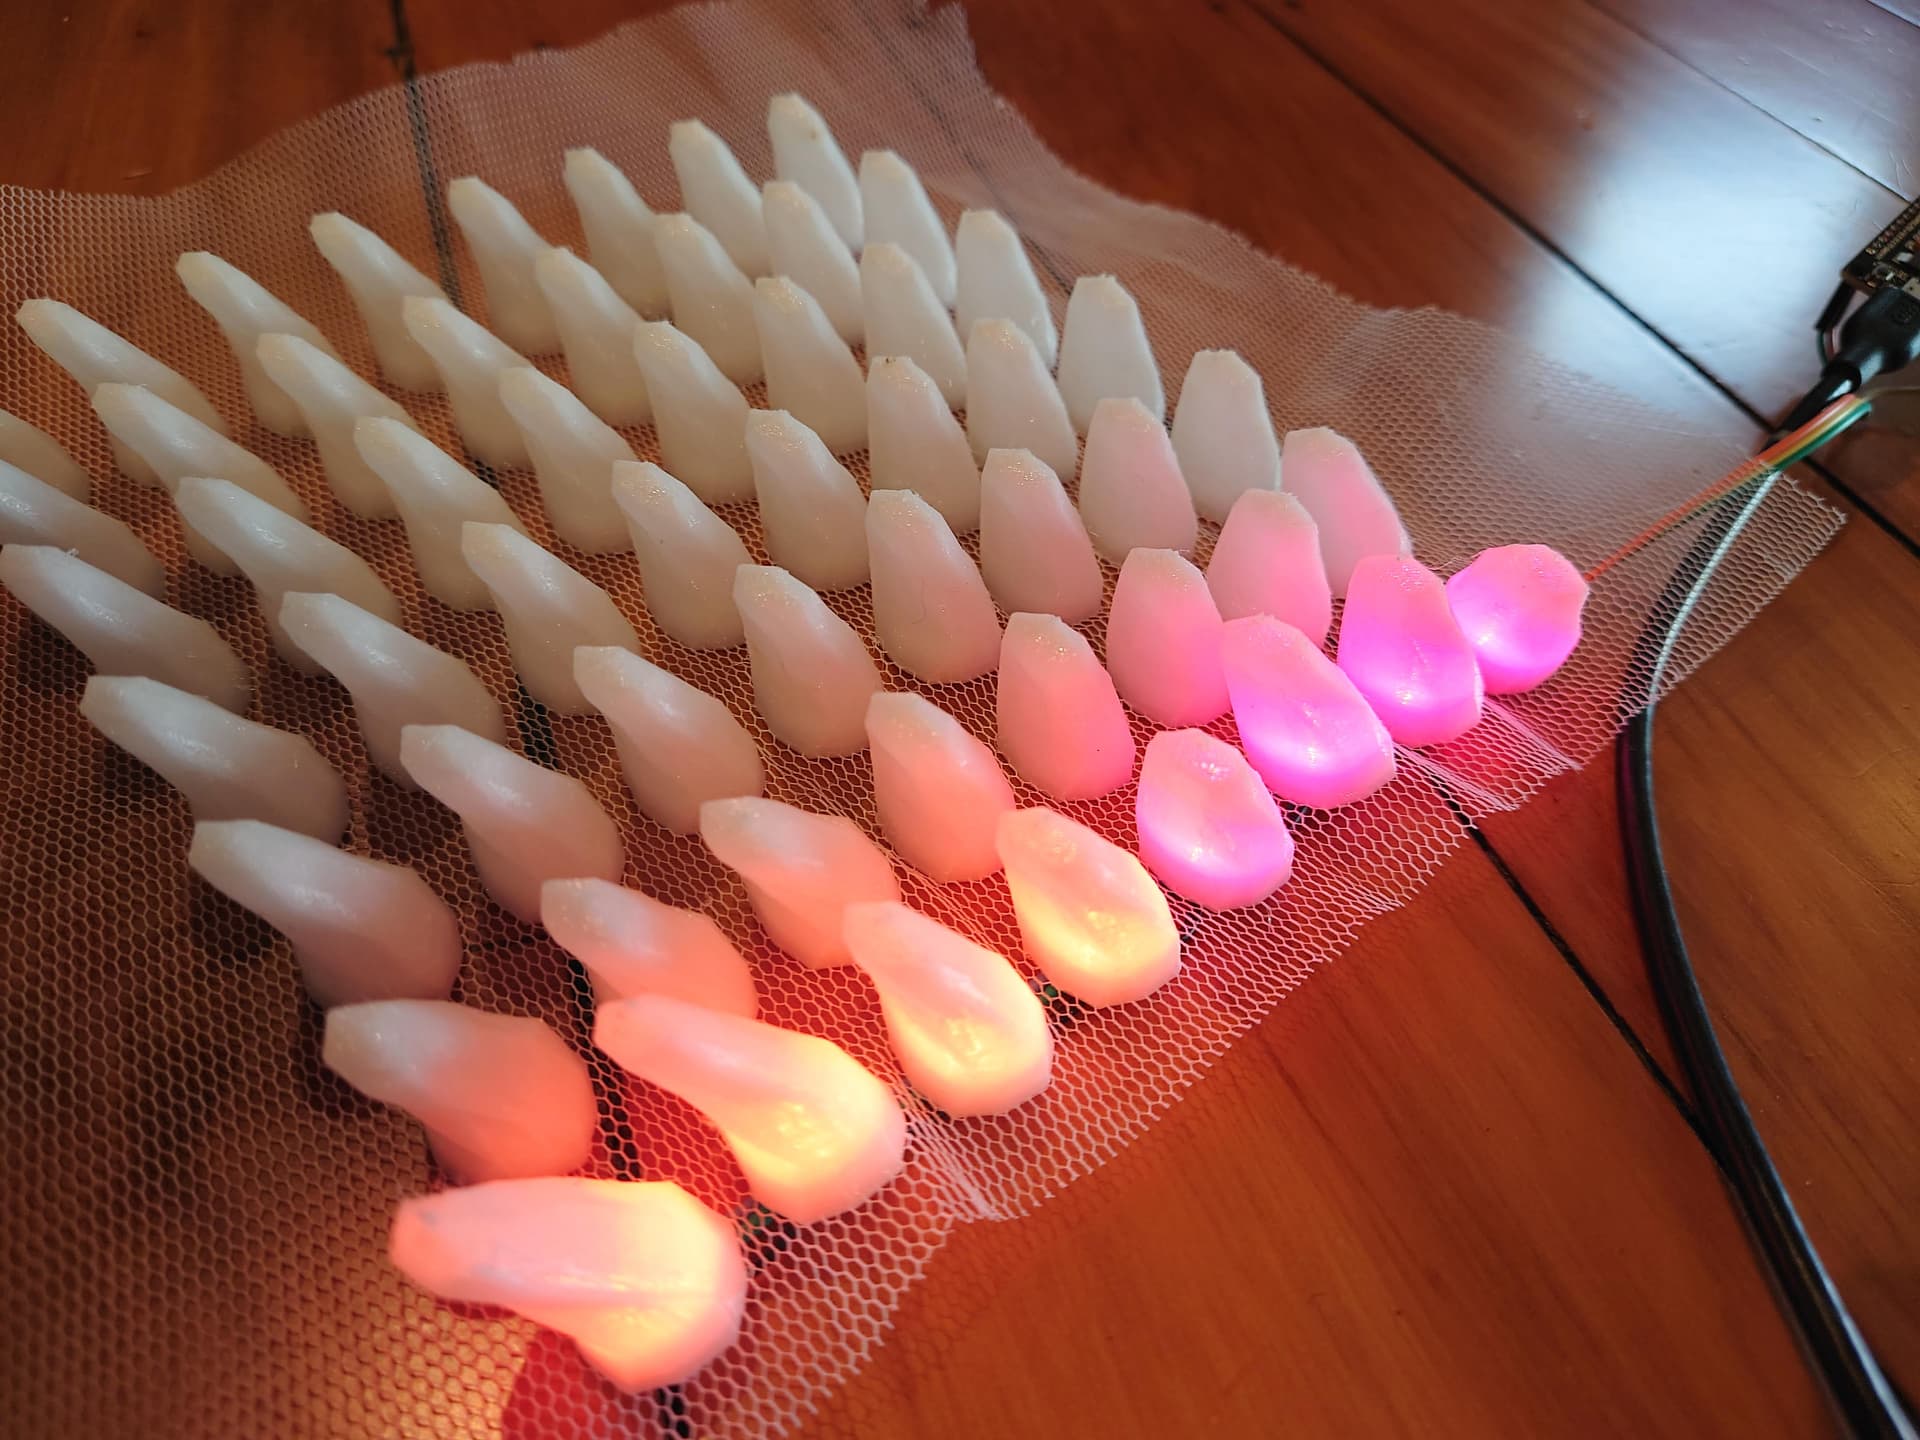
I’d seen some 3d printing videos on youtube where people were printing onto Tule (material that tutu’s are made from) and getting some cool scales on fabric like results. So why not light it up!
My first idea was a nice random distribution of spikes, but I kept only finding wearable controllers that wanted a nice regular grid. I’ve used wled a lot and so that was my first test piece:
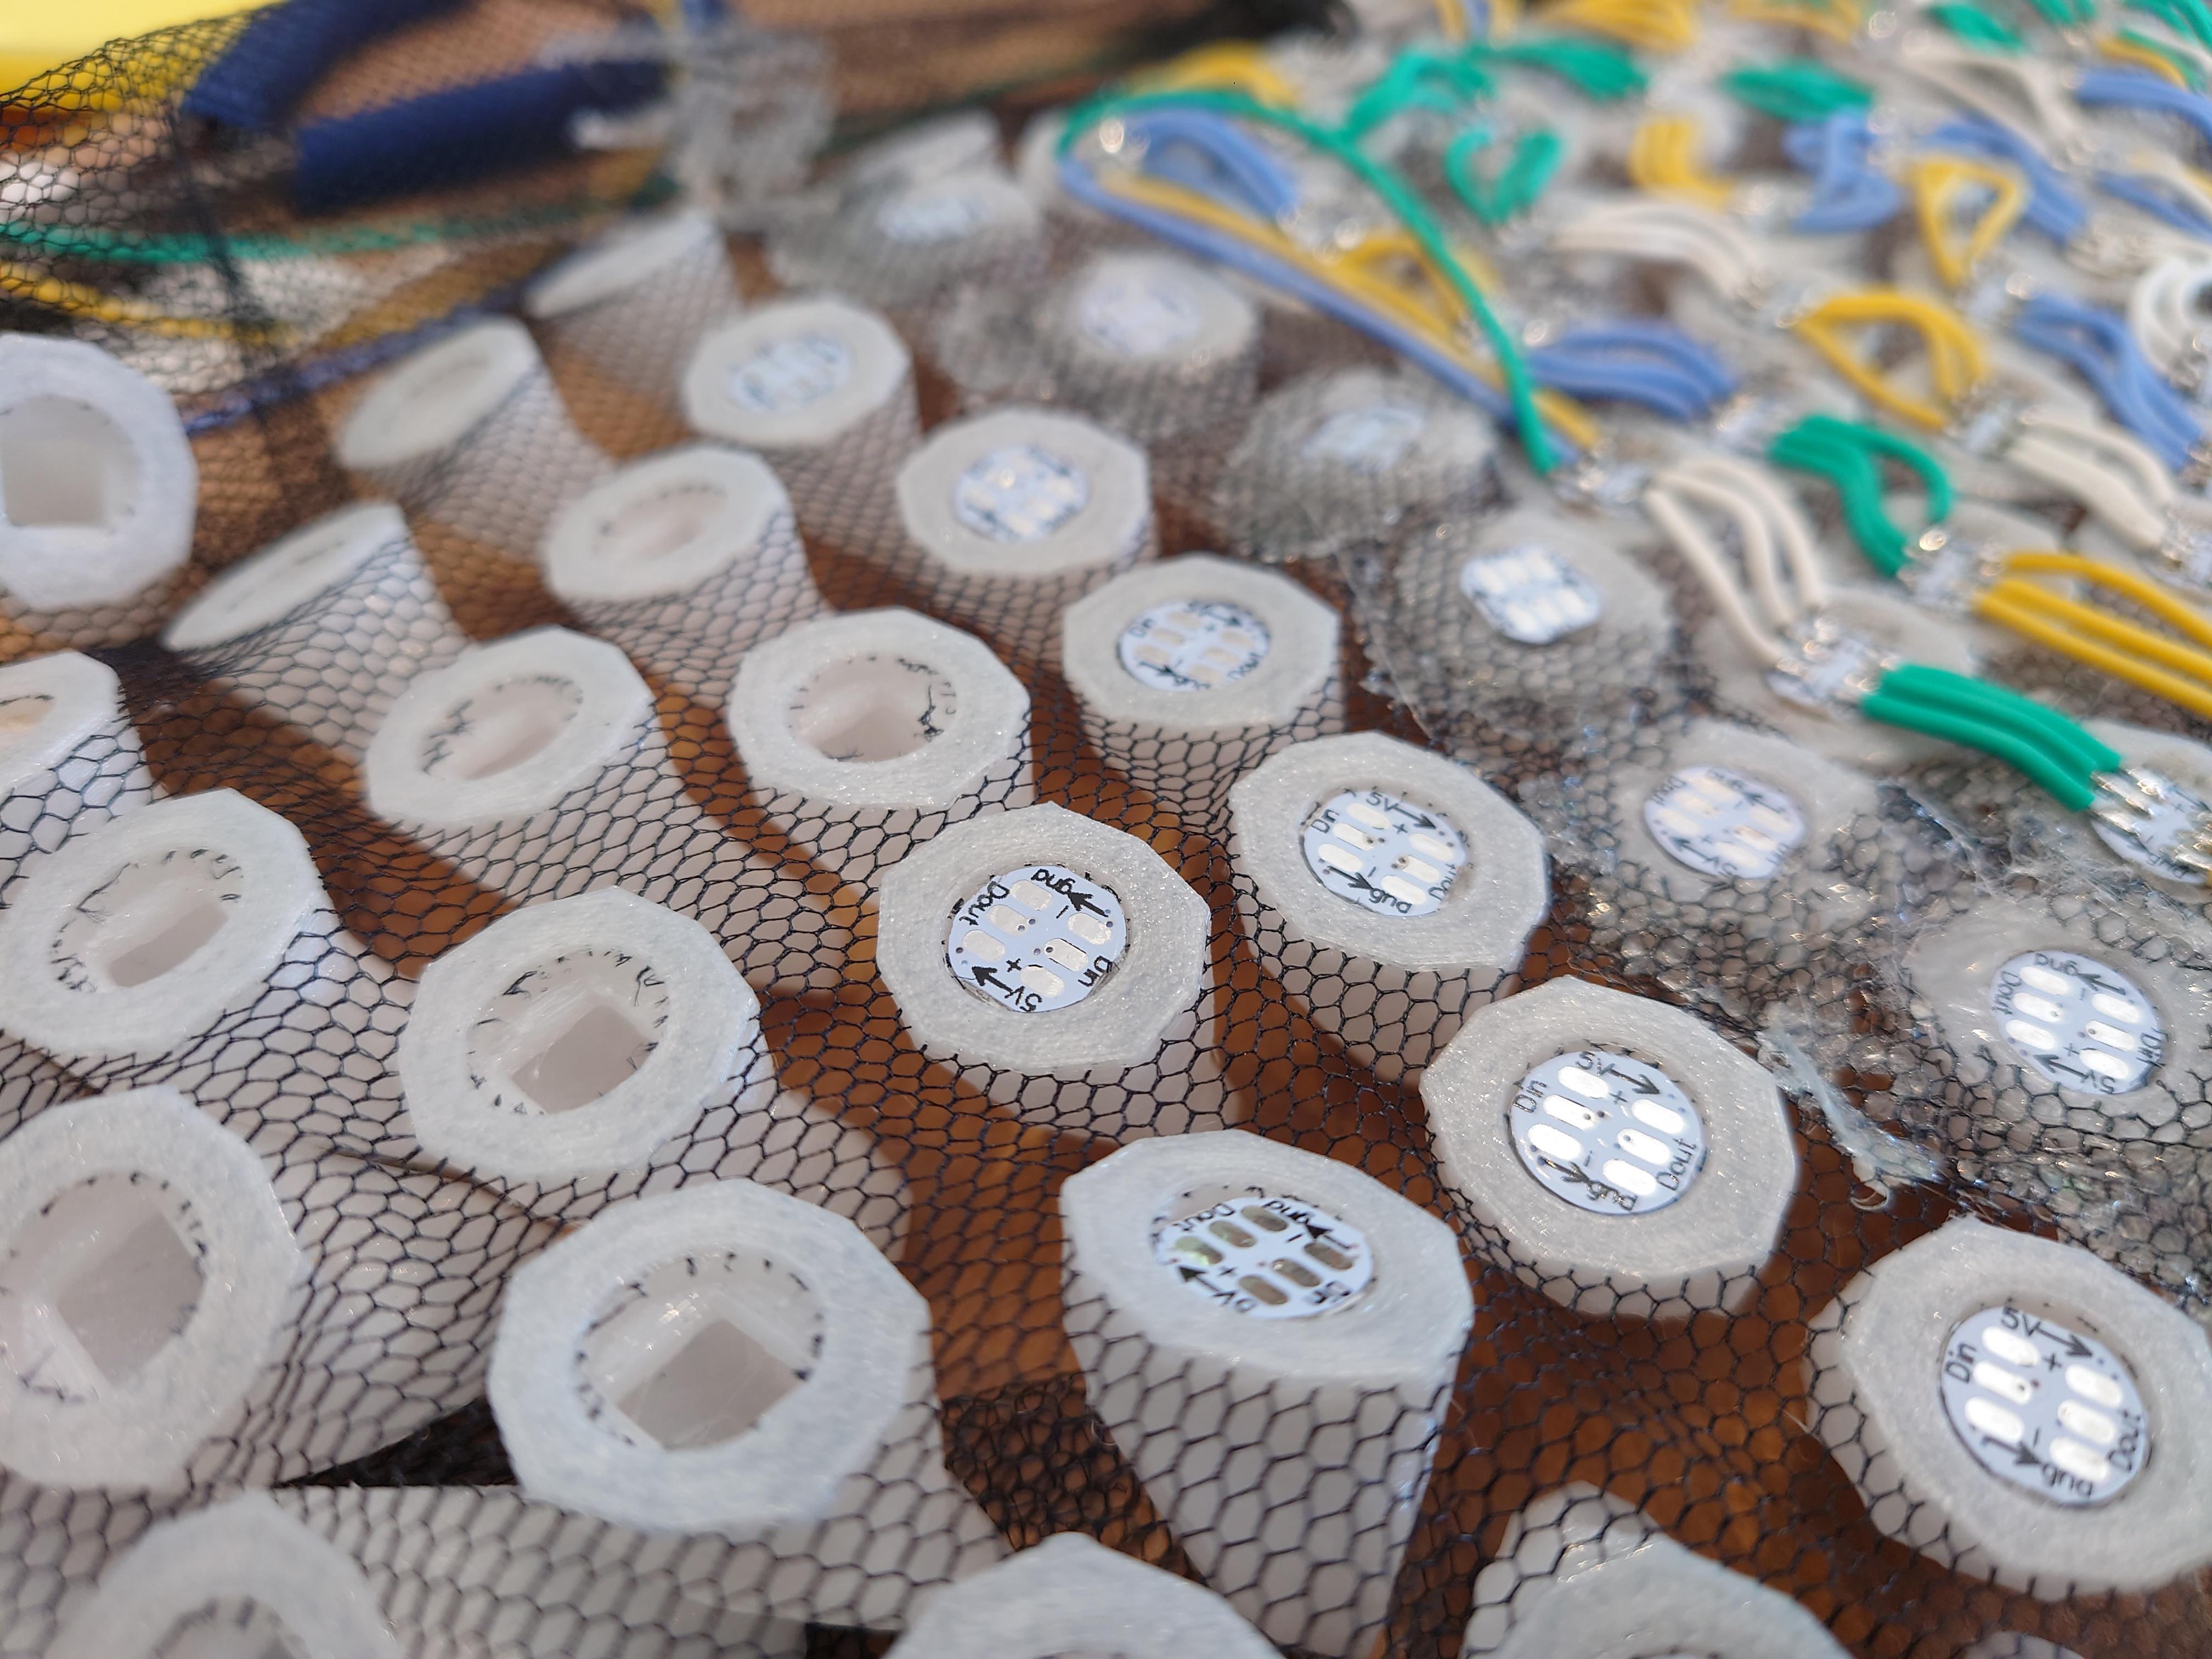
Cutting out the tulle from the inside of each spike reveals the space I left for the LED’s and the hollow core, the wall thickness thins out towards the ends as the light falls off.
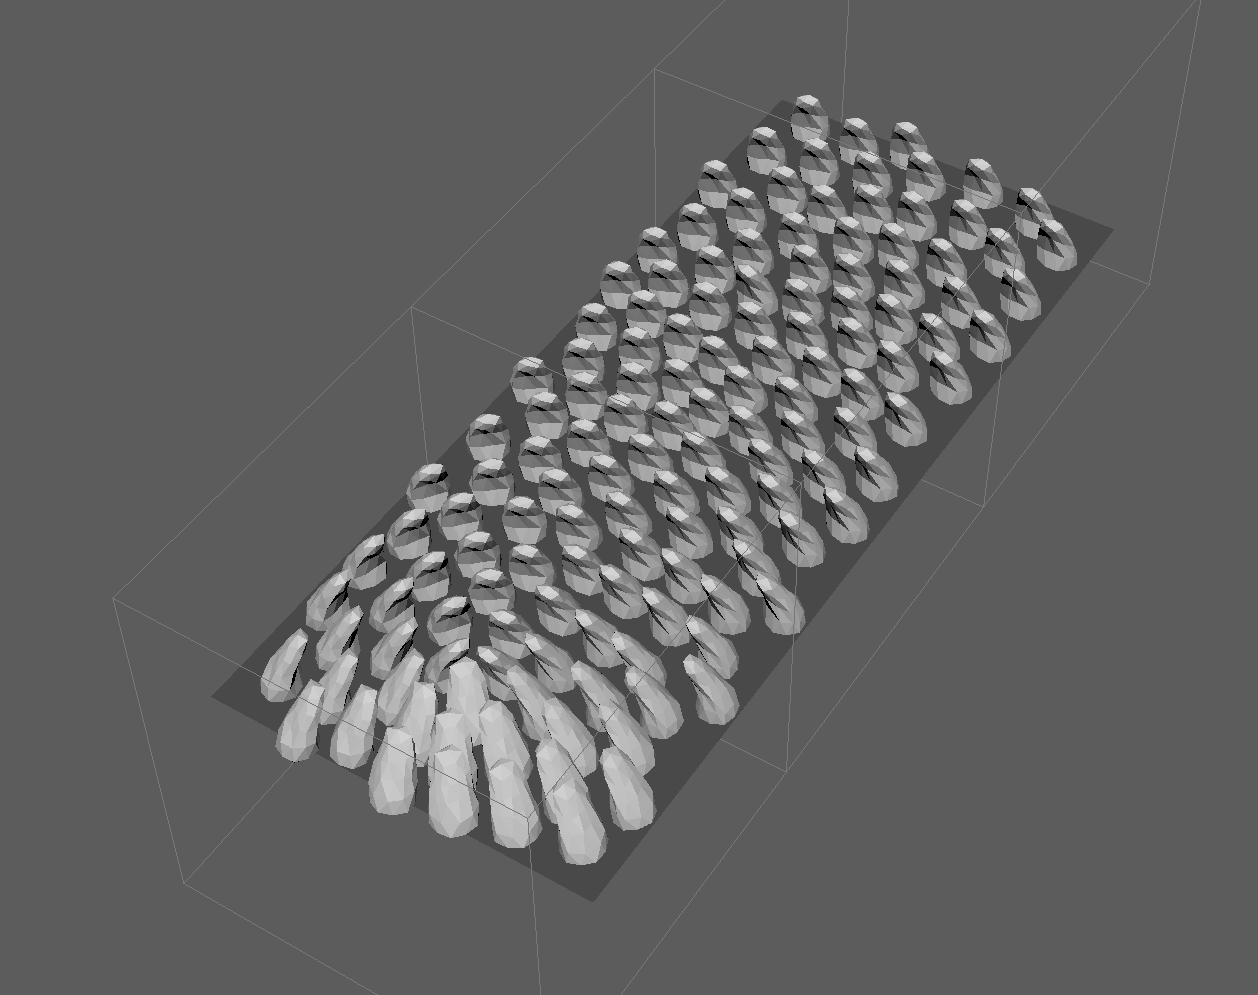
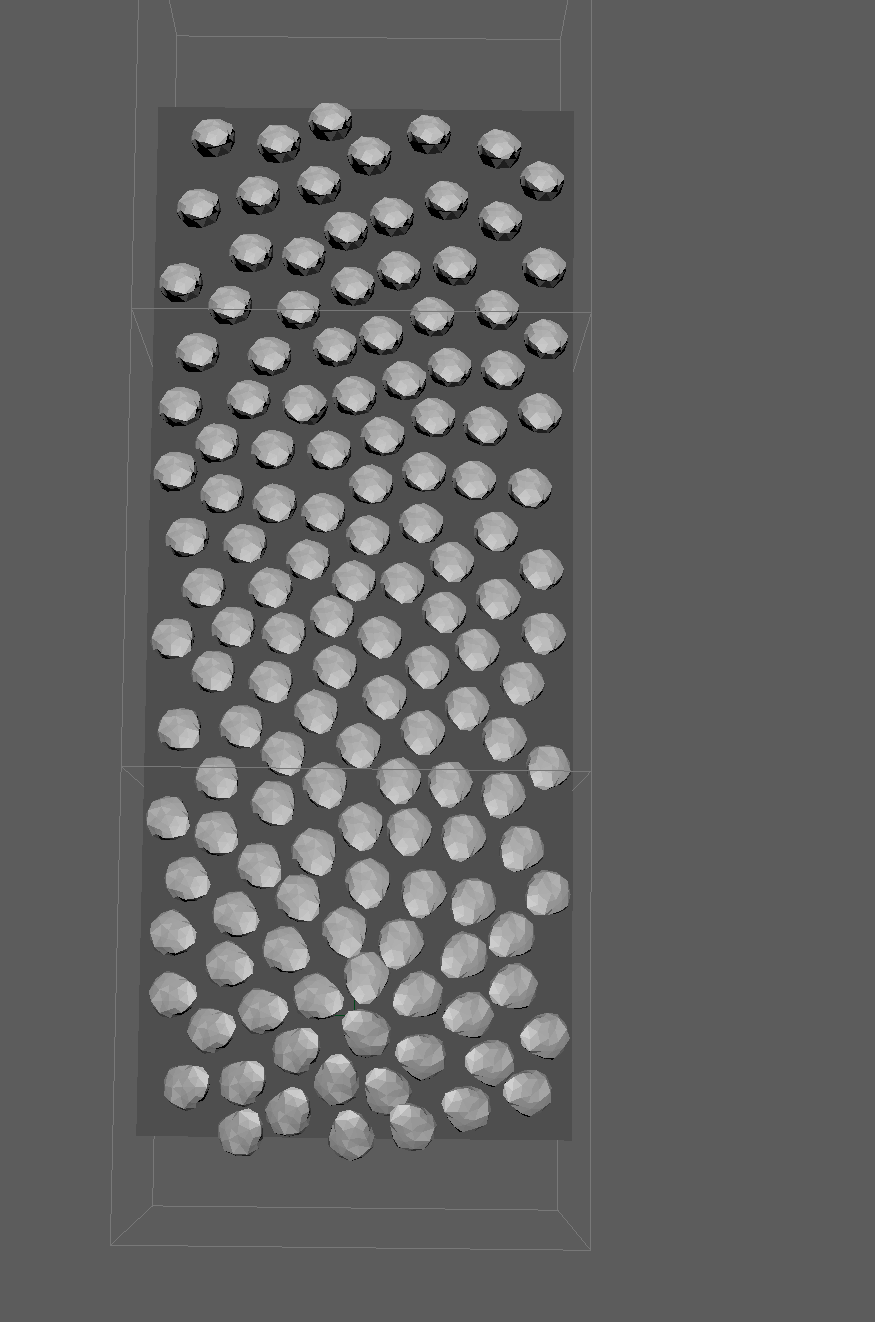
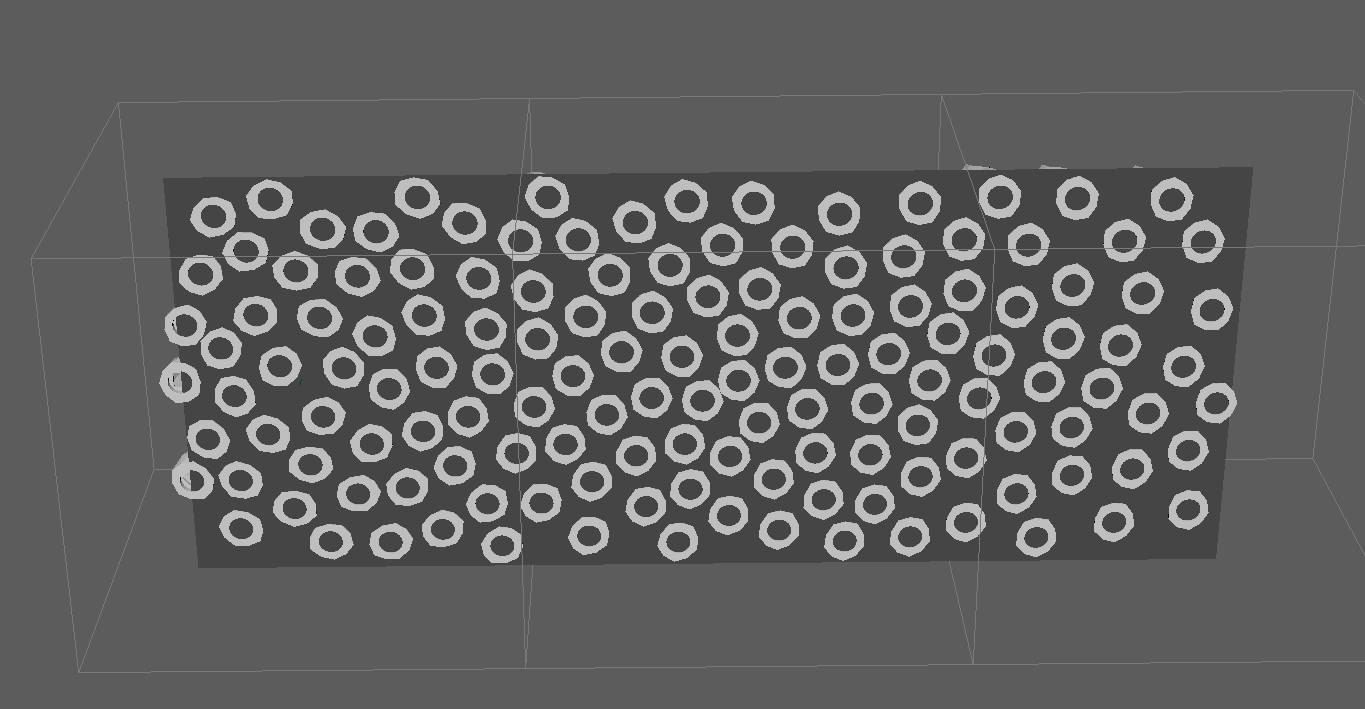
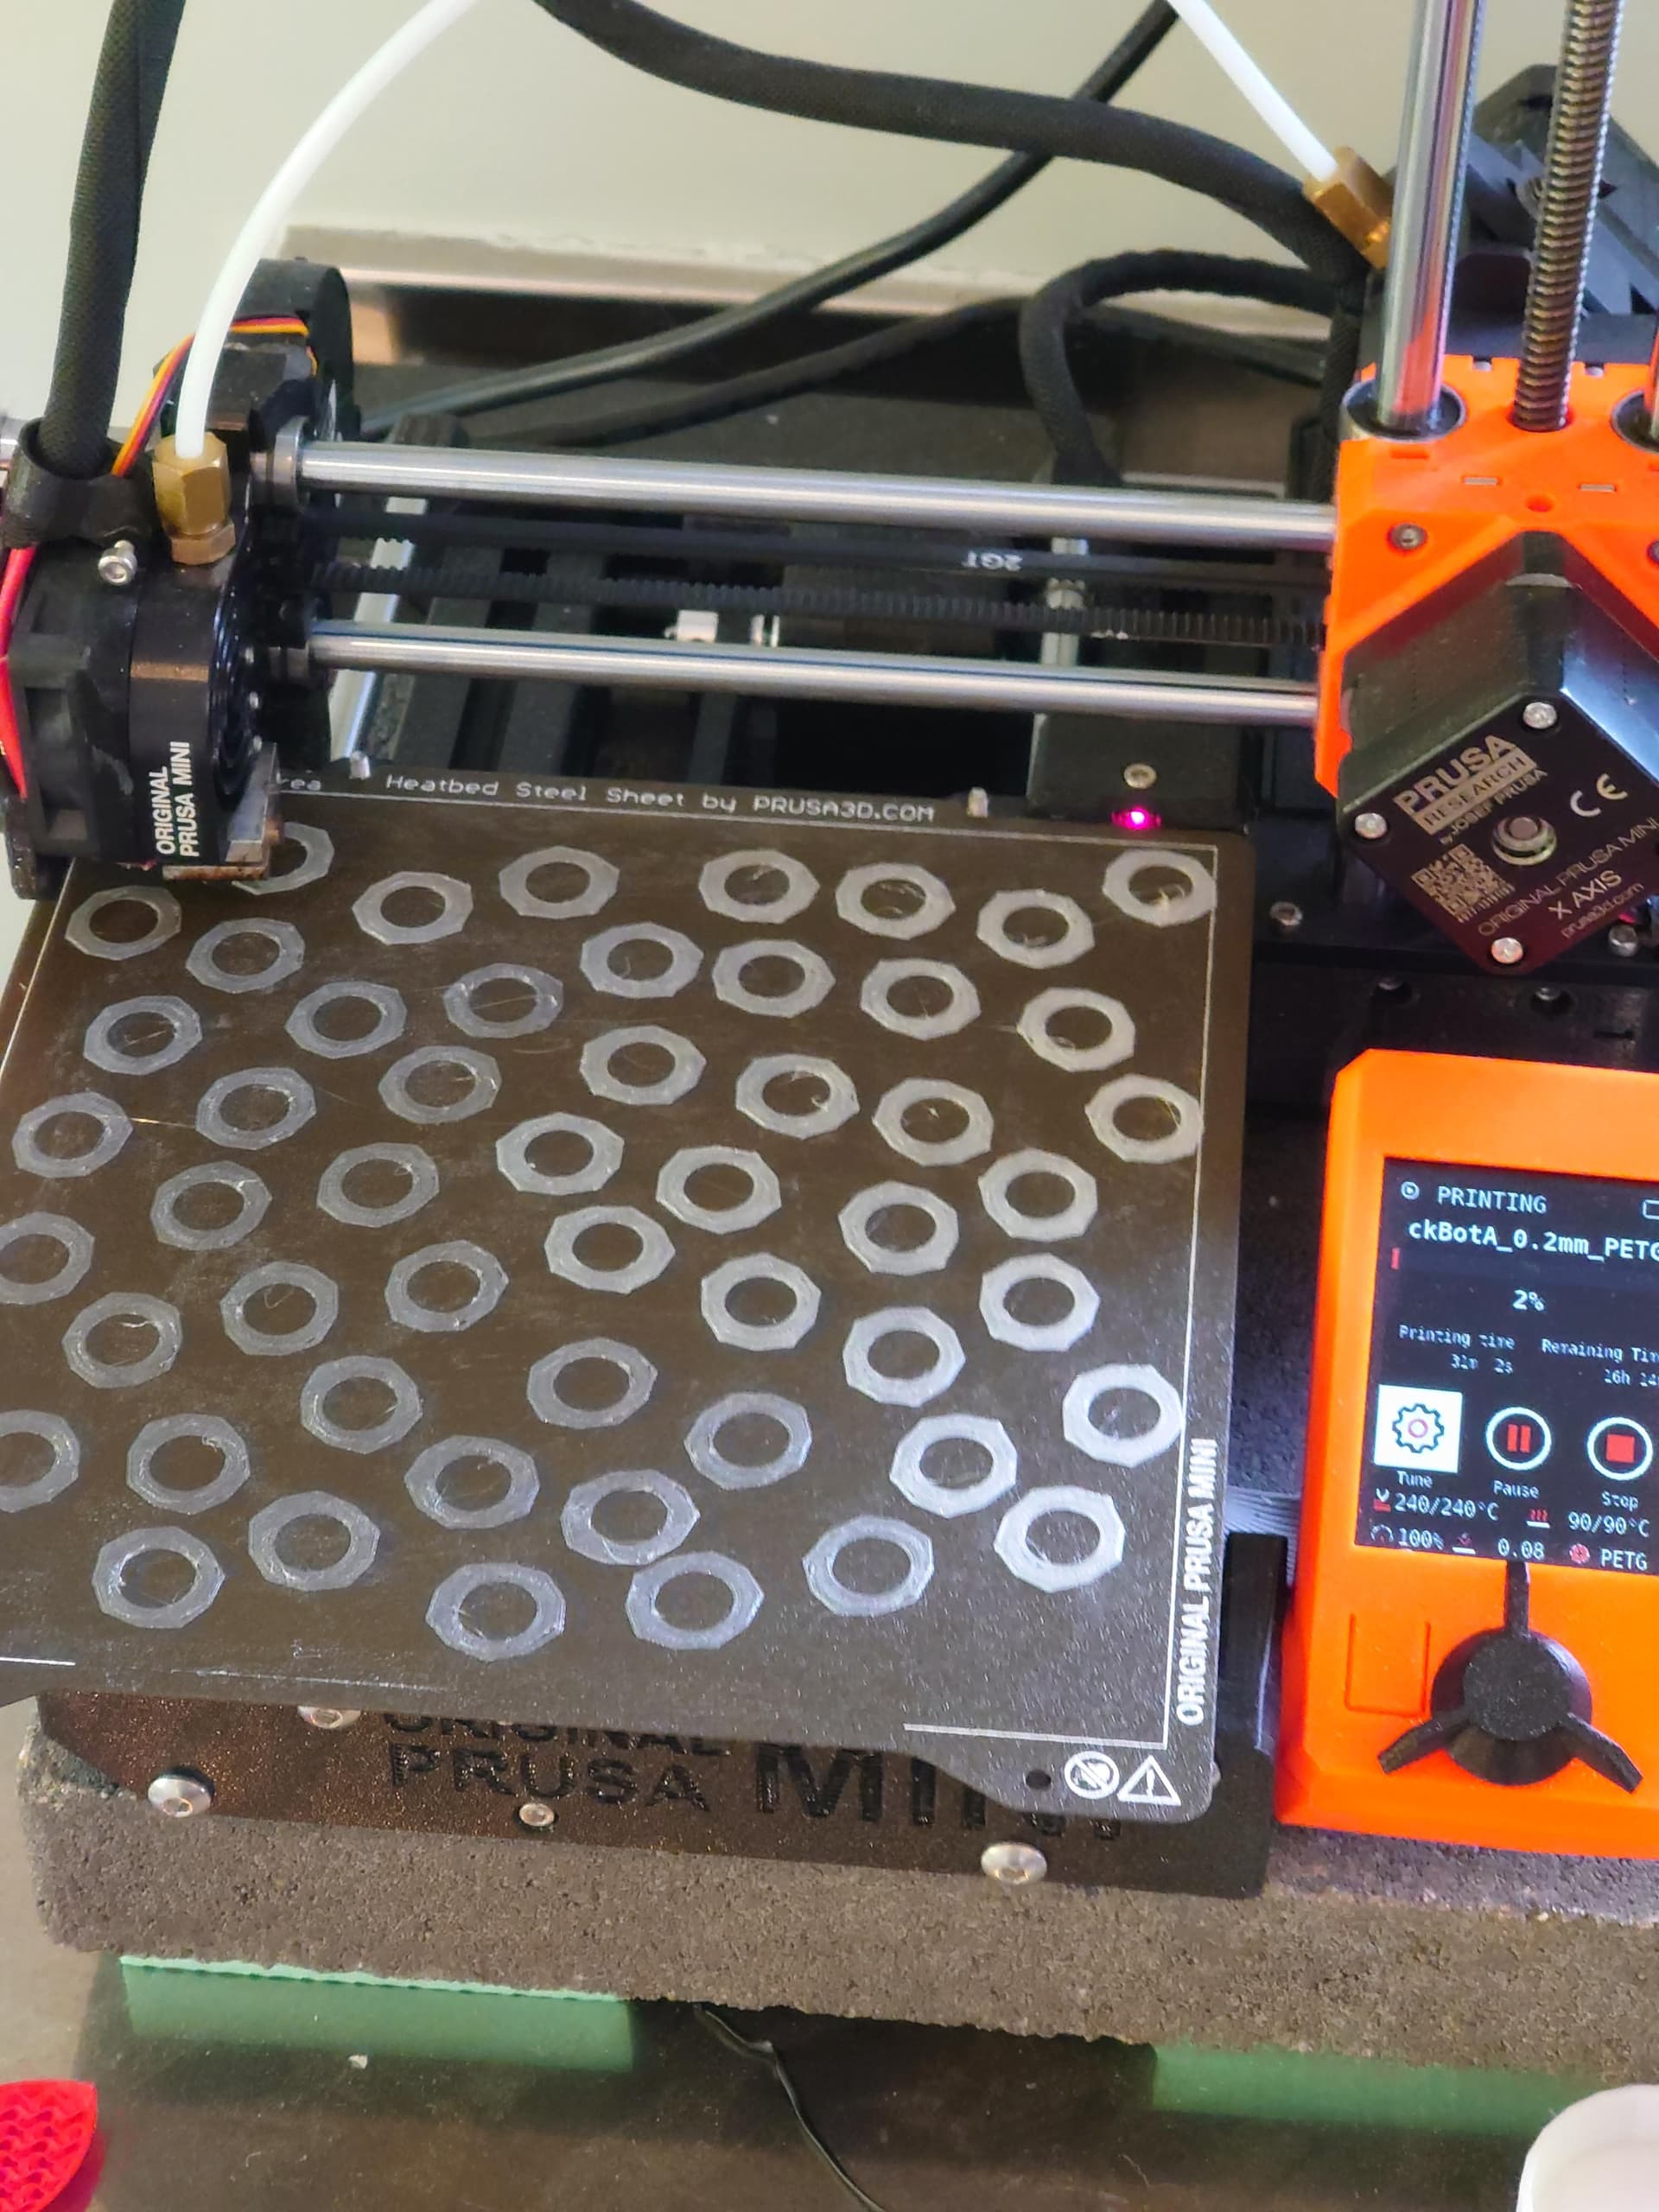
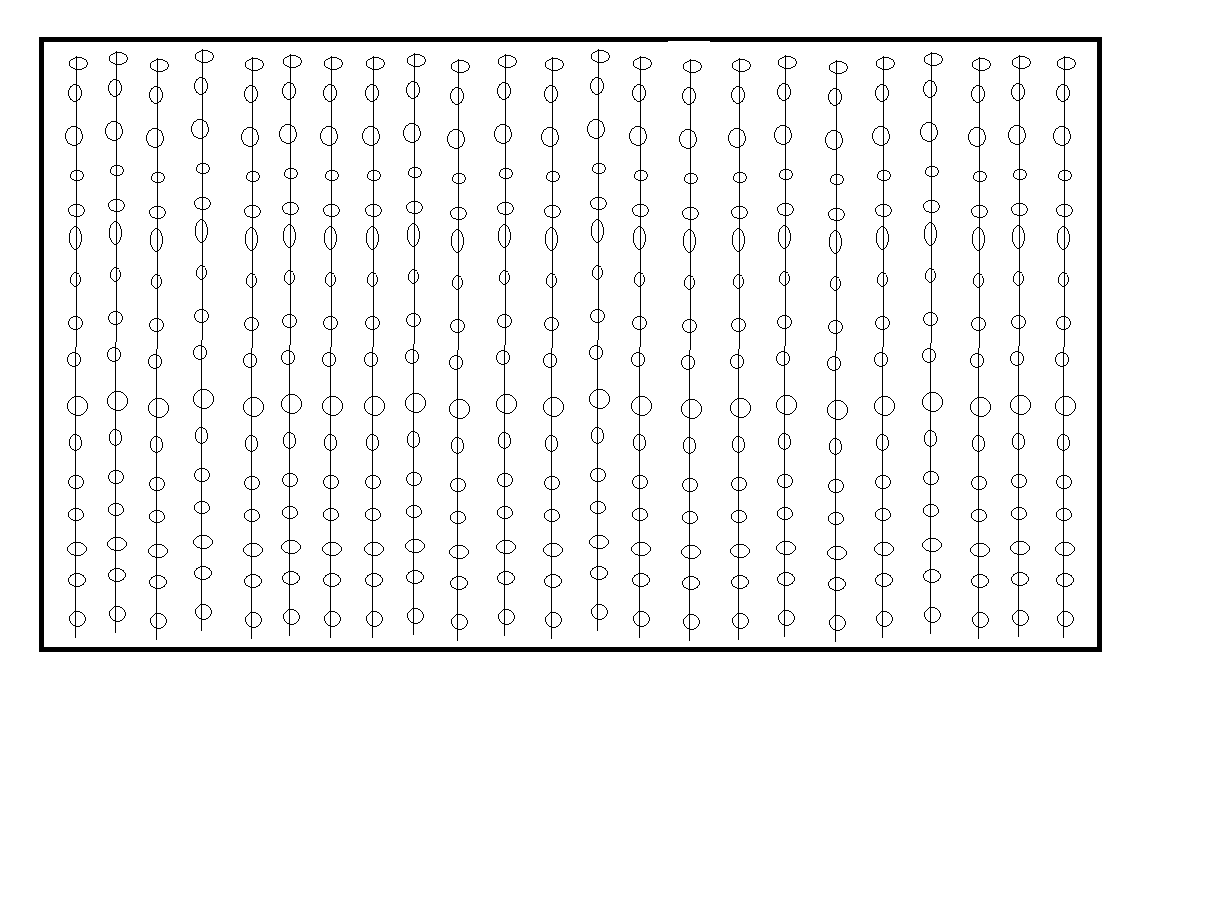
I posted this on reddit and someone from here suggested pixelblaze. So I’ve got some arriving very soon and mark 2 is going to look like this, 18x45cm, printed in 3 segments to fit on the 18cm2 bed of my prusa mini
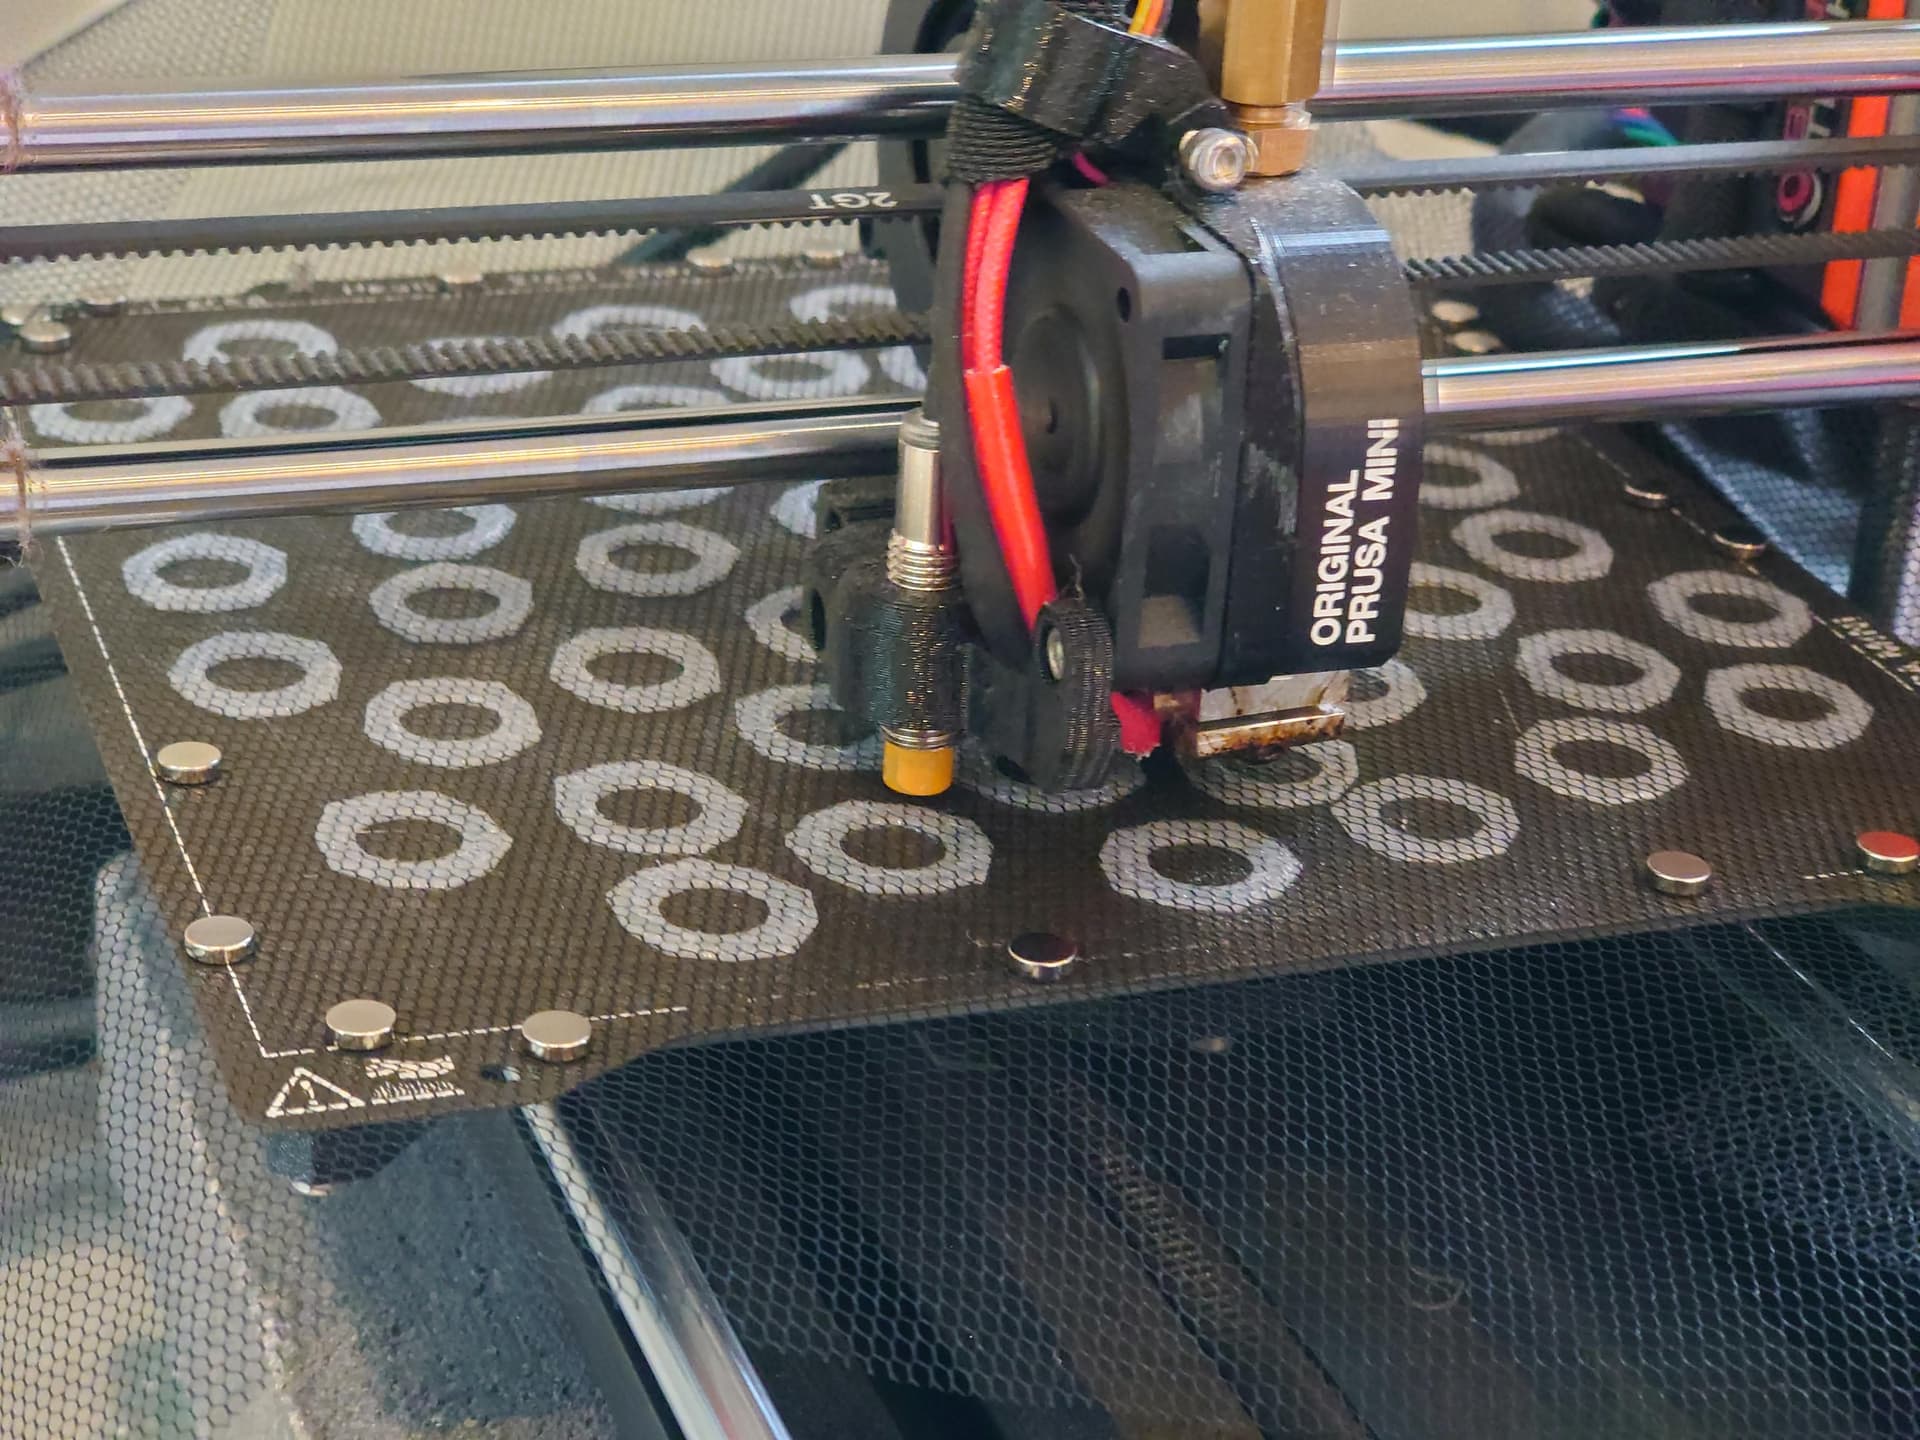
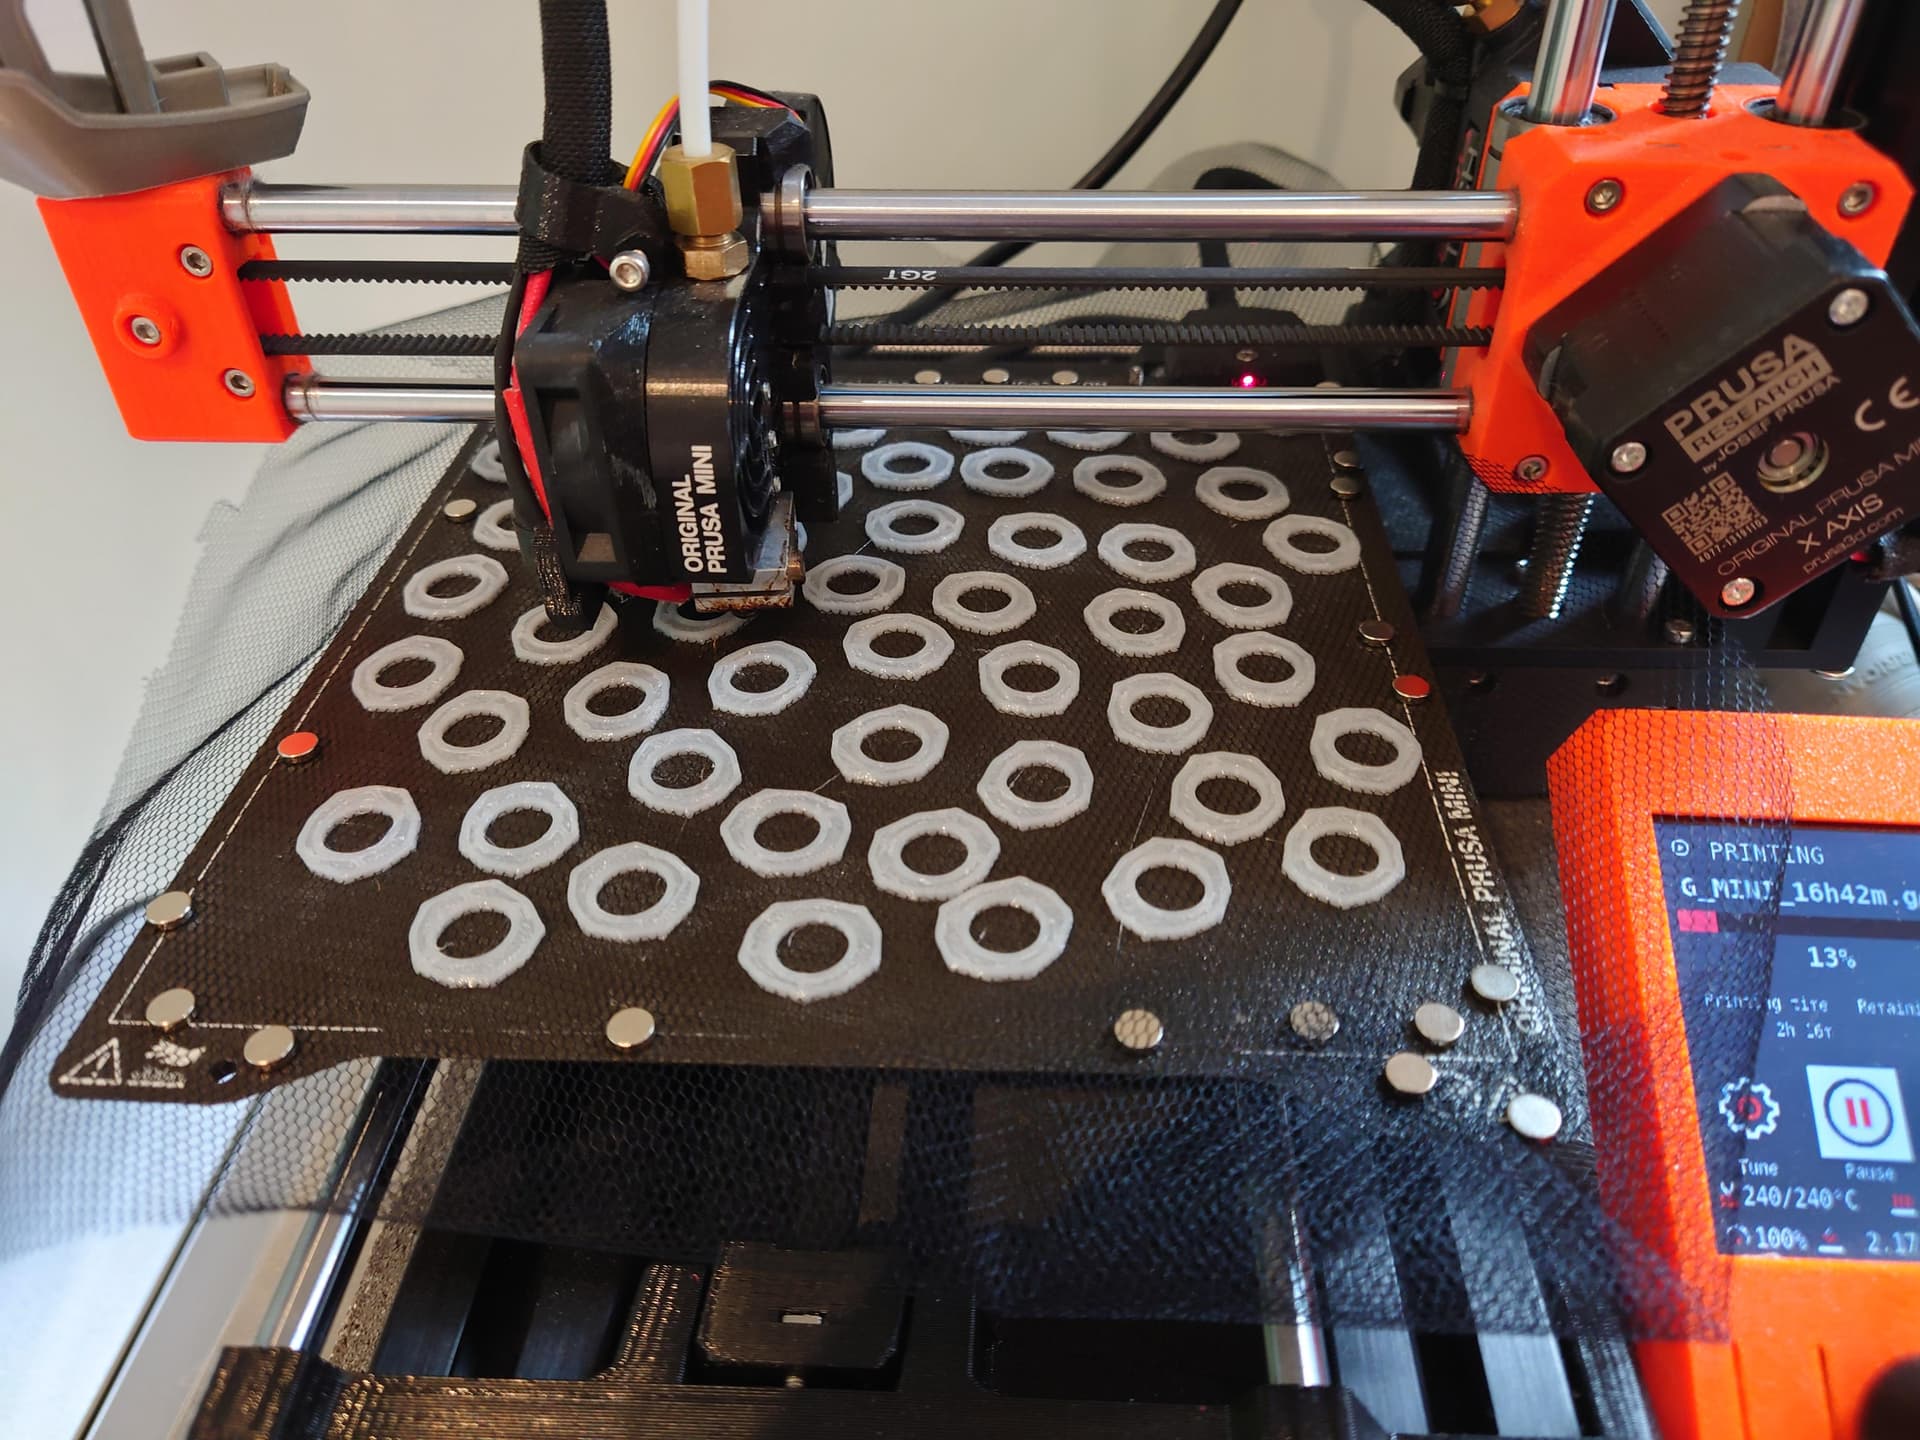
It’s a rather cool technique, you tell the slicer to pause after the first few layers, I set 8 base layers and a pause on layer 4. hold the tule down with magnets and keep going
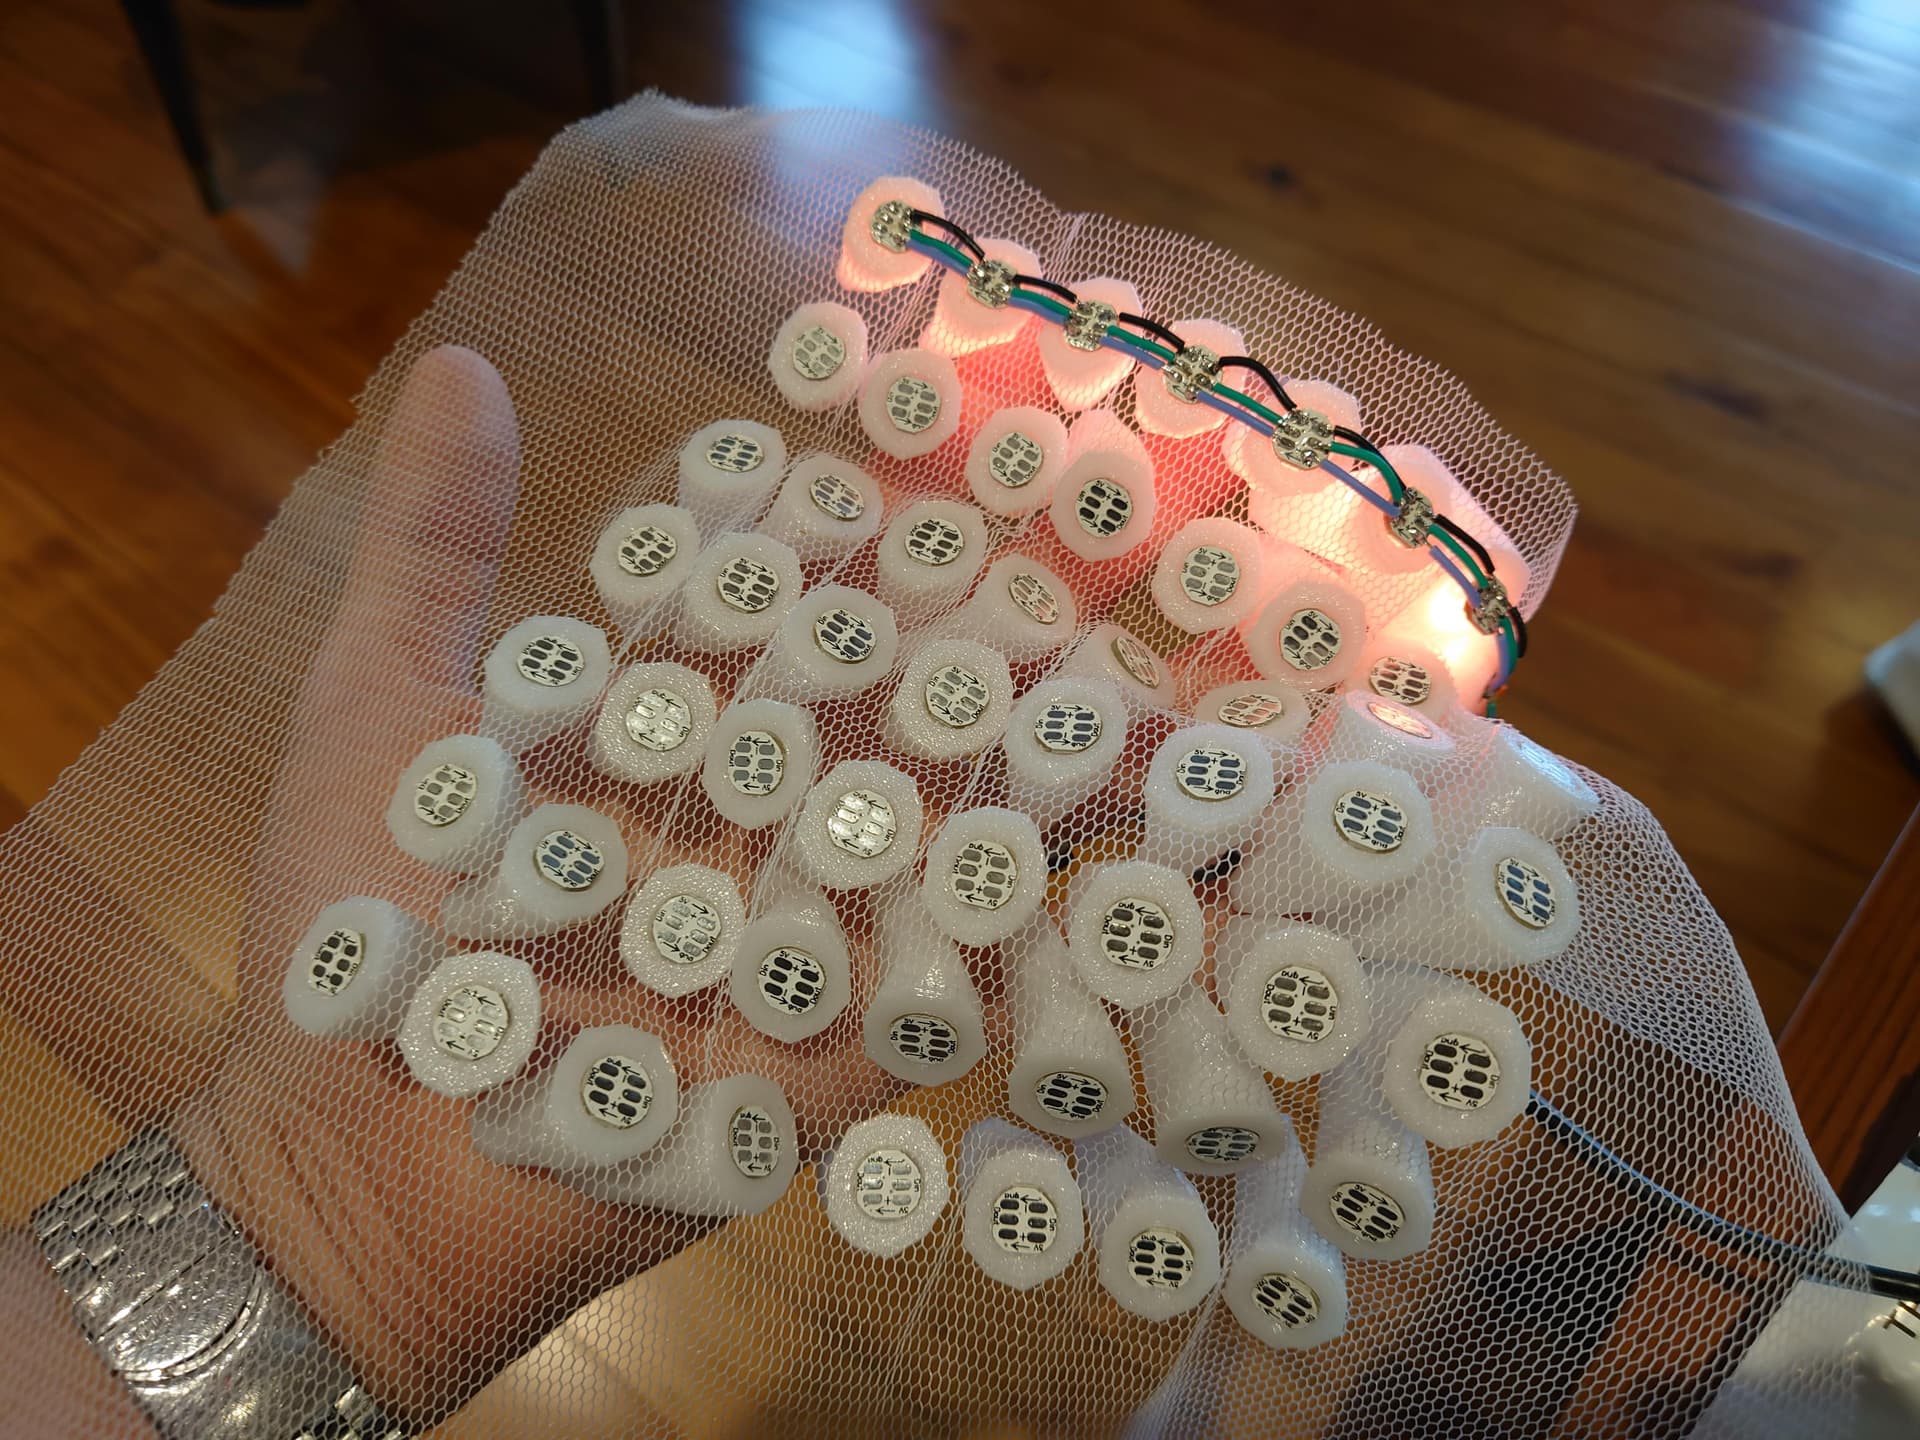
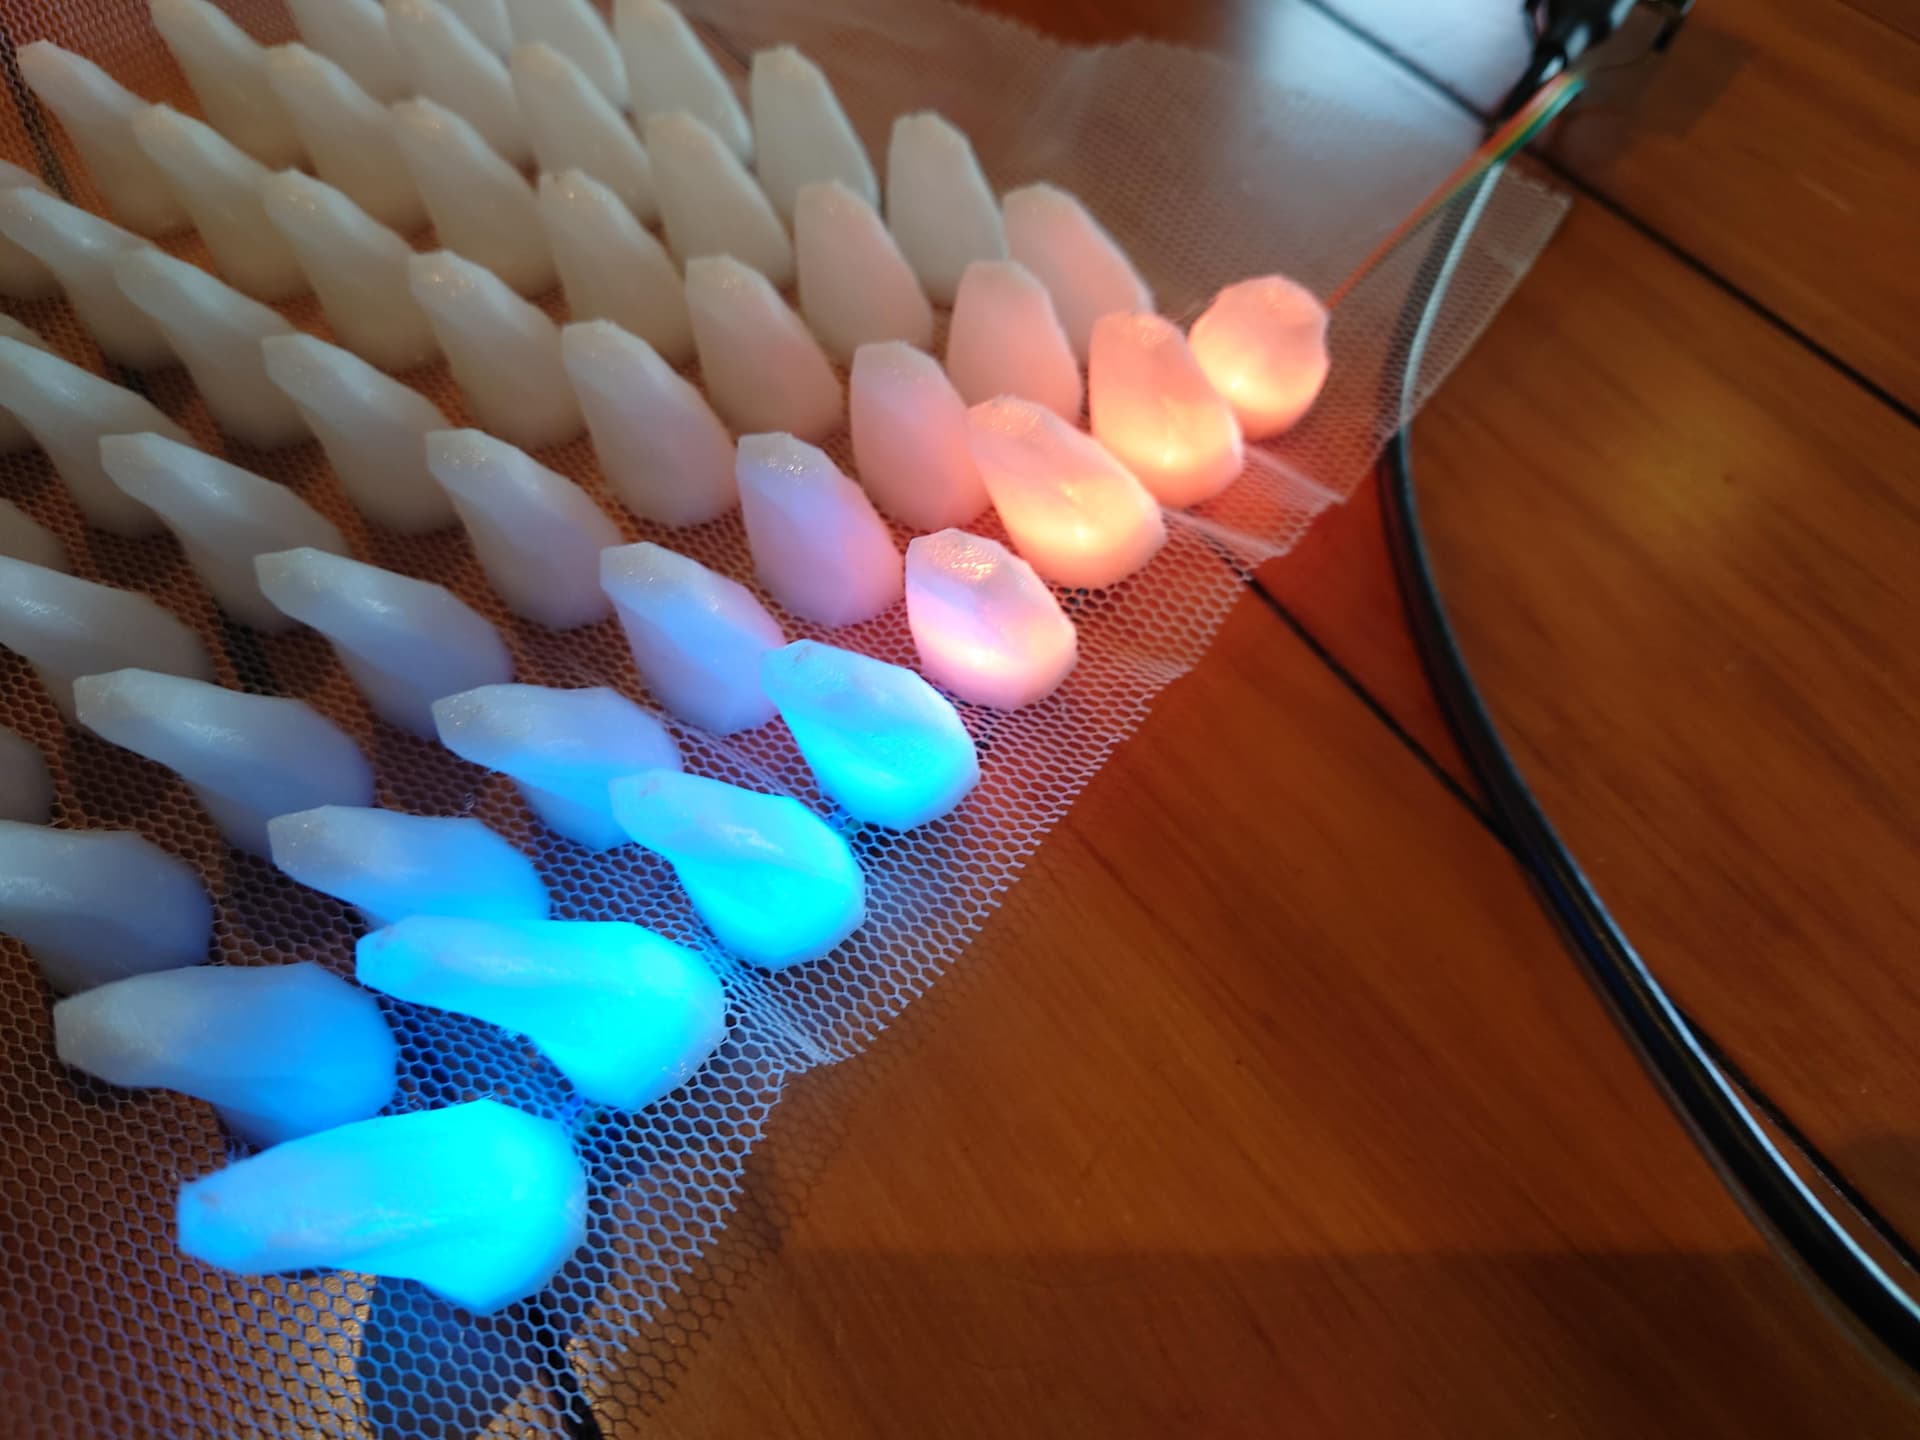
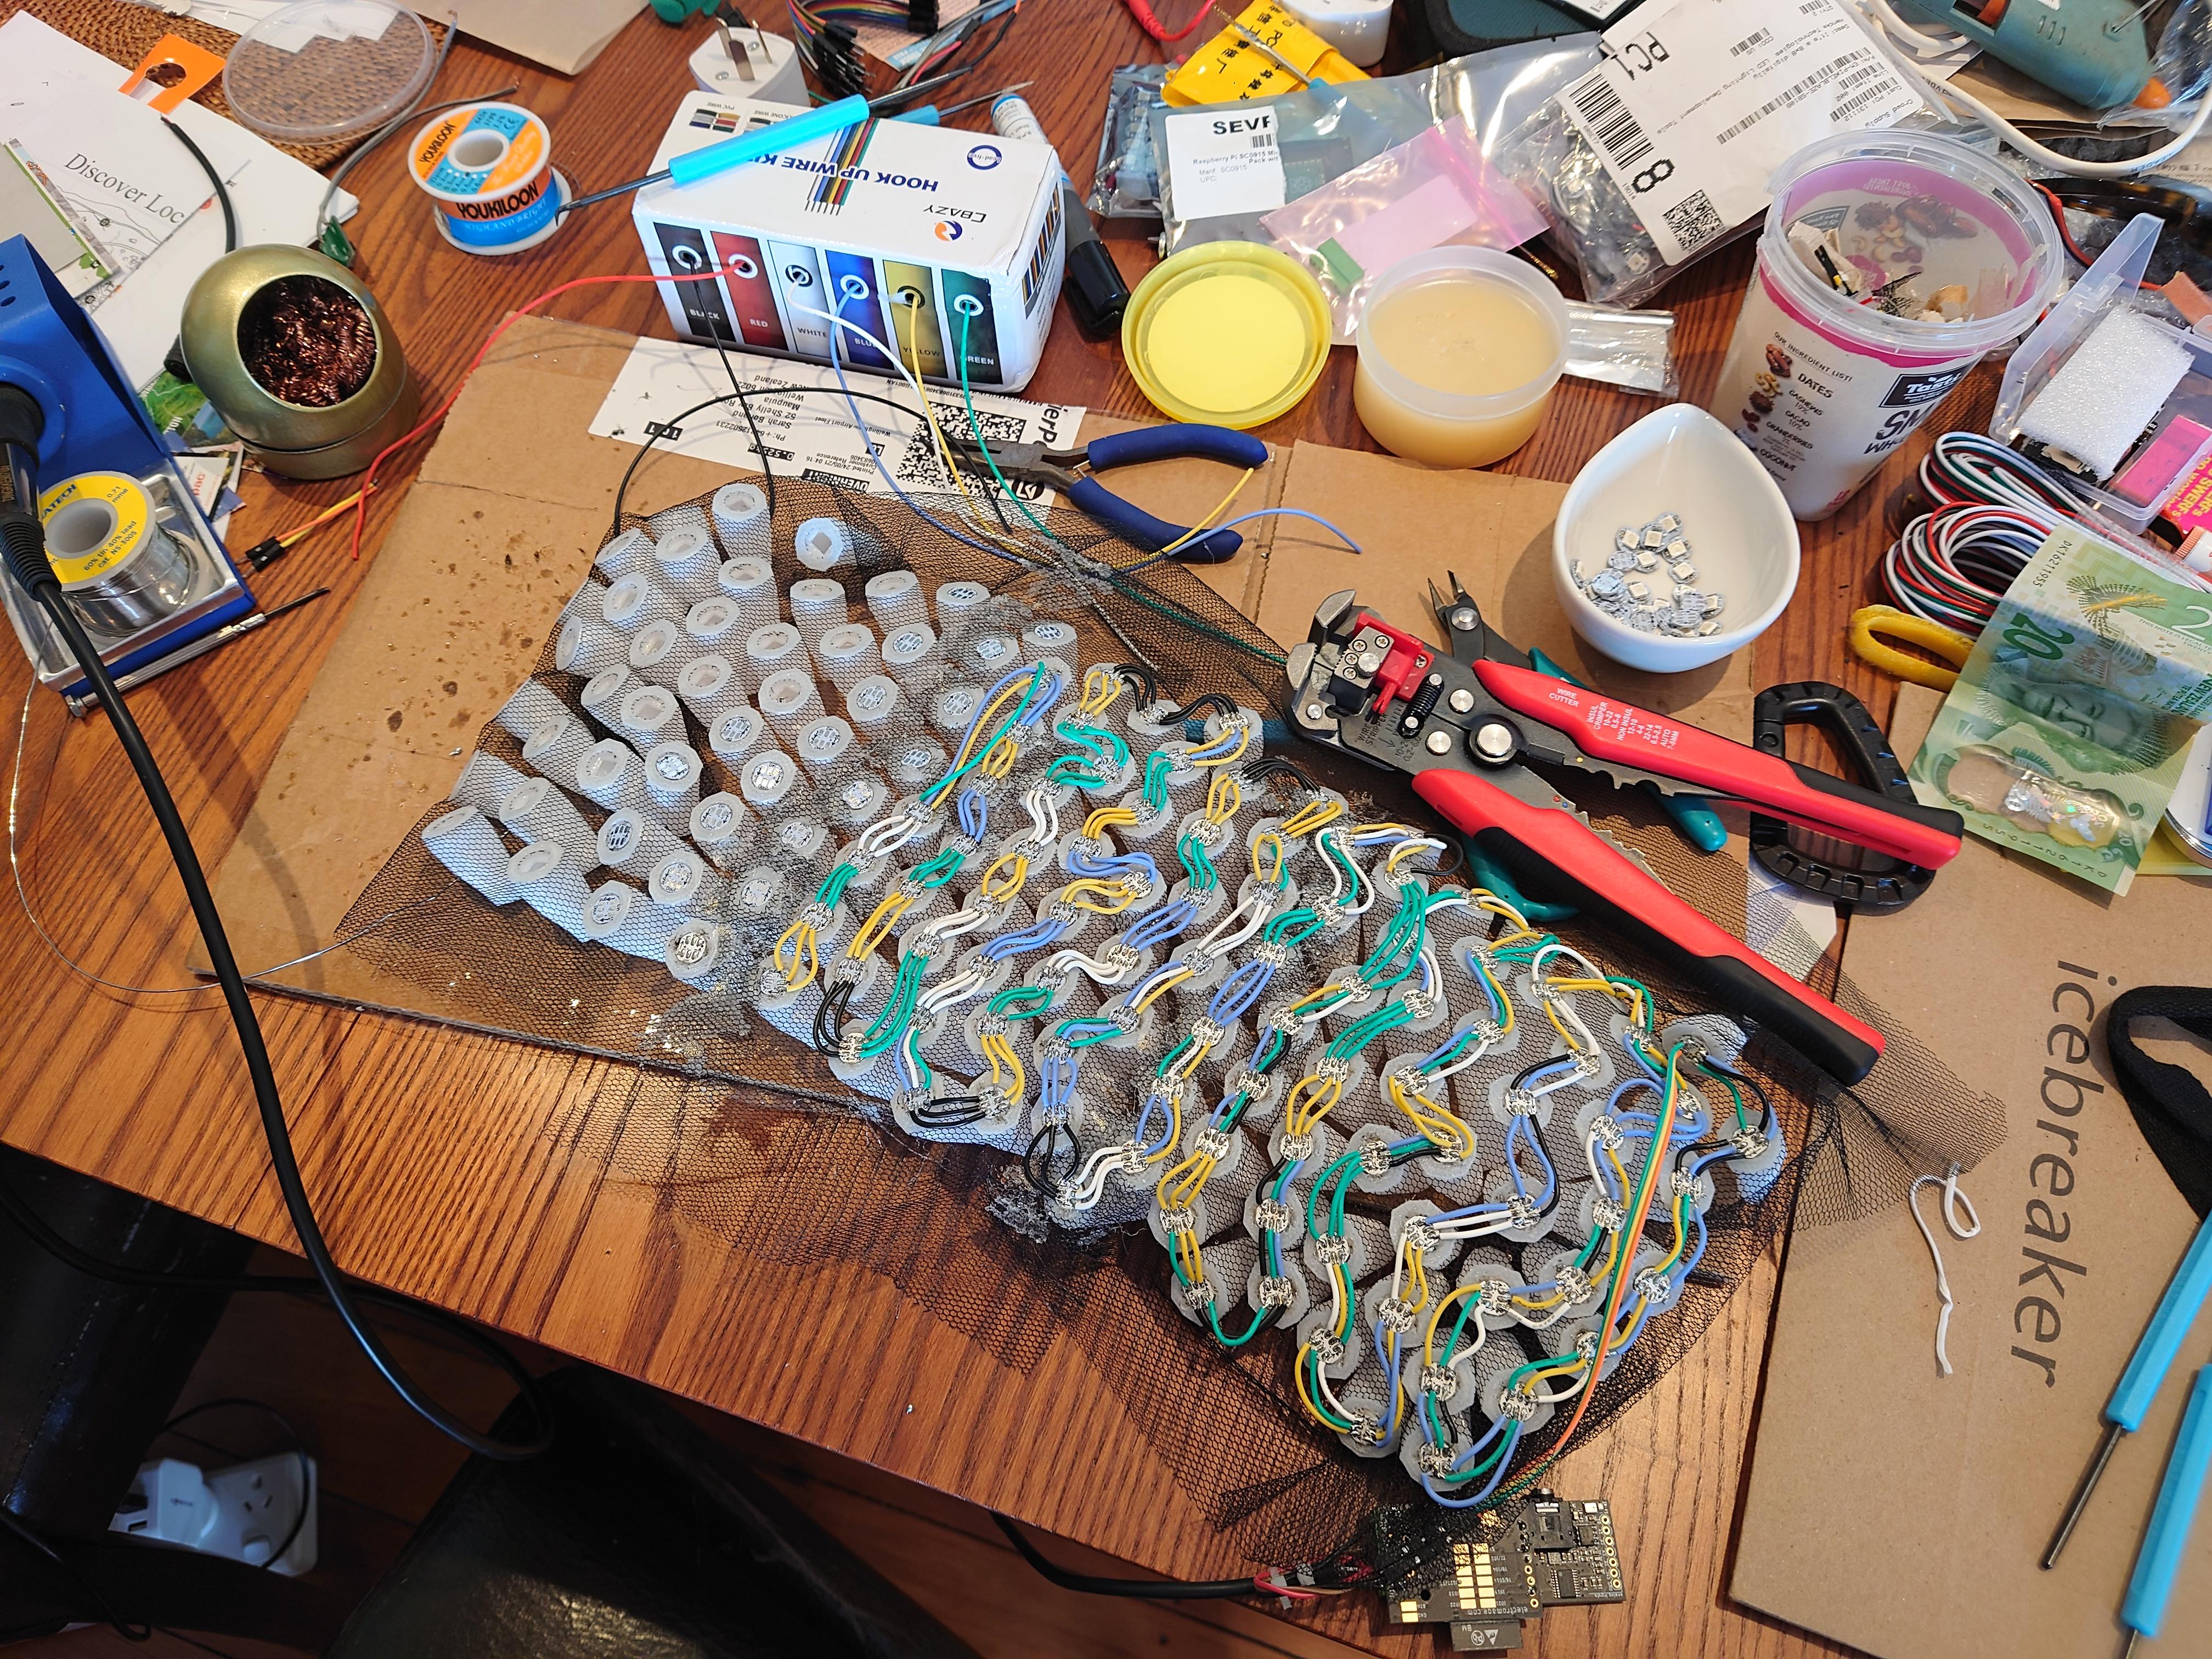
Following on from my post above, I’ve had a few days measuring, cutting, twisting, tinning and soldering (139 leds with 6 connections each!) to put together my backpack. The LEDs all fit into the 3d printed spikes perfectly, and a squish at the edges of the PETG with the tip of the soldering iron keeps them in place.
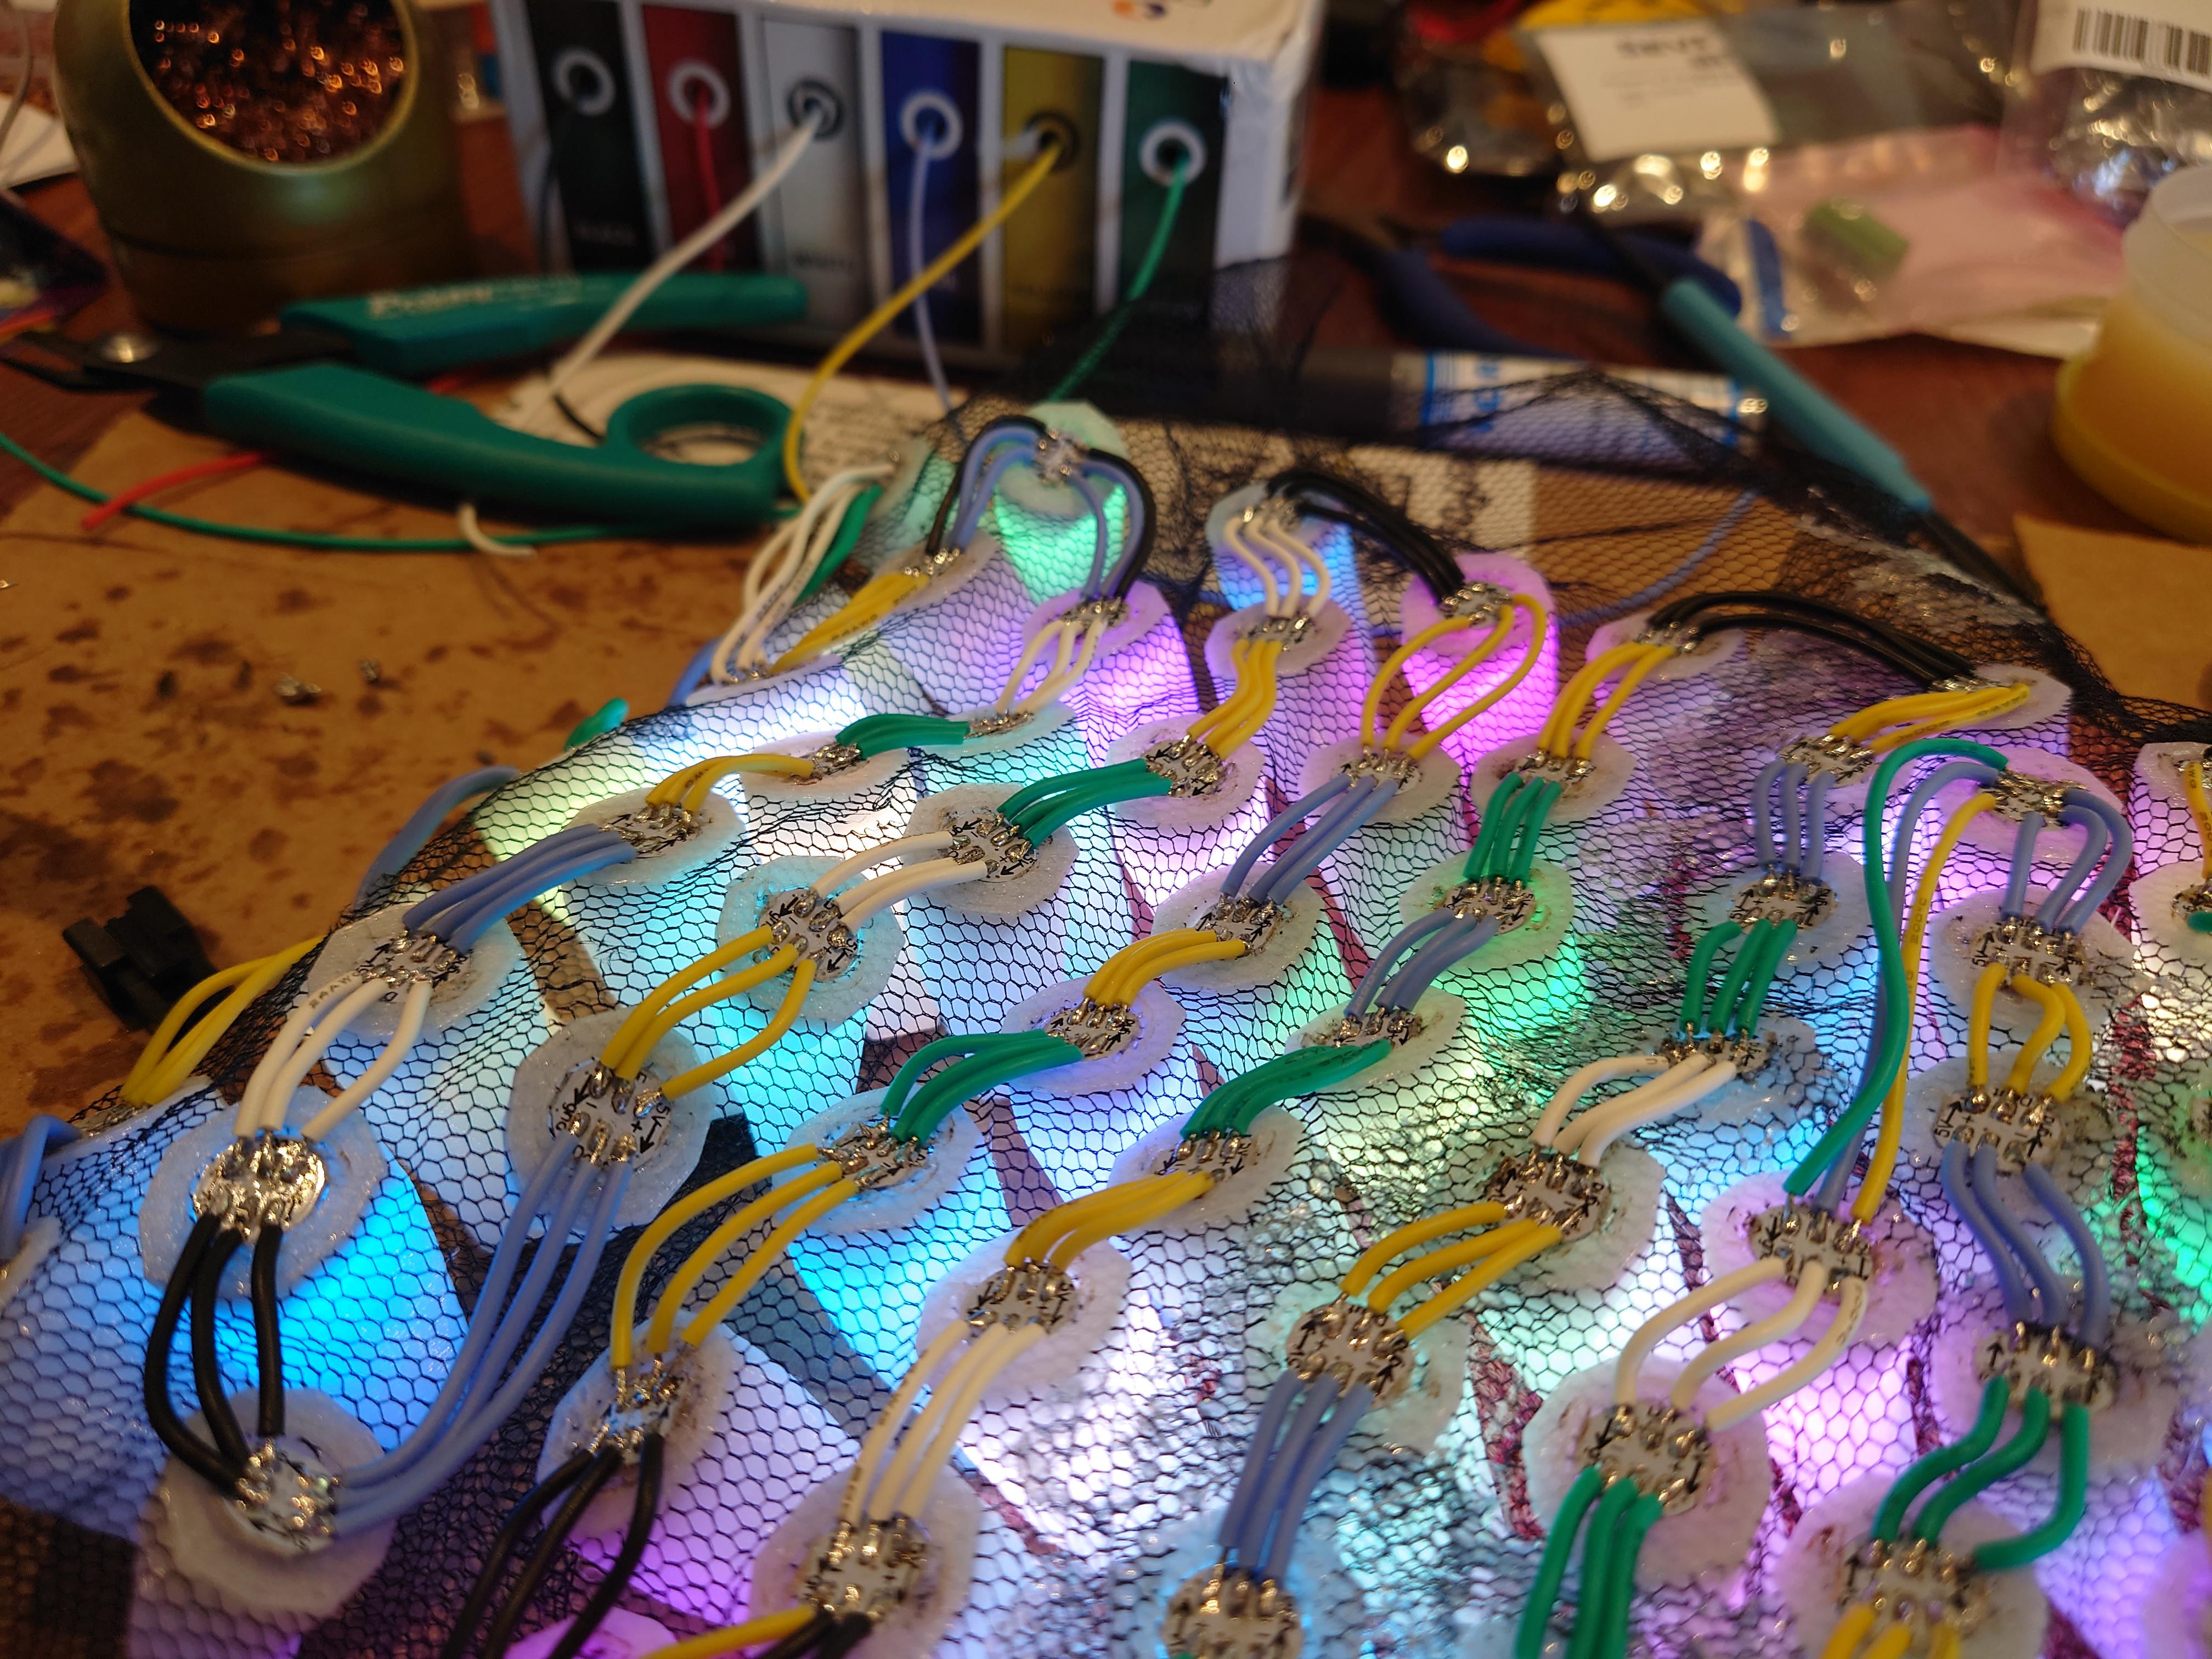
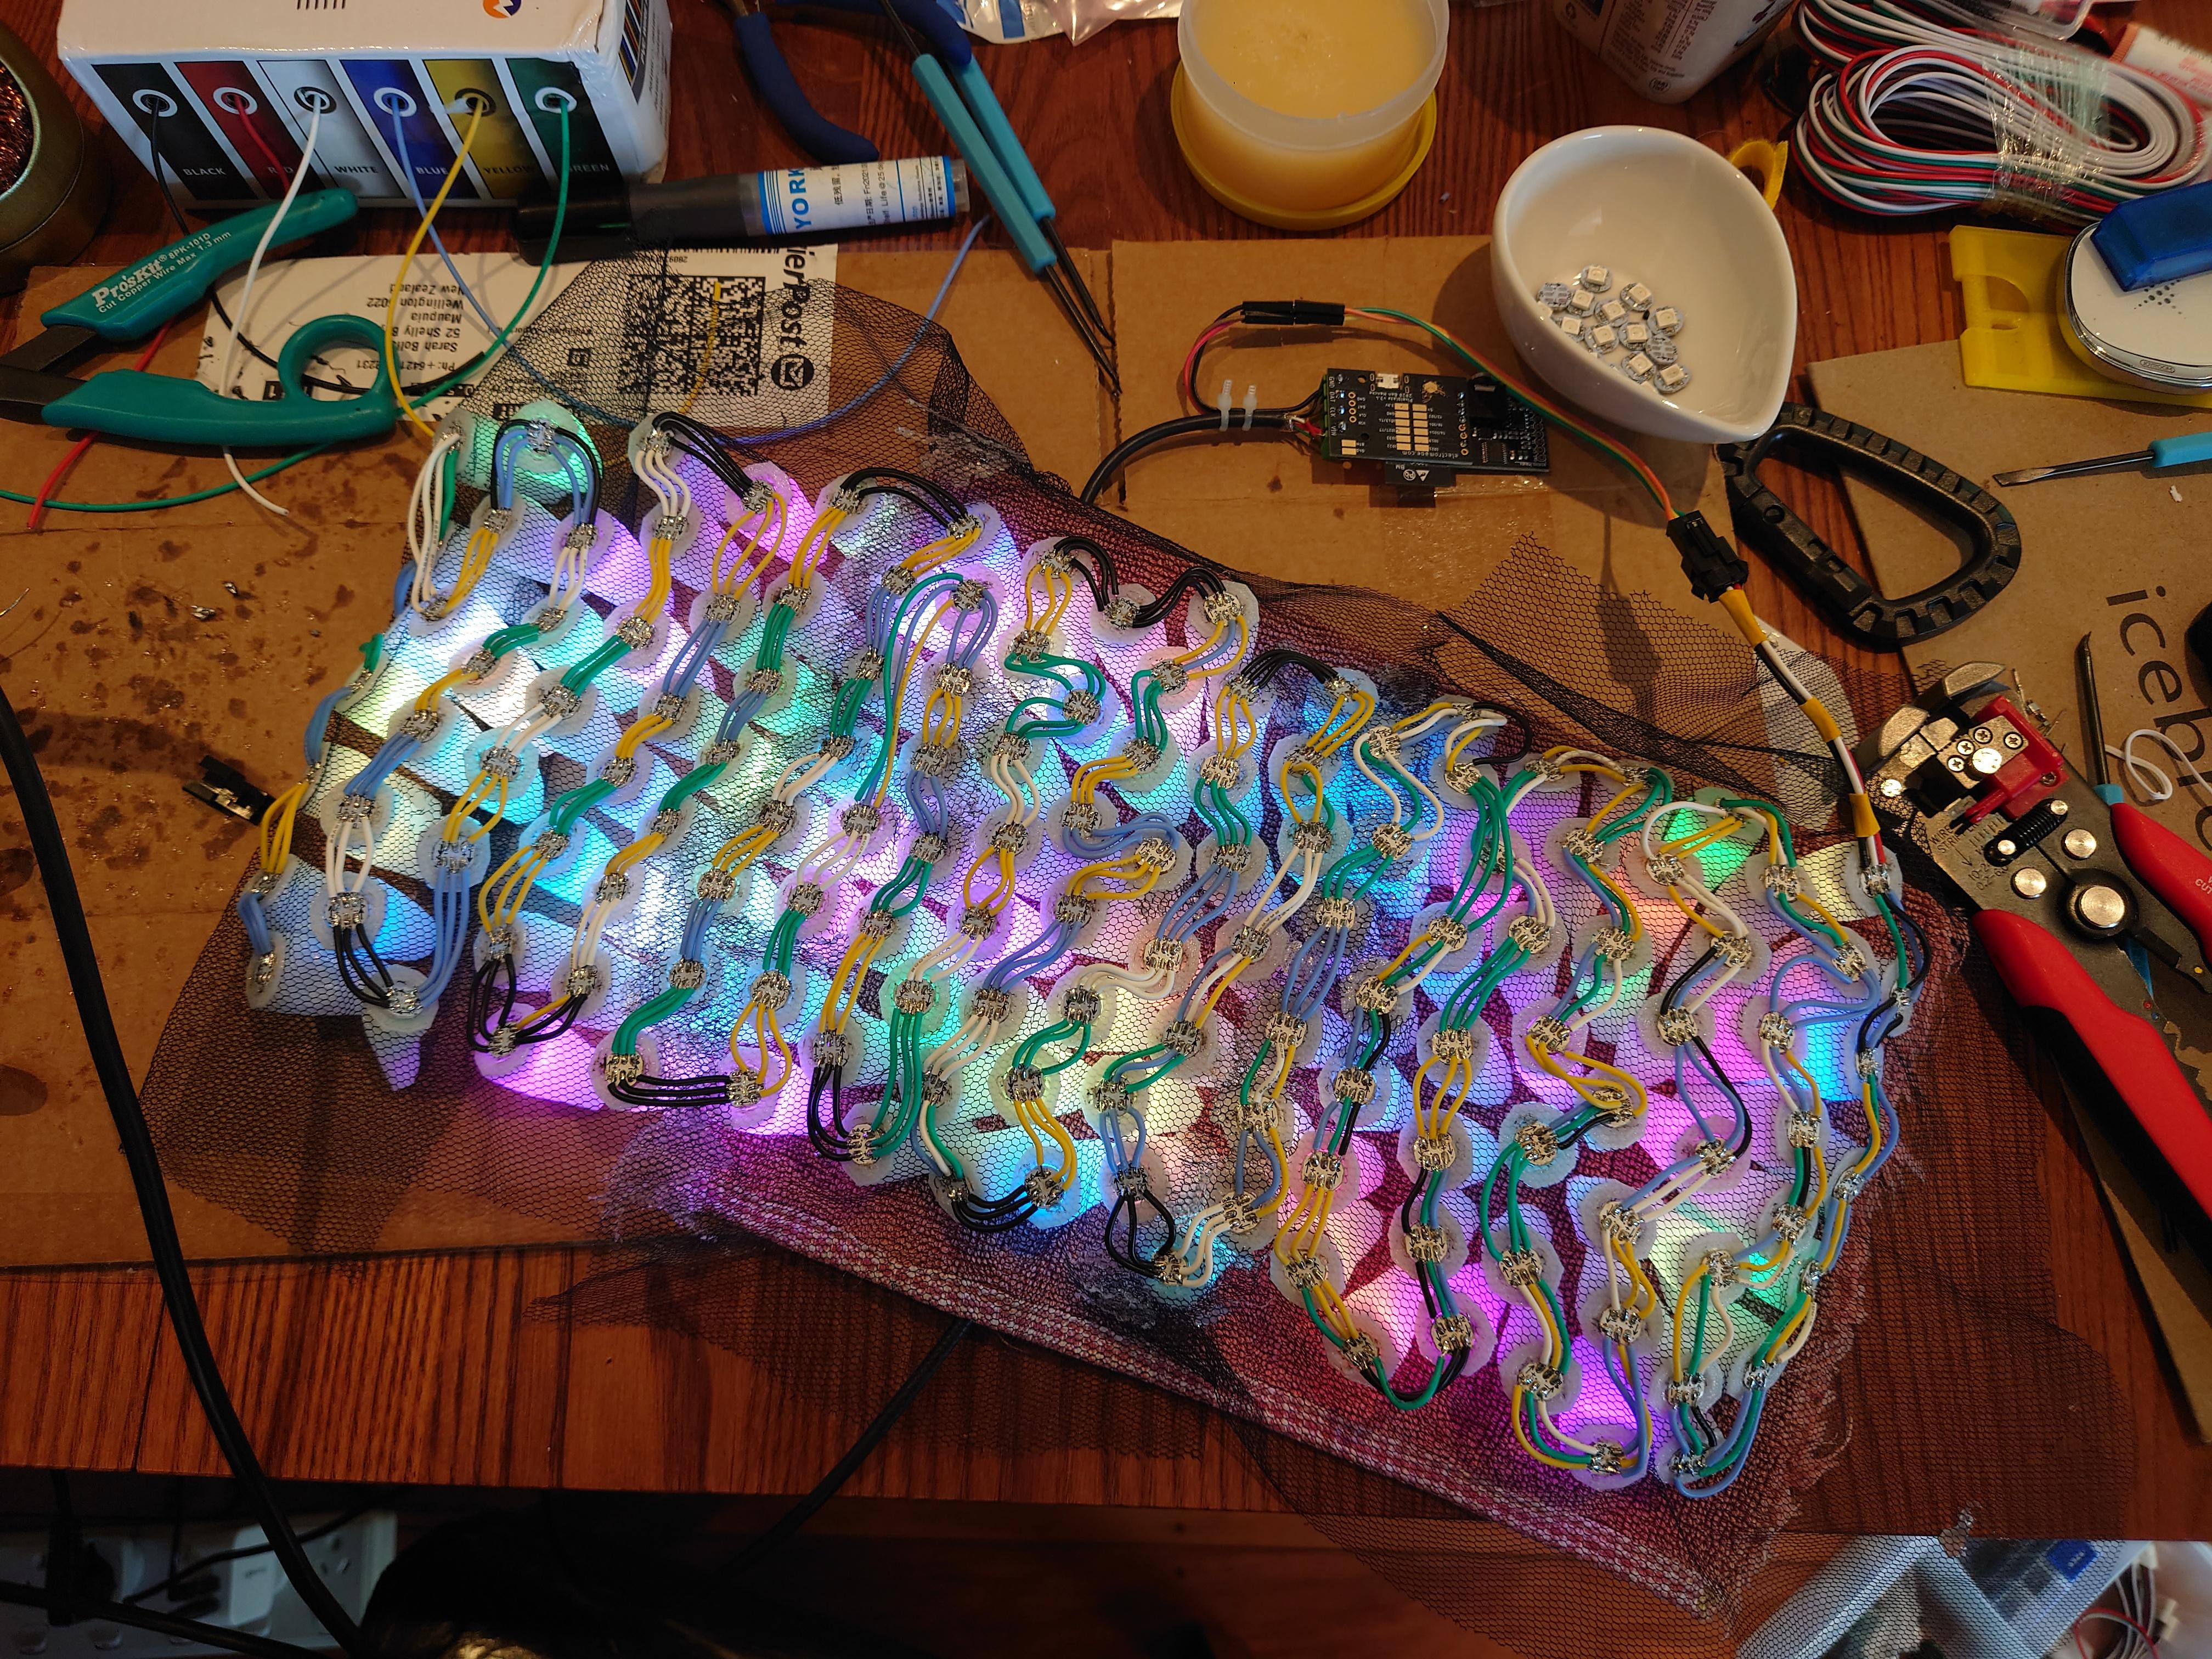
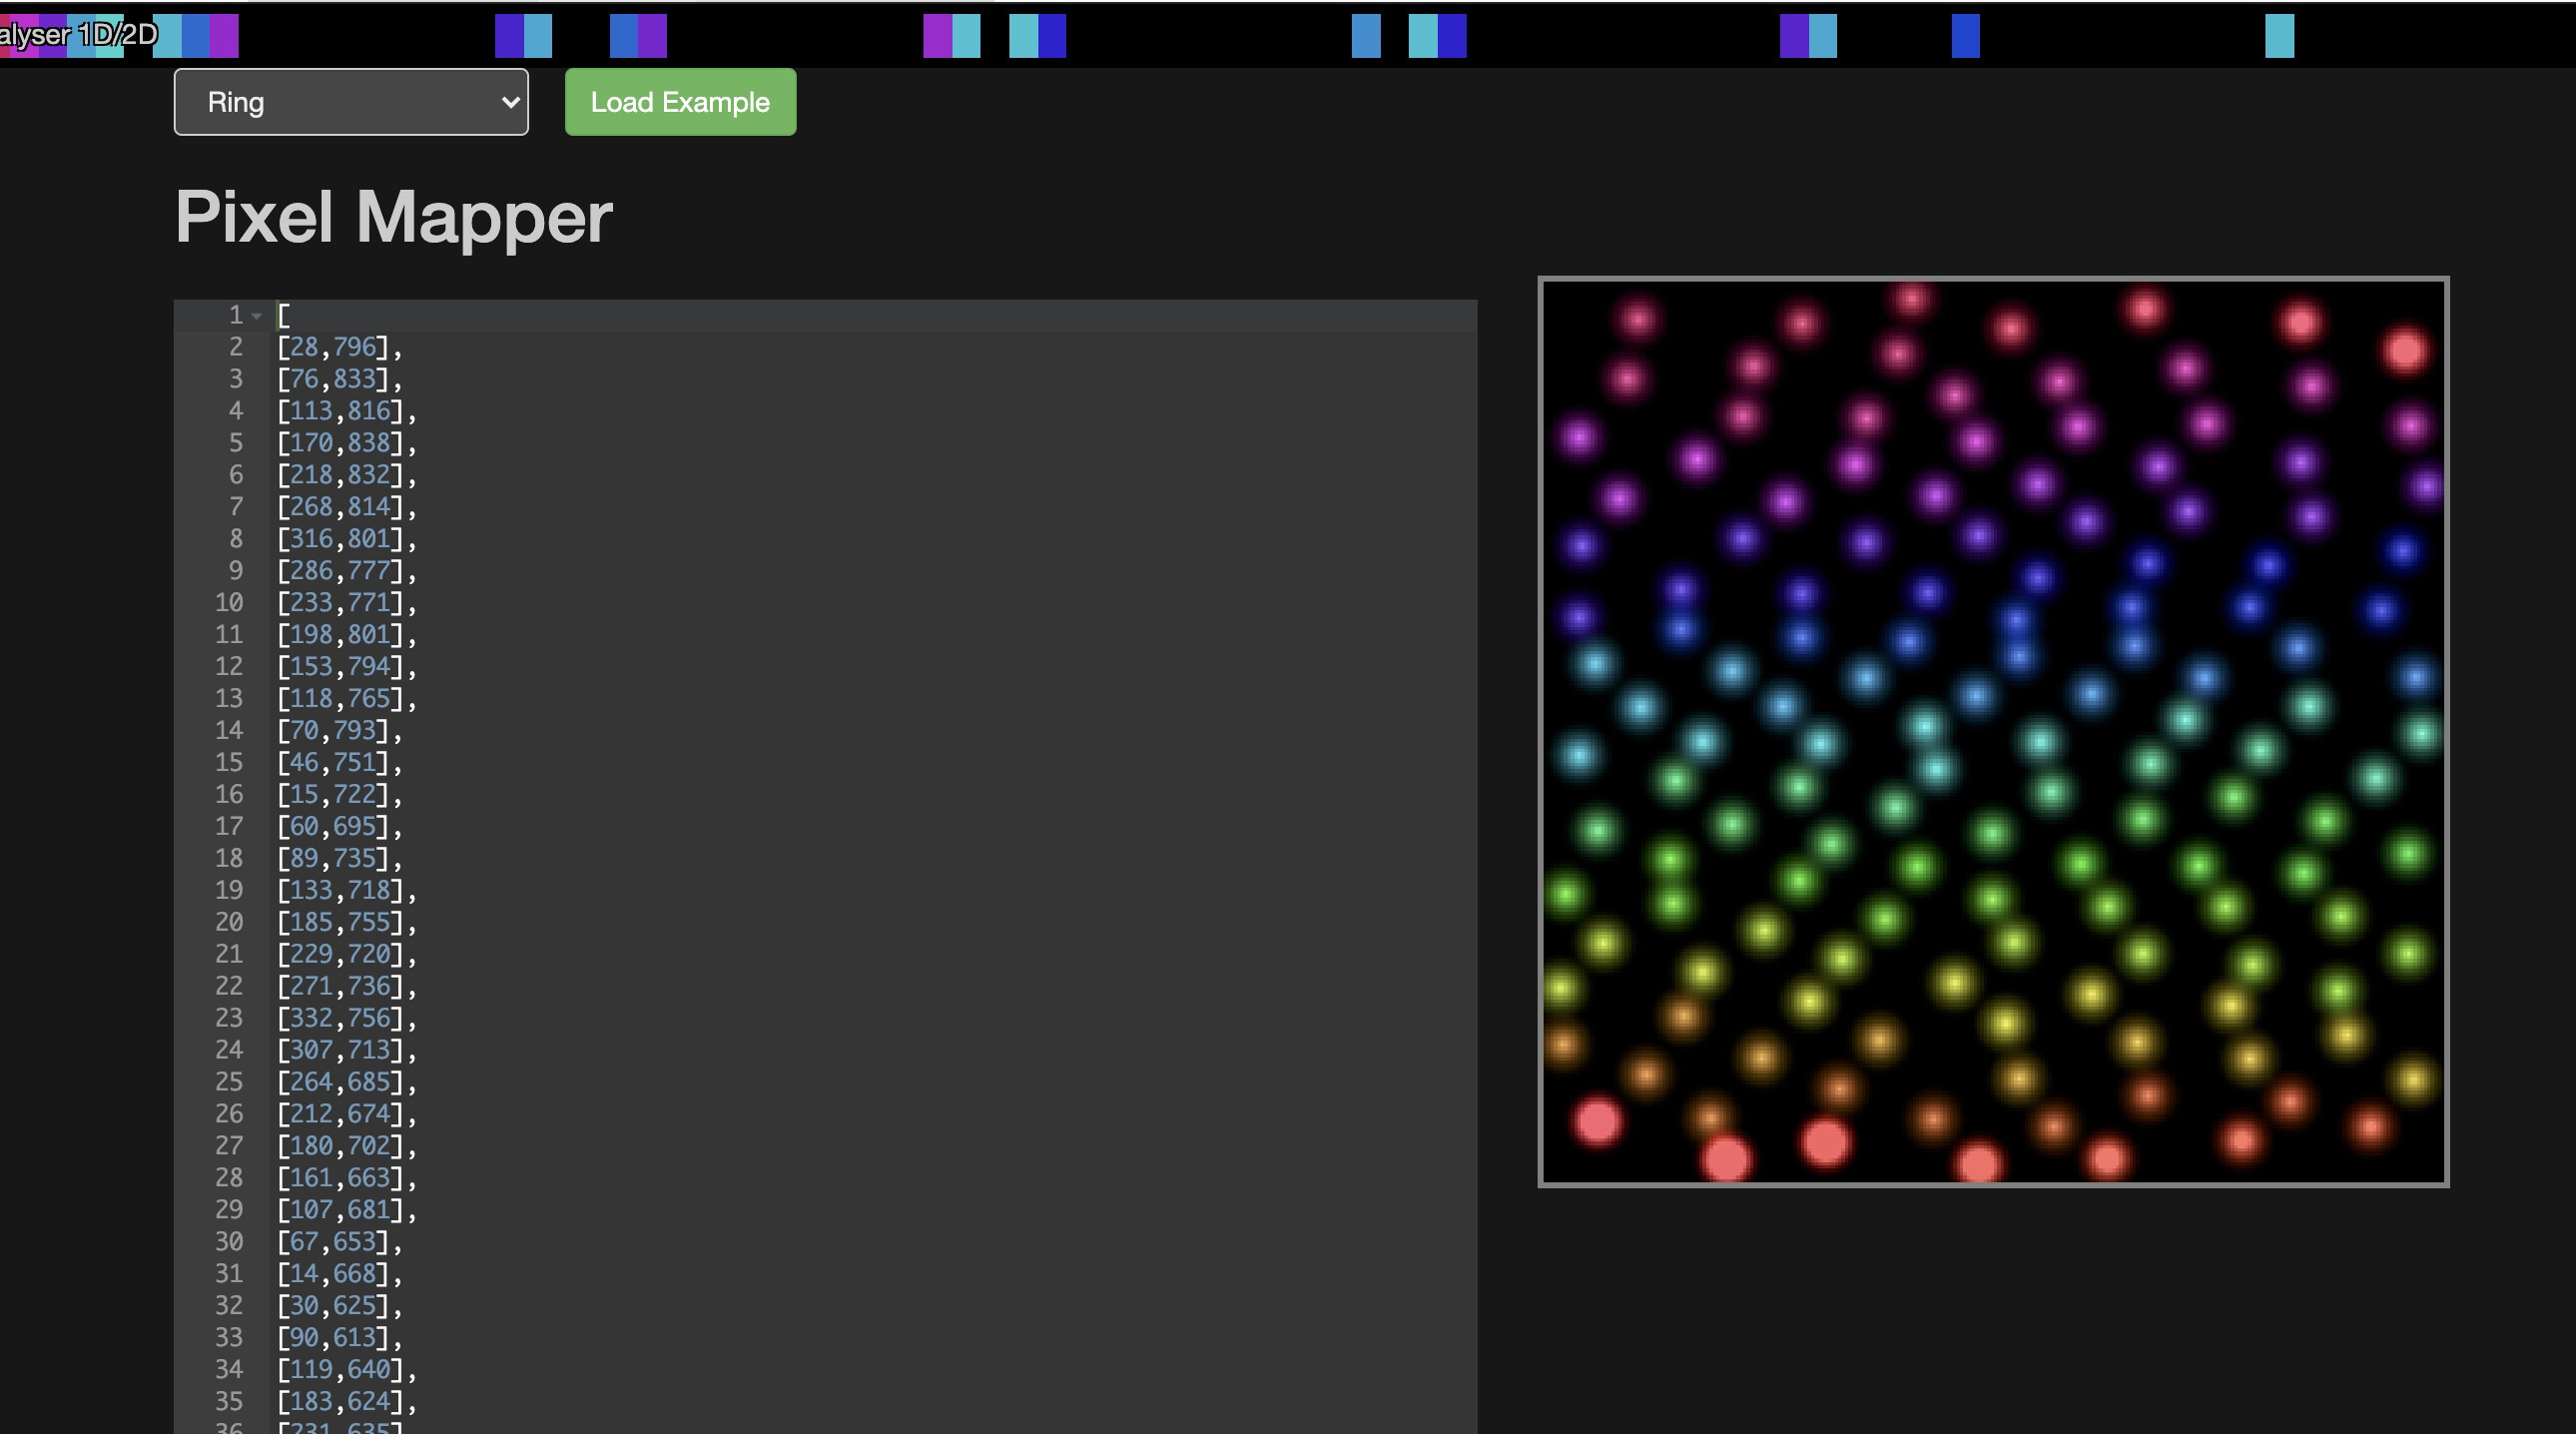
The image to coordinate mapping tool only took a couple of min to map this all out, this to me is the killer feature that sold me on pixelblaze after using wled for years. Pleasantly surprised to find the patterns are stunning too!


 The smoke is plain water vapor using an ultrasonic mister. That sits in a storage bin, and a fan blows in to move the mist out of the vent. There’s only 4 LEDs so far, probably more to come as time permits. The gauge is driven by a resistor + capacitor off of a GPIO using short pulses of varying length (PWM) to charge the capacitor and feed some millivolts to the gague. There’s only 4 LEDs so far, the containment status LEDs and 2 to give the portable reactor coolant system a nice glow.