After a near catastrophe involving two connectors that looked identical but were wired very differently, I got the balcony working. (thought I’d put all those in a separate bin. just one more good reminder to check voltages and polarity before powering up Pixelblaze or lights.)
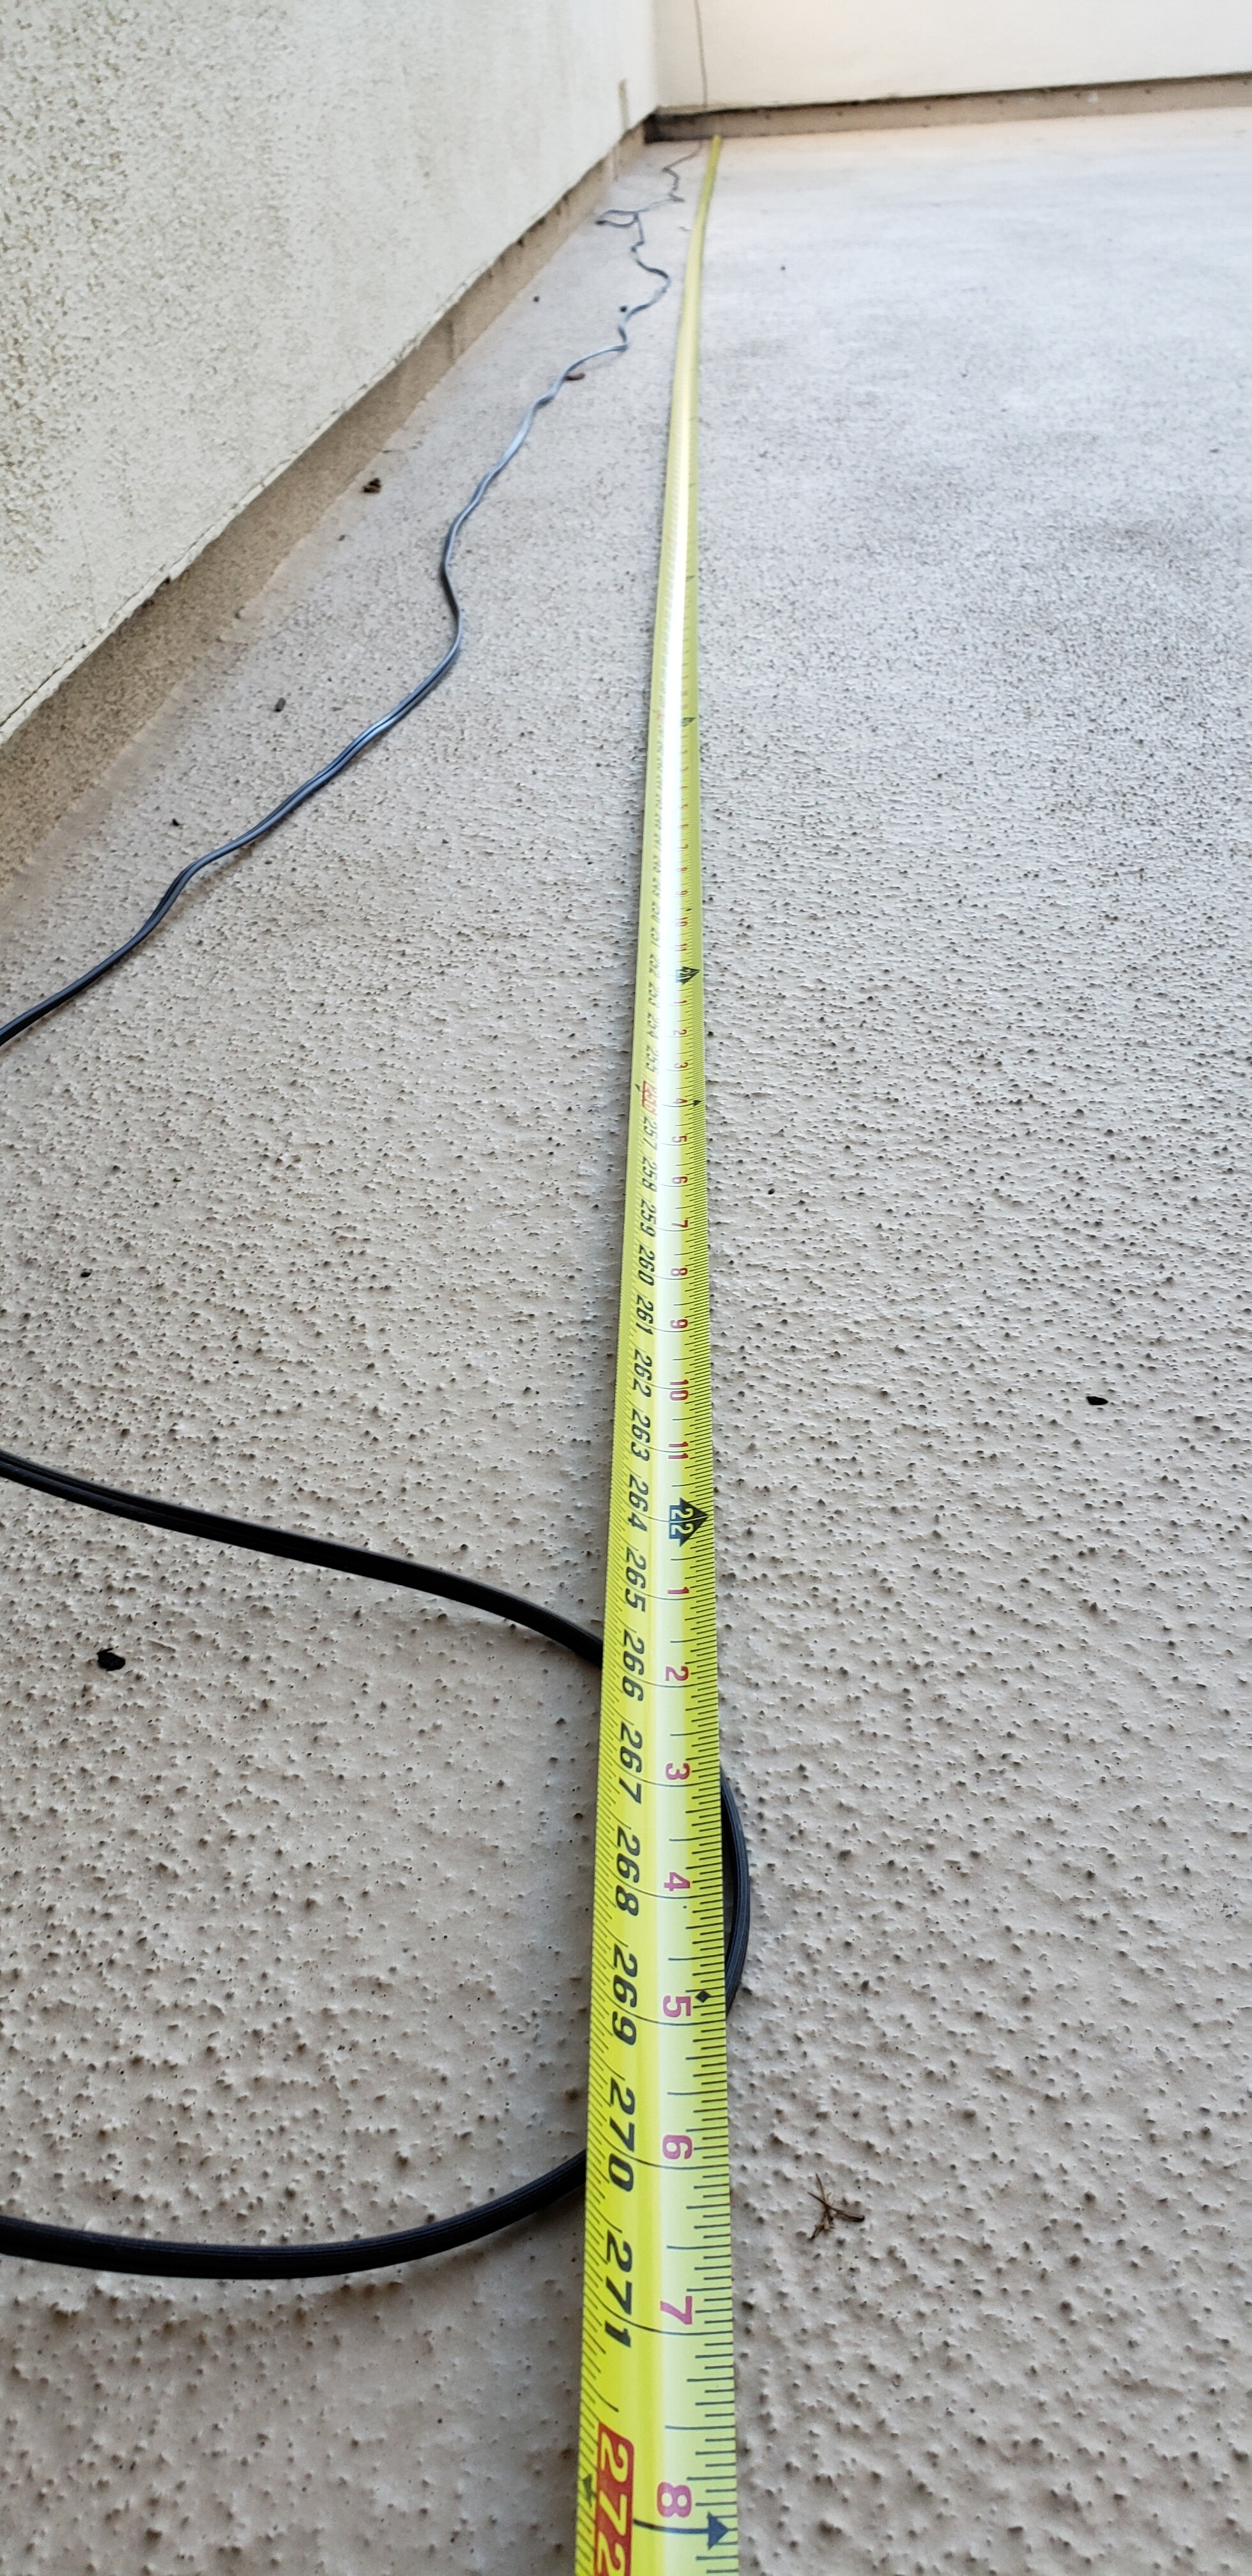
The line was actually longer than I thought. It worked the first time out – didn’t need any of my planned trickery to get it to work. It took about 30 feet of leftover 2-conductor 22 ga. low voltage outdoor lighting wire.
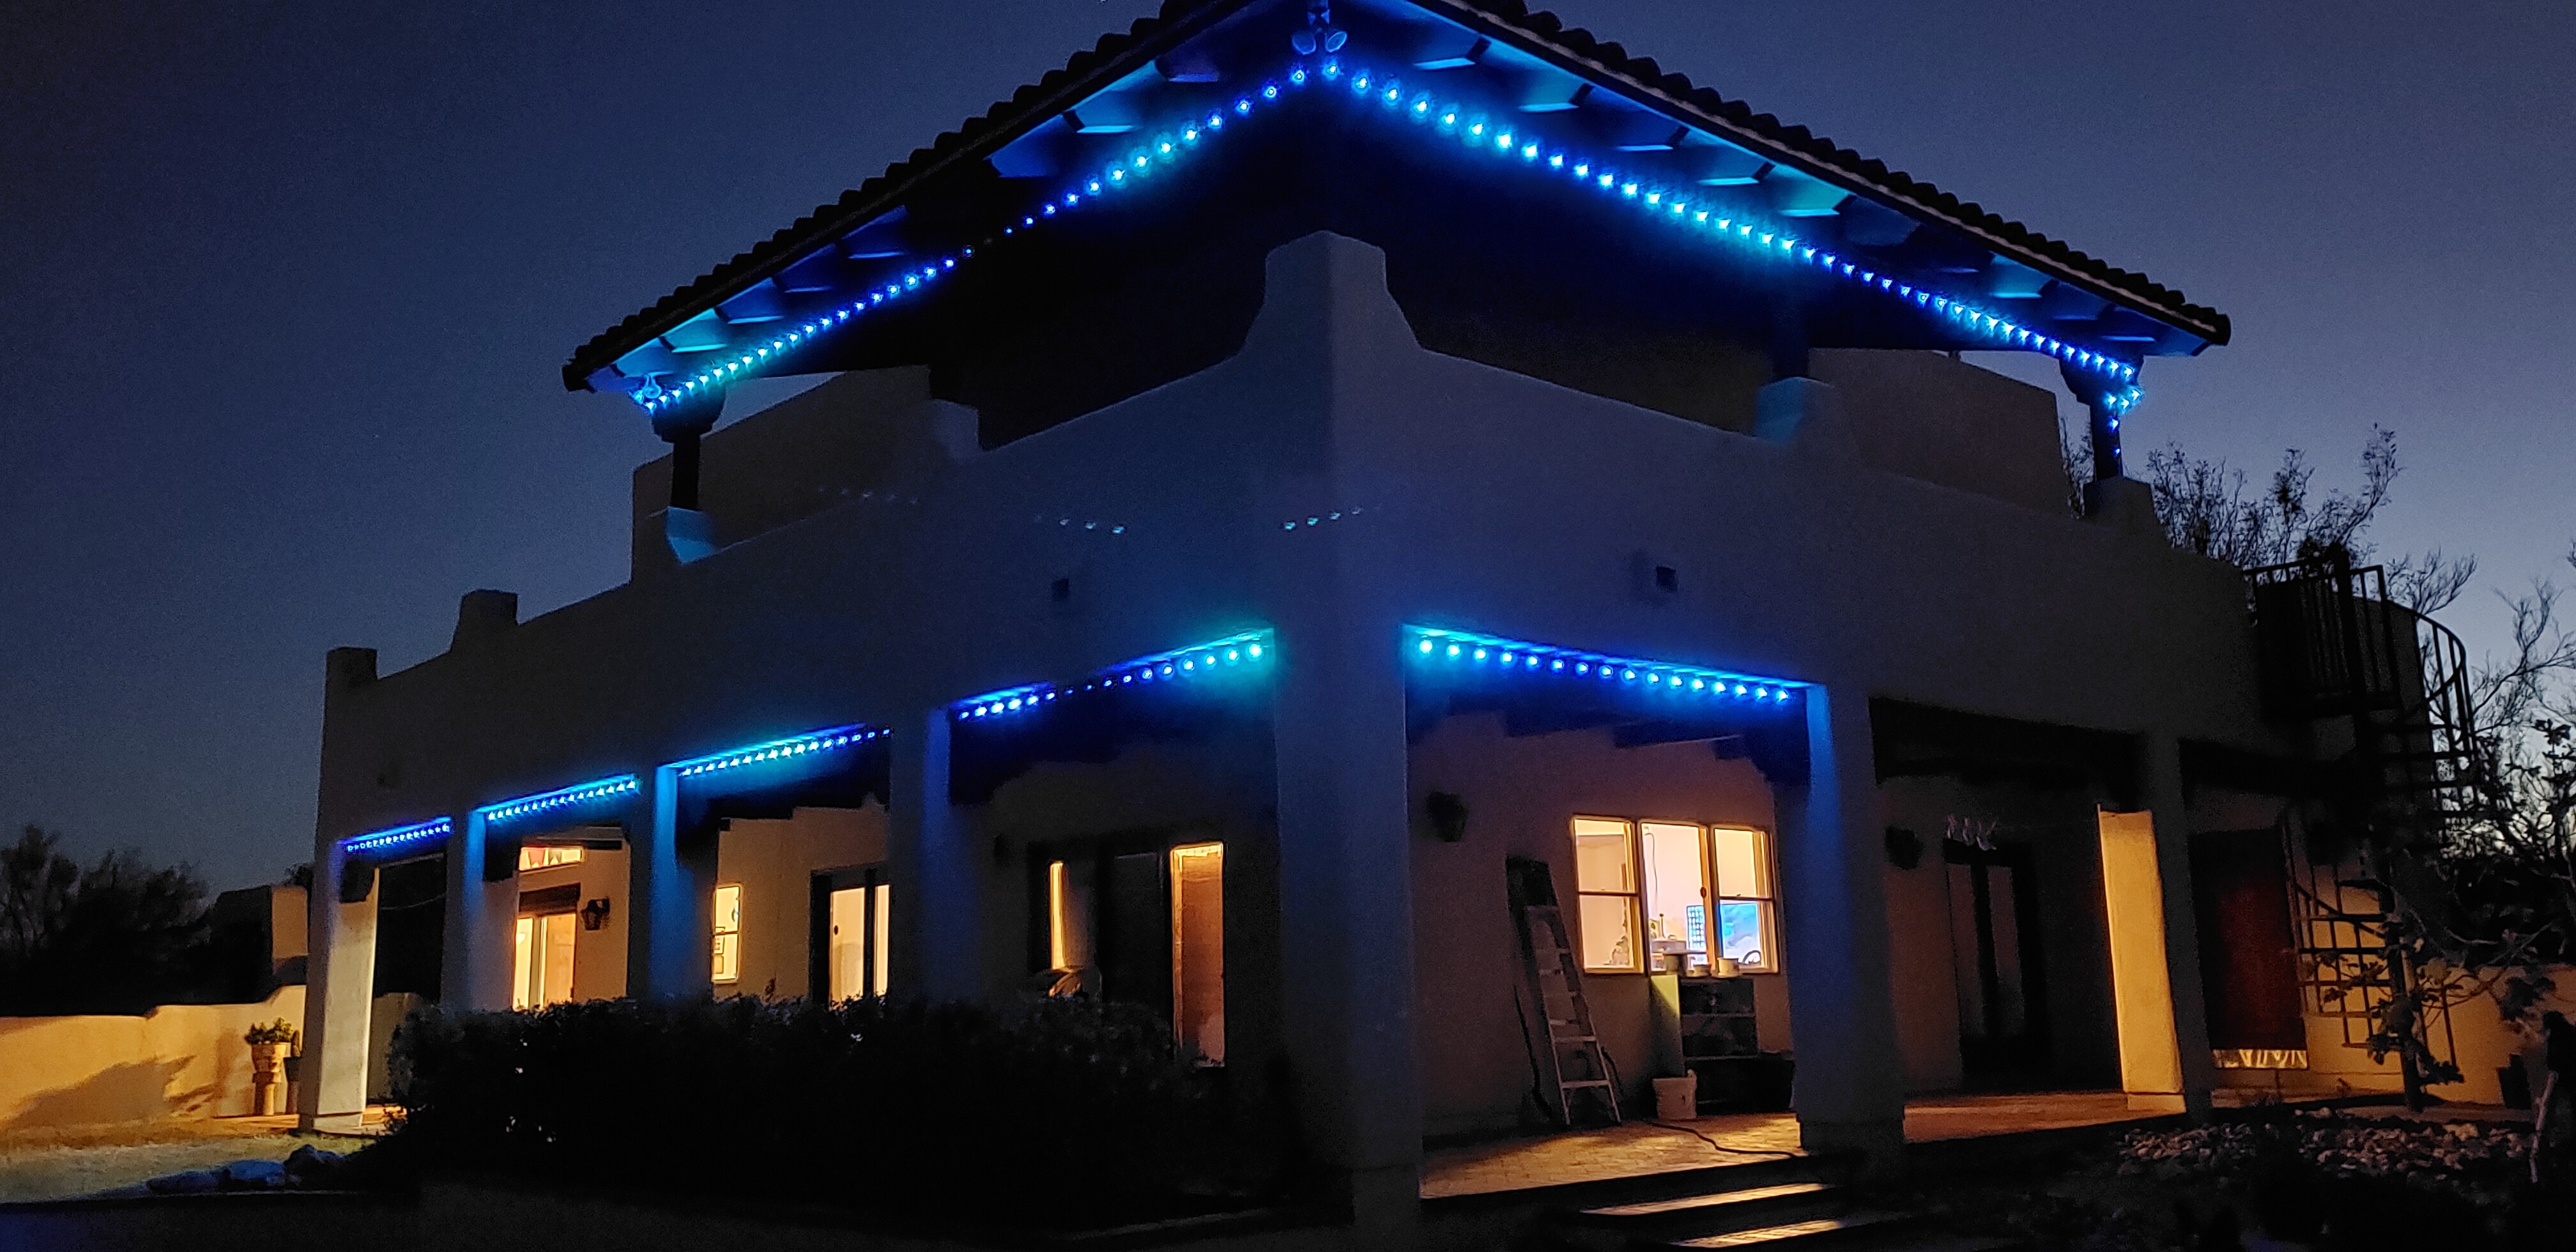
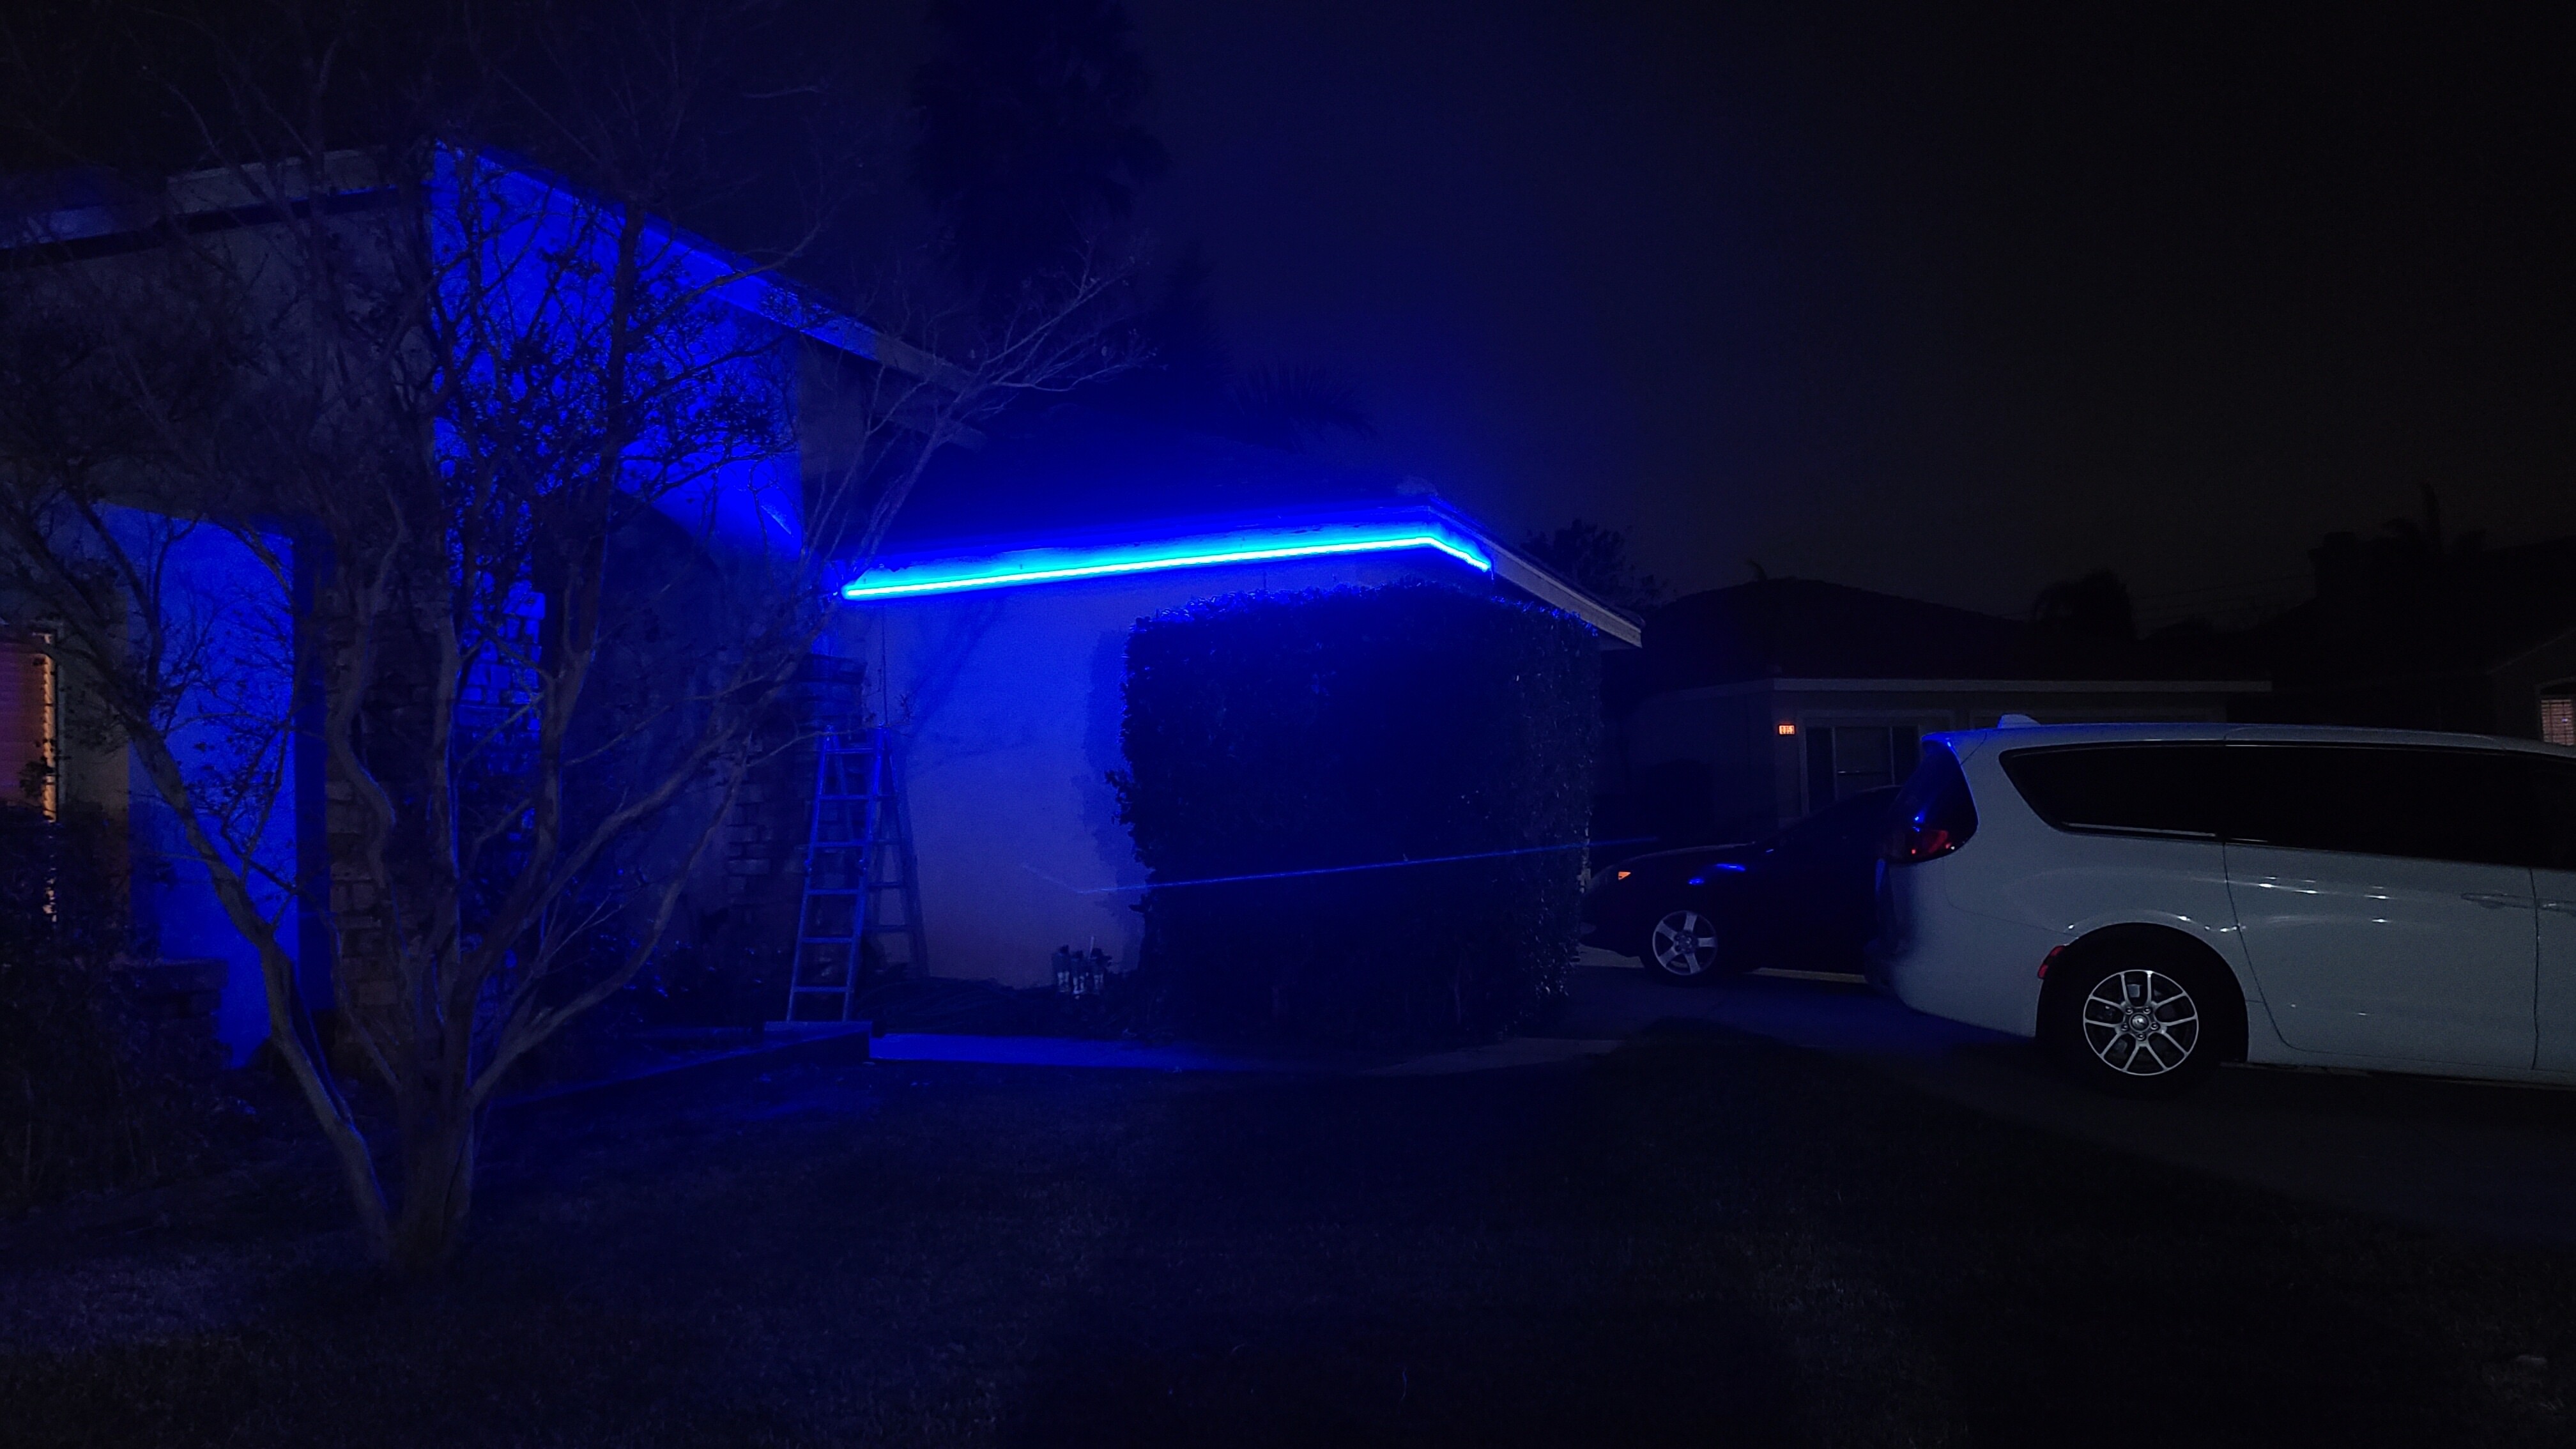
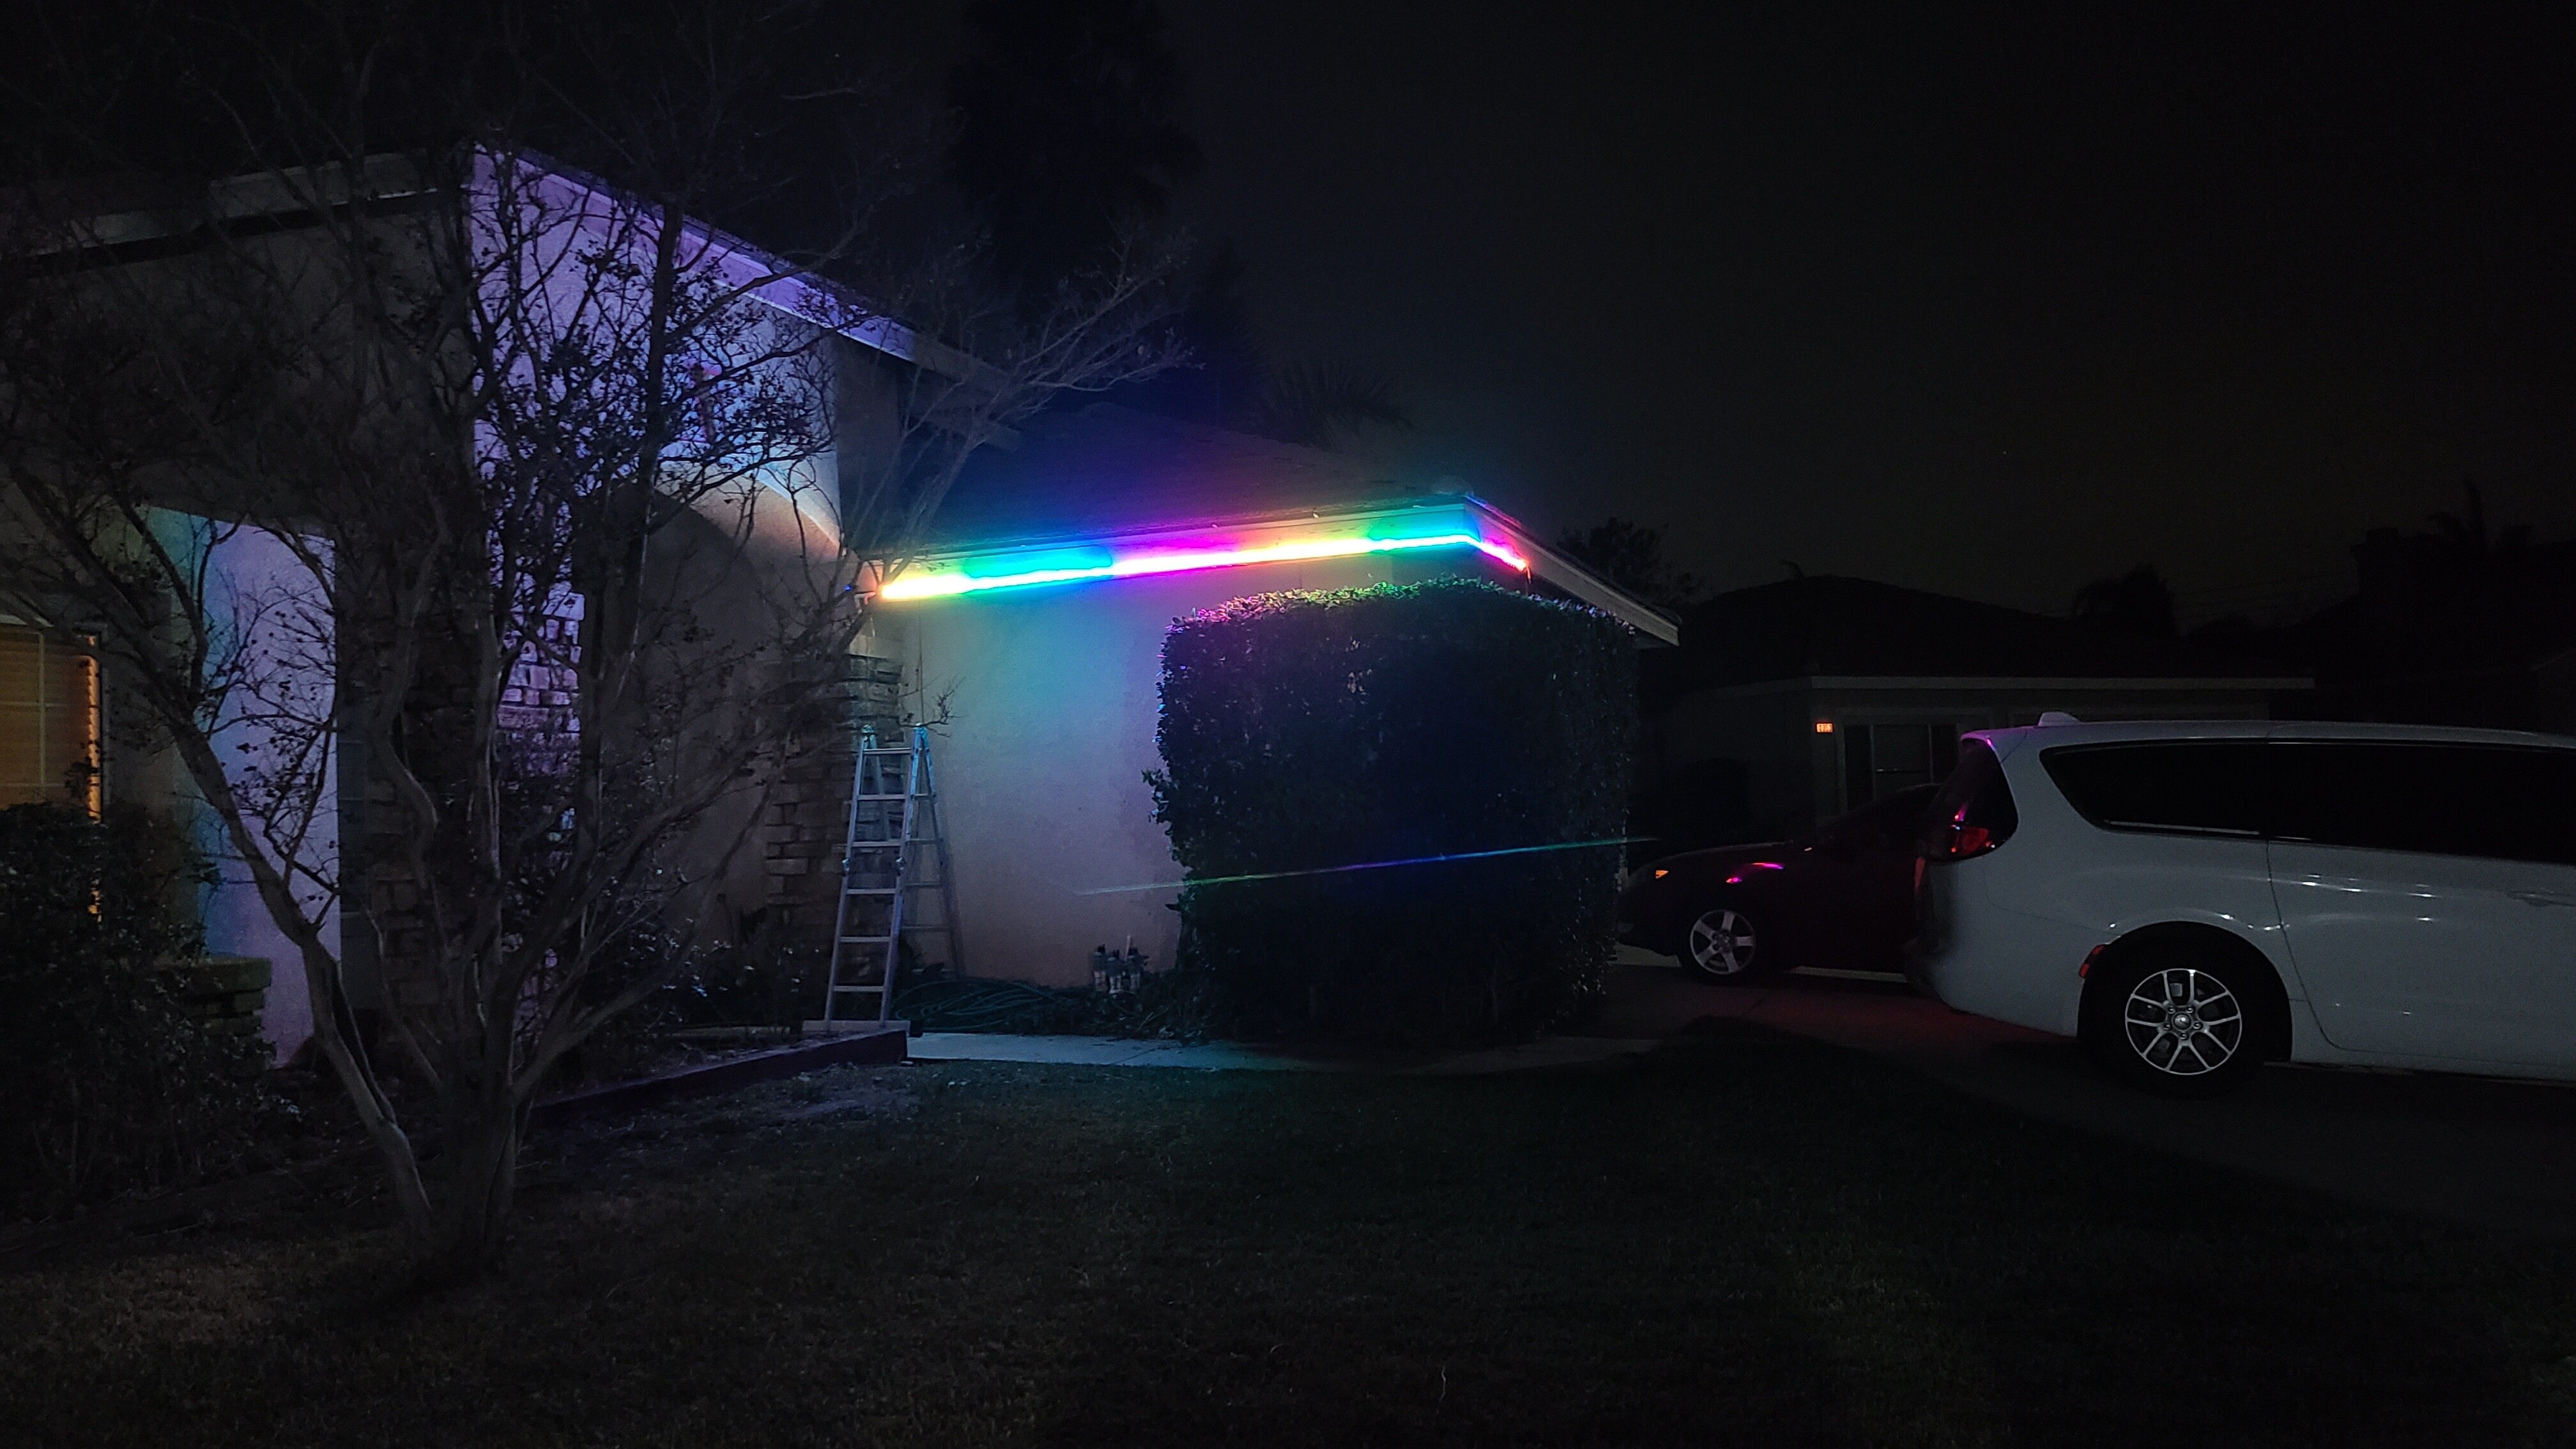
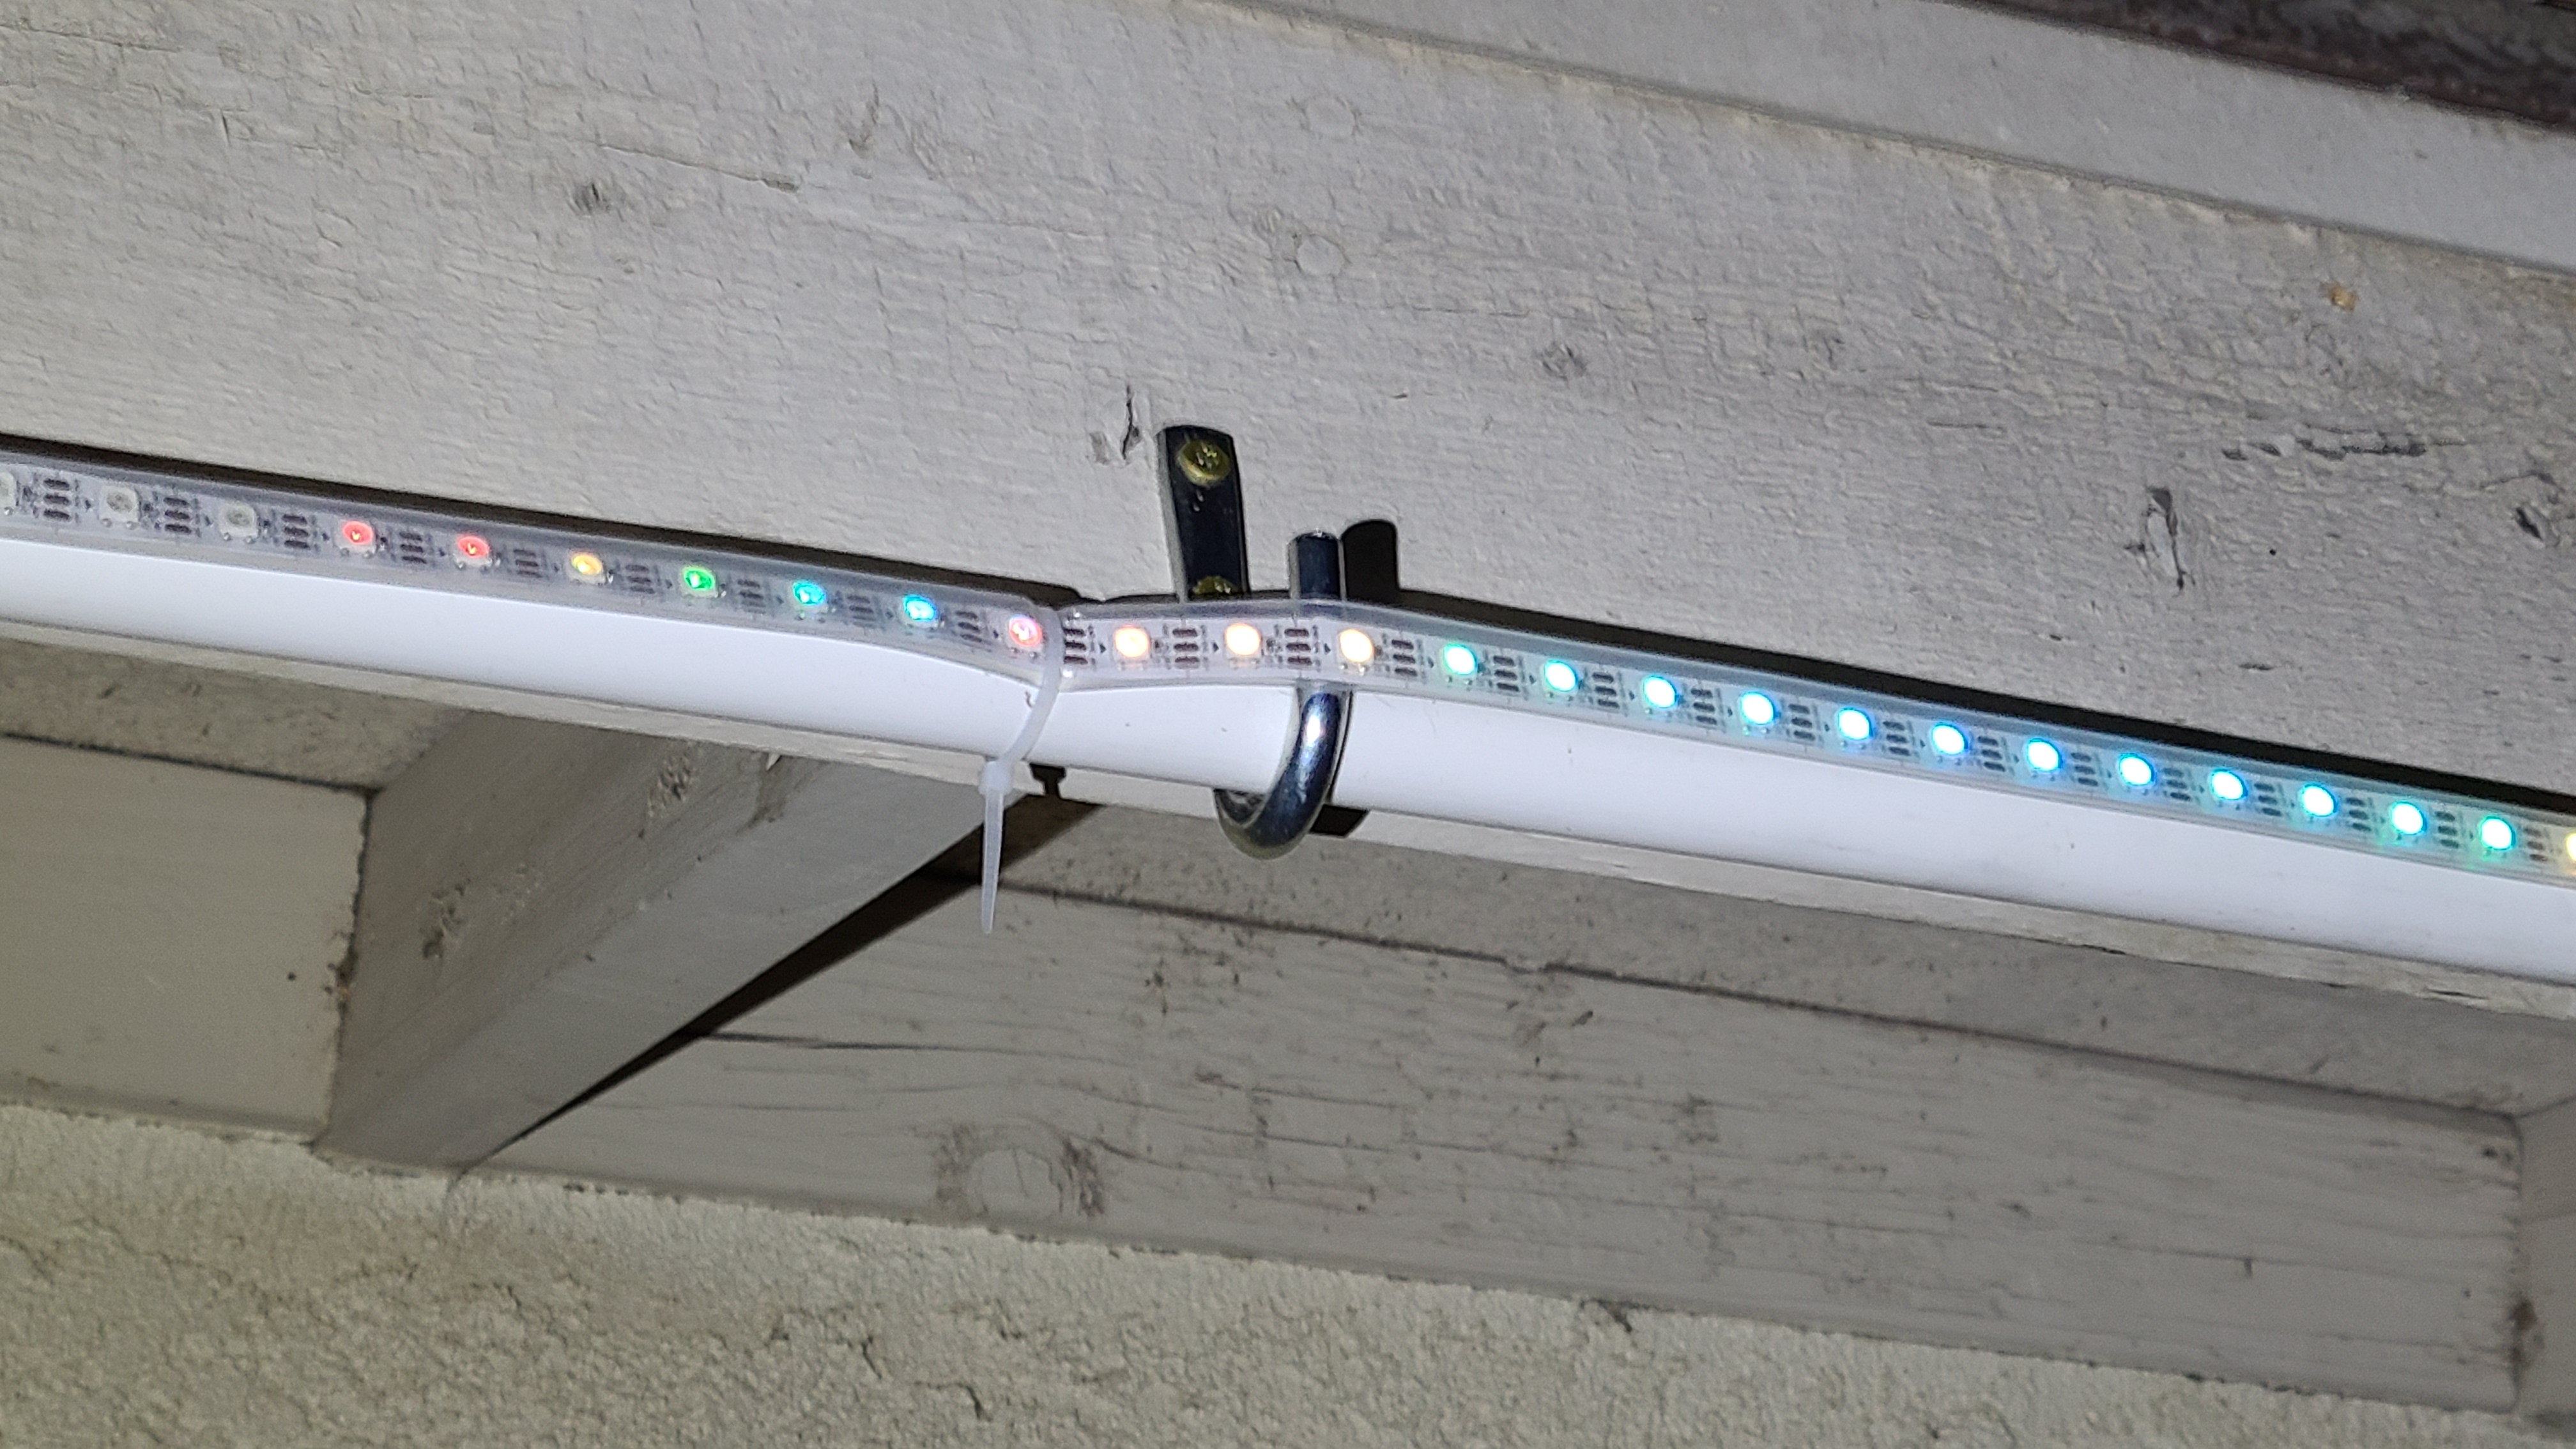
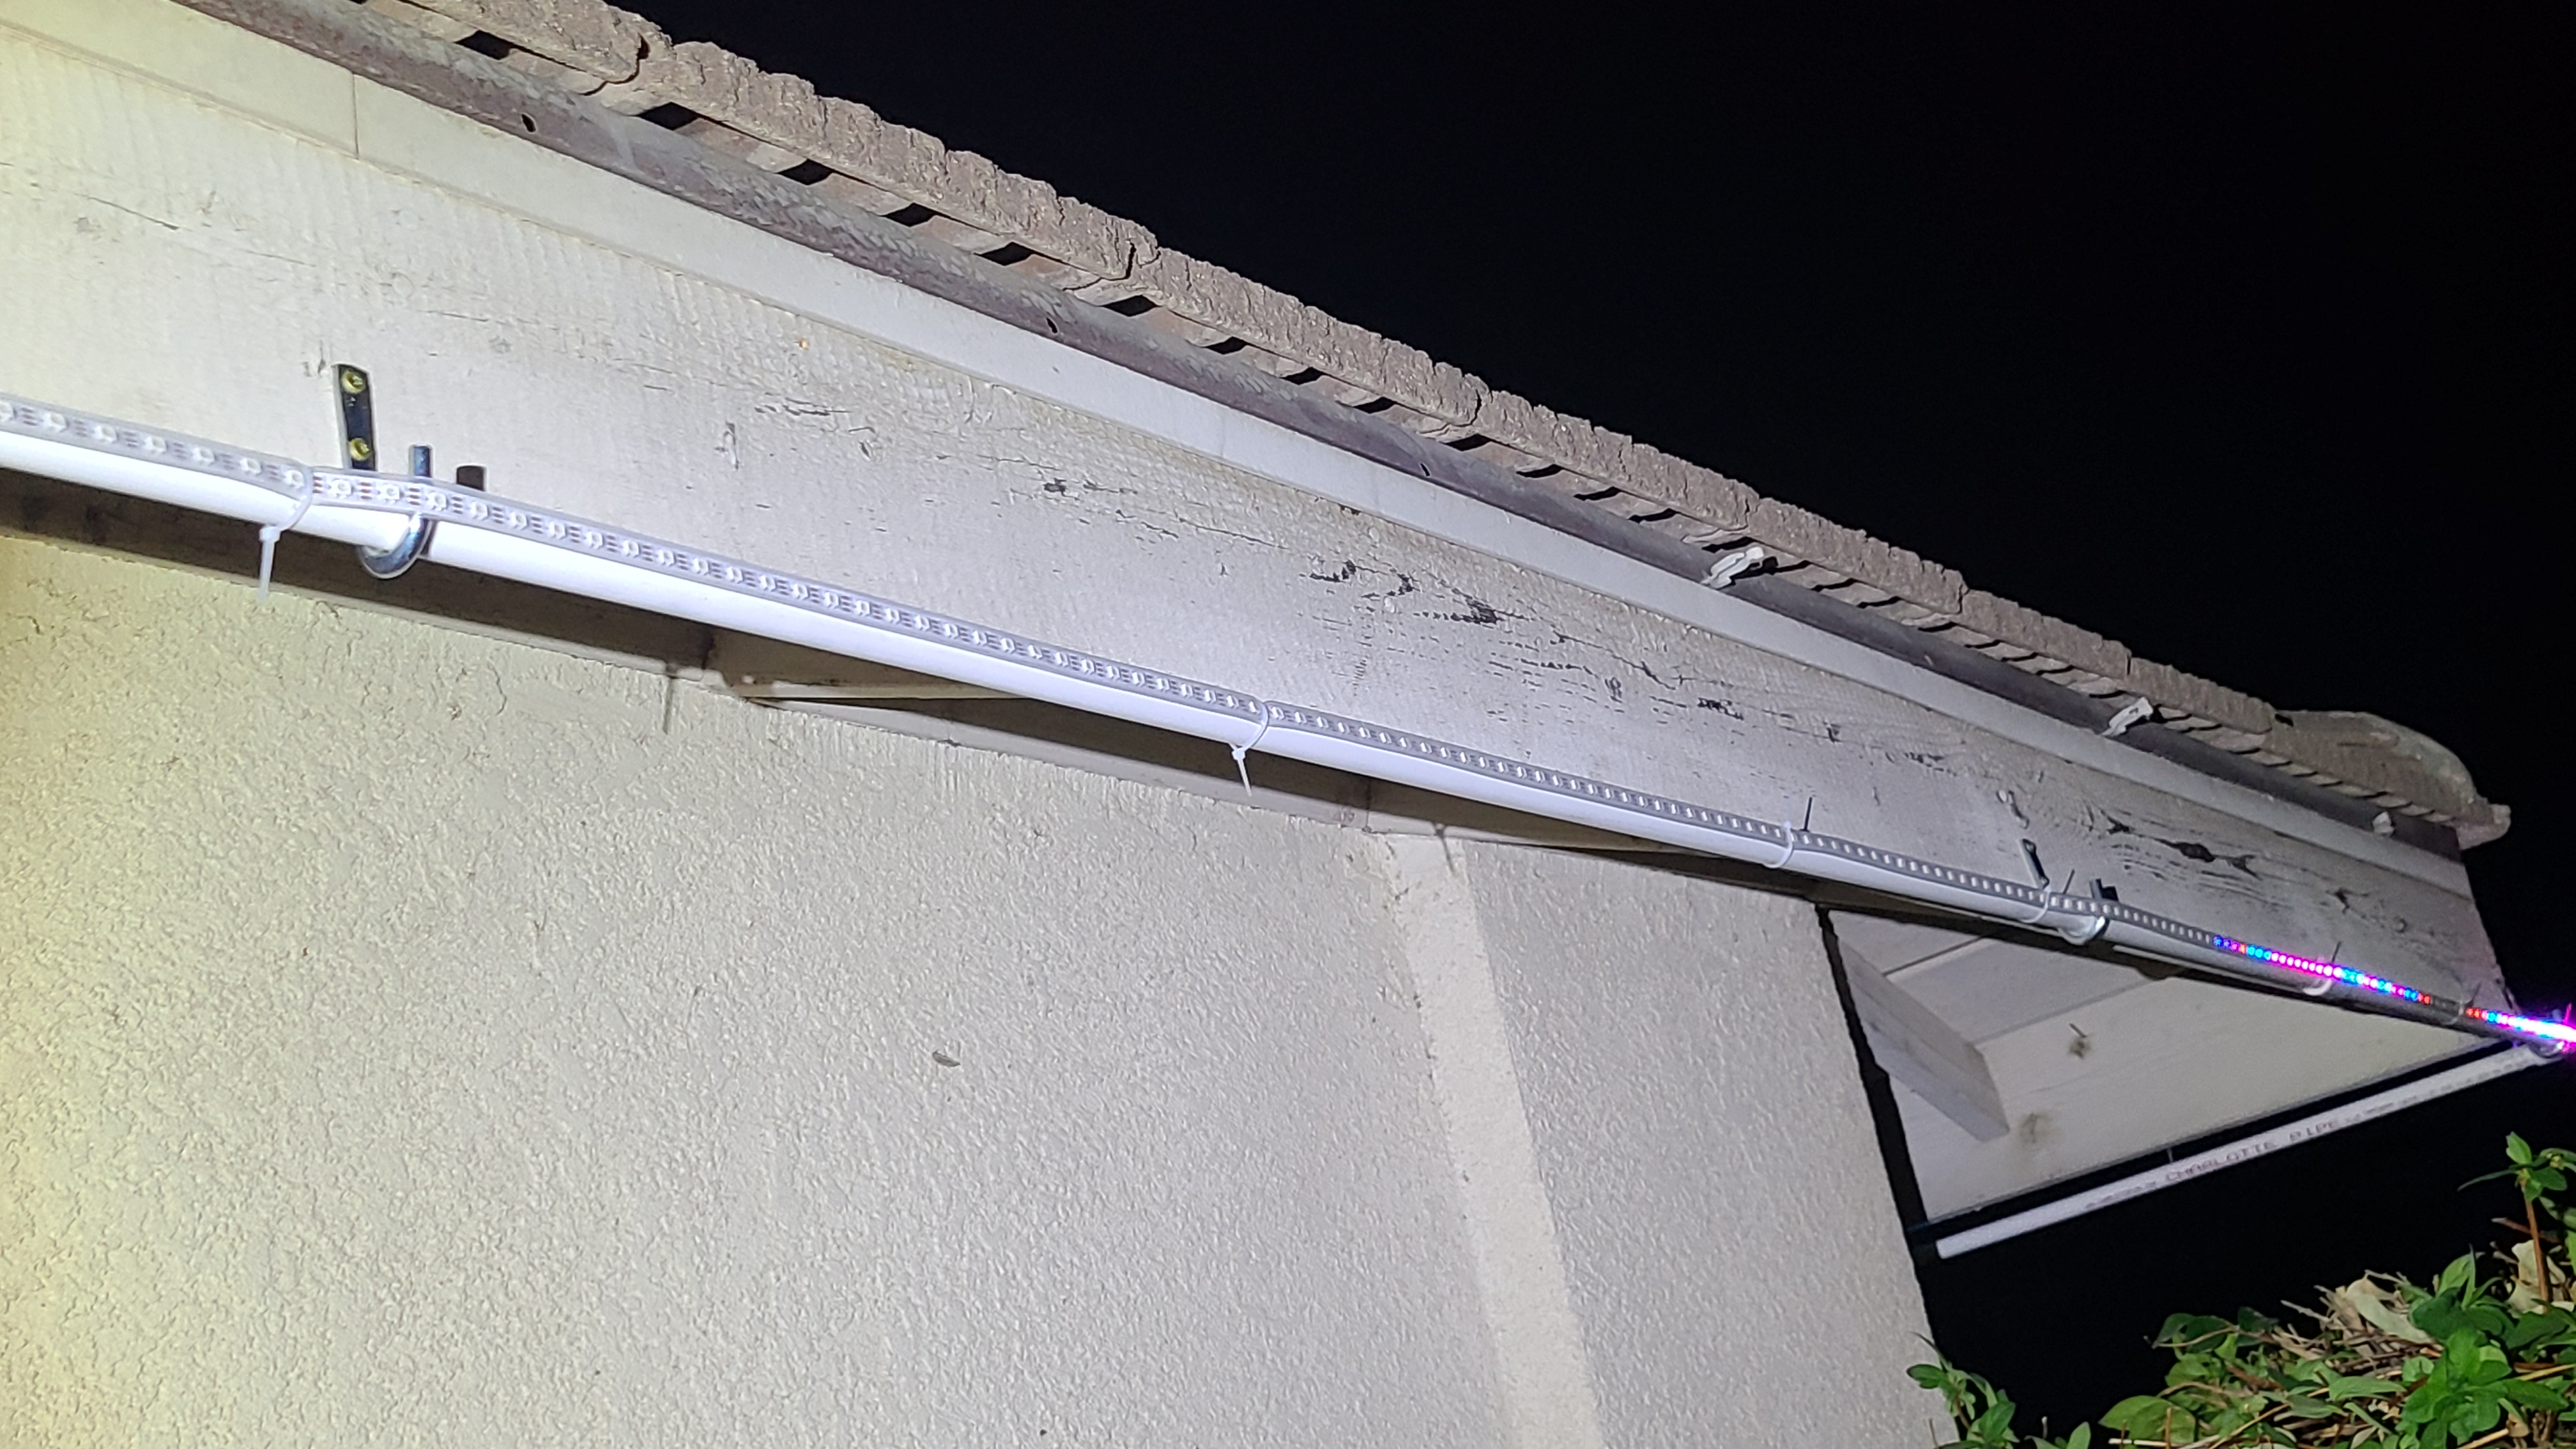
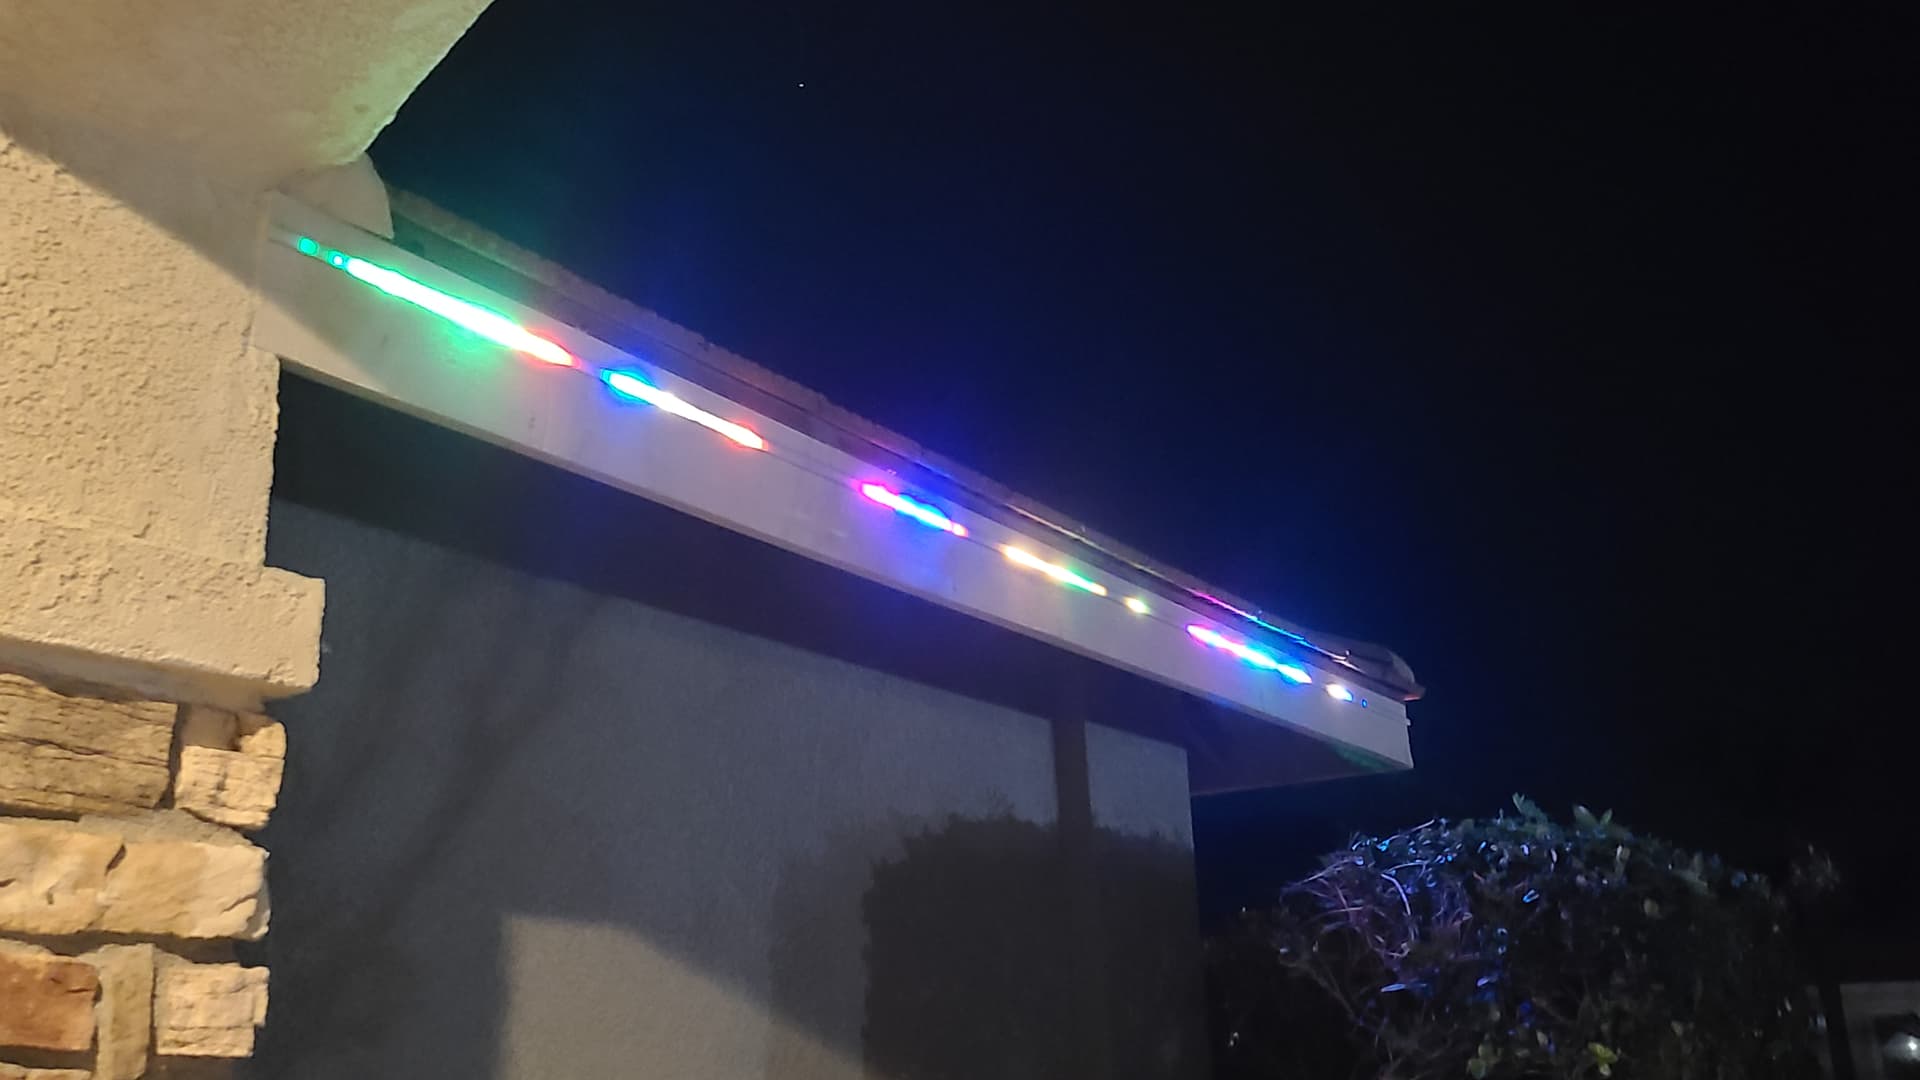
The wire pic shows the data line run after I connected it for testing, before I mounted it (under that flashing.) Everything shown lit is controlled by one pixelblaze+oe. The box is mounted under the balcony near the far left pillar, and each level has its own power. Even good pictures don’t do justice to how good these lights look on a house!
All the wiring in the system is about the same size. That particular long data run is the only place where I needed to totally separate power and data. Most of it’s done w/4 conductor wire, but upstairs the power box was very close to the strip, and the controller was quite far away. It was easiest to run two sets of wires.
I’m running two 120w power supplies, one in the main control box, and the other in a power box on the far end of the upstairs balcony. There are a couple more 10 foot sections of lights still to add (tomorrow, I hope!) downstairs, but so far it doesn’t seem to need additional power injection.
What has really surprised me is how good it looks. Not just burningman@home cool, but actually really good. It makes the house better! Also, it can throw enough light on the entire yard that you could have a party out there when we get back to being able to have parties. I think you’ll really enjoy it when you get yours finished!
That’s going to look great when you get it done! House projects are famous for taking way more time and work than planned for. All part of the joy of home ownership.
Just keep going 'till you get it the way you want it. It’s worth some experimentation. I spent a couple of weeks playing with mounting methods 'till I found one that worked, was robust, and looked reasonably decent.
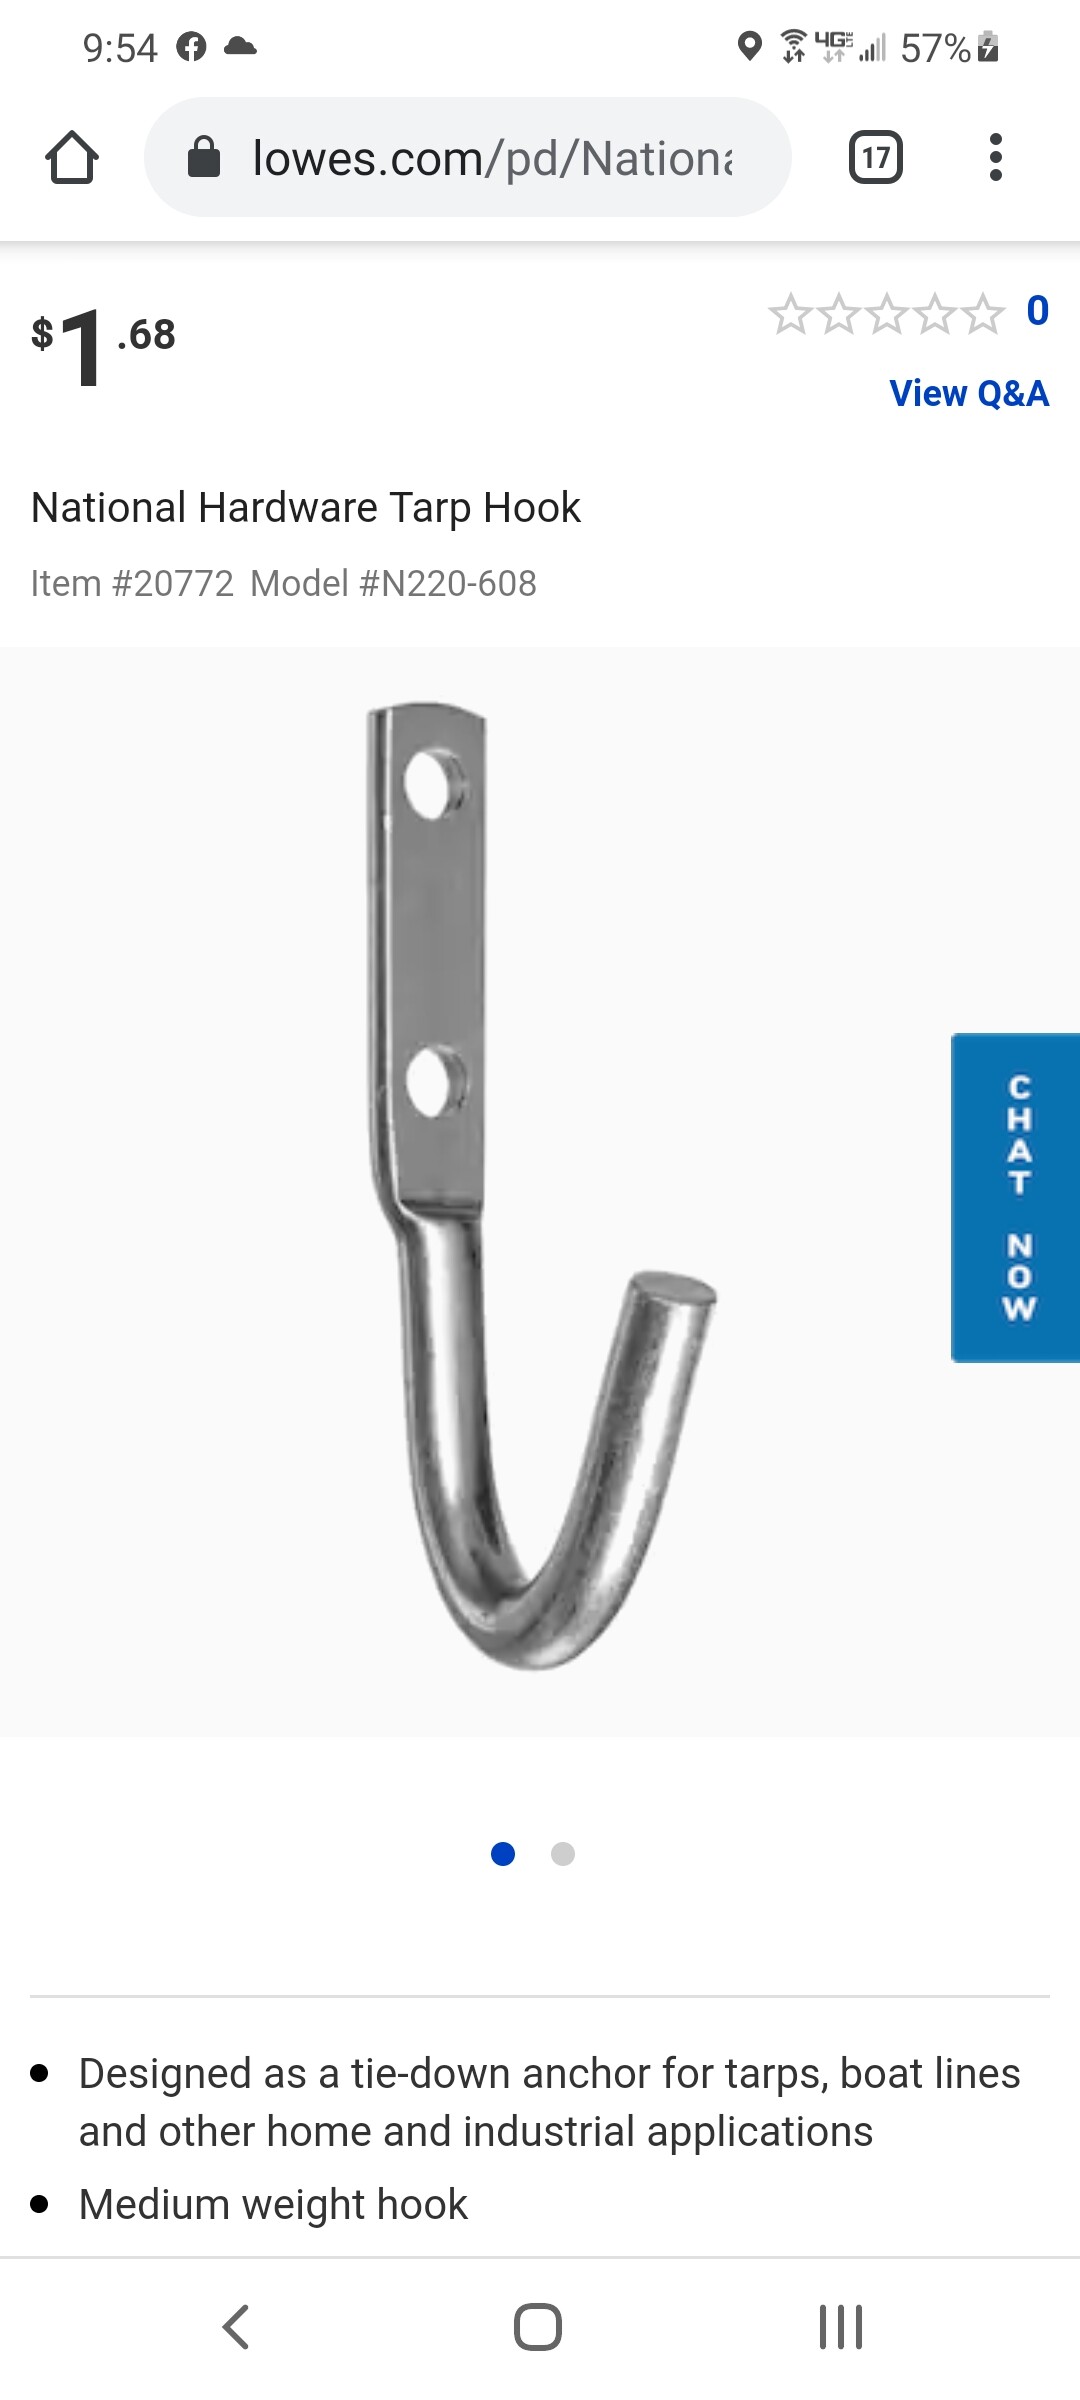
Yeah, zip-tying the strips to the PVC worked well, but the clips are difficult to work with. I’m going to look for screw-in ceiling hooks at Lowes tomorrow.
I was really tempted to try it under the eaves like your house. What kind of strips are you using? They look more like bulbs.
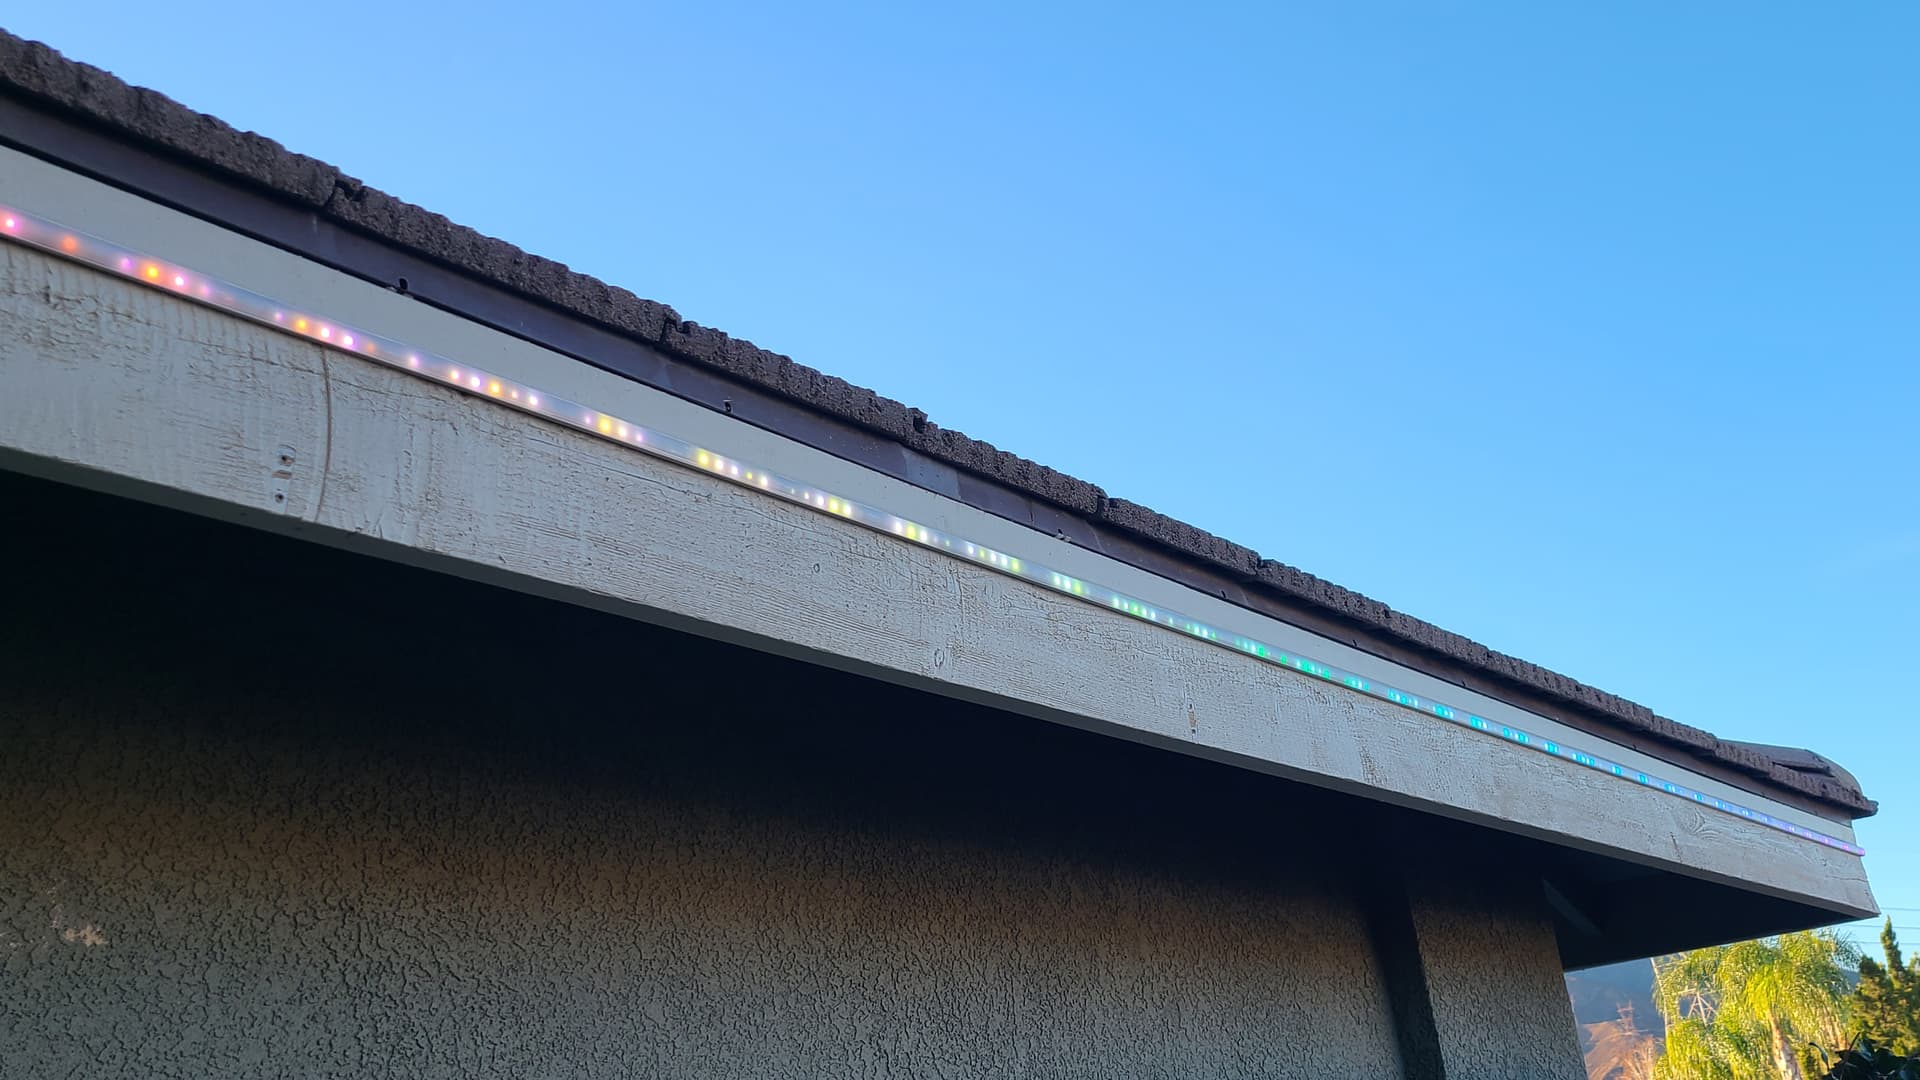
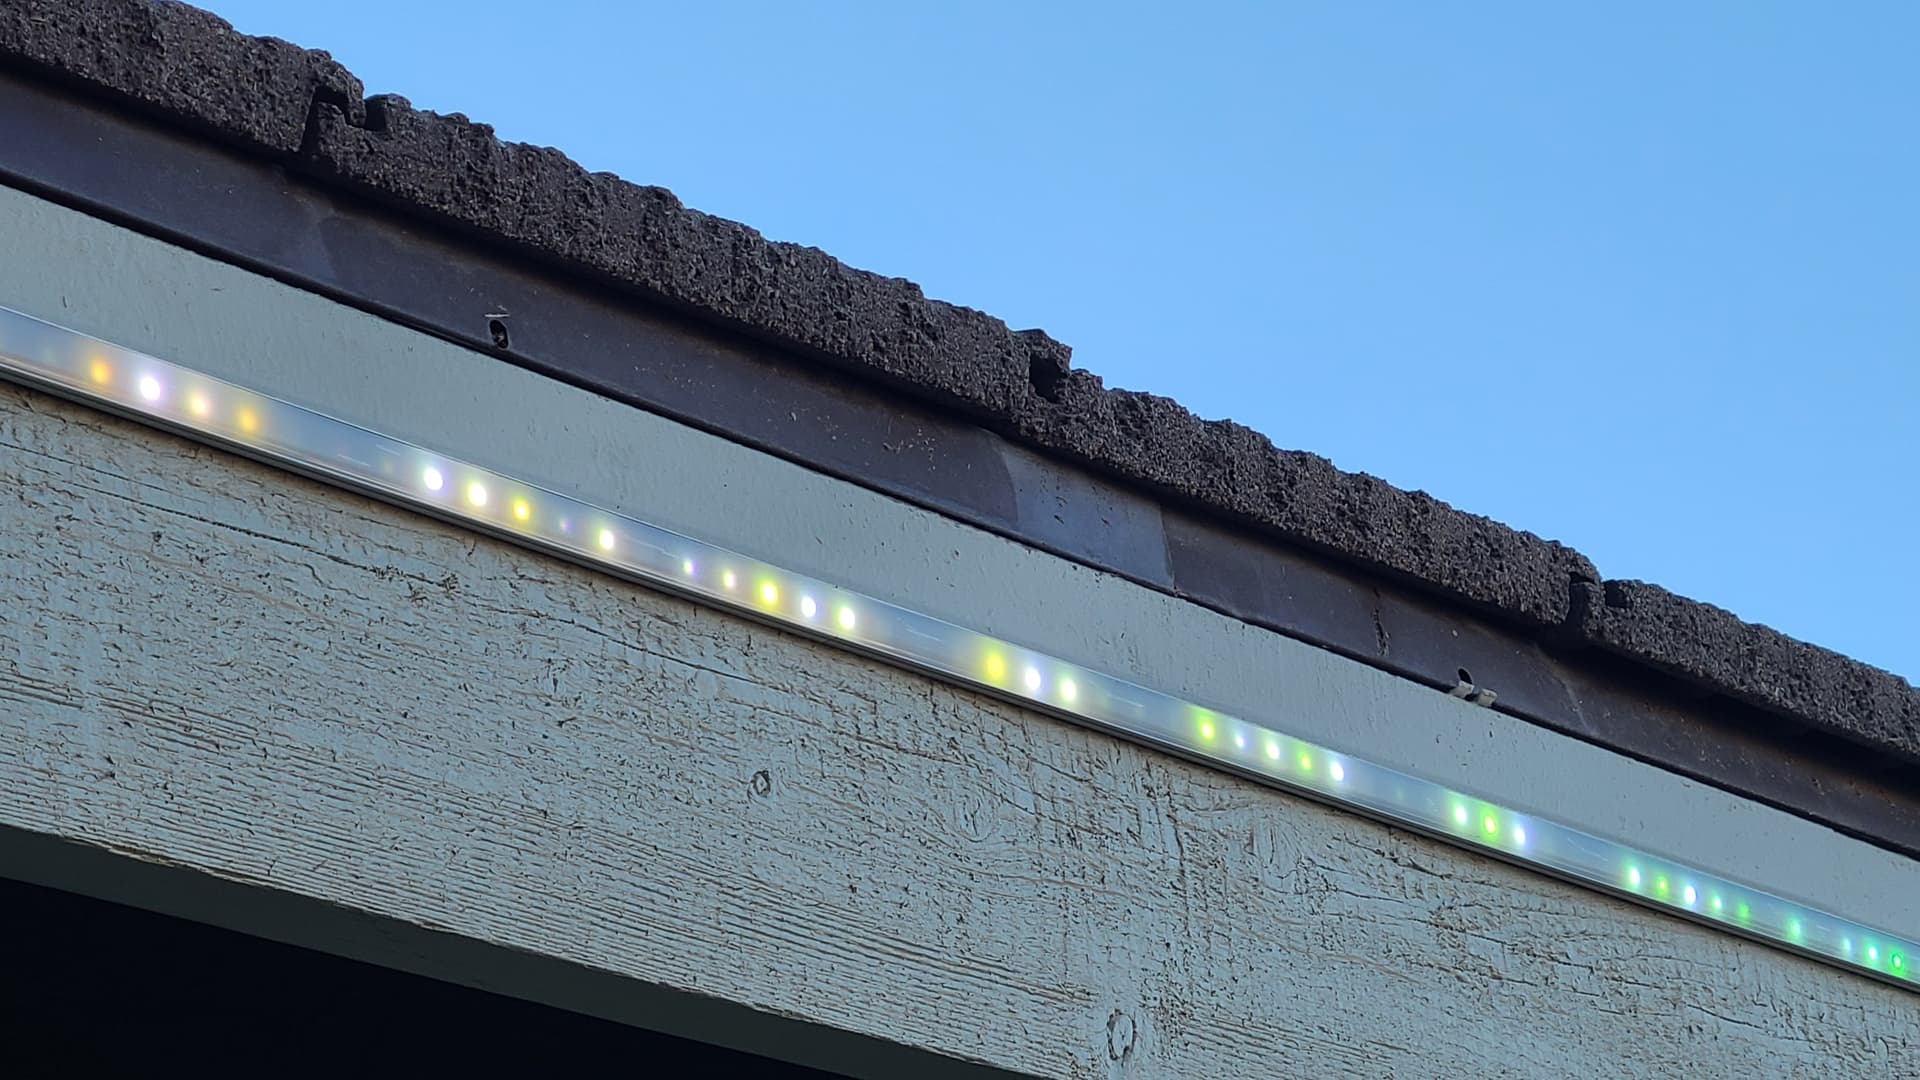
Mine are individual WS2812 pixels on a strand, specifically made for outdoor mounting, with waterproof connectors, heavy plastic casing for the individual LEDs, and other features to increase durability. The only downside is the zillion tiny, fairly precise holes that had to be drilled to make it work.
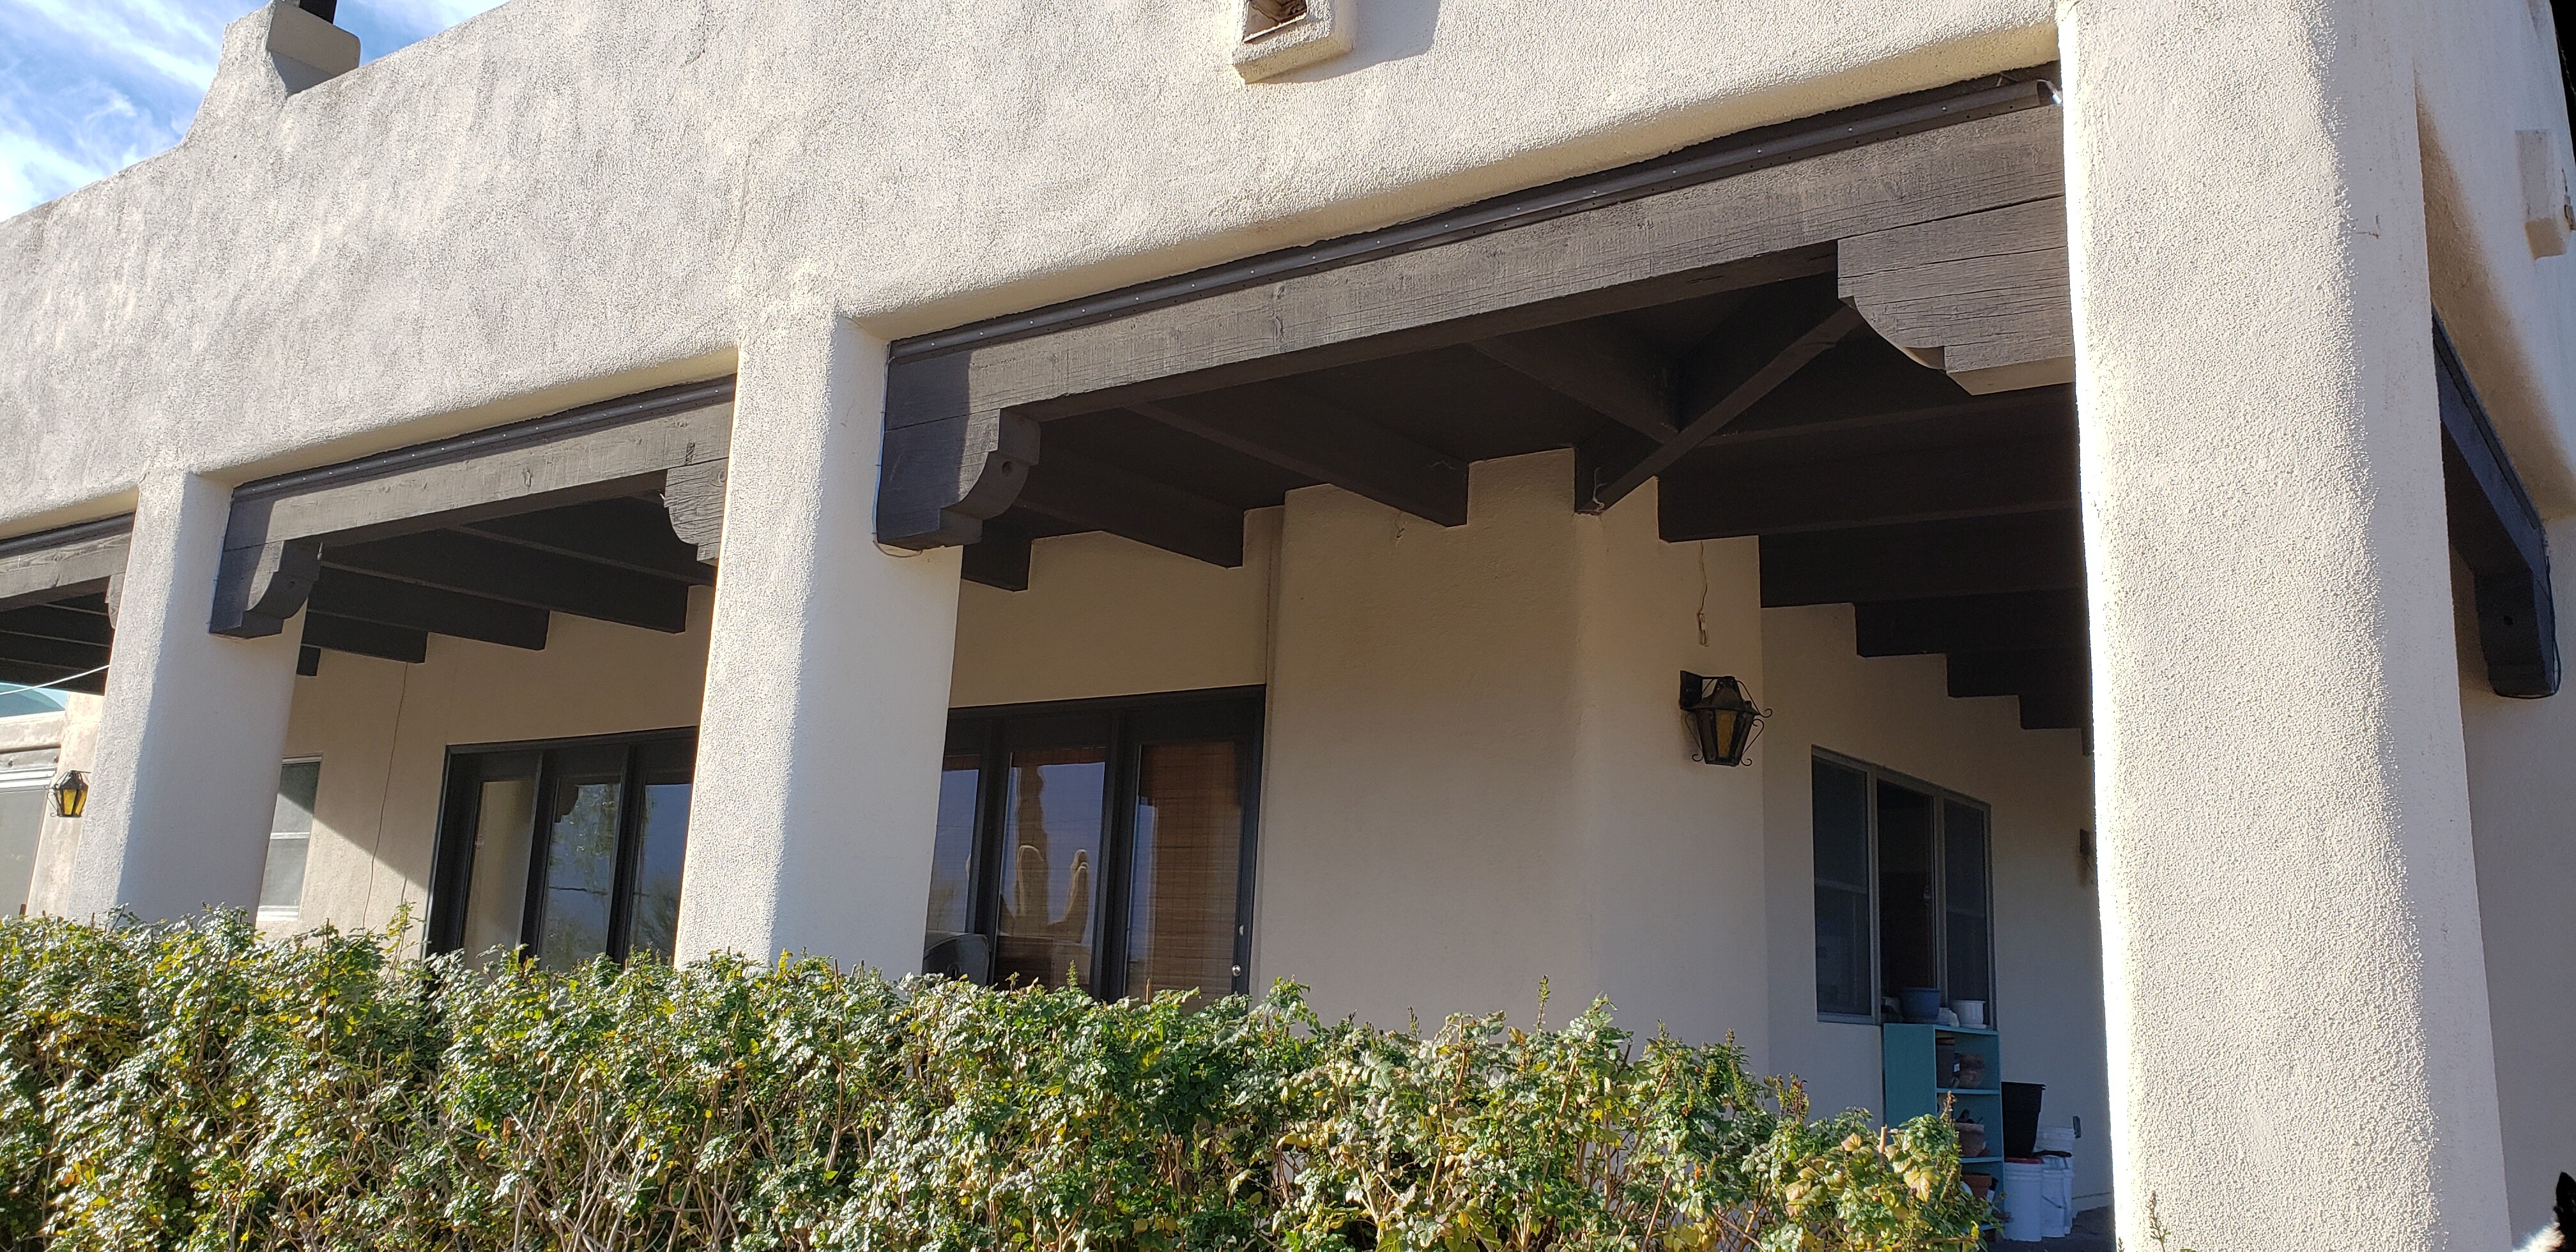
They’re mounted behind 3/4" radius steel drywall corner bead, which amounts to a 10 foot piece of thin 3/4" steel half tube with handy mounting flanges on either side. It stacks well so I was able to save hole drilling time by stacking, clamping and drilling several at once. I then pre-painted, installed the LEDs and mounted each section with 3 small construction screws – one at each end and one in the middle. They’re rock solid, and nearly invisible in the day.
I love that corner bead. I’ve been trying to find something like that for mounting my lights.
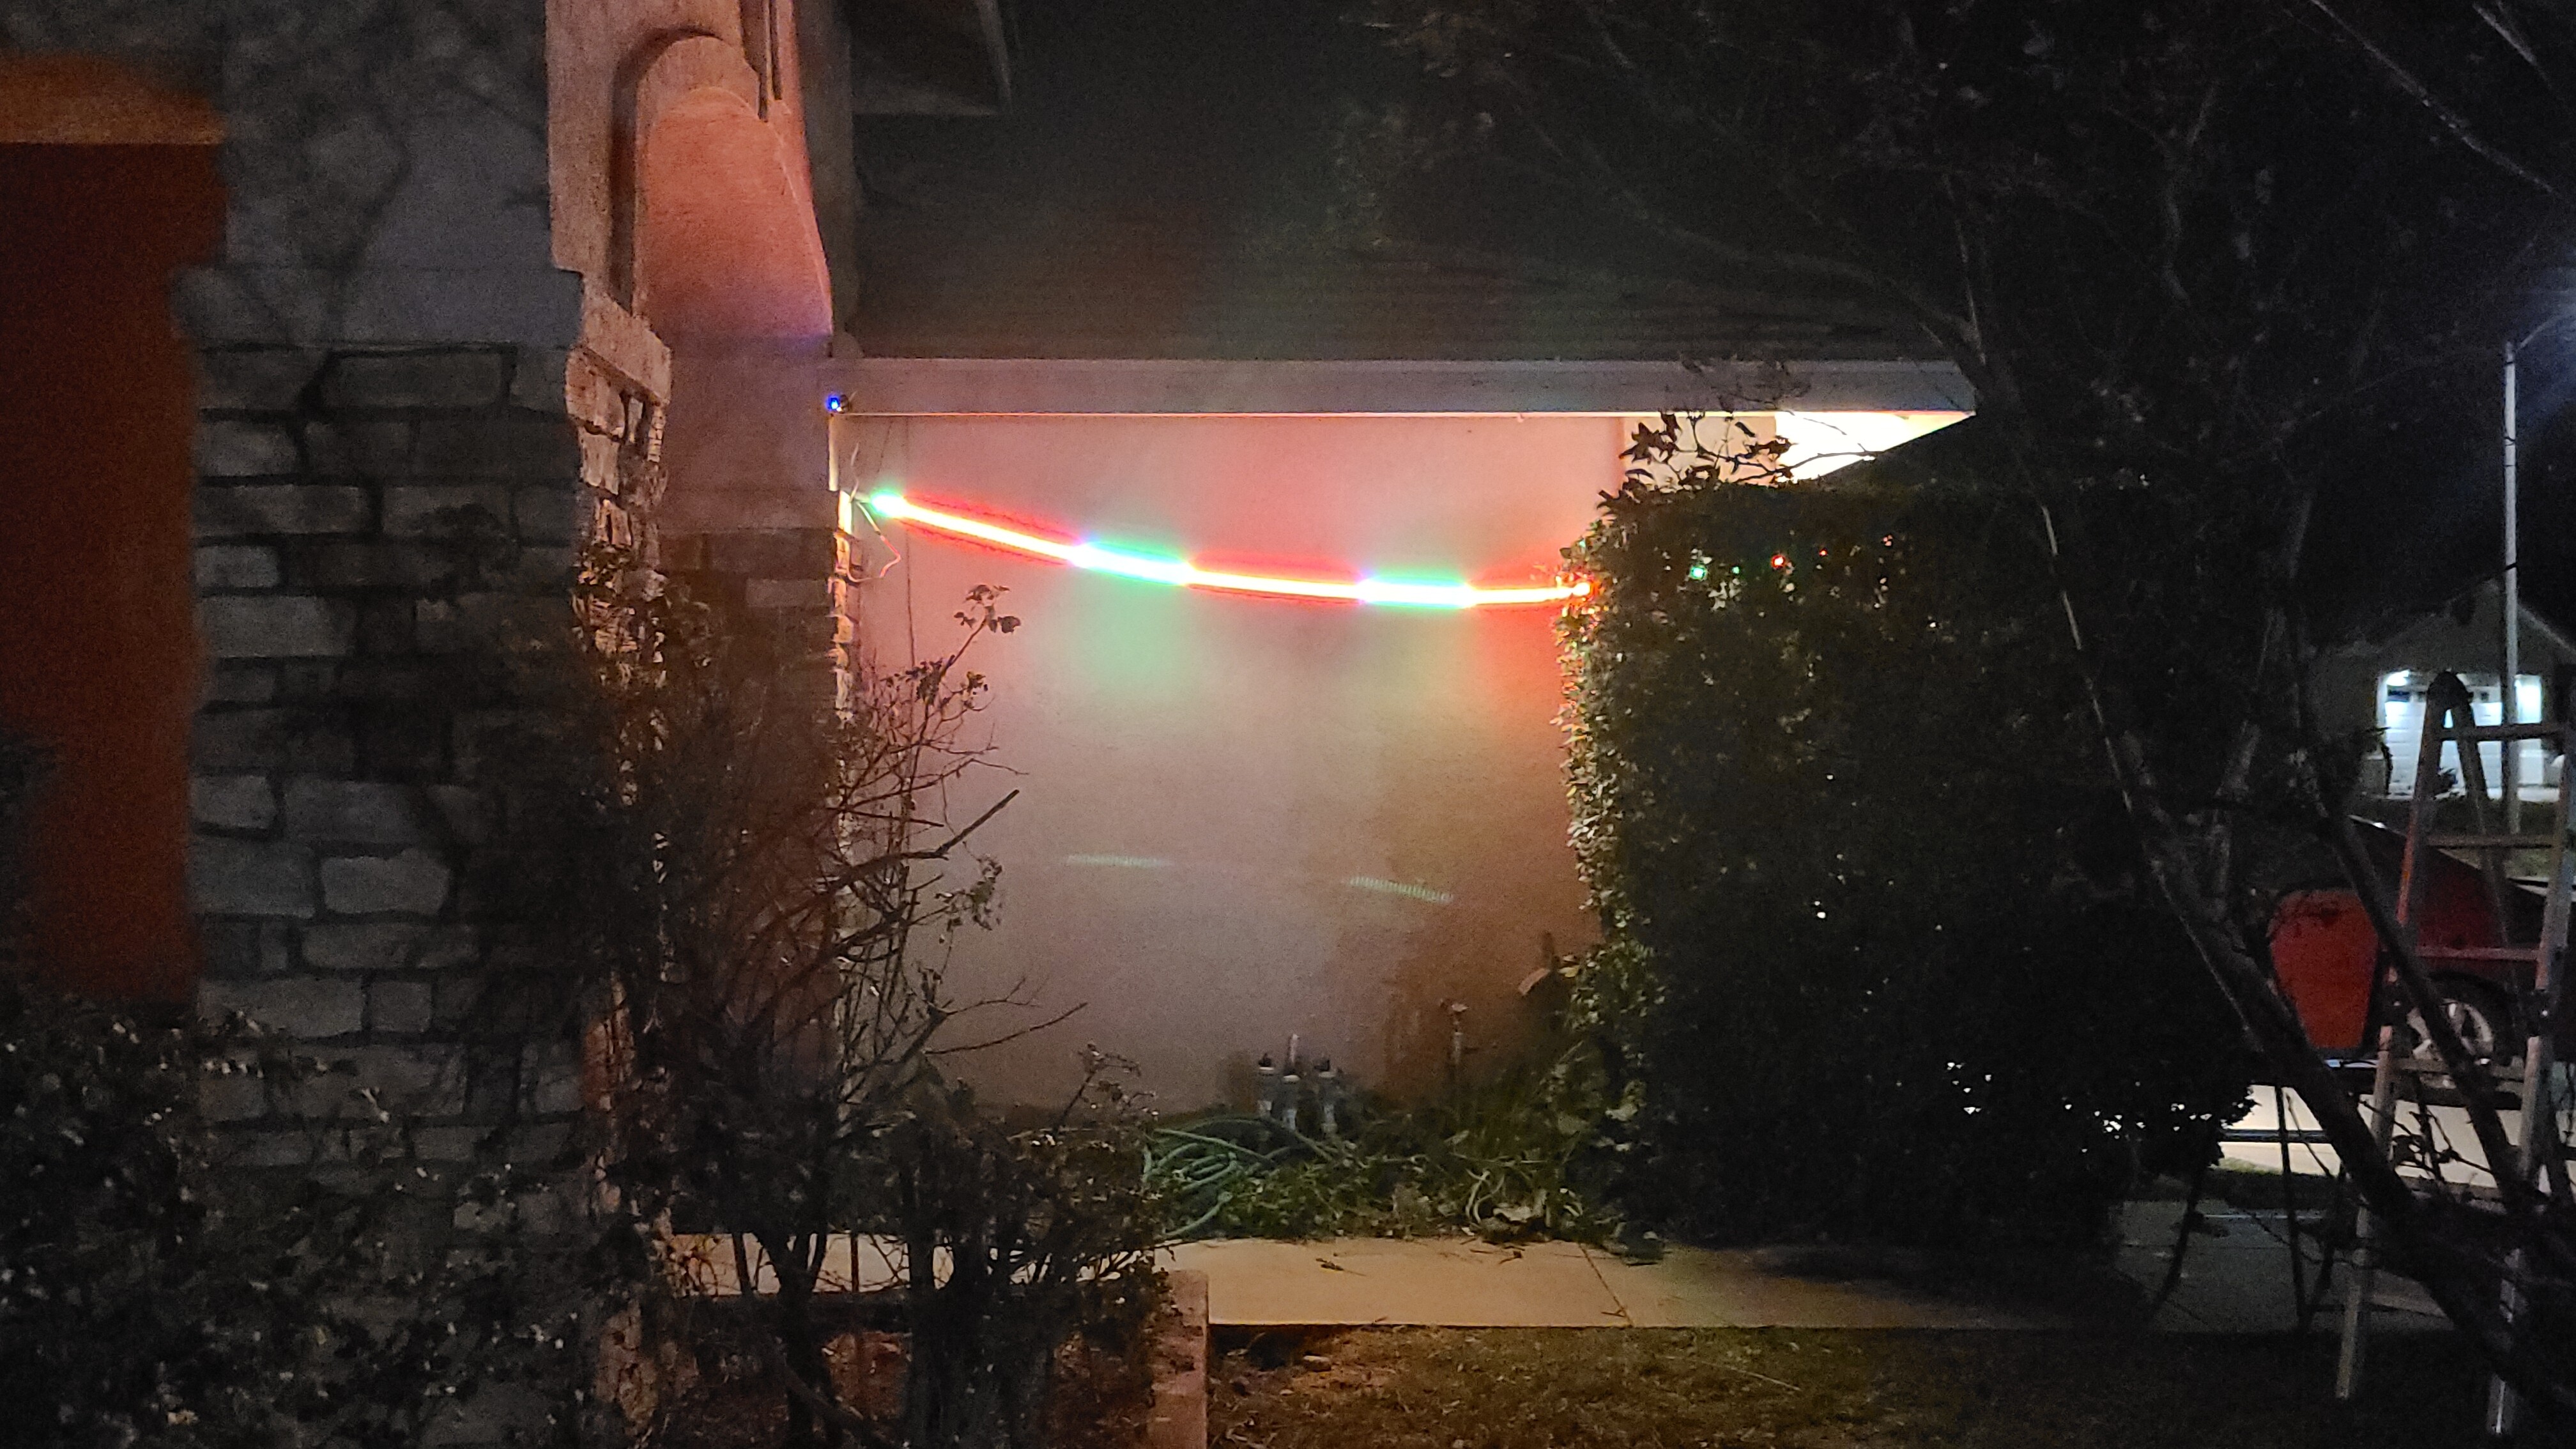
As luck would have it, I finally figured out a way. Not so pretty and permanent as your setup (yet), but at least I got it working for Christmas. Gonna connect two more strips along the front. Eventually, I’ll have some on the left side of the front (which is higher).
Hey, I read on some other discussion here that for long data runs like this using a twisted pair or shielded cable carrying data and ground may be called for. This, I recall to suppress interference. Comments anybody?
I’m thinking of applications in electrically-noisy environments such as one may find in schools, office buildings, casino/entertainment venues.
These house projects always look awesome. I want to do it myself but the sticker shock of how many LEDs I would need usually puts me off. That, and I have a 3-story house with a 12/12 pitch roof and my 32’ ladder doesn’t reach the peak in front.
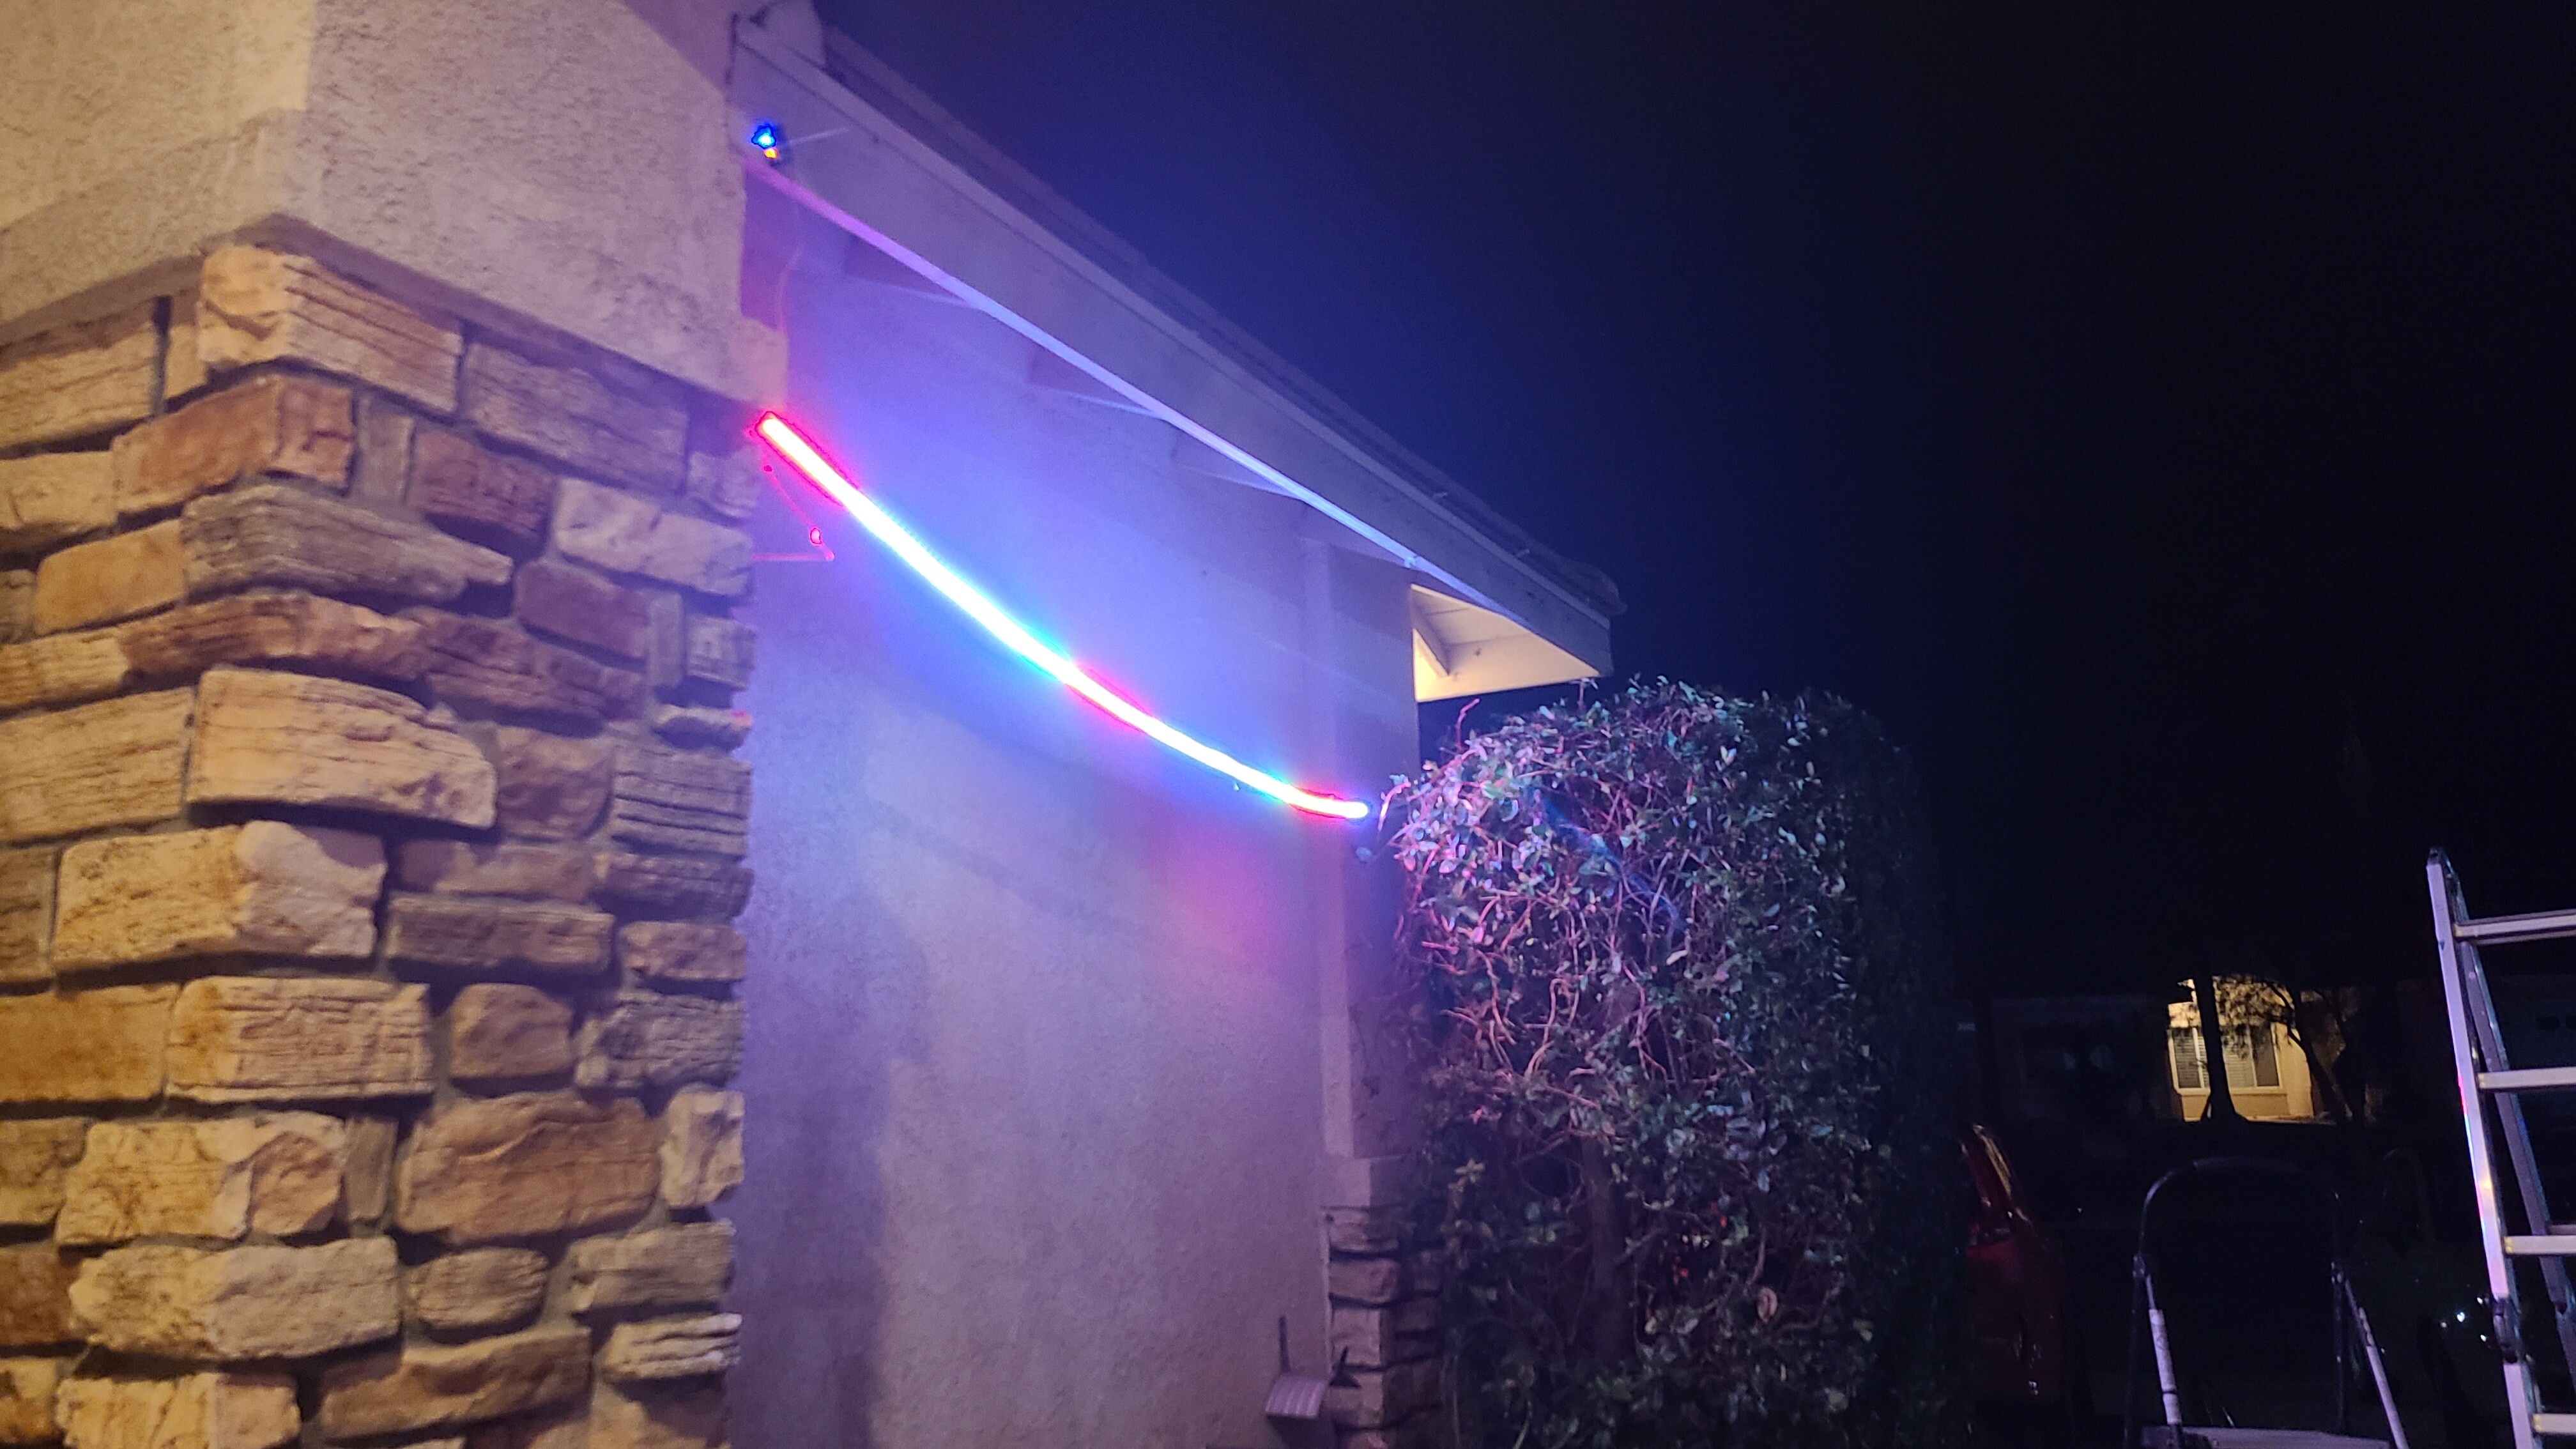
So, I finally got off my butt and did my lights correctly. I bought 6ft aluminum channels and ran new lighting strips through them. Power and data lines are going through the eaves.
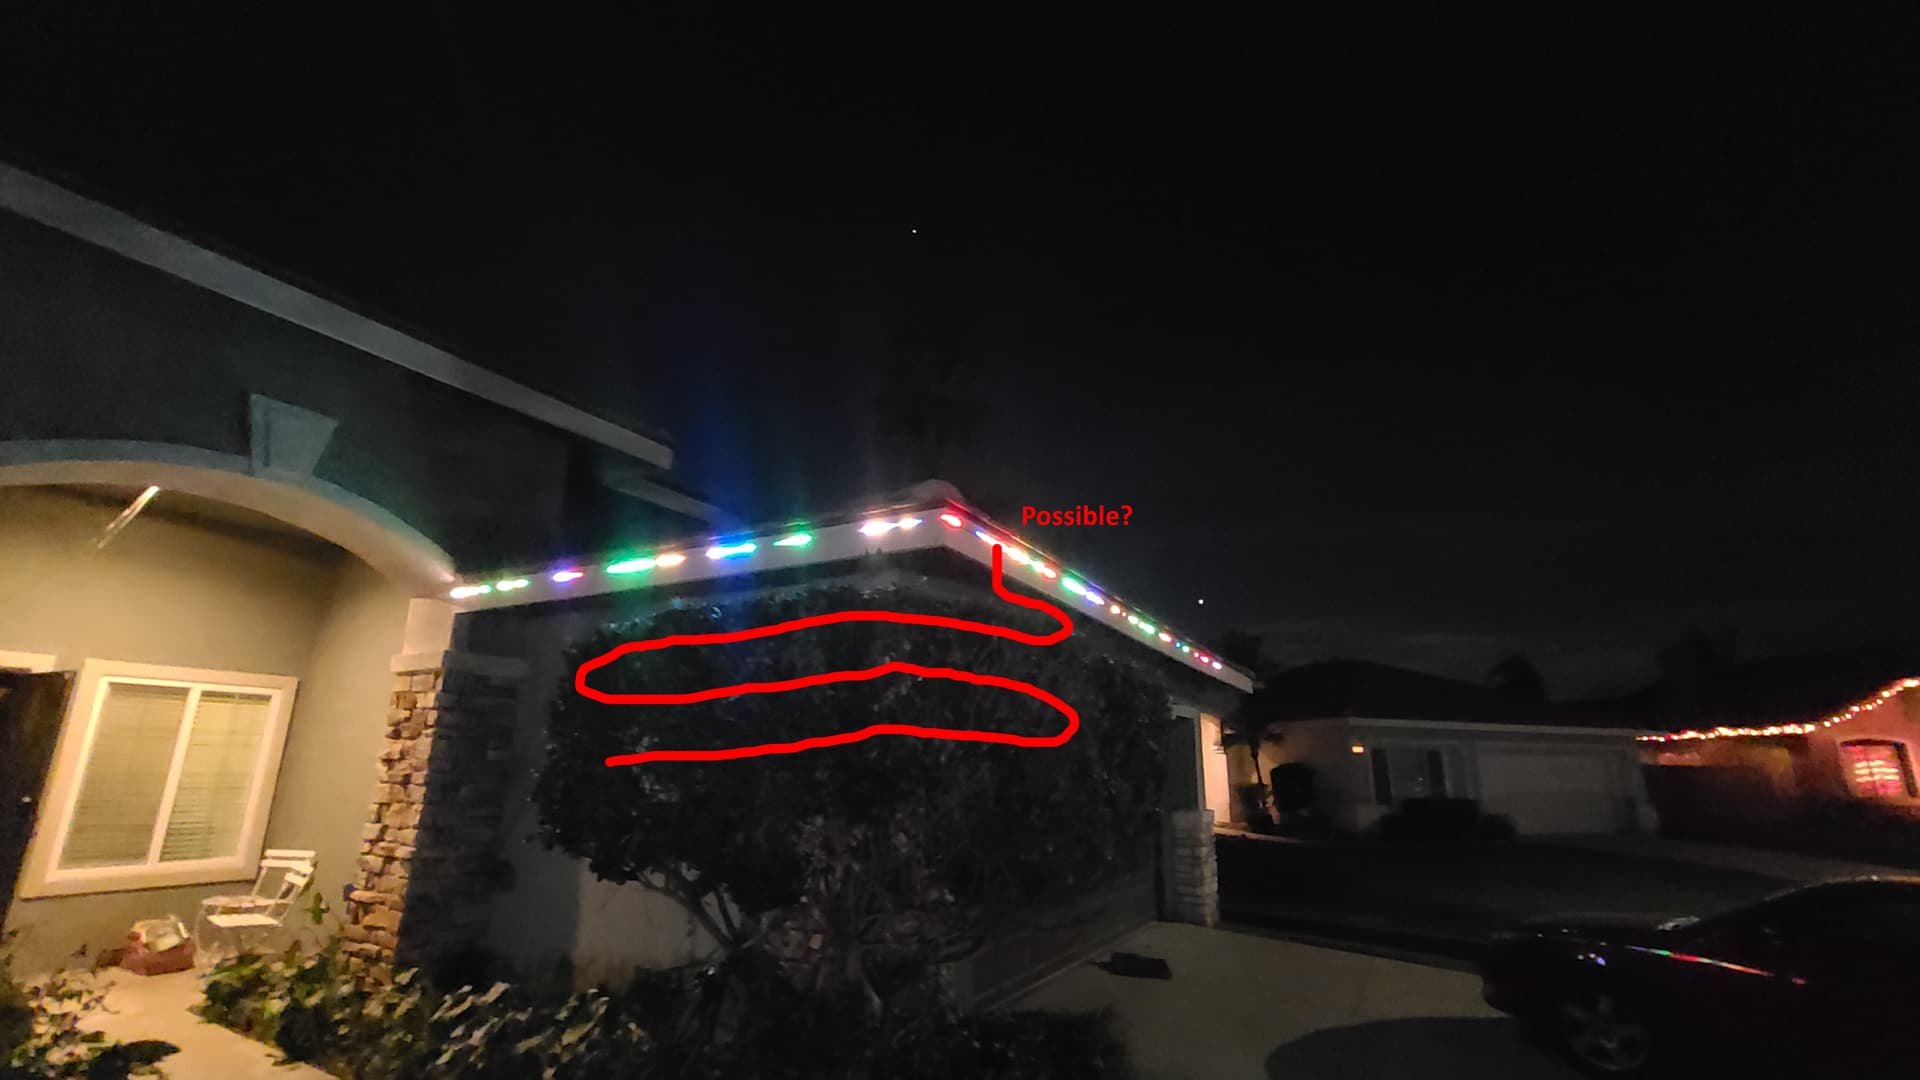
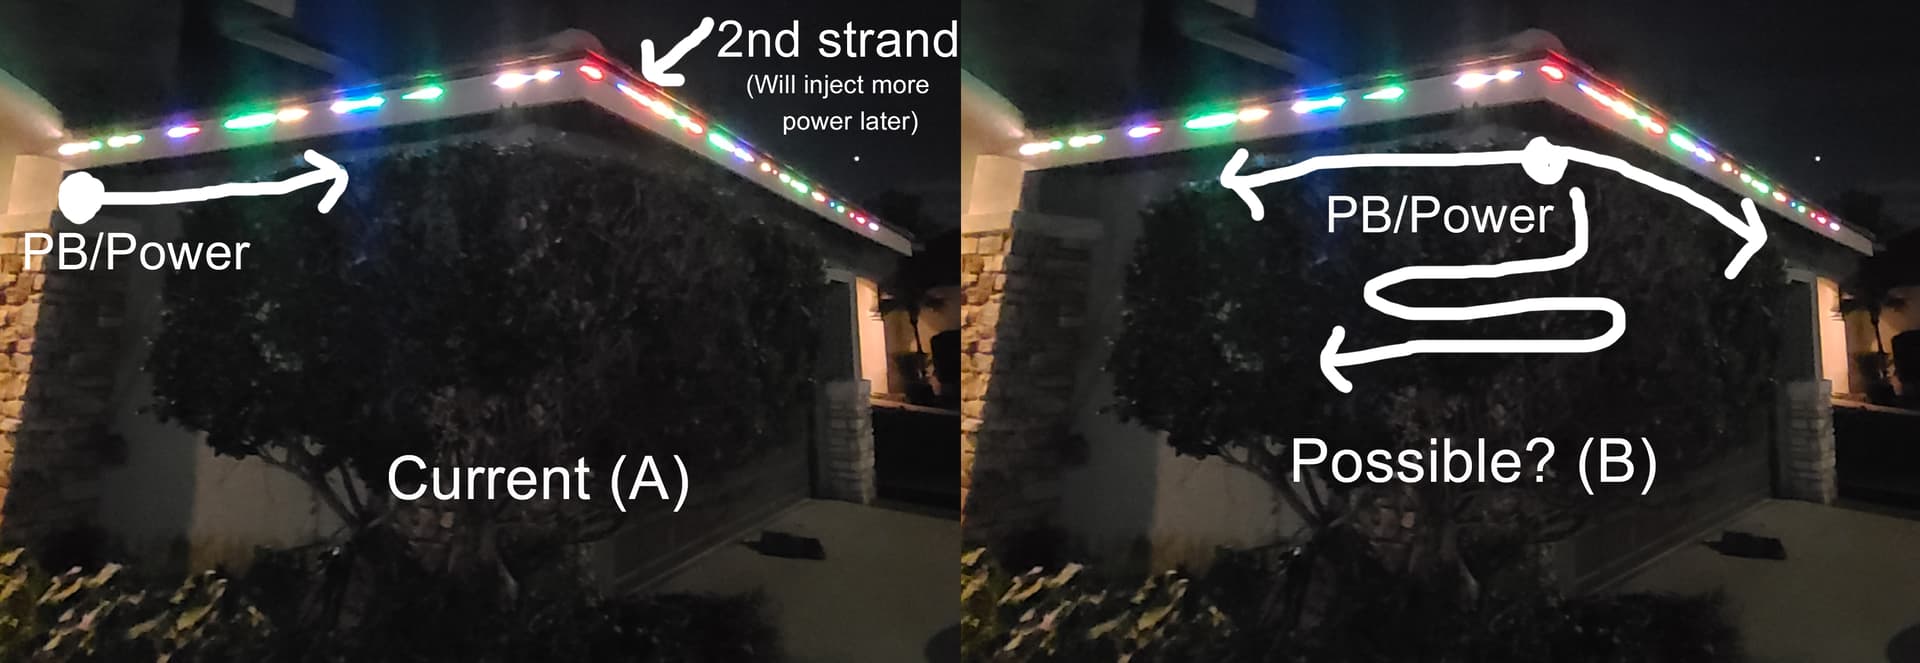
I have two strands running off the same powerline right now. Even at 40% (to prevent brown-out), they’re still very bright. I’ll run another powerline to the end later, along with a third strip around the far side of the house.
My question is this: I’d light to run a line down and around my tree in the front corner…can I split the data line at the midpoint between the tree and the second strip?
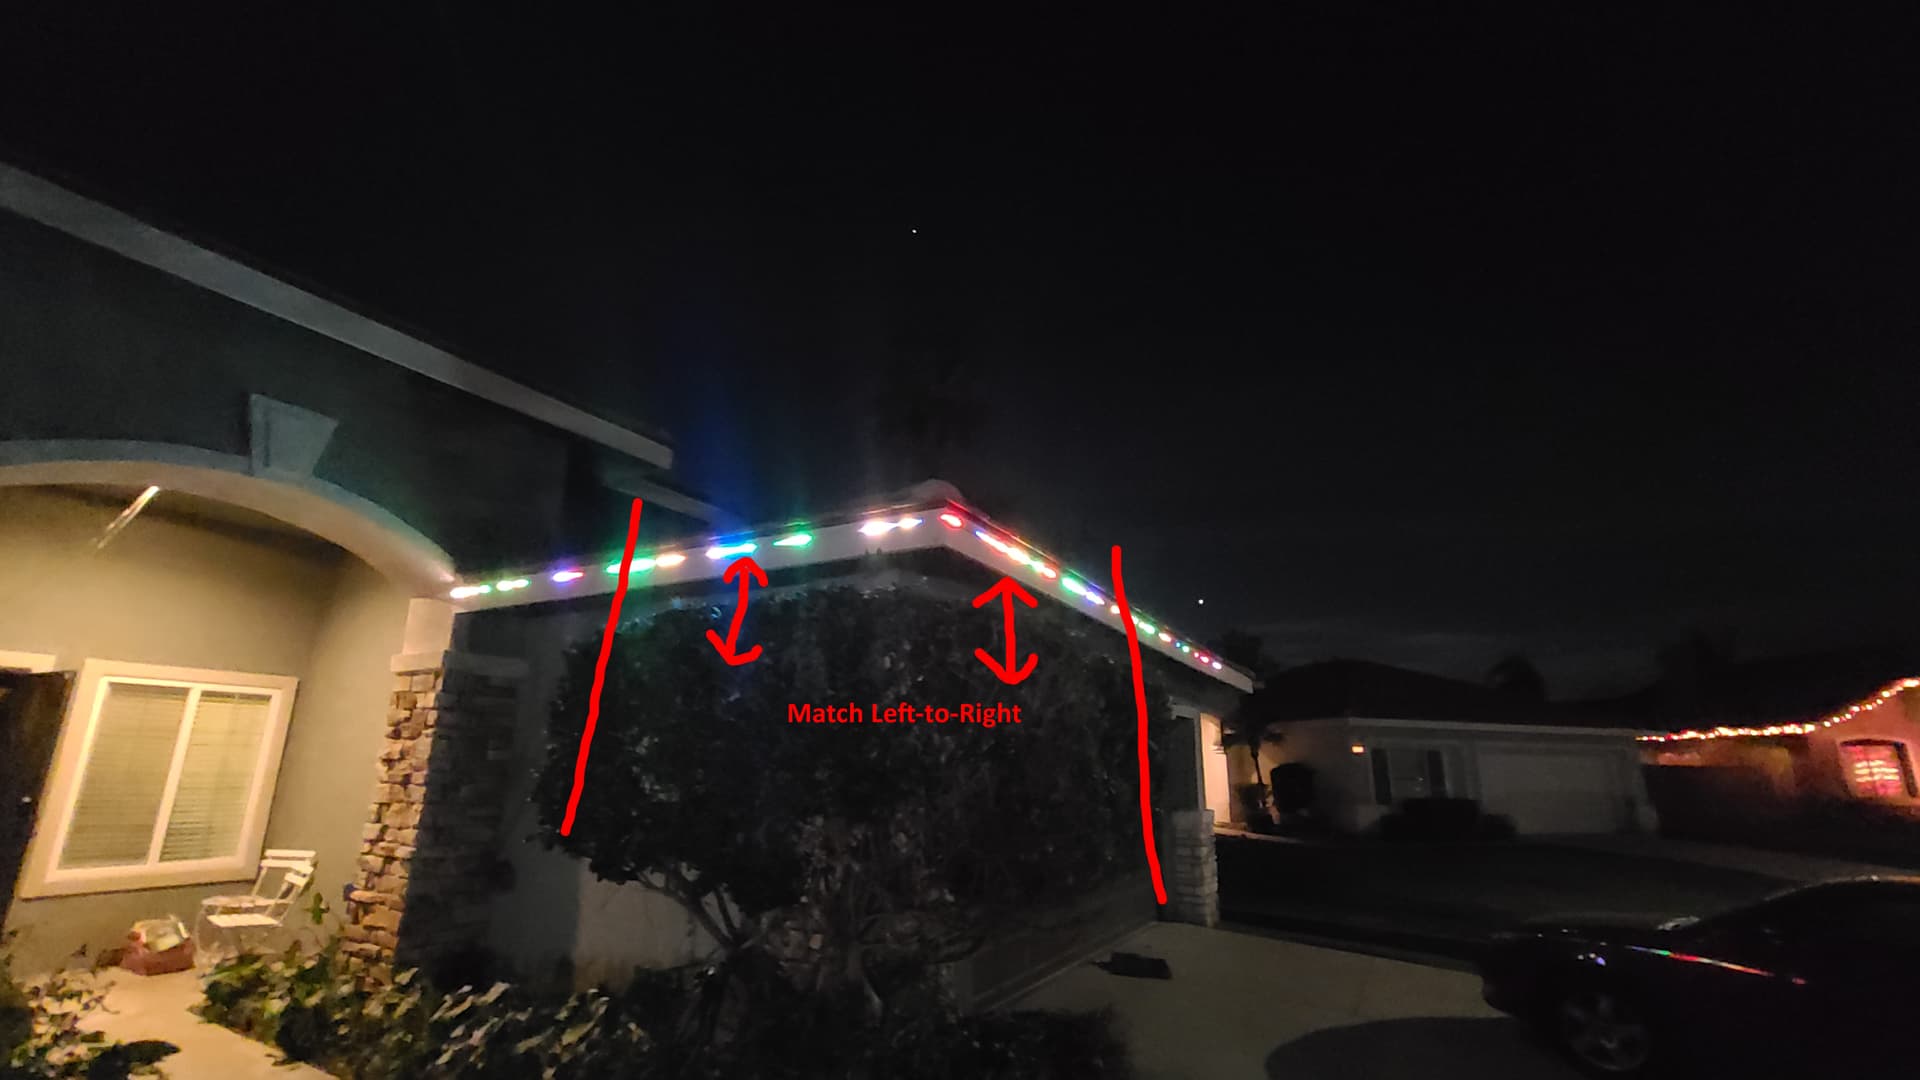
If a second data line is needed, how would I recode the patterns so it would mimic the space between strips 1 and 2 (for left-to-right patterns like KITT)
Congrats on the progress, @Mebejedi. Any concerns about those in weather? I’ve put up some not-at-all IP67 stuff and been surprised at the years they’ve given me outdoors. And other times they die fast
You can split the data signal (most of the time; sometimes it does start to affect things on longer runs and we start to see flicker). If you do that, there’s no great way to treat them as physically part of the left-to-right space that’s different from the other branch along the roofline.
If that’s important to you, you can try running the end of the signal in the tree back up to continue to the roofline segment on the right in the pictures. You’ll need to define a map then and use a version of KITT that uses render2D/3D. Beware that the longer the section of wire without an LED, the greater the chances of signal problems downstream.
Making the overall run longer with more serial pixels can also start to slow down the frame rate. One solution for this and any of the signal corruption issues is probably to mount a PB with an output expander near the corner, so that 3 output channels can branch out 3 different ways. If you power one end of each of the three branches here as well, you might not need to power these on the far end.
Are you saying I can do like the image on the right? Or do I need to keep the original PB where it’s at (Data is directional, correct?), and add a second PB with an output expander at the corner? If so, would I need to use Firestorm to sync the two PBs, or would the data just pass through the second PB?