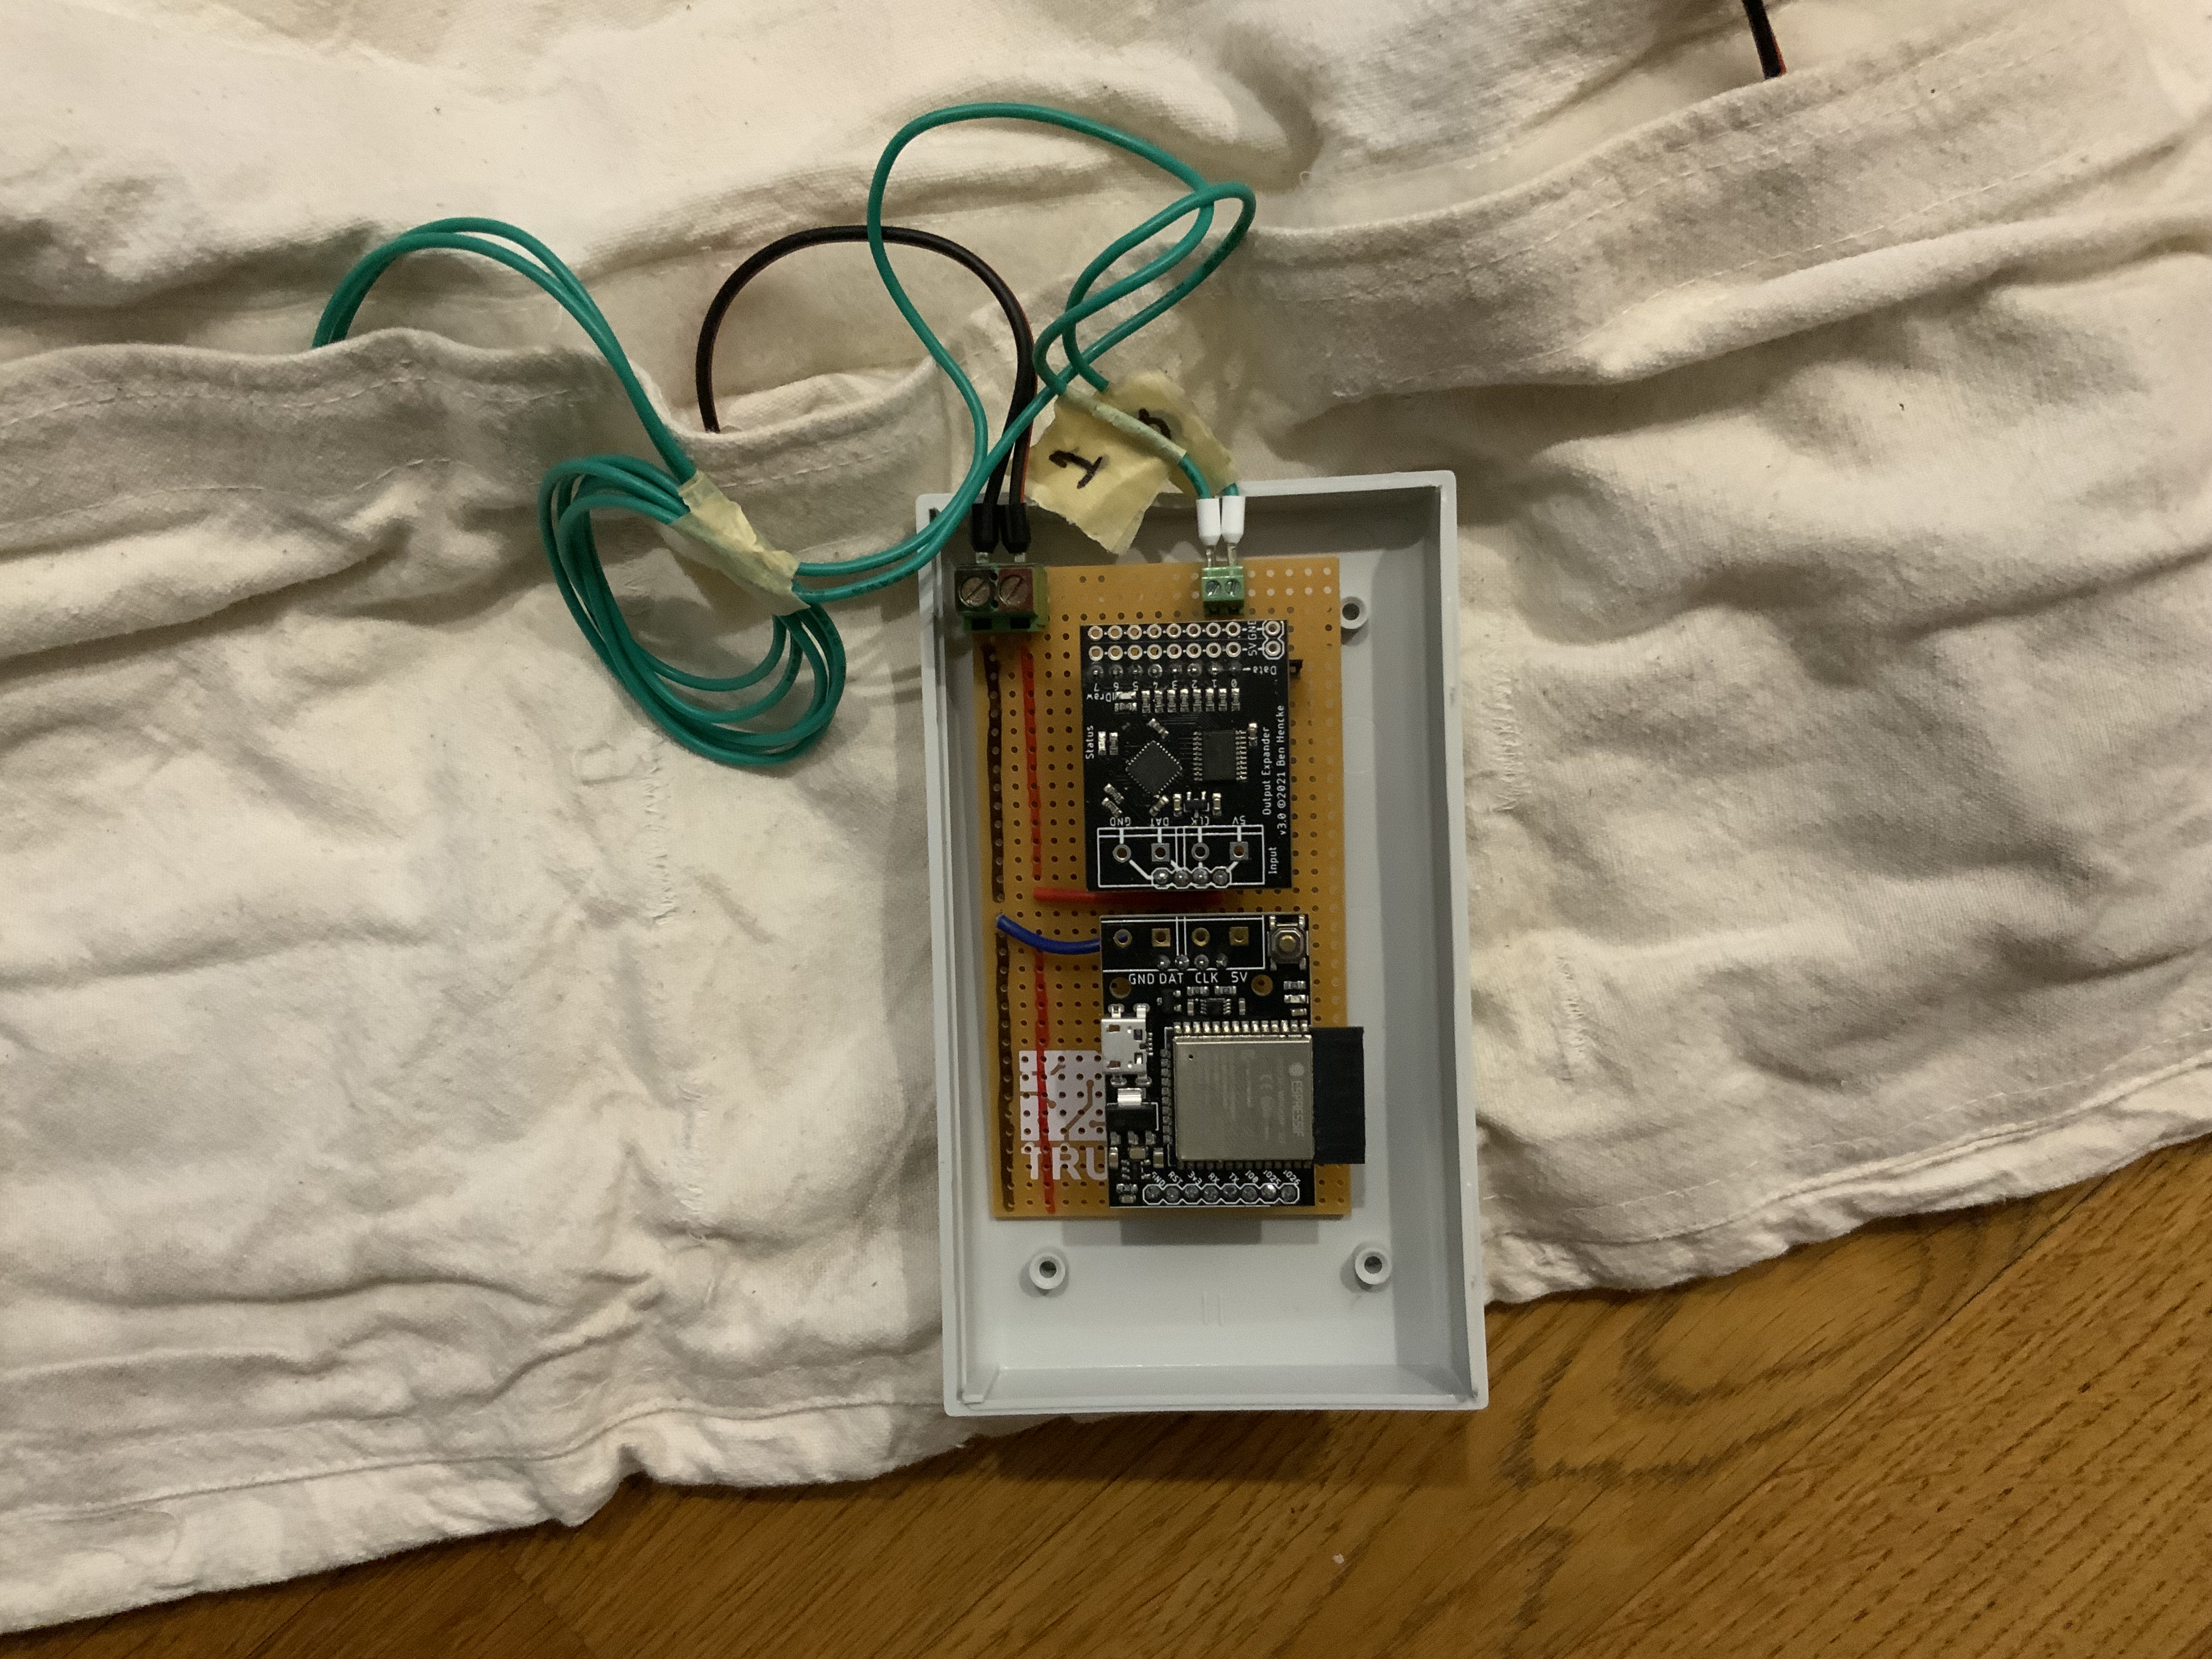
I’ve tested my jacket with the Pixelblaze and output expander plugged into Veroboard, sitting loose in a project box like this (the whole unit goes in the pocket it’s sitting on in the picture):
It’s no good. It glitched out a few times requiring plugging-and-unplugging from power to fix it. I’m assuming the reason is the power cables flex the Veroboard when I move and something is losing contact. I need to get more serious about a project case.
In addition to wiring the output expander and Pixelblaze together, I also need to connect the sensor board, which will be on a longer wire and also serve as a wired remote control. Given the Pixelblaze isn’t quite Breadboard compatible, maybe the Veroboard should go. But, also given there’s no mounting holes on the output expander, I’m not sure how to hold it in place.
Is my best bet to 3d print some kind of clamshell with depressions for the boards to sit in (I can design it so the edges that clamp the boards in don’t touch any of the components.) And then solder the screw terminals directly into the boards? This will be quite fiddly.
Hey @ratkins, I’ve been staring at this post for a few days. I don’t have a 3d printer, nor am I experienced in 3d printing but I do see the need for some handy enclosures for Pixelblaze related projects.
I thought I’d post this to see what other people think and where this can go. If someone else would like to take over this and start a new thread, please do.
What types of enclosures would be of interest? A prototyping enclosure, a wearable enclosure, an indoor & outdoor(weatherproof) enclosure and a larger enclosure with room for activities? ie; power supply, sensors, expansion/sensor boards…
The enclosures could include knockouts, internal mounting posts, external mounting flanges, recesses for ports, recesses for labeling…
I’m happy to help in the best way I can, which is putting up prizes for the best designs. Which should be voted on by the forum. Prizes can include some of my hardware from Pixel Lights, stuff from Bens store, stuff from my giant pile of led light factory samples. I have way too many cool led related things, and too little time to take advantage of them. They need homes!
Hey @ZacharyRD, I missed that post! That Adafruit Feather case is really cool. That would be awesome for an indoor (not waterproof case).
Threaded nut inserts are pretty sweet, I think they are worth the effort.
Depending on how far this goes, I do have experience in getting molds made and enclosures mass produced in China. It would have to be the perfect case, but if that’s the direction one of the designs goes I can look into that.
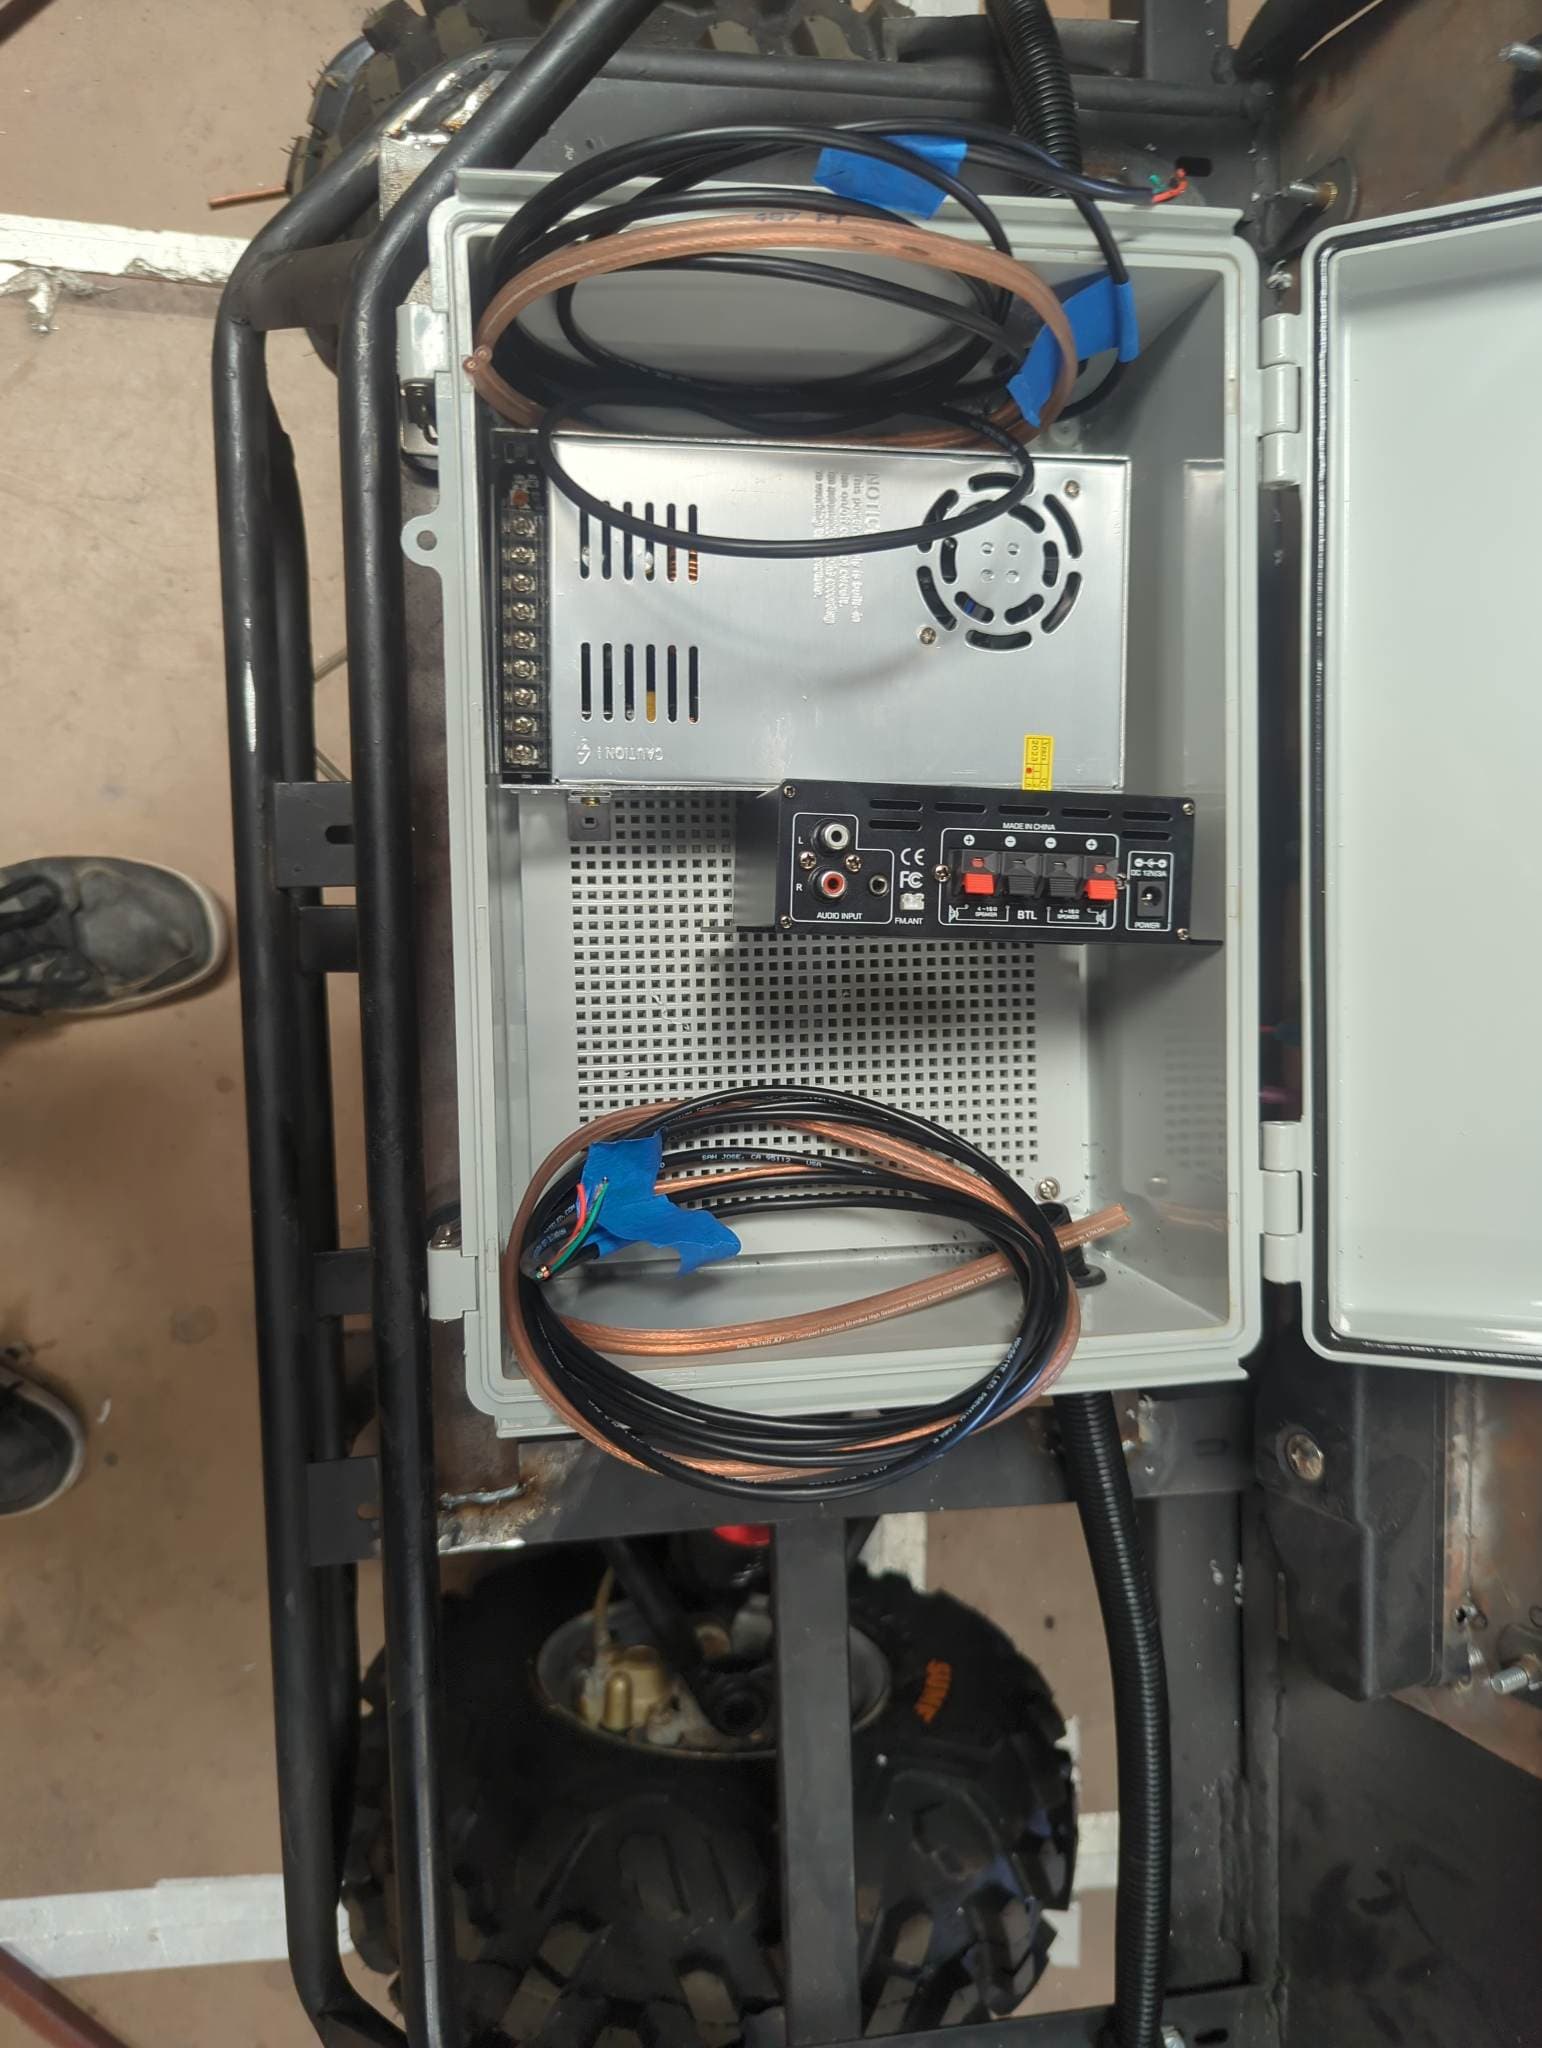
The final form of this project is going to include a couple of 100W DC-DC converters (they’re surprisingly small, but still) so I think I’ll eventually need to do something entirely custom. I was hoping not to have to open that can of worms yet though.
My question was more to the effect of, “Am I missing something?” because due to there being no mounting holes in the output expander and only two in the Pixelblaze (making it difficult to secure against torquing movements from power cables), this seems a little more difficult than it feels it should be. I was wondering if people would pop up and say, “Oh no, it fits perfectly in an obscure brand of Scandinavian licorice tin” or something.
I think we should collectively push for non-IP65 first, because you can always cover a case in enough weatherizing (plastic and tape) to harden it decently well, and a case like that Feather exemplar that includes access to the button feels like a really nice-to-have. It’s also difficult, as you probably know, to both really weatherize a case, have ports for Micro-USB and wiring, and keep the cost down at the same time – kind of the “pick two of these three” situation.
I don’t think you’re missing anything – as you said, there’s no mounting holes. I’d personally just either use hot glue or something fancier like Sugru.
Eh, yes and no – I’m bringing several wearables to Burning Man that use hot glue. If you leave them in direct sun and black material during the day, sure, if you just keep them in the shade during the day and use good quality hot glue, I’ve never had hot glue fail on me on Playa.
But I hear you, e6000 / Sugru / whatever are certainly safer.
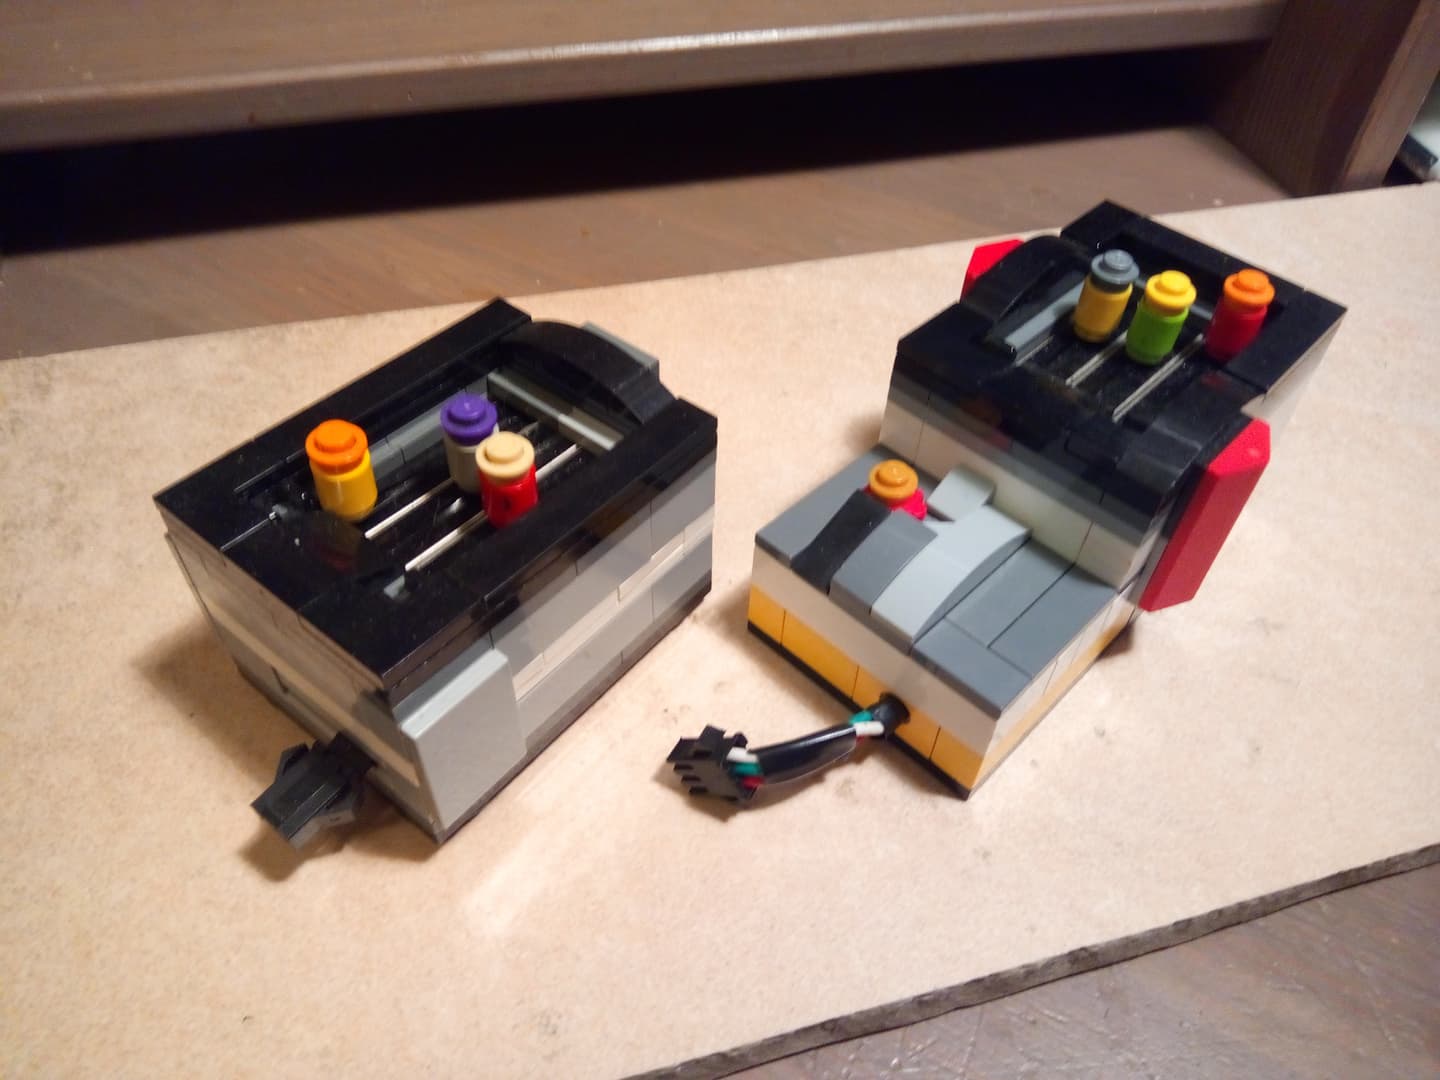
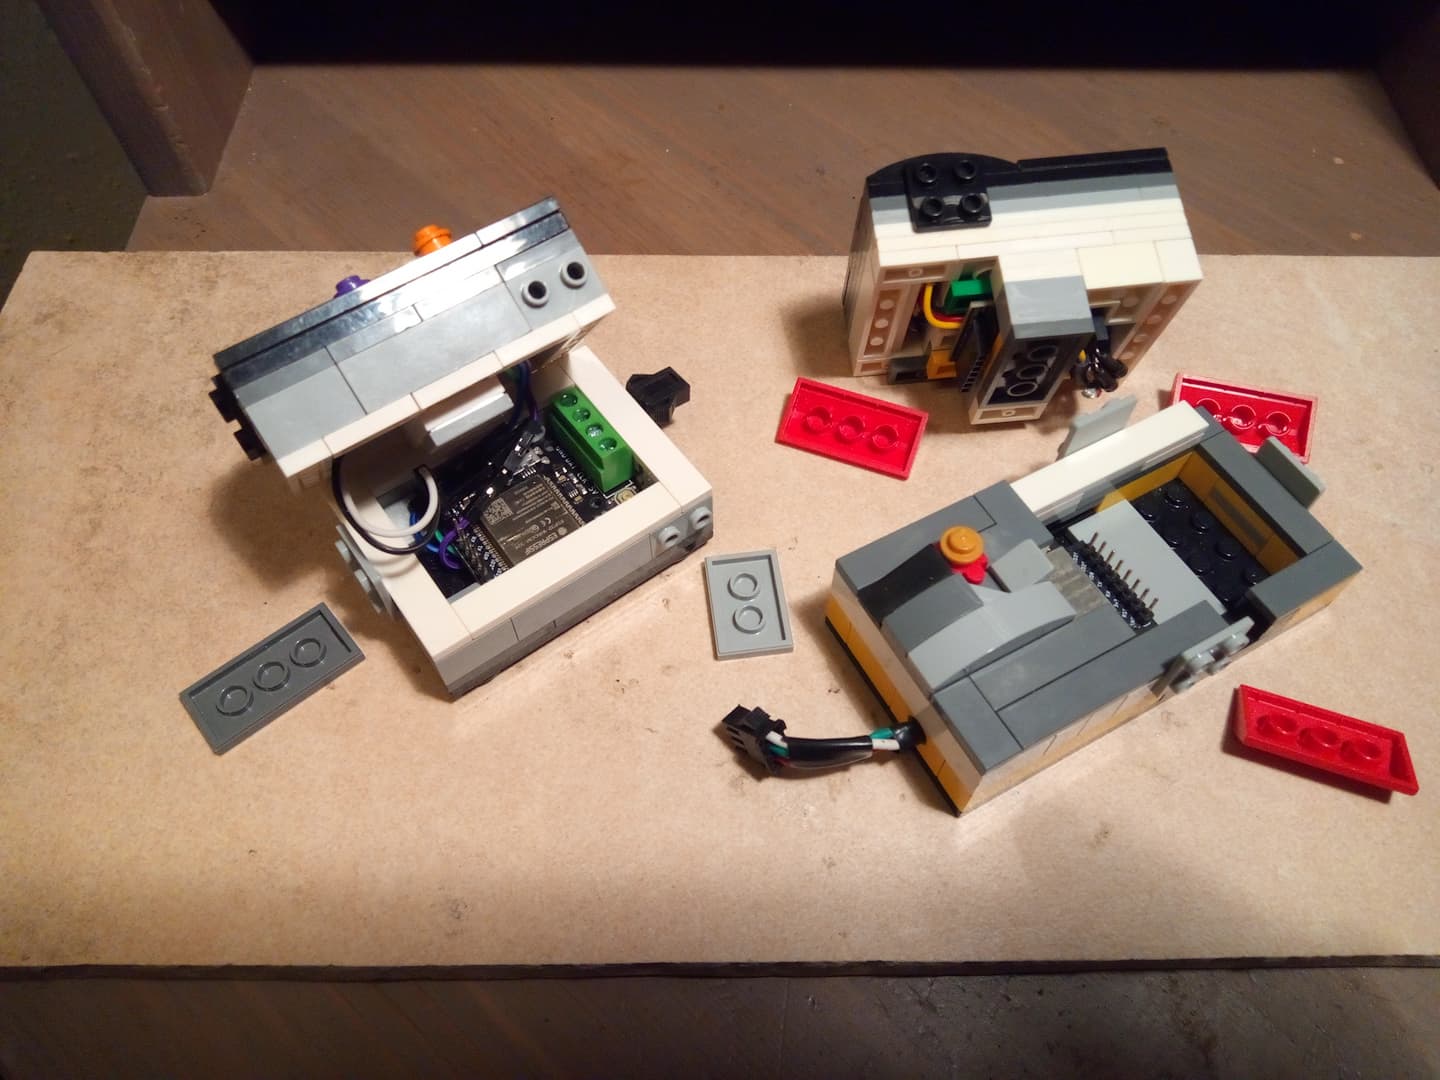
As much as 3D printing would be fun, even if someone else did it … I tend to have different input devices for different projects so every box is unique … and made of Lego!
I connect power to the WS2812B display, then the control boxes receive power and send data via a long cable. The ends are JST connections with broken clips so that they just pop out when pulled too hard. I also get a nice static display if I pull the controller, because that doesn’t interrupt the power.
I have 2 boxes so far, each with 3 potentiometers. The boxes are very solid but readily open up when I remove 3 pieces which hold the top and bottom together. The WiFi antenna slides into a Brick, Modified 1 x 4 with Channel : Part 2653 | BrickLink and with a few tiles under the corners of the boards, everything is nice and snug. The potentiometers are a very tiny bit wide for their 4x6 stud space but the Plate, Modified 6 x 8 Trap Door Frame Horizontal (Long Pin Holders) : Part 92107 | BrickLink on the top holds everything together well. The Lego on the sliders is full of plasticine but speaking of Sugru, I might use that instead once I commit to the colours!
The box on the left is just a Pixelblaze V3 with wires soldered to the pads on the back, connected via 1-pin plugs to the potentiometers.
Following this thread. I’ve been pondering how to handle this for the Mutant Vehicle I’m building and I haven’t really found any good solutions. TBH I’m currently going to just apoxy the PB and the output board to the bread board in the enclosure.
Sometimes the pro expander can really shine for this use case as well.
When just using the economical basic expander, it’s not ideal, but I’ve also soldered the output expander directly to the Pixelblaze, and connected to the expander channels via .1” DuPont connectors. I always have to carefully zip tie the wires that go into these to the enclosure to strain relieve them somehow. I’m usually then getting the channels to some external connector such as the “waterproof” Ray Wu pigtails, or what we used on our art car, the M12 LLT twist-locks. They are my favorite connector by far, and I’ve used them for both data and power injection points.
There are a lot of people here with very common needs. It’d be nice to not reinvent the wheel every time.
Has there been any consideration of setting up a shared repo of knowledge, like a github repo or something that people could contribute to? It could contain drawings, STEP models, etc rather than finding bits and pieces scattered through this forum.