This is a build guide for the floor lamp as seen in Party-in-a-Box!
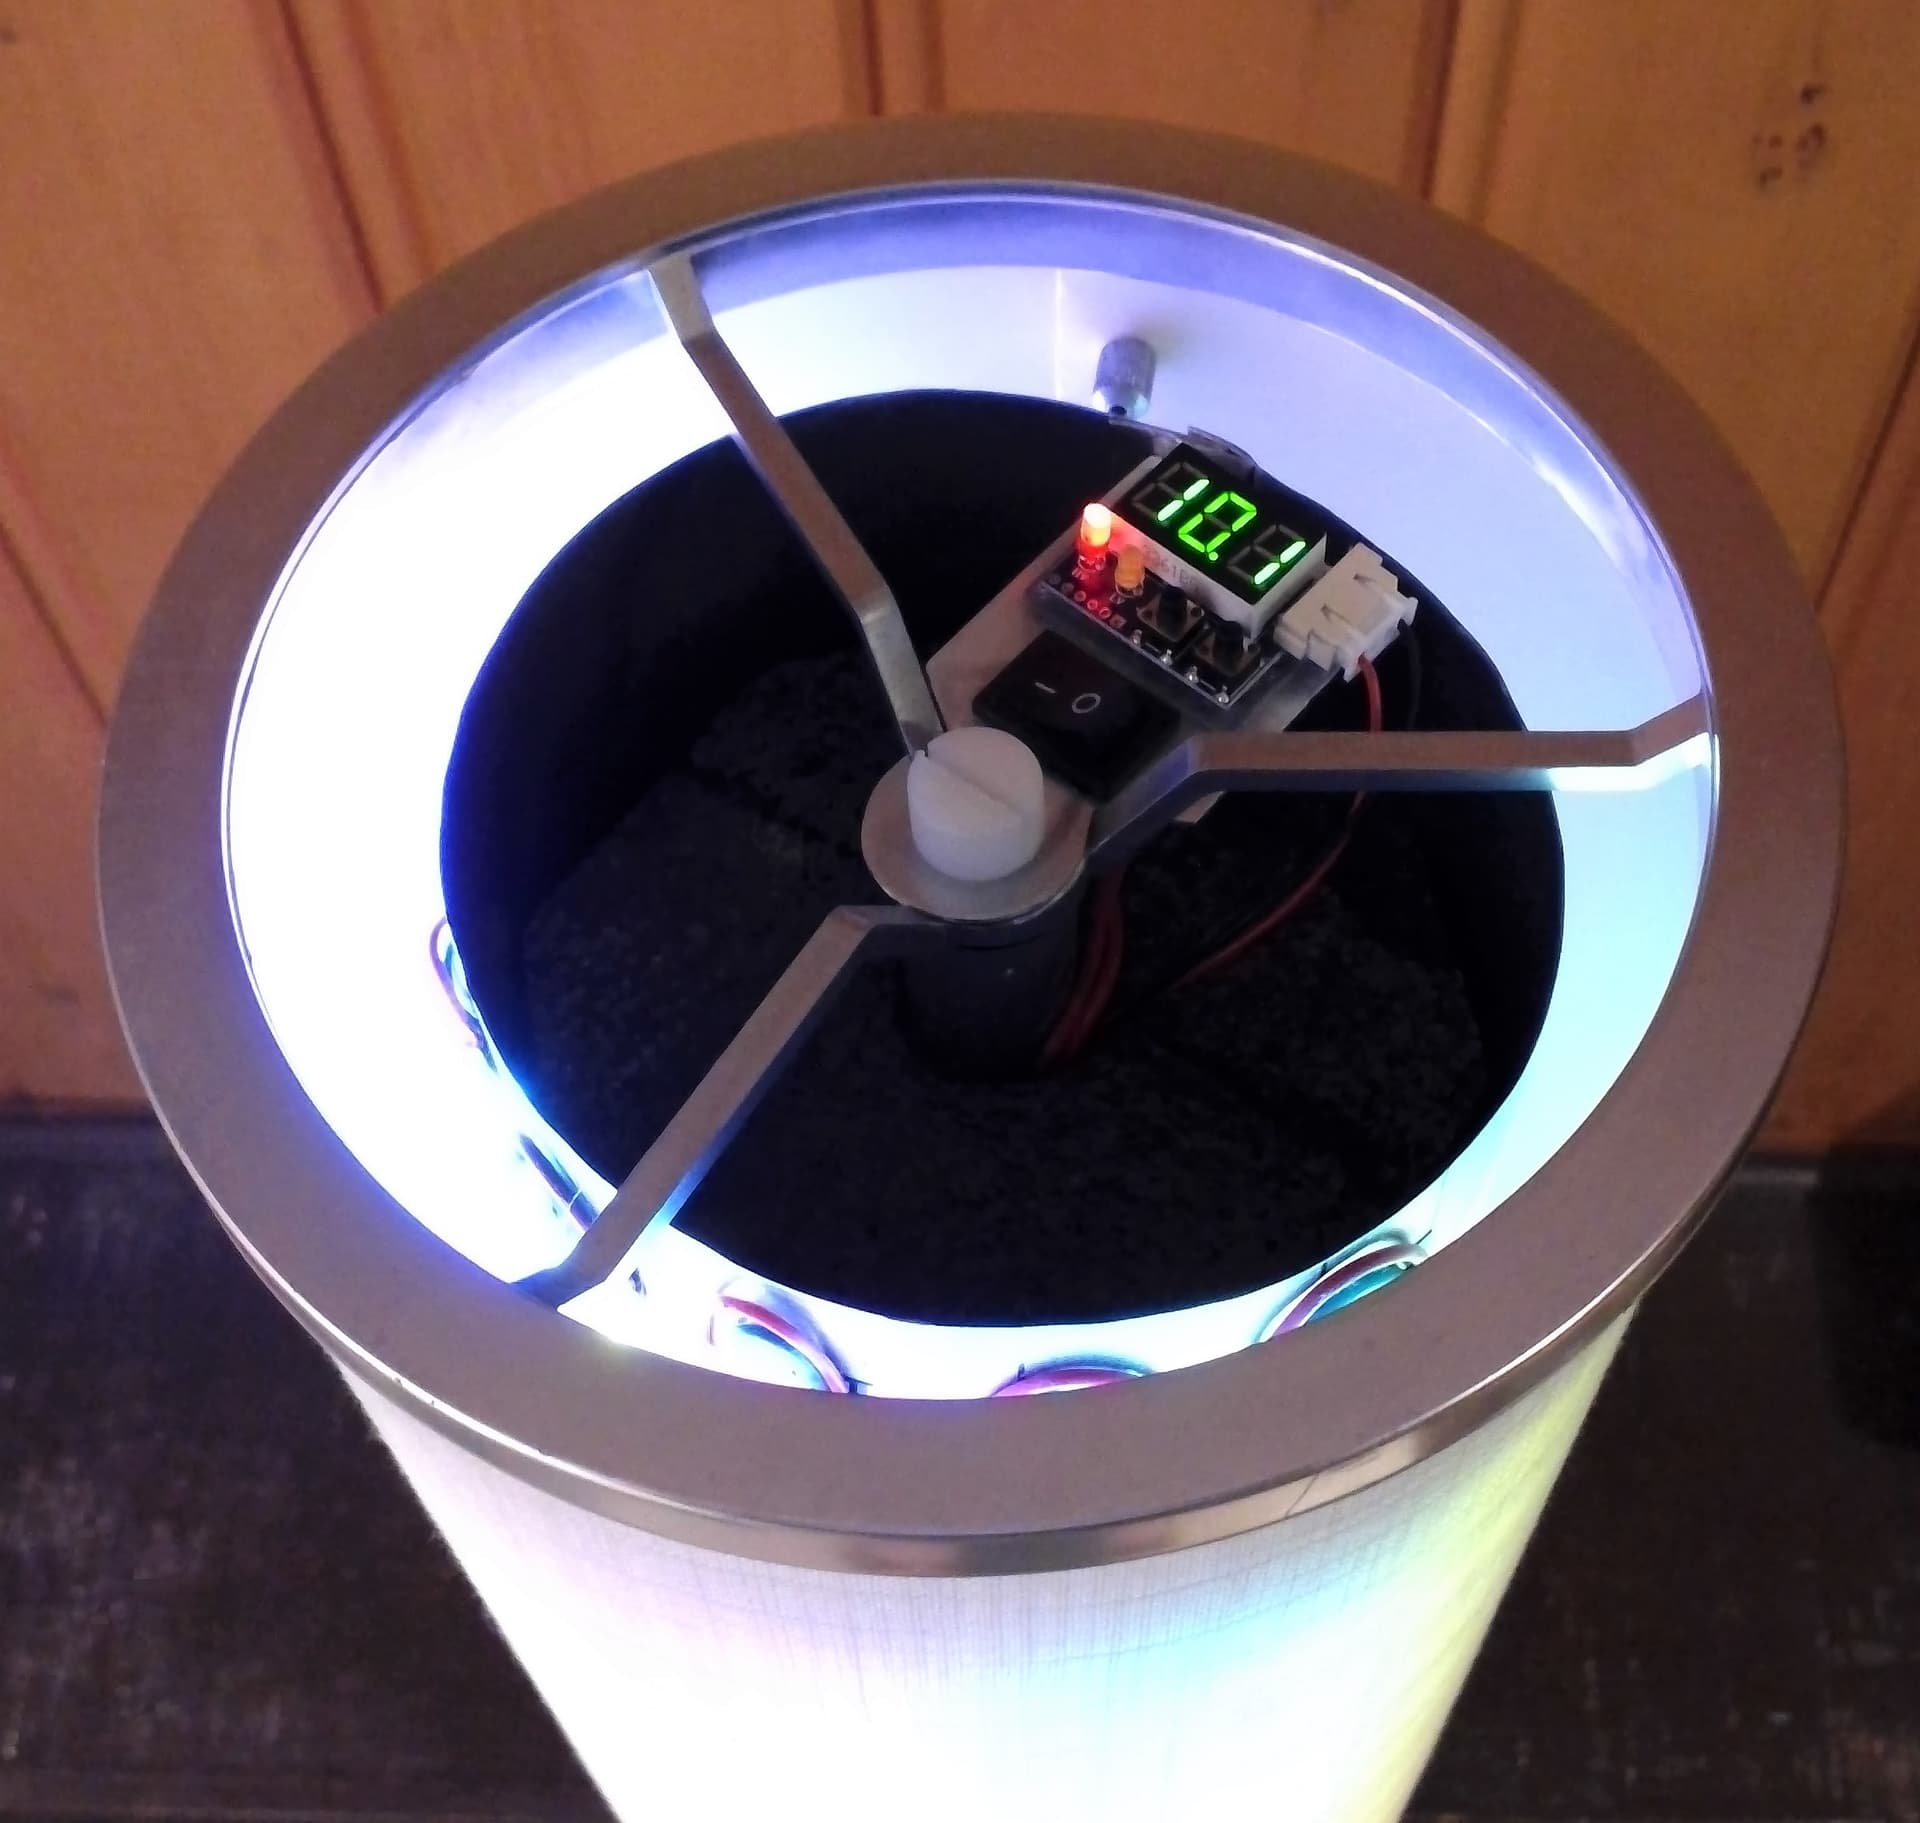
Last summer our neighbour down the lane had a yard sale. Later that evening, an Ikea “Vidja” floor lamp showed up at the curb in a free pile. Coincidentally, I had visited the Ikea website several times and had selected that exact lamp for my bucket list of Pixelblaze projects. Within moments I had claimed ownership of the lamp and a new project had begun.
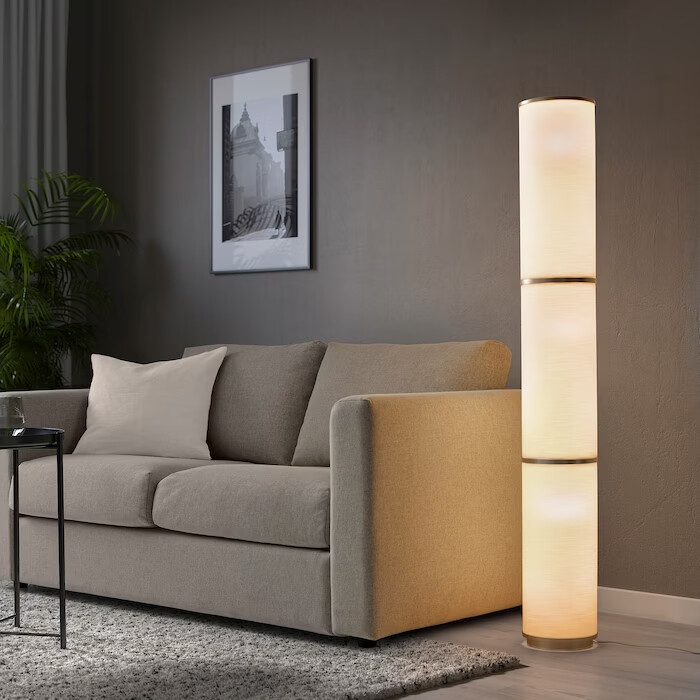
I washed the shade with a soft brush and soapy water and it turned out amazingly well. Then the 120 volt components were removed leaving only the central pole. I started with 360 SK6812 RGBWW LEDs in 9 columns of 40 LEDs each mounted on a 55" length of 5" galvanised c-vent.
Notice in this photo there is duct tape securing the strips… about a month after I made this prototype, the tape was curling up, falling off and had left a sticky residue on everything it had touched. When I upgraded from this early version, adding 4 more columns for a total of 520 LEDs, I secured them with celluloid strips from the recycling bin and used clear packing tape on the back side which made the strips very secure. I learned from the “Trees” project that finding a layout for the strips that meets your requirements and testing the operation before you permanently mount them is a good thing.
The LEDs are wired in a zigzag and power injected in the middle of the matrix. The lamp is 57 3/4" x 7 1/4" and the distance from the LEDs to the shade is about 19mm. As the shade is multi-layered, fabric over translucent plastic, the light is nicely diffused. The LEDs are centered on the front 2/3rds of the lamp.
This is a view of the new inner workings of the lamp with the top section of the shade removed. If you look closely you can see the celluloid strips and no duct tape.

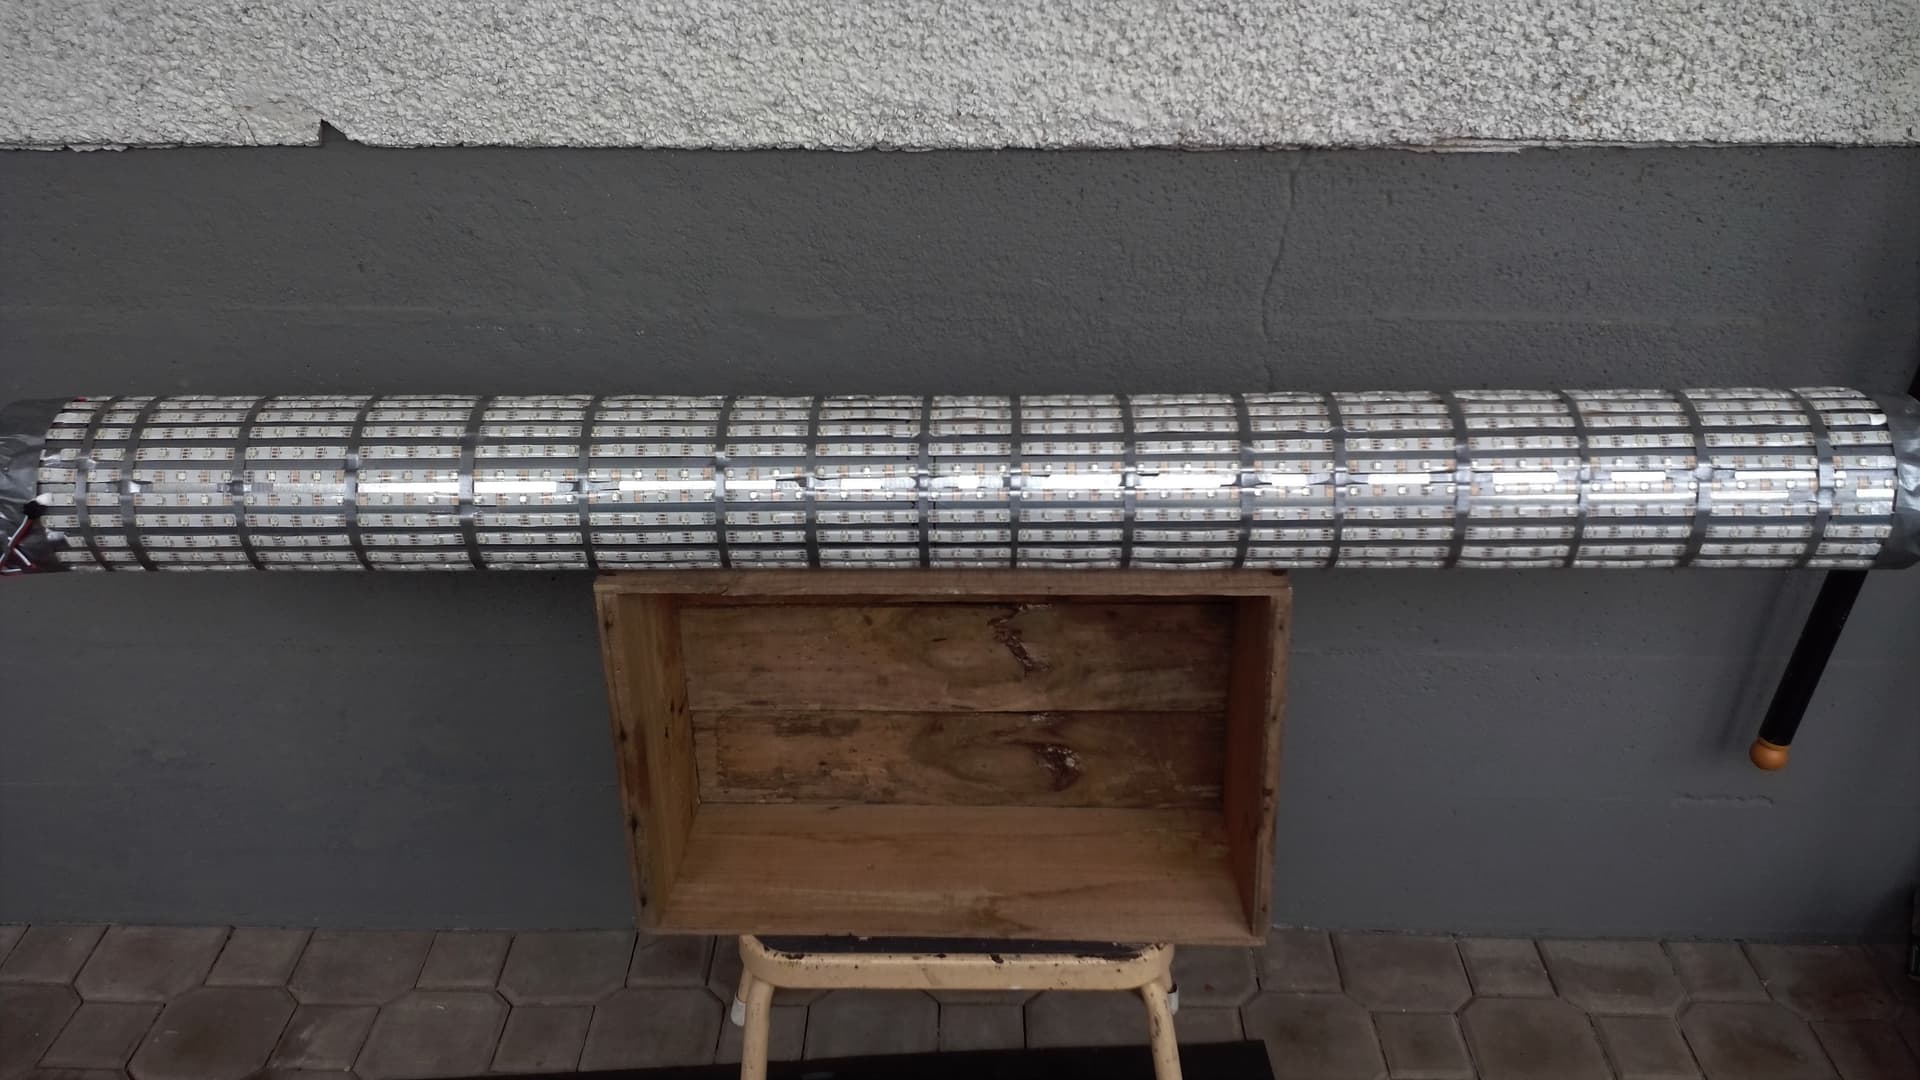
This is a view from the top of the lamp showing the voltage indicator, power switch and black pool noodle central stabilizer.
This is the “dark” side of the lamp showing audio input jack, 12V charge/external power port and male JST balance connector. When not in use the balance connector disappears nicely into a gap between the chrome-plated base and the block of cast iron that stabilises the lamp. The audio input jack is not connected to the controller, and hopefully won’t ever be used. ![]()

The components used were a Pixelblaze Standard V3 controller with sensor board, 560 SK6812 RGBWW addressable LEDs, a 3S2P lithium battery pack, an RCNUN 100w 12V to 5V converter, a rocker switch and a digital voltage indicator, a female 12V power connector (5.5 x 2.1) for charging or external power, and a male JST HX2.54 connector for balancing. The battery pack and converter are mounted on the base to keep the center of gravity low, while the switch and voltage indicator are mounted on the top of the center post for ease of access.
This lamp is a cordless, sound-reactive party lamp, but it also functions as a normal, cordless, warm white, dimmable floor lamp. The existing battery pack powers the lamp in party mode for about 7 hours. The power is set at 50% brightness and the slider on the Patterns page around 25%. Run time for non-party operation has not been tested yet, but should be considerable given that the separate warm white chips are in use instead the usual red+green+blue that creating white light from LEDs normally requires.
Next thing on the list is to find or make a funky lava lamp pattern.