This is a build guide for the “Trees” wall art as seen in Party-in-a-Box!
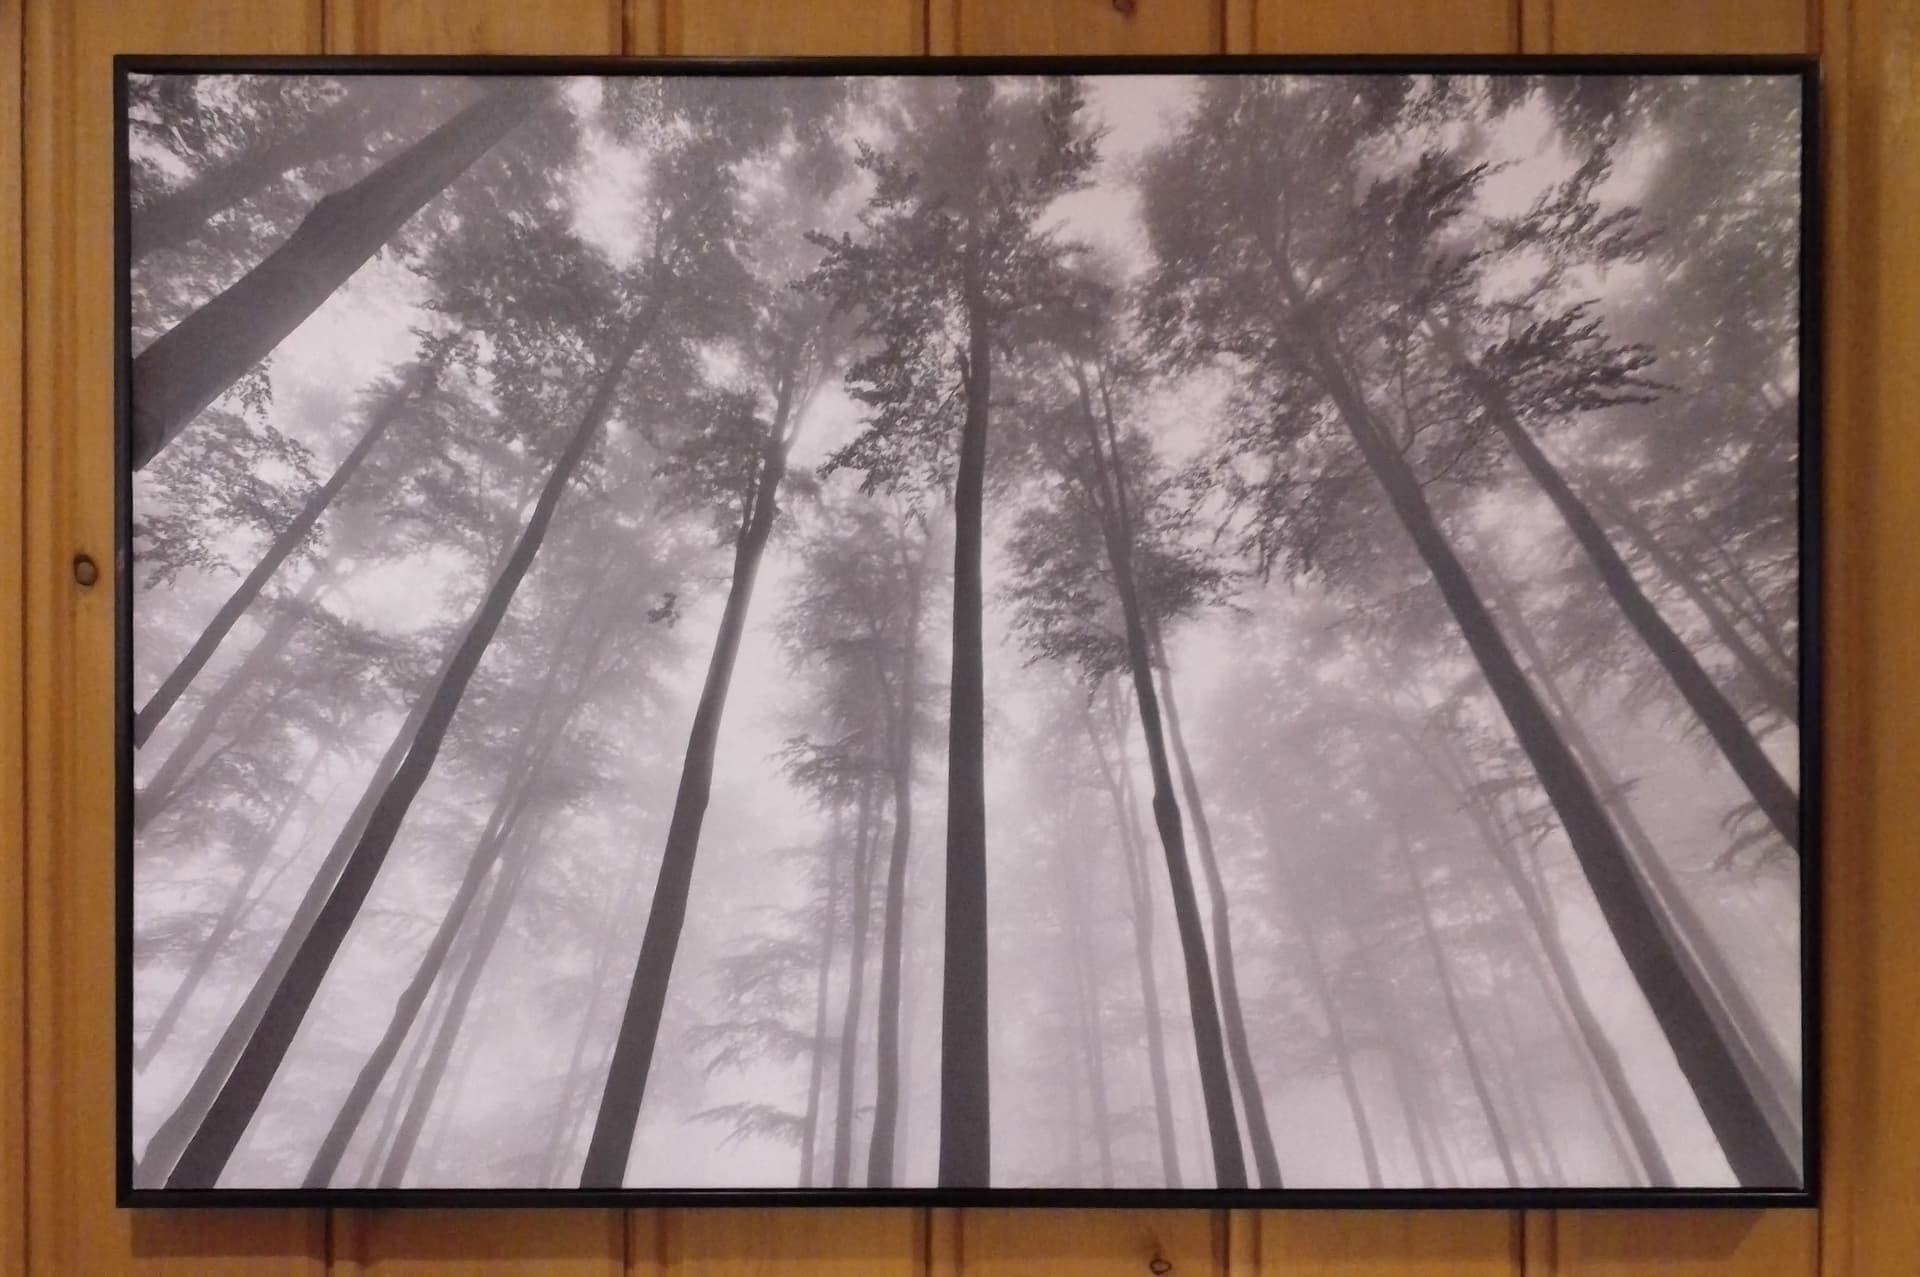
“Trees” is a black and white photo printed on canvas and mounted on a gloss black floating frame that measures 37" x 25" x 1.75". My brilliant wife brought it home from a discount houseware store thinking it would be a perfect canvas for the application of “blinky lights”. I agreed and got busy!
Here is what it looks like during the day.
I started this project thinking that different light levels would look good from behind the canvas because the density of the print on the bottom part of the photo is much lighter than that on the top.
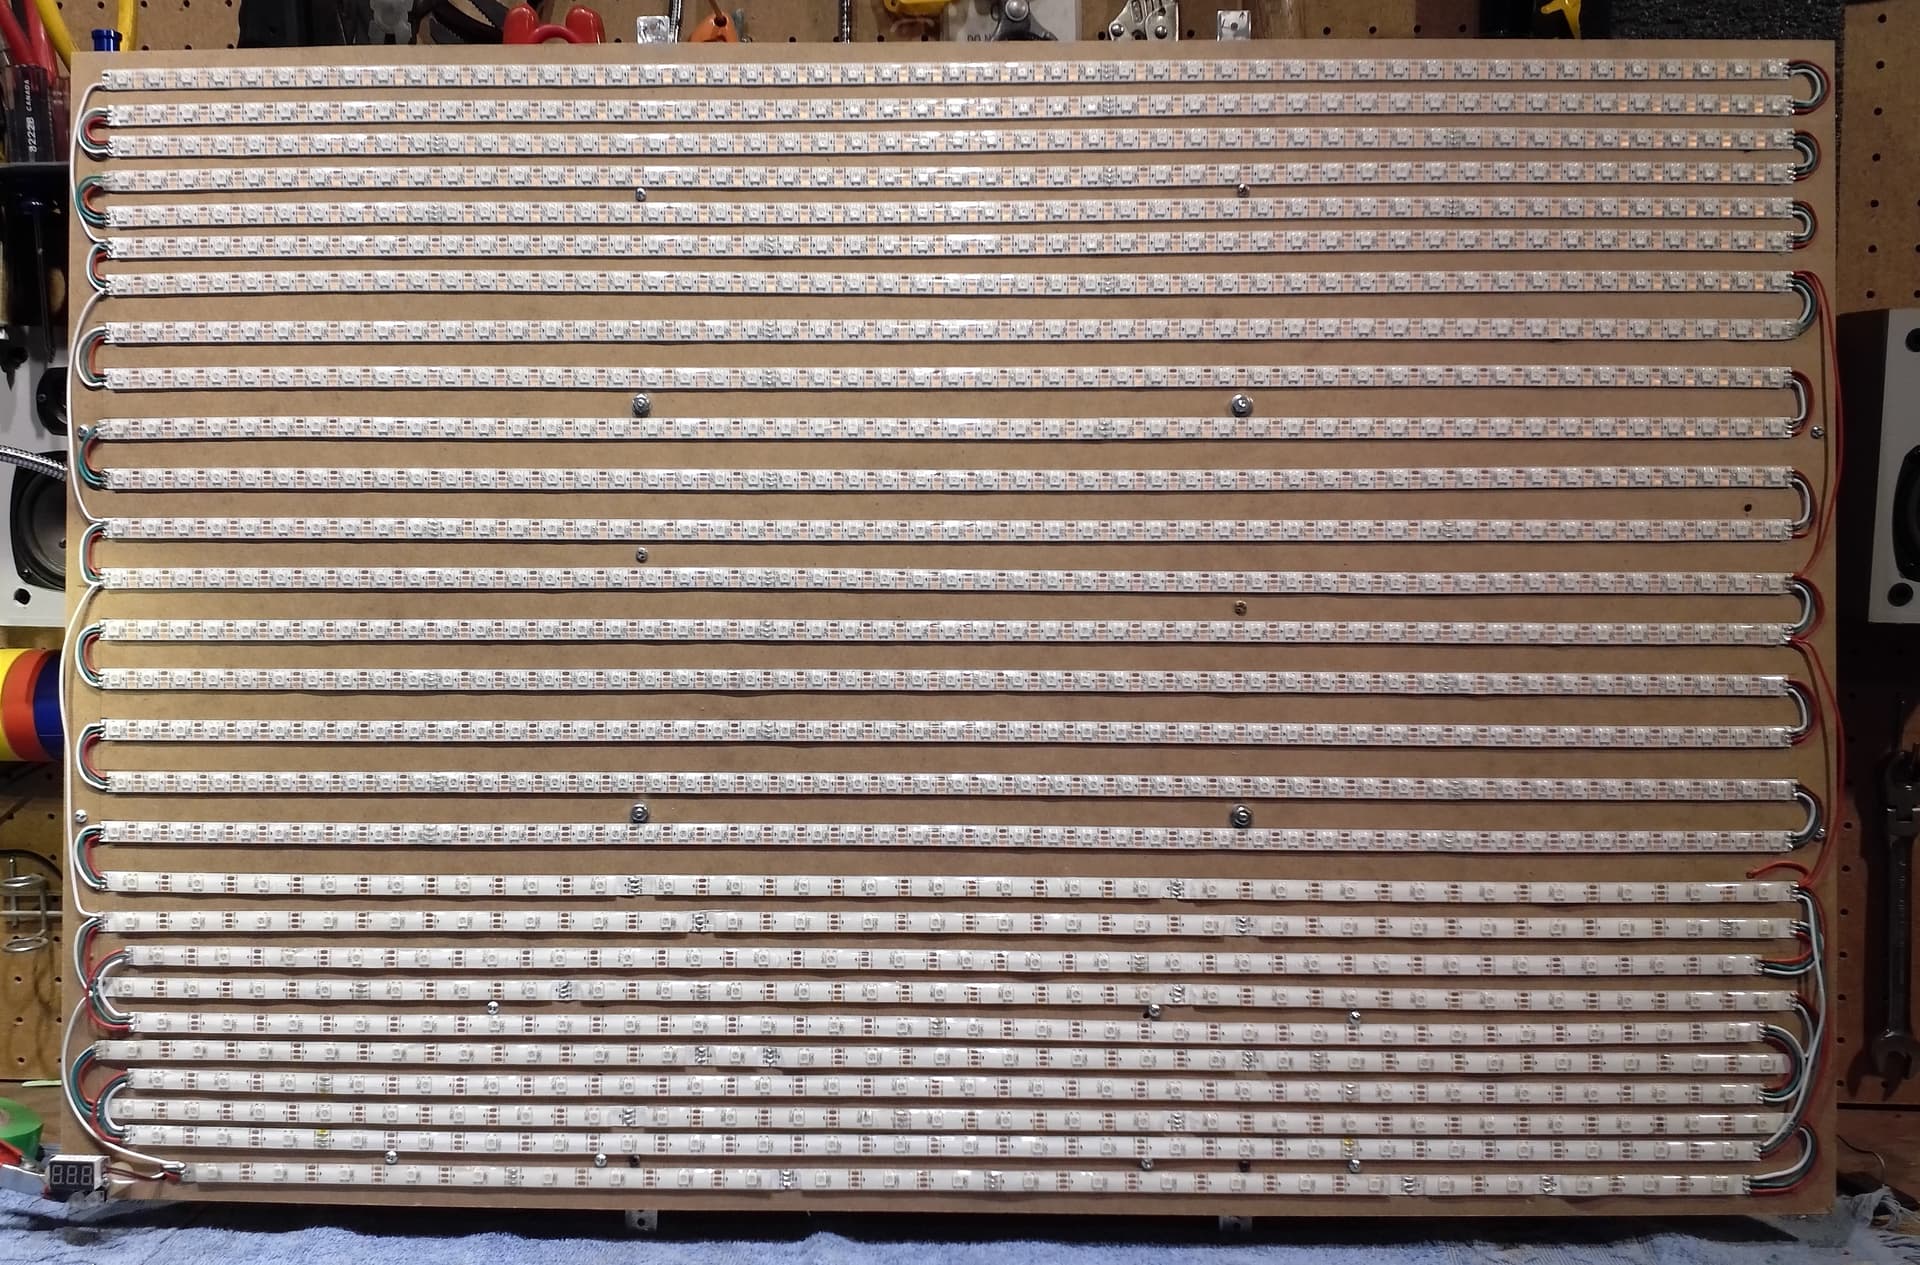
After the application of 30 LED/m strips (lower part) and 60 LED/m strips (upper part), the test operation results showed that was a silly idea. It did not look good.
The print on the canvas has little or no effect on the lighting that passes through.
The proper fix for this problem would be to remove all the lower density LEDs and re-install them at the proper density. However, the adhesive on these strips is very good. Removal would have damaged the hardboard, and quite possibly the strips themselves, requiring removal of debris from the back of the strips and also the application of new adhesive.
So, rather than start again from scratch, I added four more strips to the bottom area and re-mapped the new layout. I can see the different densities when I watch it in operation, but most people don’t seem to notice. If I built this again, I would make a regular matrix with the same density of LEDs across the entire area and use 60 LED/m strips.
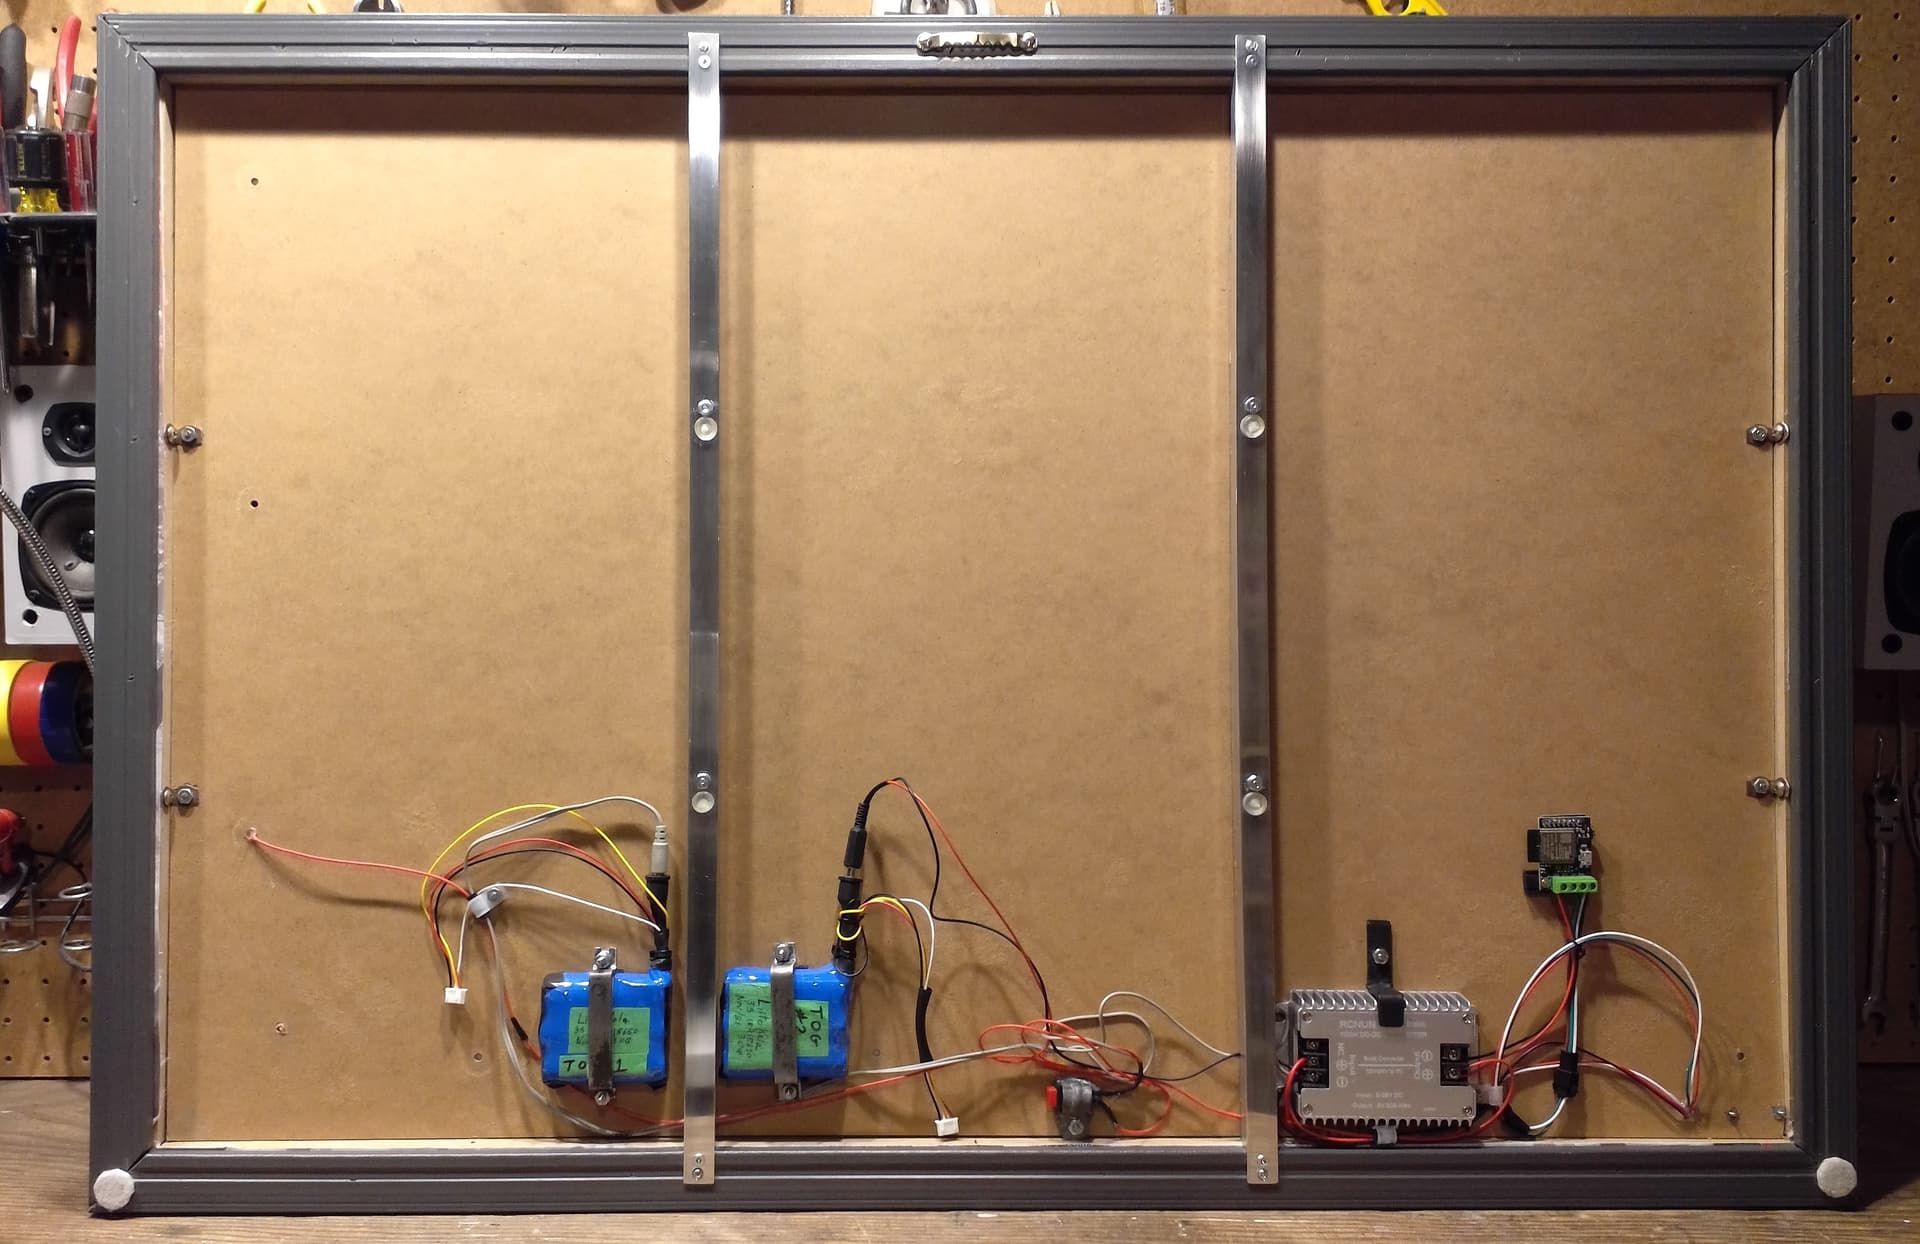
There are 1144 WS2812B RGB LEDs mounted on piece of 3mm hardboard approximately 13mm from the back of the canvas. The LEDs are wired in a zigzag and power is injected about every fifth row. There is a Pixelblaze Standard V3 controller with sensor board, two 3S 18650 lithium battery packs, an RCNUN 100W 12V to 5V converter, a push button switch and a voltage indicator in the bottom left corner.
The frame was fairly sturdy but required a little strengthening after the addition of all the hardware. Two right angle aluminum struts were added to provide some structural support. There are plywood strips behind the struts to keep the backer board straight and flat. You can see the four nuts and bolts and four screws visible on the front side of the backer board.
This unit runs for about 7 hours with the current battery packs. It is quite bright with the main power setting at 50% and the slider on the Patterns page in the GUI set at about 20%.
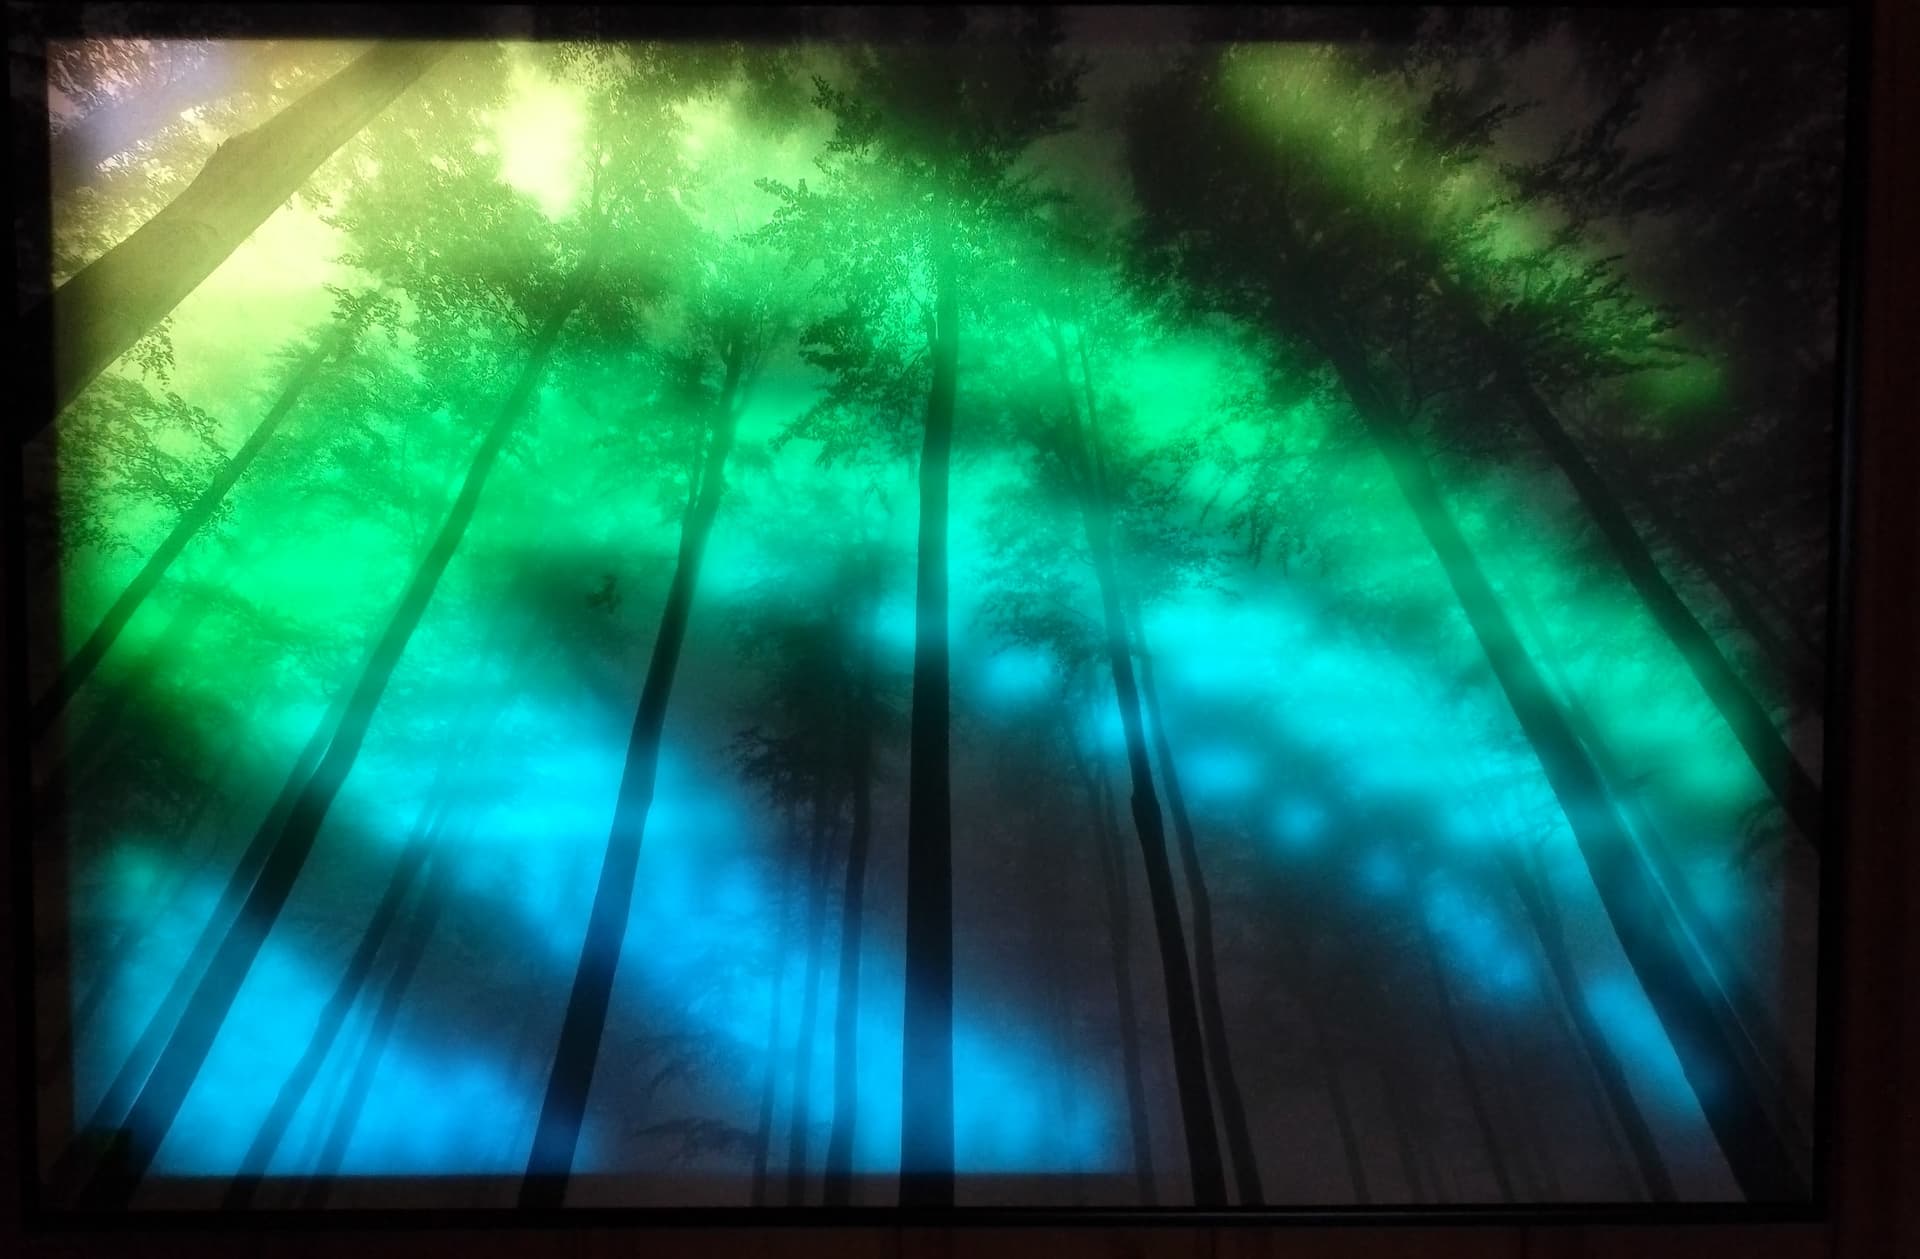
Very nice build guide! And I love “Trees.” I was inspired to create a pattern replicating sun rays through a foggy forrest of trees. I hope you like it, and I’d love to see how it turns out on your display.
Holy cow!! Talk about inspiration, you nailed it! I played with “Sun rays through trees” for over an hour last night and it’s beautiful, the wave-like rays descending, the colour slider, the strength slider, and multiple ray sliders give you a huge range of effects. This is the first pattern I’ve seen that I would run on this display during the day, maybe at 15%. The rays are so ethereal, contrasting with the solidity of the tree trunks as they flow down from the sky above; this pattern works with the print instead of just through it. Truly amazing!
There’s only one problem… Sigh.
My hardware is not good enough for your software. The bottom half of the display needs to be upgraded to the density and consistency of the upper half. As stated above,
I thought “Trees” looked good after dark with bright, sound-reactive patterns and music playing, but this is a whole new aspect of wizardry. Subtle, organic, diurnal, the quiet cousin. I love it!
So, I just checked my stock and I think I have enough 60LEDs/m WS2812’s to make “Trees” worthy of your pattern.
In the meantime, keep visualising what you saw when you received your inspiration, because that is exactly what it looks like in operation.
P.S. A shout out to @zranger1 for providing the framework for the inspiration. Coronal Mass Ejection is an awesome pattern.
“Trees” has been upgraded to a consistent density of LEDs and now has 1499 WS2812B RGB LEDs. The removal and re-application was not as difficult as I had imagined and neither the substrate nor any strips were damaged in the process. The new adhesive appears to have worked quite well and the display now looks much better than the original. The rays are smooth and have much better resolution.
Thank you @wizard for the beautiful addition to the patterns library.
I do have one question, the pattern runs on my display at approximately 7.5 fps. Is this simple math, maximum fps divided by 1499 pixels?
Part of it is CPU, part of it is the LED data rate, and part of it is how WS2812 type LEDs are buffered before being sent in 2 stages instead of rendering and data happening in parallel.
You could boost FPS quite a bit with an output expander, and splitting the matrix up into 2+ segments driven with different output channels.
WS2812 type LEDs have a fixed data rate of 800kbps, or about 33k pixels/sec for RGB LEDs. That’s means it takes about 1/22 of a second (about 45ms) just to send the data for one frame. The rest of your frame time is CPU time, which maths out to around 88ms.
An output expander lets Pixelblaze pipeline the rendering and data, has double the bandwidth, so would mean your FPS could be around 11.3, limited by the CPU.
For even more FPS, I think throwing a few PBs at it running in parallel with the network sync stuff I’m working on would really boost it! If you have PBs to spare and want to give it a try, send a DM.