Meetup at Burning Man 2022

@PrismaticPhilo -

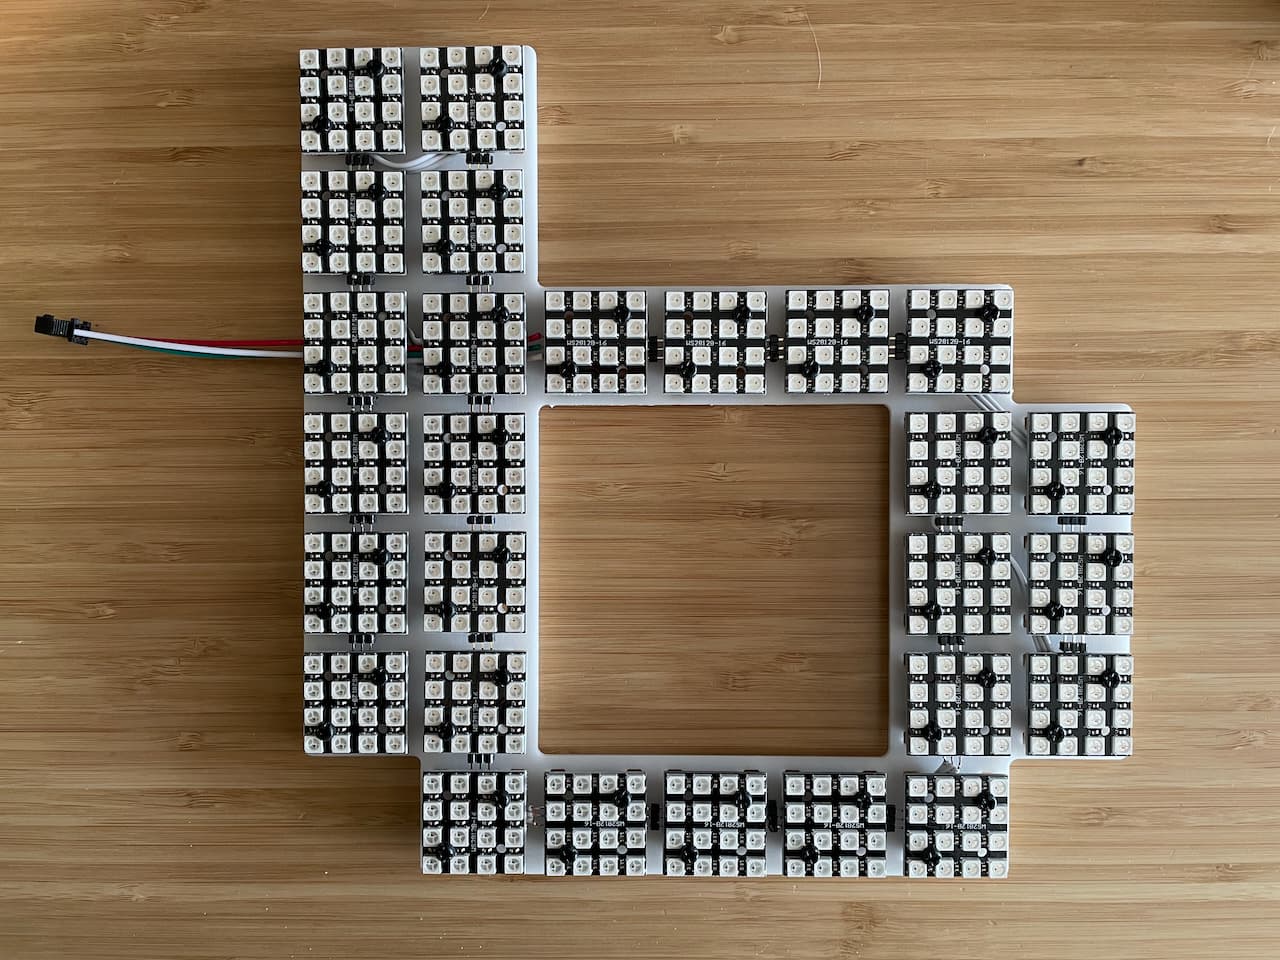
The 4x4 matrix I used is basically like this one - 4x4 matrix, aliexpress although its about 50% more expensive now… i got them for $0.85 each. might be good to shop around, and pay attention to shipping costs.

the 4x4 panels measure 30mm square.

building a jig is essential. i had to iterate on the jig a few times to find one that worked. i originally tried 3D printing one but it wasn’t precise enough (flat enough) and required too much clean up, then i moved on to laser cutting a slab of delrin.

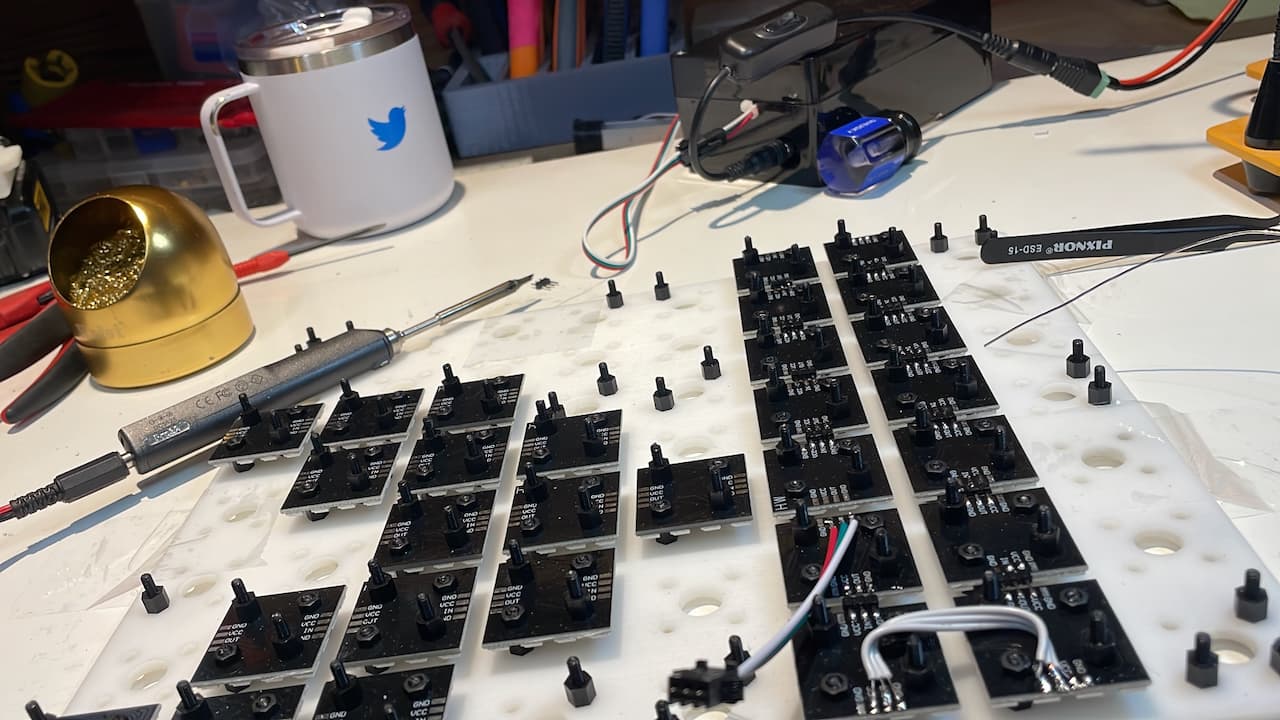
then you can see i am bridging the gaps with header pins. they’re exactly the right spacing and length. for corner turns and u-turns, i had to cut wire lengths. the input begins in the middle of the letter, and dont forget to add power injection. i found adding power injection with a heavier gauge cable at the last tile worked just fine.

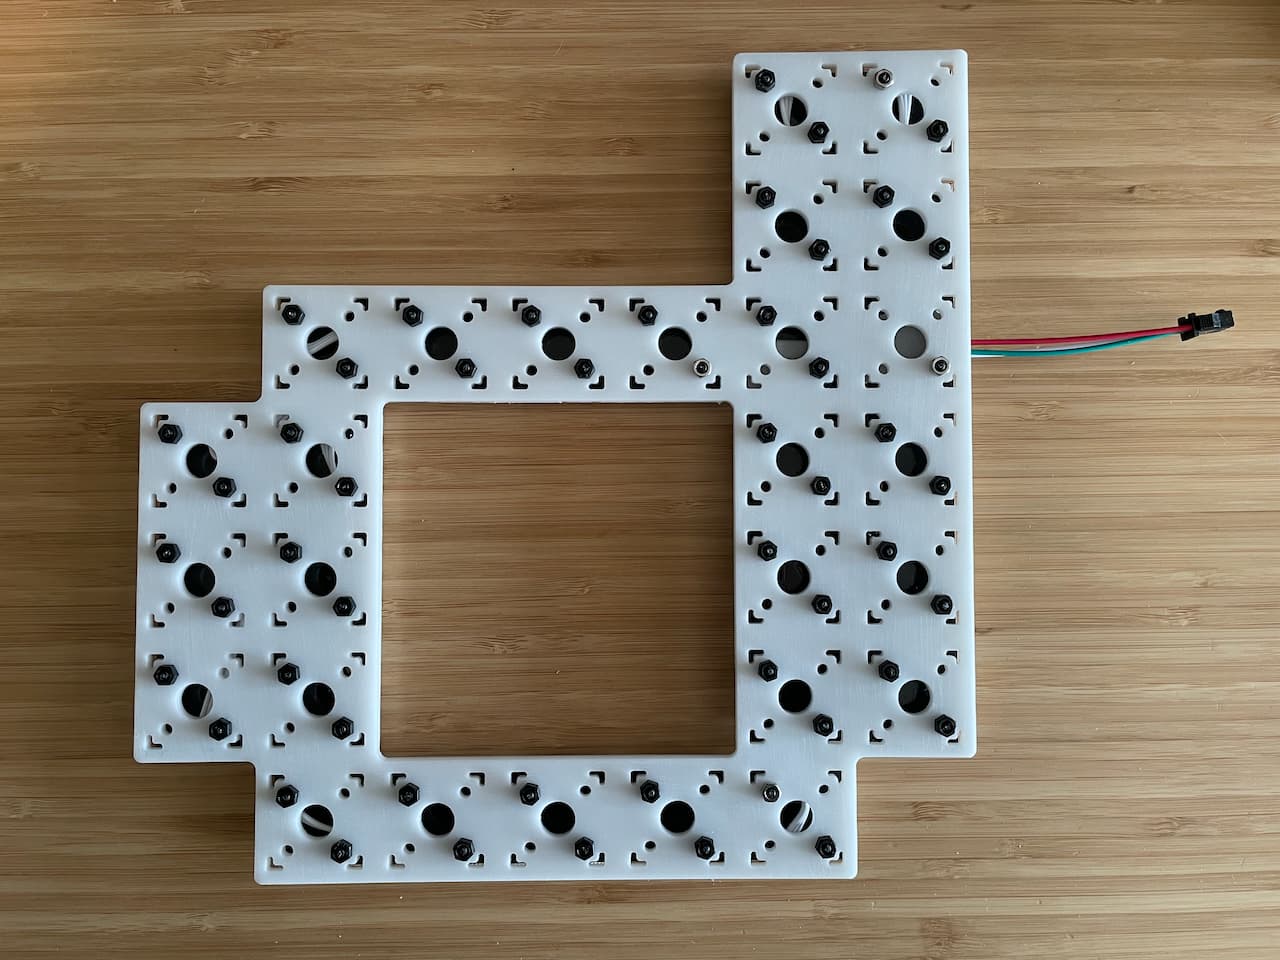
this is the completed letter. so after screwing it upside down in the jig and soldering all the connections, it can receive a custom cut delrin sheet backing that holds everything in place, and as a bonus, serves as very solid protection of the wiring

lastly - i laser cut some 15% black diffuser acrylic and 3D printed the letter shells.

@hex337 - the LEDs are about 27mm from the bottom of the diffuser acrylic. that was the closest i could bring it without the individual LEDs beginning to resolve into their own spots.

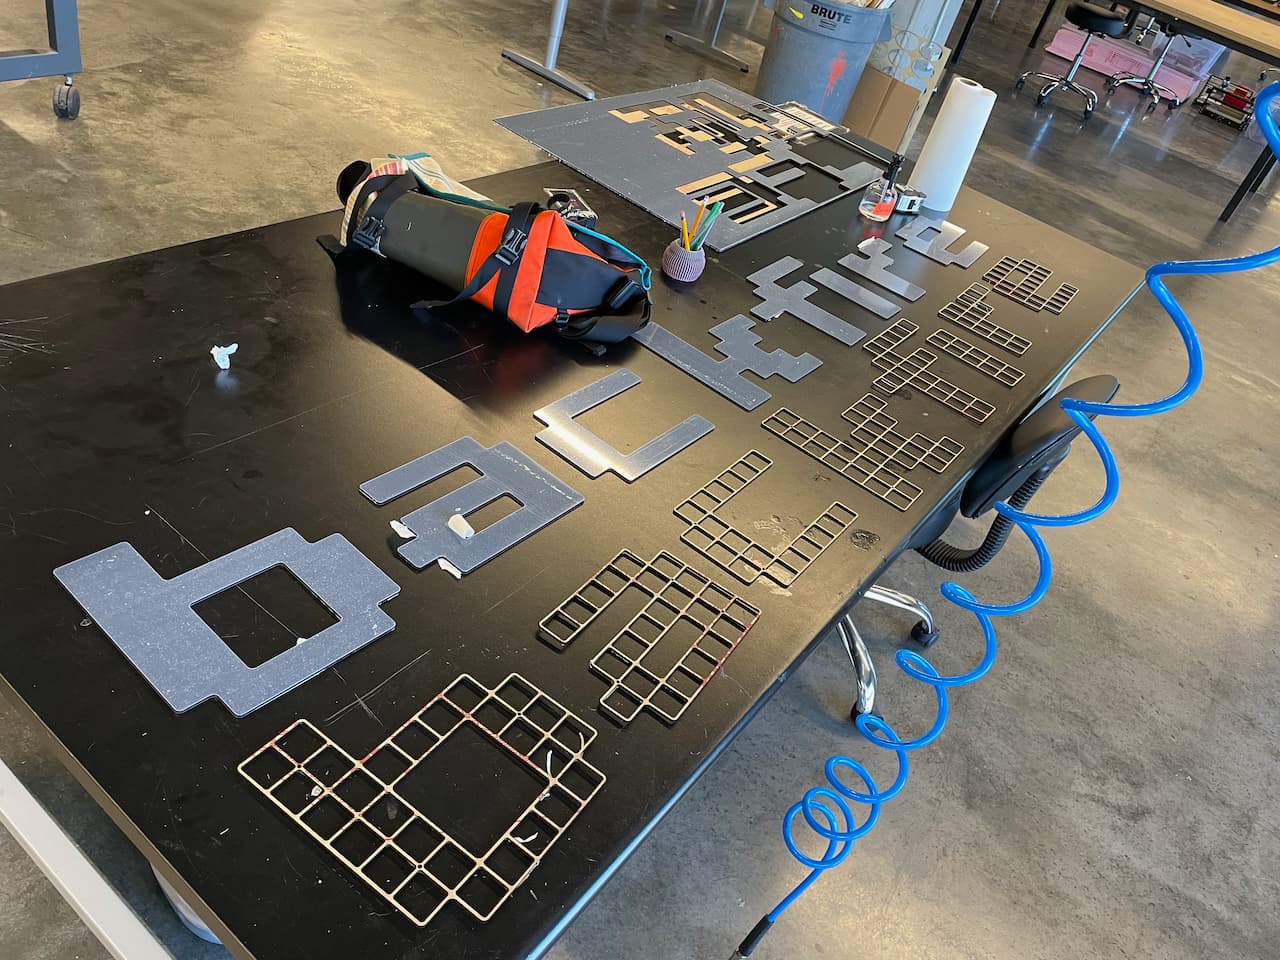
At this point I was seriously running out of time to finish before leaving for the playa. So I hastily built the display case. I printed out the back of each letter’s jig as a drawing and taped them together to make a template where I could drill all the necessary holes for mounting them and running the wires through.

The backing sheet is a new material I’ve discovered, its called ACM aluminum composite material, which is two thin sheets of aluminum with a plastic composite core. (about 3mm thick) - it is basically the same material used in road signs! Its really super easy to cut and drill with power tools and its quite robust. you can pull the protective film off and get a very nice clean white surface.

And thats basically the build process. I was going to write up something to post on my website, but I still havent gotten around to it!

5 Likes

Oh man, this is some amazing information. Thank you so much for taking the time to type all of that up :slight_smile:

I just bought a 3d printer after holding out for 5 years, and now you’re telling me I need to get a laser cutter too :cry:

thank you! whats not mentioned in the writeup is that i had to iterate on pretty much everything up to the final build… i made a lot of mistakes, learned a lot of things along the way… my trash bin will testify to that. :slight_smile:

the 3D printer is essential too! i printed all the letter shells on my 3D printer.

the laser cutter is just another (fantastic) tool in the toolbox. but luckily i have access to a shop with a large format laser cutter so i don’t need to buy one.

might be worth checking out local resources.

1 Like

You can use your 3D printer to make a laser cutter! :stuck_out_tongue:

I think this is the hardest part. Trying things, finding out they don’t work, trying something else. I wish there was a better spot to store collective wisdom on all of these things so that we don’t all make the same mistakes and instead use that energy to improve things even more.

I was going to make a sign for my team in our new office space, and now I kinda want to try something like this but with 2x2’s instead of 4x4’s for space savings.

@hex337 - if thickness and weight isn’t a concern to you, you can simplify the build by using pre-wired matrixes (like the 12V one linked above).

i built a prior generation of the backfire sign for the 2019 burn using bullet style wired LEDs. the downside is you have to work with the constraints of the predetermined wiring spacing, either coming up too short (when you need to do jumps) or having excess wiring to pack up in the shell space. packaging also pretty much limited me to just one LED per “pixel”. the sign letter shells ended up being 3" thick to accommodate all this.

this design iteration is much slimmer but considerably more upfront design and preparation work.

I have done something kinda like that in the past where I just used a few led strips behind diffused acrylic, but I like the idea of learning some new tips and tricks. I love the idea of using headers to do the joins between “cells” and also forcing myself to do some 3d printing with the walls.

I realized I never posted back here to share! We had an amazing year, and the hexadechacoron worked exactly as hoped for! Super fun to pull out the Chromebook while sitting in camp and play with the light settings as people walked by. Thanks again everyone for all your help this year!

https://www.instagram.com/p/CjBGFJFpW1F/

2 Likes

That link doesn’t work for me but I would love to see it!

Try this one: December 11, 2022 - YouTube

2 Likes