Need help with power issues

I’m fairly new at this and hoping someone can help out. I’m working on a music festival totem which will be an infinity prism in the shape of a rhombic dodecahedron. Here is a picture of my working model if you have no idea what I’m talking about:

I’m running a Pico V3 with an output expander, WS2812C-2020 LED strips, powered (currently) by a 5v 2.4a Lithium Ion battery (or sometimes a 5v 2.4a wall adapter when testing).

I don’t feel like I’m running a ton of LEDs, but if I turn the brightness up beyond 20% everything stalls out if pattern shows all white. I’m guessing that I’m drawing too many amps, but not sure if the limitation is the pico, the output expander, the battery/wall adapter, or something else in the chain. LEDs are rated for max current of 6 amps.

I’m running a total of 960 LEDs, even output channels (and channel 0) have 160 LEDs each, and odd channels have 80 LEDs each.

Can anyone tell me how to figure out where my issue is and how to solve it? If I just have to limit the brightness to 20% its not the end of the world, given the pixel density the thing is still bright enough, but if I had my way I would prefer to pump it up to around 50%.

Hi @ajp1113 ,
Welcome to the forums! Great looking totem!

Definitely underpowered for that many LEDs.

The ws2812c output power is a little lower than the ws2812b, up to 5mA per element. White mixes 3 elements and would take up to 15mA.

Even dark, addressable LEDs draw 0.5-1mA, which is 21-42% of your available power right there.

20% white might be almost 4A. (3+1) mA per pixel, and another 100-175mA for PB.

1 Like

Ahh, that makes sense, thanks for the data points!

If I’m understanding the math correctly, it sounds like the best I can hope for with ~1k LEDs is 40% brightness to avoid going past the 6A rating of the strips.

Any suggestions for 5V 6A power supplies (or batteries)?

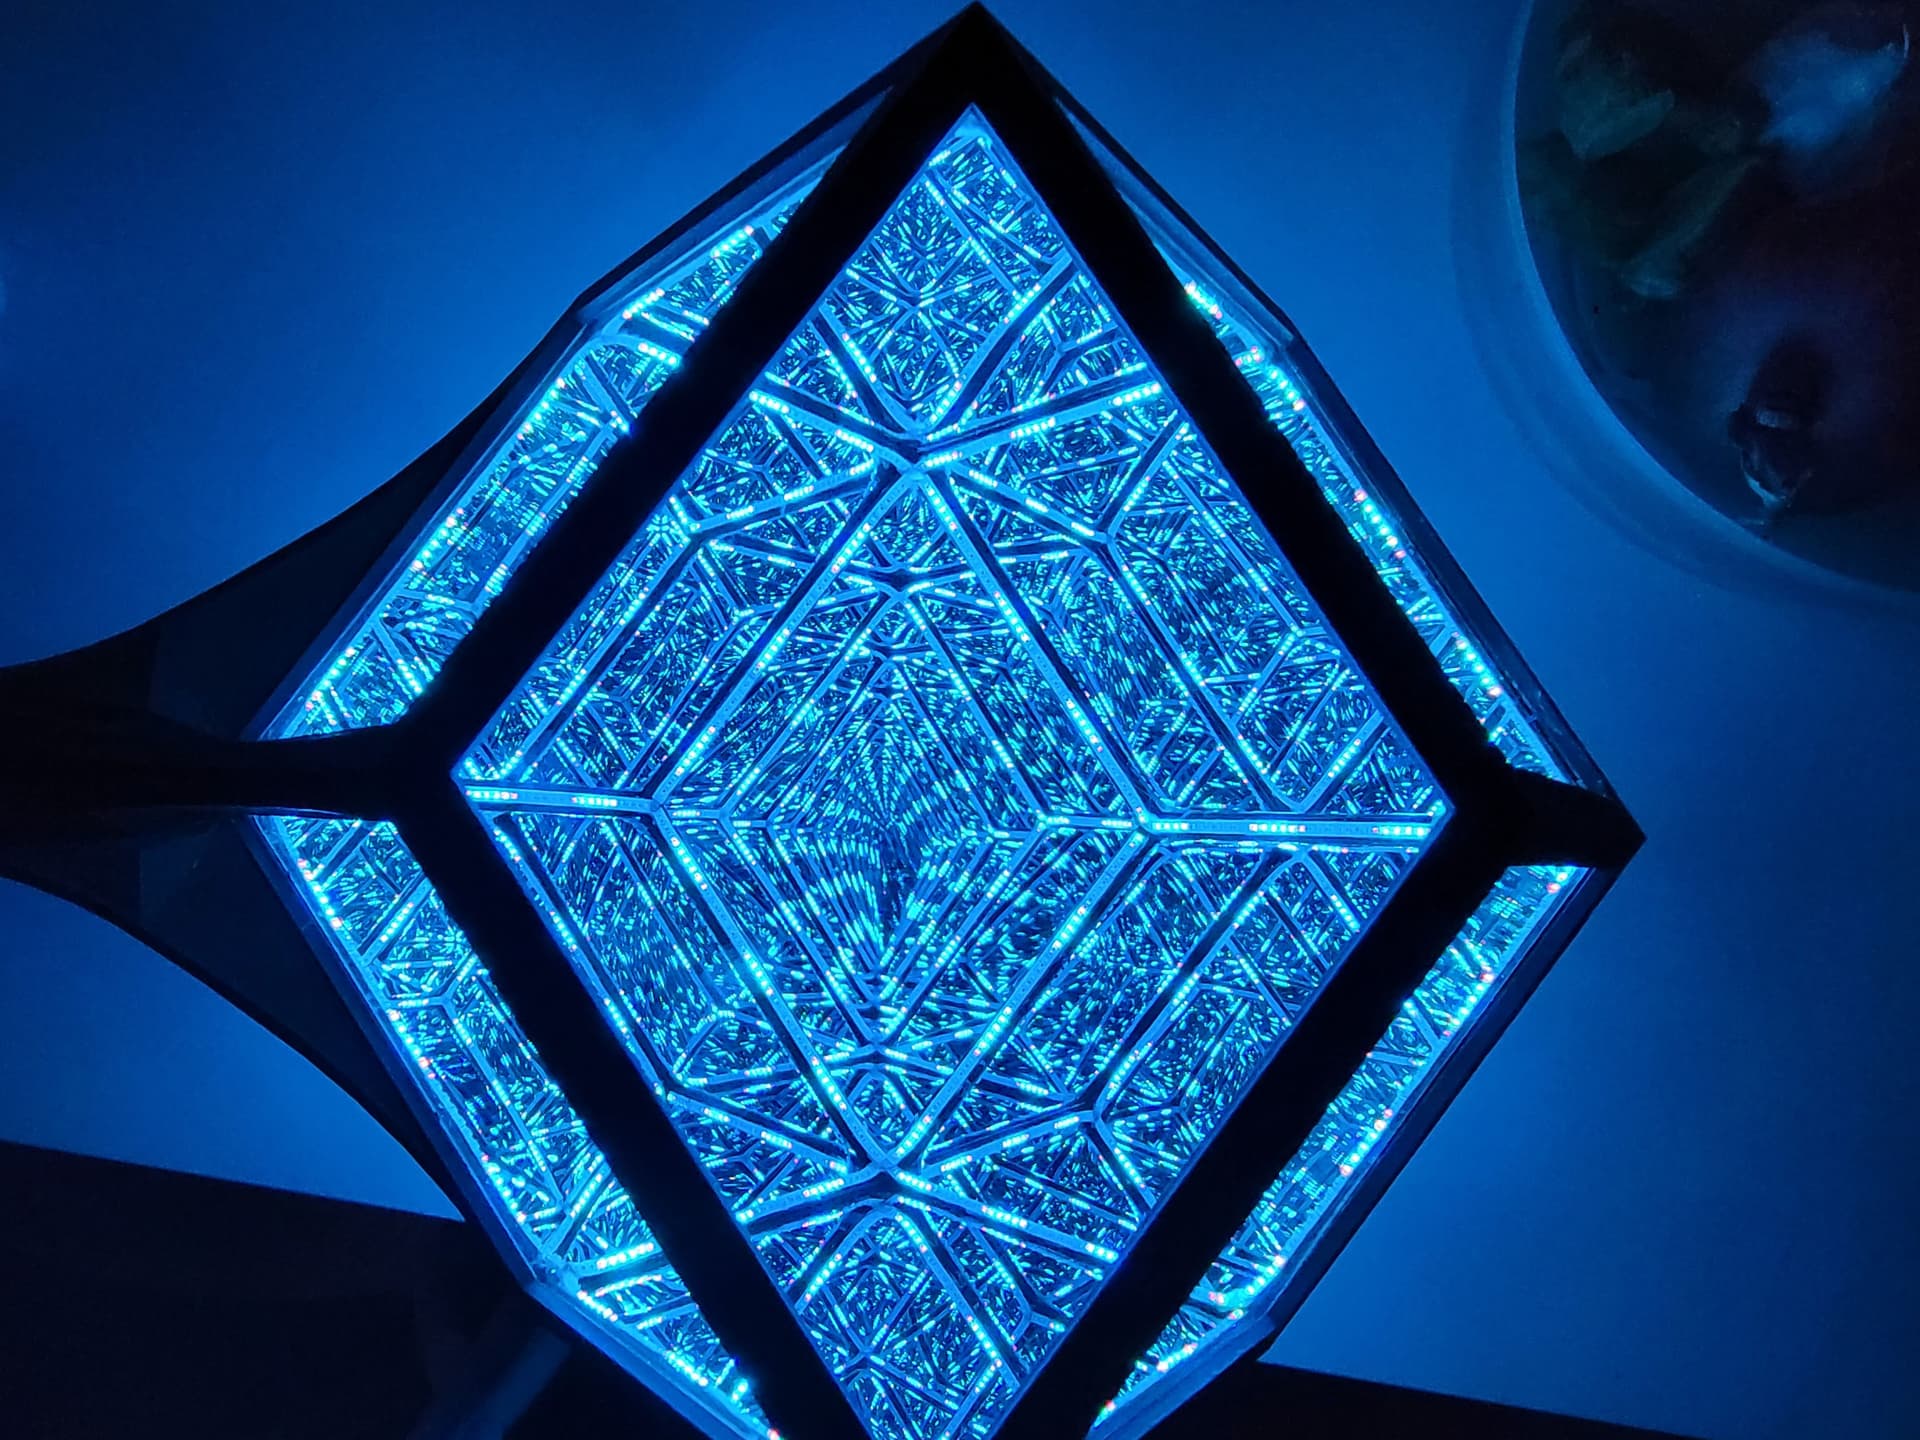
I suspect the 6A limit is per strip, to keep too much current flowing through one part of the strip for a long segment and to manage heat buildup. Since you’ve split them up, you could drive them around 6A each without exceeding that.

If you are looking for off the shelf stuff, you could use multiple USB battery packs. Keep GND connected between them, and isolate multiple 5V zones to balance power. This can get bulky but the plus is things are easy to swap out. I made a coat with a dual supply like this.

Boost converters that work off of a 3.7V cell and output 5V, like used inside those USB battery packs, are one way to go, though it’s not easy to find high current boost converters in a small package.

You can step down as well, using RC hobby lipo packs or multiple lithium cells and higher voltages like 7.4V, 11.1V, 14.8V and use buck / step-down converters to get 5V. Something like one of these:

You will also want some way to monitor voltage and/or auto cutoff to avoid over draining the batteries.

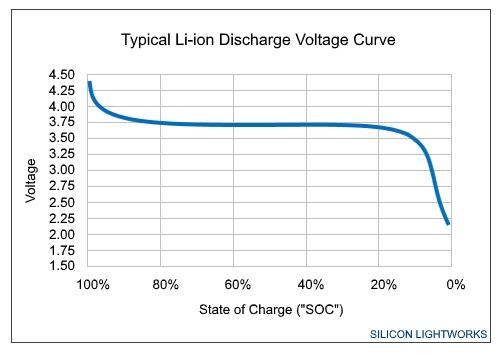
Yet another option, most addressable LEDs are happy directly with 3.7V. Though there is less working margin for voltage drop over distance (you might find the colors dropping out further away from power), the plus side is this is more power efficient and the LEDs will run cooler. Both boost and buck converters have some power loss, and internally the addressable LEDs are burning power taking 5V and dropping it down to usable LED voltages.

Pixelblaze itself also runs fine on 3.7V, though may cut out near the last 10-20% of battery charge when voltages start dropping below 3.7V.

Li-ion Discharge Voltage Curve Typical

I also wanted to mention power distribution on the output expander. Normally I’d recommend the pro expander for higher current power distribution and fuses, but it might be too big for your project.

The 0.1" pin header connectors are rated at 3A. You can run a bit more with direct soldering, though there isn’t a ton of copper on the PCB connecting power to each output. You can increase that by supplying power right at the rows (there’s another column without data just for that) and bridging additional copper+solder along the power rows. Test it at full power, and keep an eye on temperatures. You can also route power external to the board, just be sure GND remains connected so that the data signals have a reference.

For safety, especially with higher power lithium batteries I’d add a fuse to protect against accidental shorts turning your fine artwork into a melty hazard.

2 Likes

Wow… that is such an awesome detailed response, thank you!

Ill play around with some of that in a controlled environment and aee if i can get it stable enough to be festival proof without electrocuting myself or setting my totem on fire, otherwise i just continue running at the 20% I can do now and call it a day.

1 Like

thats really great info @wizard - i’ve also built two festival totems (I need to post them here)

agreed about using RC/drone battery packs and stepping down to what you need.

i built my totem’s battery pack using

i can get about 8hrs runtime out of it (160 side edge lit LEDs on two strips), but of course a lot depends on brightness and what pattern is used.

1 Like