Now supports APA102 / SK9822 types, and a ton more pixels! Up to 800 Pixels for RGB WS2812, and 600 Pixels for RGBW or APA102. You can even mix and match types and color settings on the same board now!
There’s a new firmware update available to support these. It should migrate your old output expander configuration automatically. Note that the original expander boards can still be used, but will only work with configurations within their limits: WS2812 types, up to 240 RGB / 180 RGBW pixels.
The new boards will also work with older versions of Pixelblaze, but you’ll be limited to the configuration options it supports.
The clock from Pixelblaze is not connected/unused. The only connections to LEDs come from the expander outputs. You can use any channel as a clock, and share it or make more than one clock signal, but it does take one channel. So you can have up to 7 apa102 outputs if you share 1 clock across them.
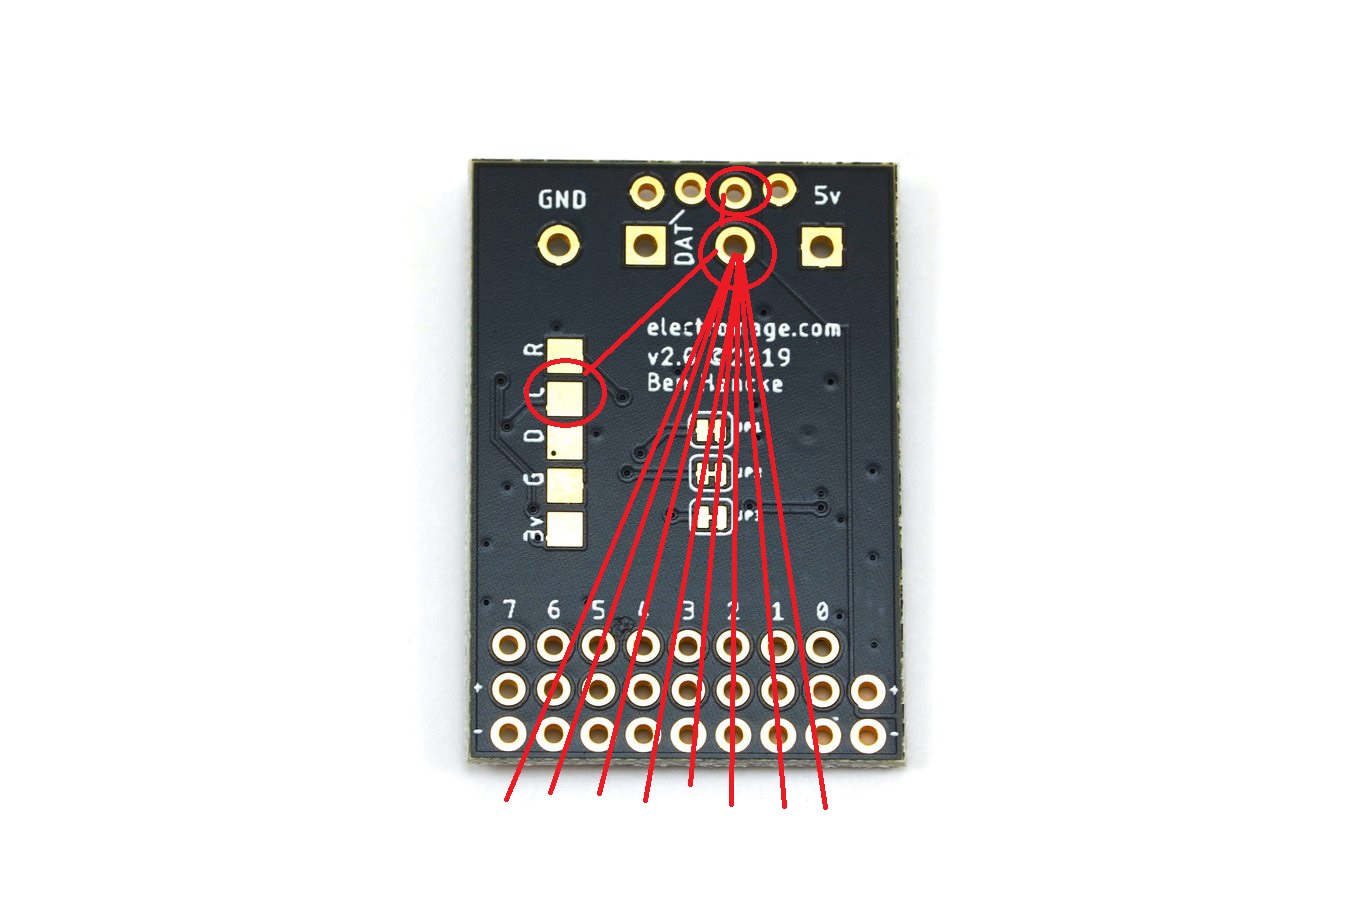
The ‘C’ on the square pad is the SWD clock, for flashing/debugging the chip. Normally you won’t use those unless you are hacking the firmware.
Here’s the new configuration screen, which gives you an idea of how it can be set up:
This example has a mix of RGB and RGBW WS2812s, and then 3 channels of APA102, with the last channel used as the shared clock for the 3 APA102 channels.
Hello! Working on driving this via python (on a pi)… I went through your documentation and I think I got the data in the right format, but no luck when it comes to seeing pixels. Any way to debug? I do notice the orange LED on the board lighting up so something is happening…
Edit: also, sends should be in big endian, right? Example of the draw command I send via uart: hex ‘5550584c00024ca5c5e9’ or bytearray(b’UPXL\x00\x02L\xa5\xc5\xe9’) Maybe CRC is off? I would hack your arduino driver to check but my c is rusty
Hi @harambe!
Awesome! A Python driver would be really cool!
The structures are byte packed little endian. The CRC was generated using this: https://pycrc.org/
With the “crc-32” model. Each byte is fed in one at a time, even for larger structures.
Here’s a Java version that was being worked on for use with LX Studio, and I believe was mostly working (maybe still some work to do around apa102)
If you have your code somewhere I can eyeball it and point out anything that might cause you problems.
It’s possible to debug the output expander with a SWD debugger like a j-link or ST-link.
The PB driver code could be broken out to a helper tool that could be used to generate output that could be compared to your program for differences. Though thats a bit of C work.
Ah, so the CRC is slightly proprietary? Does that get fed in little endian as well? the crc_update function in the the arduino driver looks like it is going big endian… I was using zlib.crc32 before to generate…
So that plus the crc_table were created with that pycrc script? So I could just port those and probably have a working model? I have an arduino nano lying around here somewhere, I might just try testing that code alone with some extra prints
Not proprietary, the problem is there are so many CRC32 standards and variations! As I discovered working on this project, the CRC32 algorithm has many variants. There are differences in the polynomial used, bit/word ordering, and inverting outputs or not.
You can reference the python CRC32 generator, or port the code from either project (the driver or the board firmware), and it should work.
The ESP chips are little endian. The other trick here is the way the structs are packed and/or padded. The endianness only changes the bytes orders in number words, like an uint16_t.
OK! My current understanding is that the endian-ness needs to only be accounted for during pixel count and crc when working with a ws2812 strip.
So I was able to run the LXstudio code posted above with debugging to cross check my code. I got the python code for CRC calculation to match what the java code was spitting out, but still no pixels working. If you have a moment, feel free to review my code… Maybe I missed something. You mentioned there is padding?
Currently the header+instruction+data[] portion is completely hard coded into test(), and this is looped with a draw() command in run(), just trying to see pixels before making this more modular…
So it turned out to be the baud rate… The pi zero did not like 2000000, this had to be set to 2304000. Only for the pi zero though, the pi 4 likes the 2000000. Code is currently working but inefficient (the python overhead is unreal). Working to speed it up via Cython. Afterwards I will document and maybe make this driver accessible via pip. Thank you for putting together this amazing board and extra thank you for making it open source!
Hello again! So I finally got around to testing and documenting! The code is also optimized with cython, so the CPU footprint is quite small. I was a little confused on the dynamics of how long to wait after a draw_all command, and I found that sometimes (usually setups larger than 150 pixels), you did not have to wait at all to start sending data. So I gave the user the opportunity to control this while defaulting your recommended value of 3.6ms. I was actually able to push 400FPS on WS2813 strips without errors. These strips have the ability to look quite amazing! All in all, the only real bottleneck I found was the transfer rate to the expander board. Perhaps there is a way that the data can somehow be compressed? I would need to hack the firmware to decompress. Perhaps I will investigate this.
I also published the driver on Pypi for an easy install: python3 -m pip install LEDSerialExpander
Hey folks,
I’m the author of the flavius-space/LEDPortalSimulator (github(dot)com/flavius-space/LEDPortalSimulator/tree/master/LEDPortalSimulator) repo, just thought I’d share a little update.
I’ve moved development of into a new repo based around a proper Java IDE (instead of the Processing IDE). The serial code (github(dot)com/flavius-space/LEDPortal-IDE/tree/ecc33dbf465ef28fad3df0c3a5e89868e1f3d361/src/main/java/flavius/pixelblaze) is still a bit hacky because of issues i’ve been having with the Processing Serial library, but it works, and is a good starting point to help understand the PBX protocol if you’re more familiar with Java than Cython, NodeJS and C, however I will soon be replacing the direct serial connection with a NodeJS OPC Server running on a Raspberry Pi. If JavaScript is more your thing, then I would recommend checking this out instead, as it is much clearer code with better test coverage.
Here is my NodeJS PixelBlaze Expander Serial library. it’s quite early stages at the moment, and I hope to add more docco today, but there’s some working example code (github(dot)com/derwentx/js-pixelblaze-expander/blob/master/examples/ws281x.js) to get you going. I’ll eventually be adding this to my NodeJS Open Pixel Control server, built to work with Raspberry Pi, so soon you can have a Raspi OPC server controlling your PBX boards over serial!

 I would hack your arduino driver to check but my c is rusty