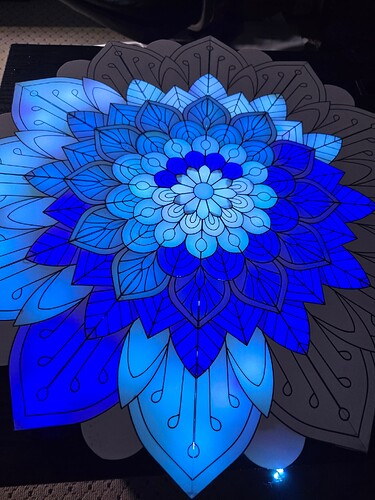
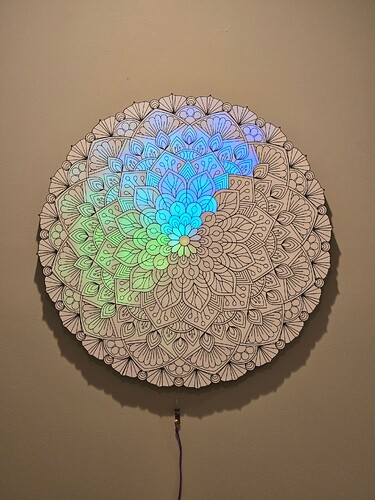
Posting progress on my TT, hope someone likes it, having fun tinkering with new patterns
Can you share more of the print details. What filament? What fit type, thickness etc? That’s some of the best diffusion I’ve seen. I’m been playing for weeks on a piece and normally with any of the results
The filament is just plain white pla, this roll was elegoo brand. The thickness is .6mm, and the black frame is 30mm tall. The lights are fairy lights epoxied to the back of the frame, suspended so they arent right up against the white panels. This vid shows the back assembly:
Added another ring today. Now 300 lights.
How do you get the thin lines in the diffusion layers? Are you using black
Filament in the print or are they painted on afterwards? Looks ace
Thanks! It is black filament, using bambulab AMS. Also changing the print settings to put down the white filament before the black was necessary to make the lines super clean.
I have uploaded the file to my github. Lmk if you print it, id love to see!
That is really really good! Excellent work, looks amazing.
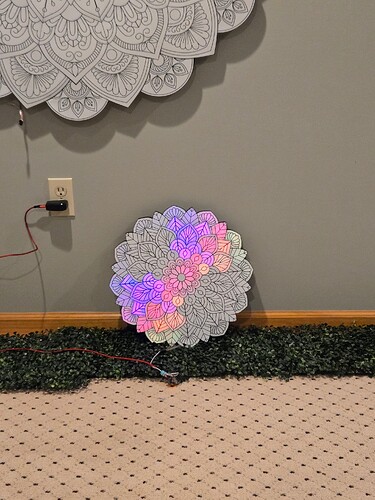
Hi all, I have made a mini version of the mandala its 15" in diameter and its a sturdier version. I have uploaded the files to my github.
Really Cool!
I especially like how you designed the cells the way you did. Impactful doesn’t need to be complicated. Nice job.
There’s absolutely a market for things like this. ![]()
That looks amazing. Can it be printed without having an AMS? I have a Centauri Carbon so I can do a filament swap at a specific layer, but not print two colors on the same layer.
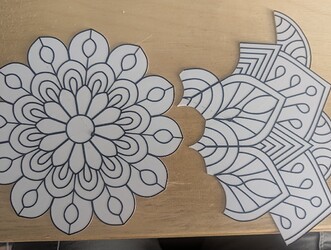
Thanks! I have recently added a medium sized mandala to my github that could be done without an ams. For the white pieces just switch to black for the last layer and it should work fine.
Awesome, thanks. I grabbed it right after you posted and have been printing all afternoon. What are you using for lights?
Awesome! I used WS2812B Fairy String Lights. This mandala i used 233 lights, there are usually 50 lights on a strand.
One thing to note, i used a soldering iron to melt some of the walls of the backing to let the wires pass through each cell but still let the white front pieces to sit flush on top. I dont have a picture of that.
I think I can see what you’re talking about in the thumbnail of your Jul 2 post showing the back of the big one.
I totally did not grok the size of this when I started. I opened the .3mf, looked at all the plates, and went, “Ok, we’ll print the black first, then the mixed stuff”, and printed one plate of each. It was only when I was slicing the white parts that I noticed the “x6” for plates 3-6 and “x3” for 7 & 8. It’s going to look awesome, but finding a place to hang it may be a challenge.
For the top pieces, the filament swap worked fine, with the exception that my printer is dropping a blob when it first starts the black, and on the two I’ve done so far, it has also had a little string hanging from the nozzle at the end that wound up stuck to the print. Grrr. I think I’m going to add a small rectangle to the face plates so it prints first, in hopes of catching the blob. But other than that, they look great. You did a really nice job with the design.
Thanks! Yeah sorry its smaller than the original but still kinda big. You could omit the outer sections if you want to, it would still look good just smaller.
This looks really wonderful. We have a Prusa XL at work. I’m going to give this a try. I’l likely have lots of questions along the way, but I’m hoping it’ll inspire student ideas. Really great work. Congrats and sincere thanks for sharing your work & build journey.
