I’m looking to do a POV project for a burn with ap102’s… I’ve seen a bit mention to POV capability in fb comments and I’m wondering if Pixelblaze is the way to get me 90% of the way there (vs starting with a virgin ESP32 type board)
-Peter
I’m looking to do a POV project for a burn with ap102’s… I’ve seen a bit mention to POV capability in fb comments and I’m wondering if Pixelblaze is the way to get me 90% of the way there (vs starting with a virgin ESP32 type board)
-Peter
Hey Peter!
I’m actually thinking of embarking on a PoV project too soon, so I think it’s a probably a capable platform for this. You can drive apa102 strips at 20MHz. The specs also say:
Pixelblaze can generate between 12,000-45,000 pixels per second.
This checks out: My strip with 240 pixels runs most patterns with medium complexity at around 50-200FPS; simpler patterns run at ~400FPS.
There’s a lot you won’t have to write compared to starting from scratch, but I’m not aware of any example code for PoV yet. I’m planning to use the mapper with some type of rotary sensor and the sensor expansion board to provide global orientation for PoV timing.
might be possible to add a slider for rpm, so you can deploy it on your fan and then adjust the speed manually of both the fan and pixelblaze until they sync up
Have any of you successfully managed to get PoV working with a PB? I have a friend who is looking into building some poi and I’m wondering if I should point them this way, or if anyone’s found another platform that’s more built for that purpose.
So doing poi doesn’t require POV… It’s entirely optional. And in fact, good POV should use a movement sensor so the timing works best.
I have a pile of POI parts including PBs, and non-PBs to play with, but haven’t gotten a round tuit yet.
I’ve done some POV stuff with PixelBlaze. One poi stick and one very dangerous ceiling fan.
Example ceiling fan
I thought I posted pics of the poi but I guess not. May post soon and update. Meantime if you have any specific questions let me know.
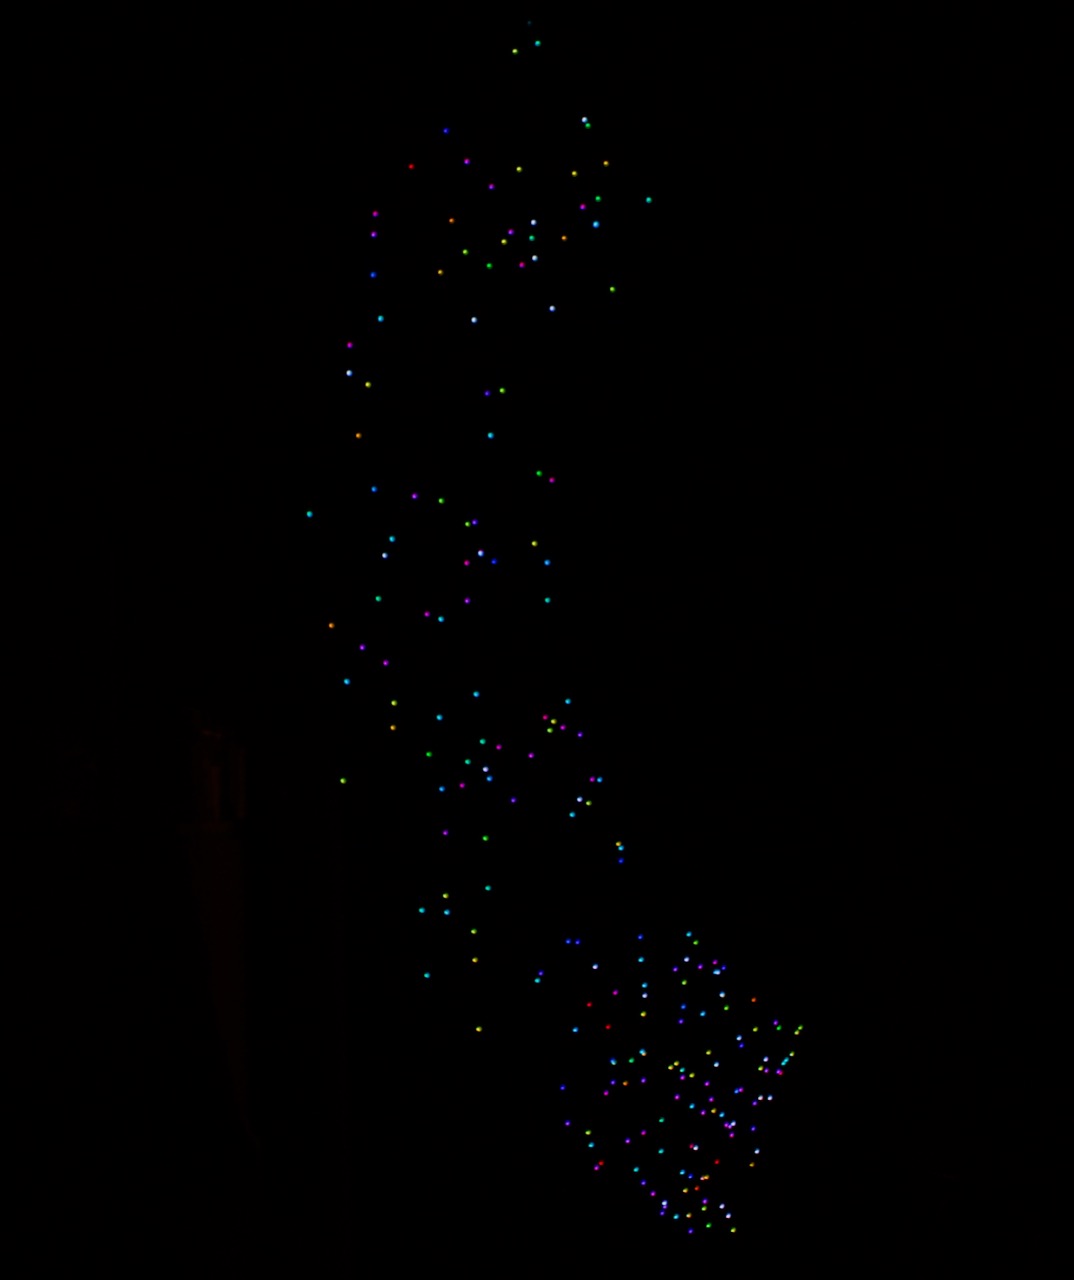
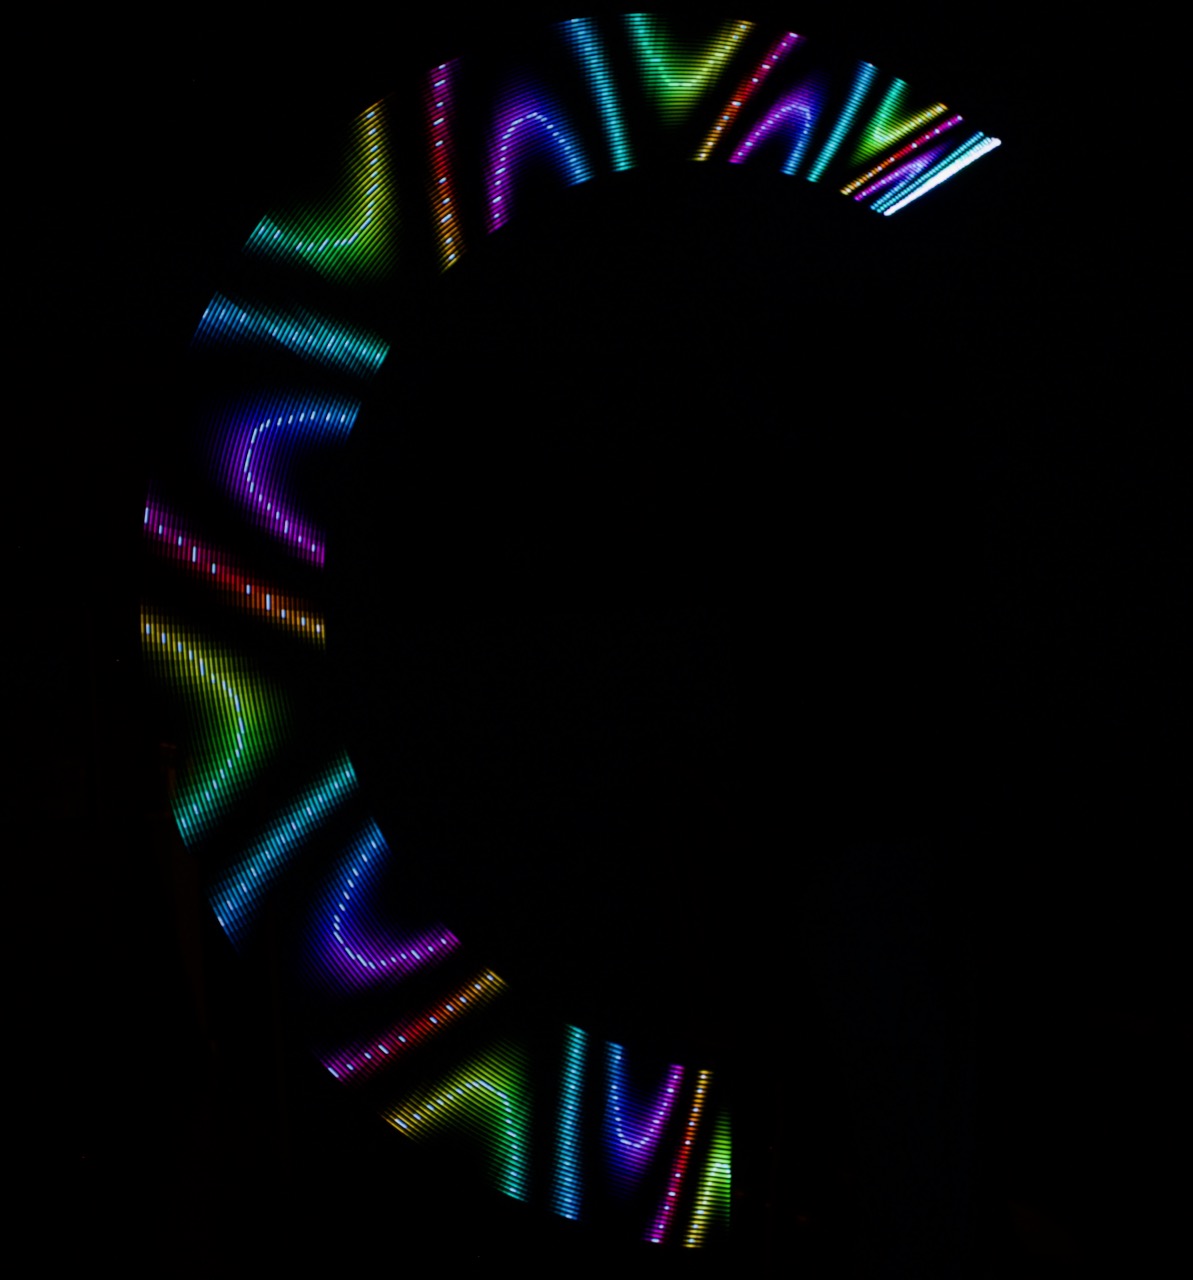
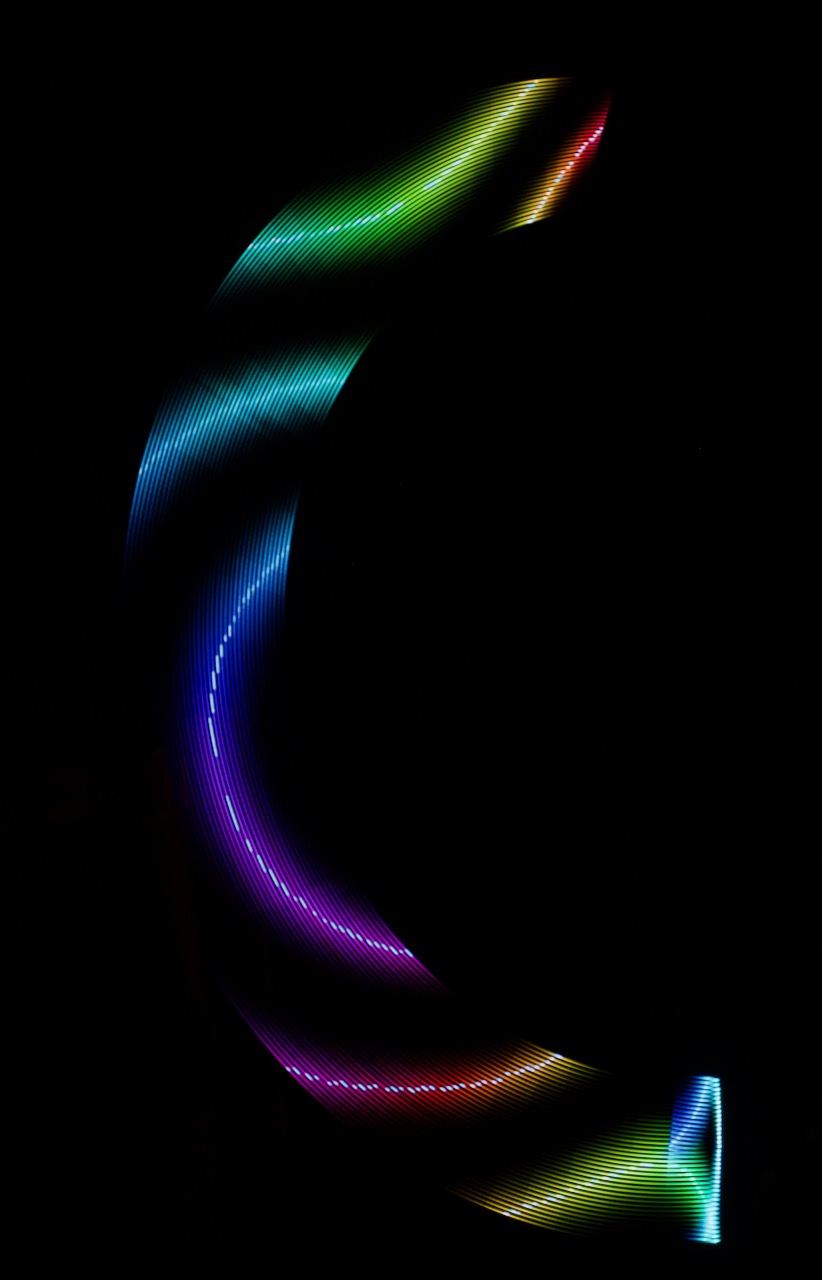
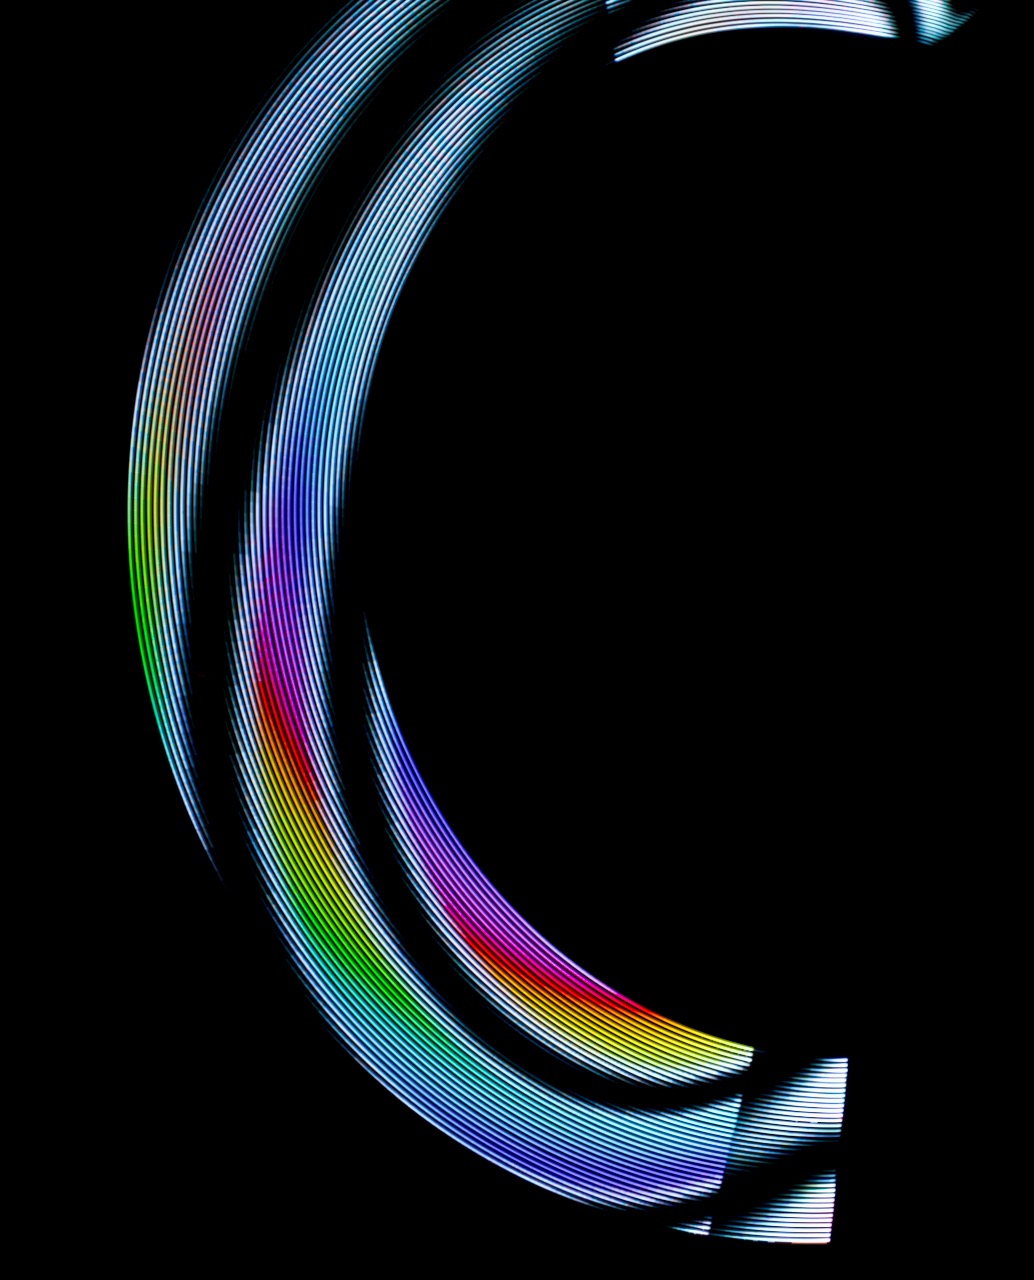
Here is a POI POV proof of concept I did using V3 with minimal modifications to patterns last November when I was collaborating with @Sunandmooncouture.
In the current implementation, time() looses resolution when you get to millisecond level intervals. Sometimes I get better resolution with this:
t1 = (time(.02) * 10) % 1
instead of
t1 = time(.002)
I also found that using delta for timing instead of time() was better when you need very fast timers and are working with insane FPS like 1000 where 1ms resolution isn’t enough.
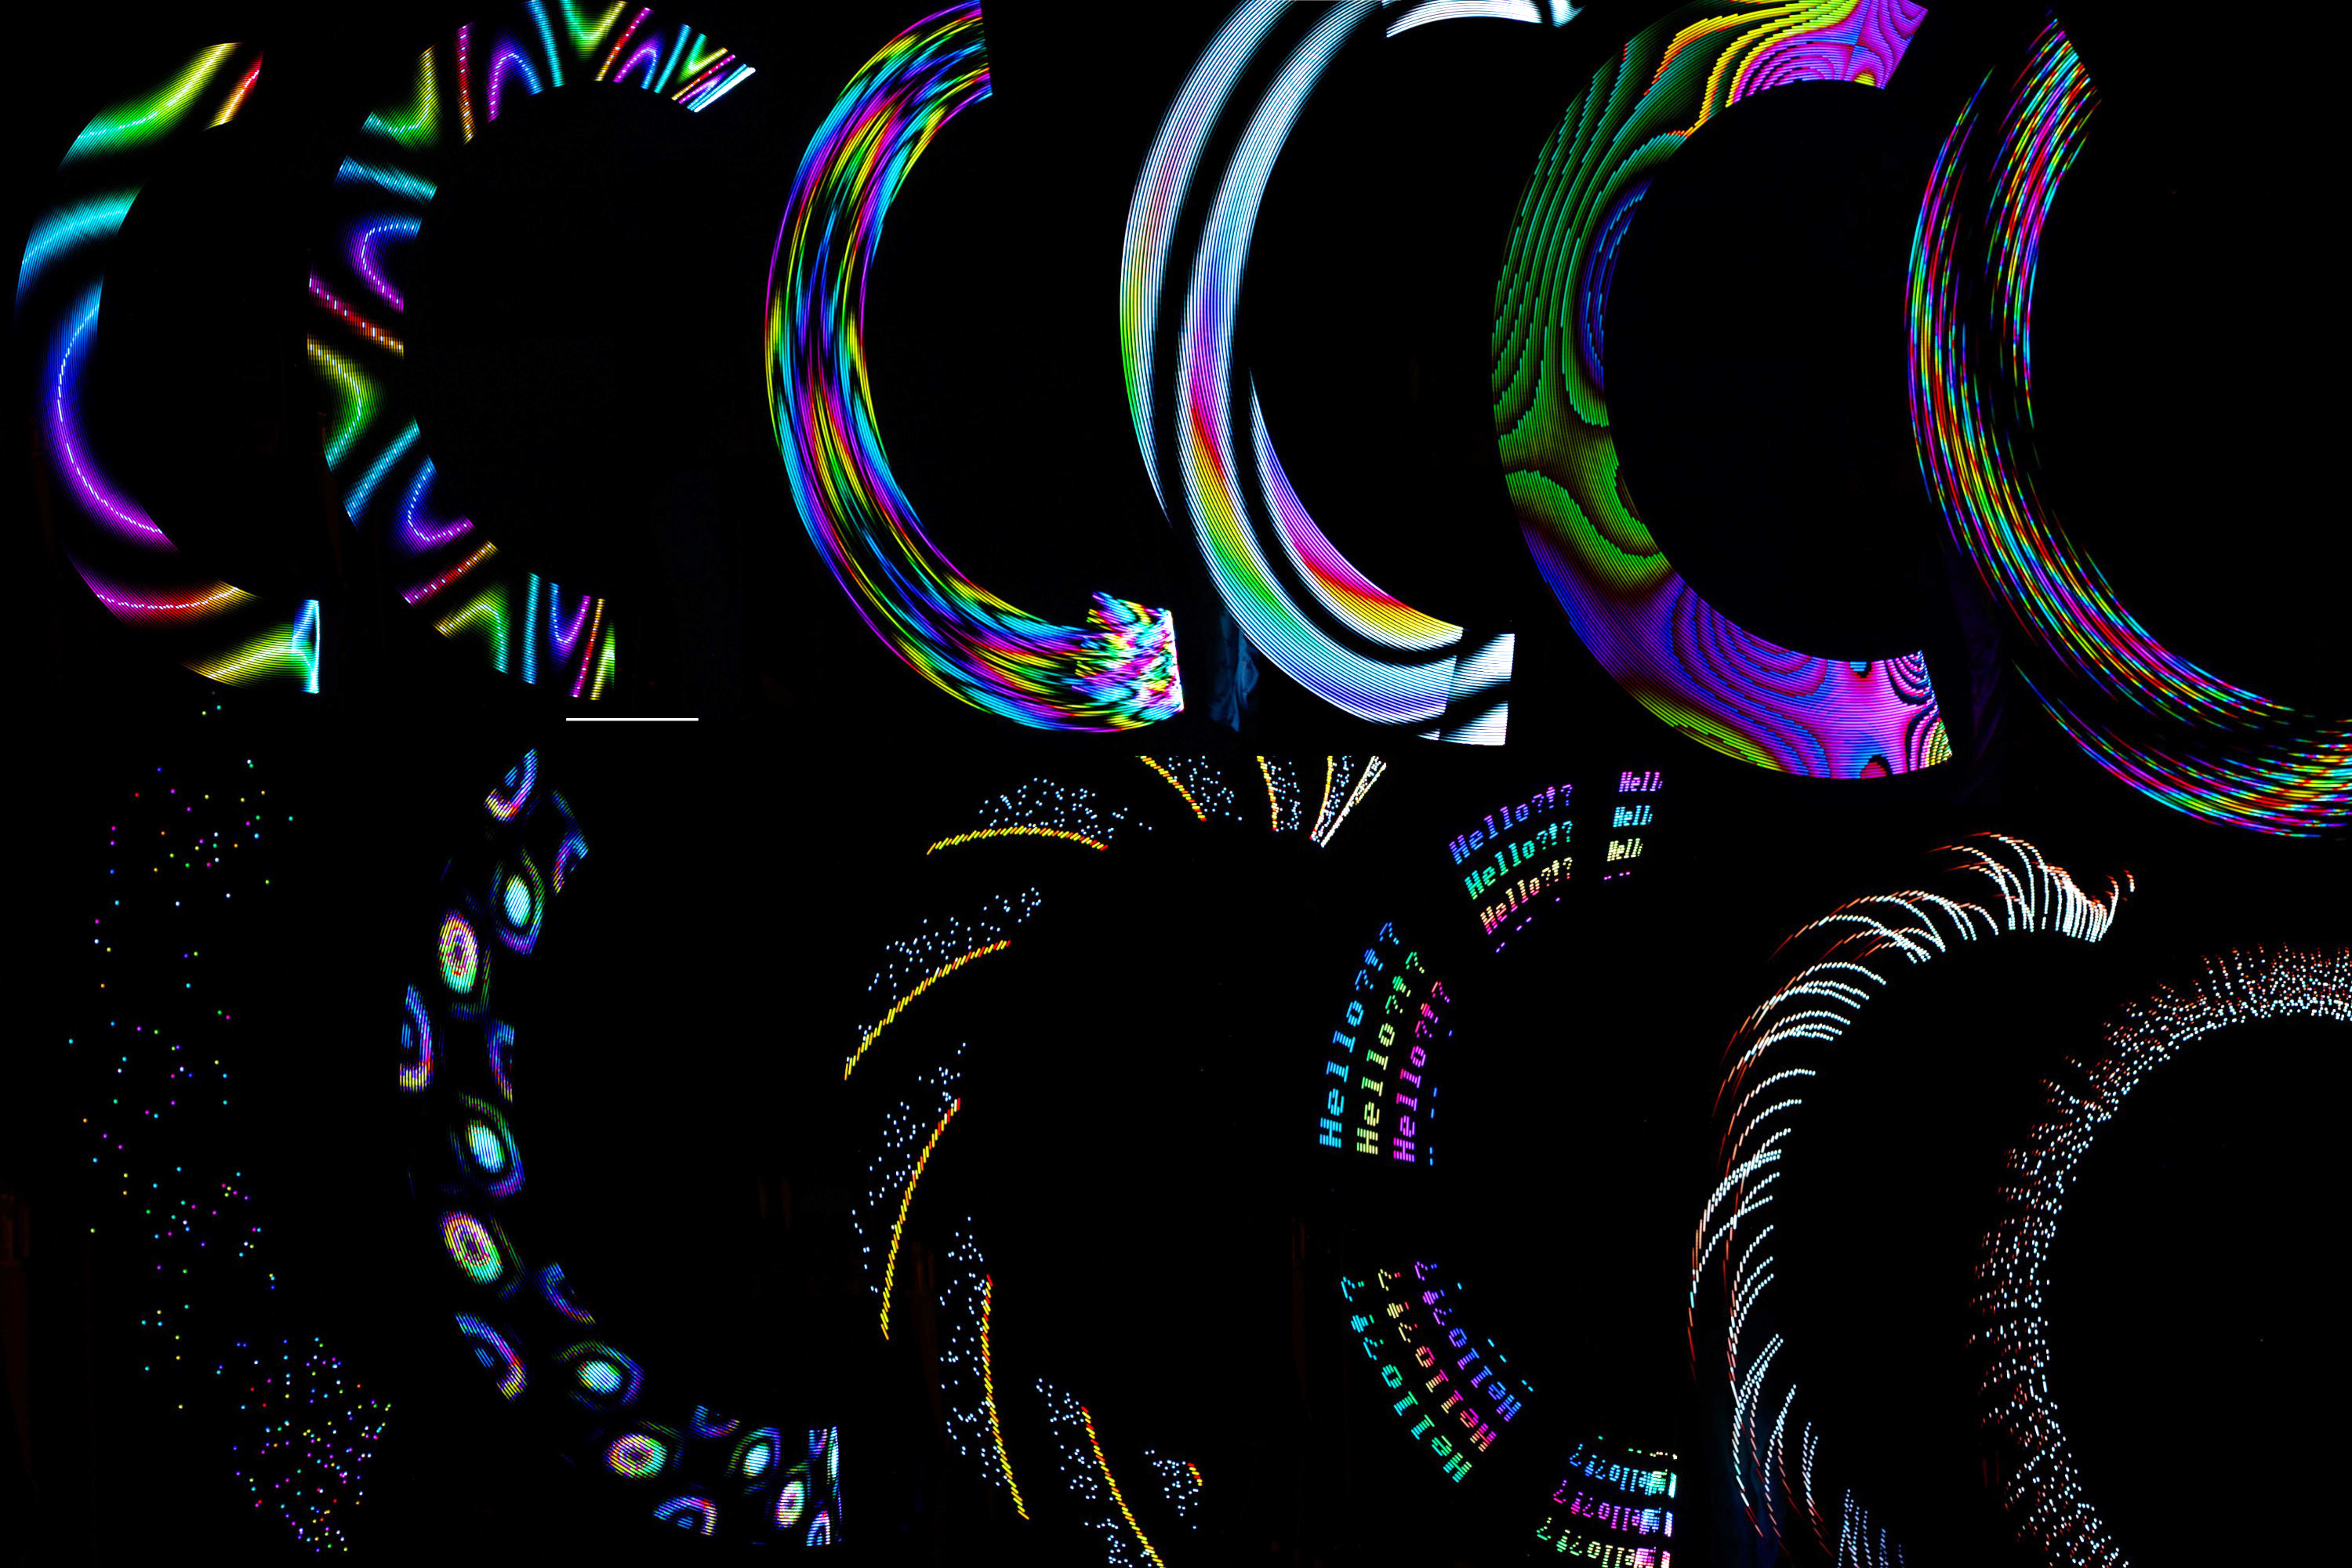
This is POV, but without speed control, just sped up enough that fun patterns emerge.
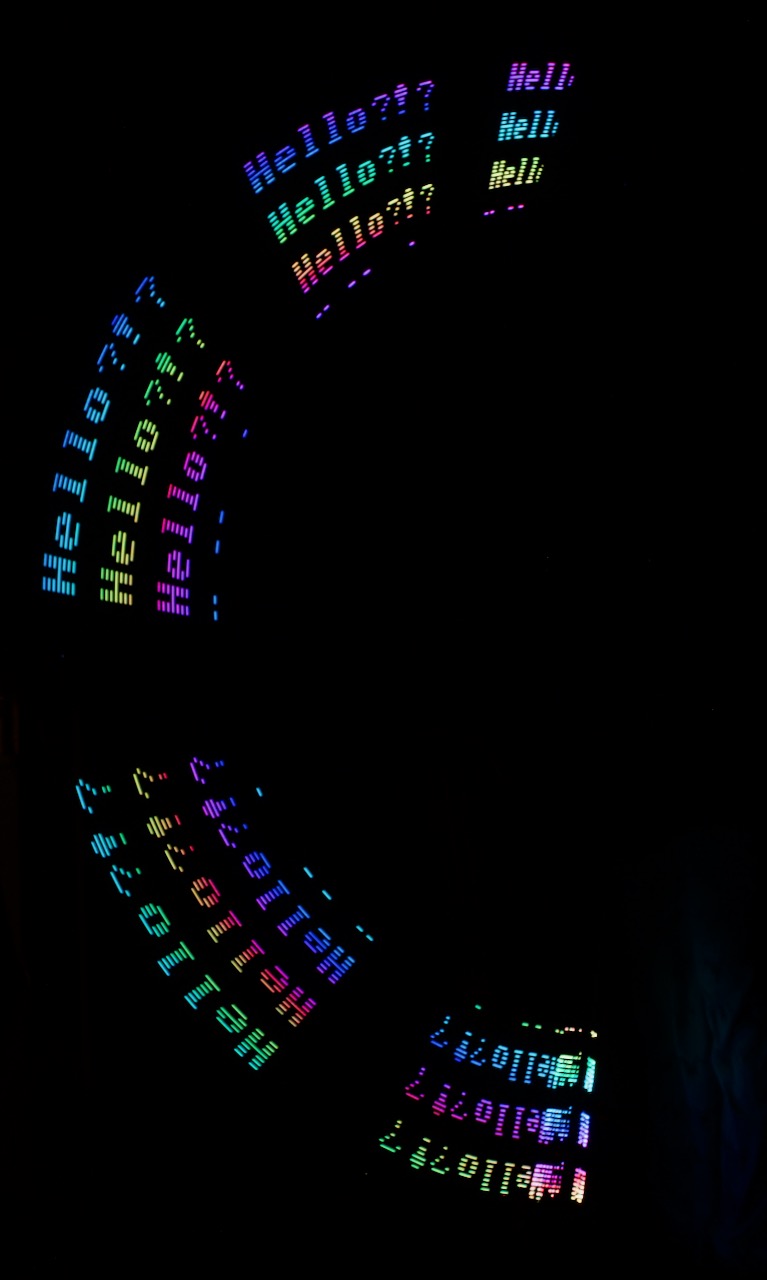
Collage with several shots:
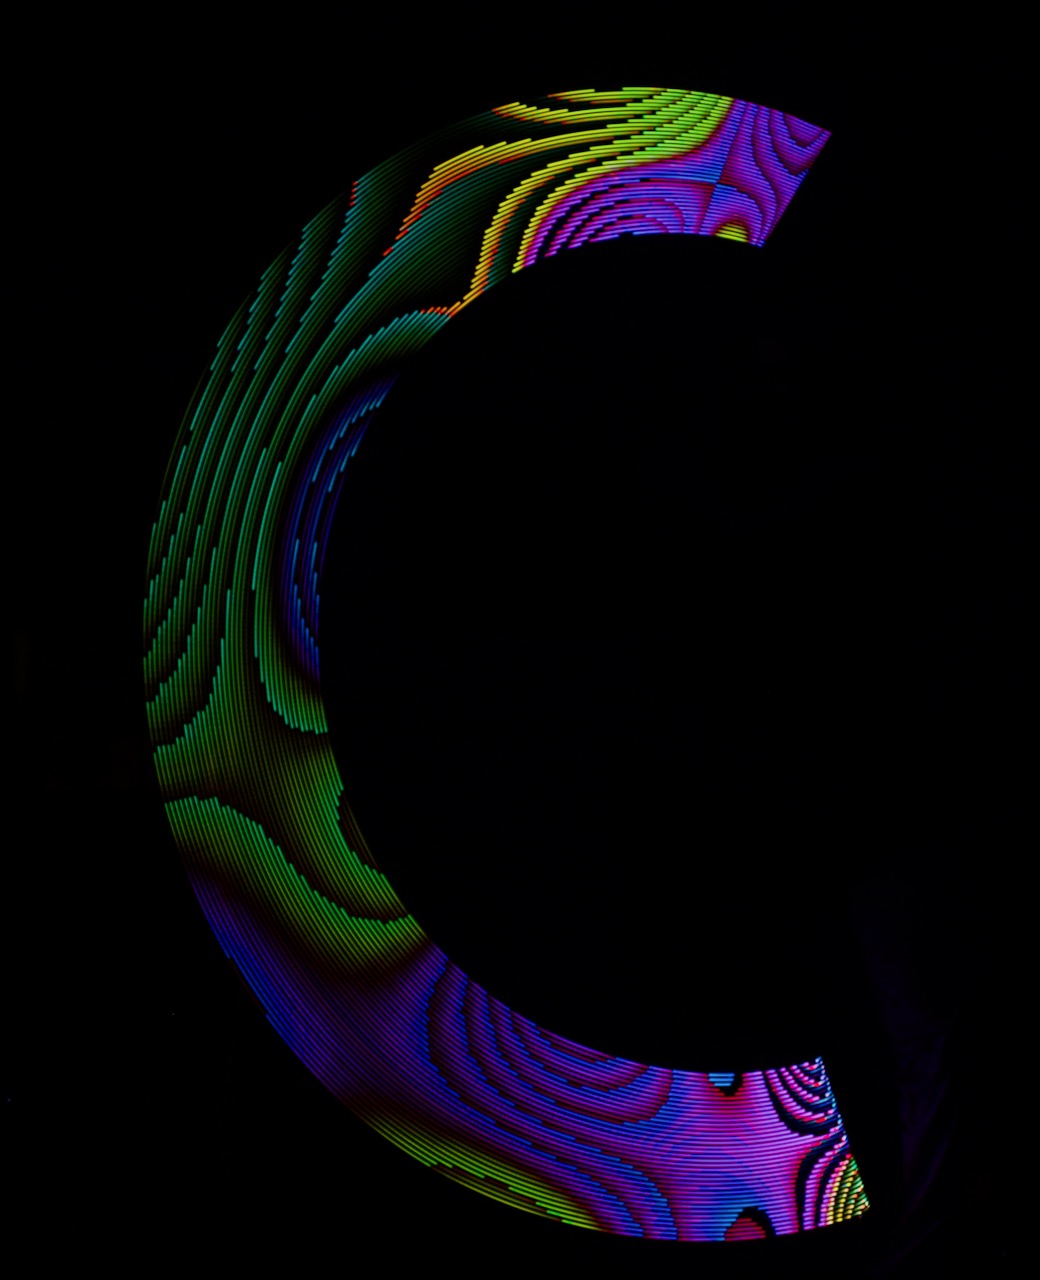
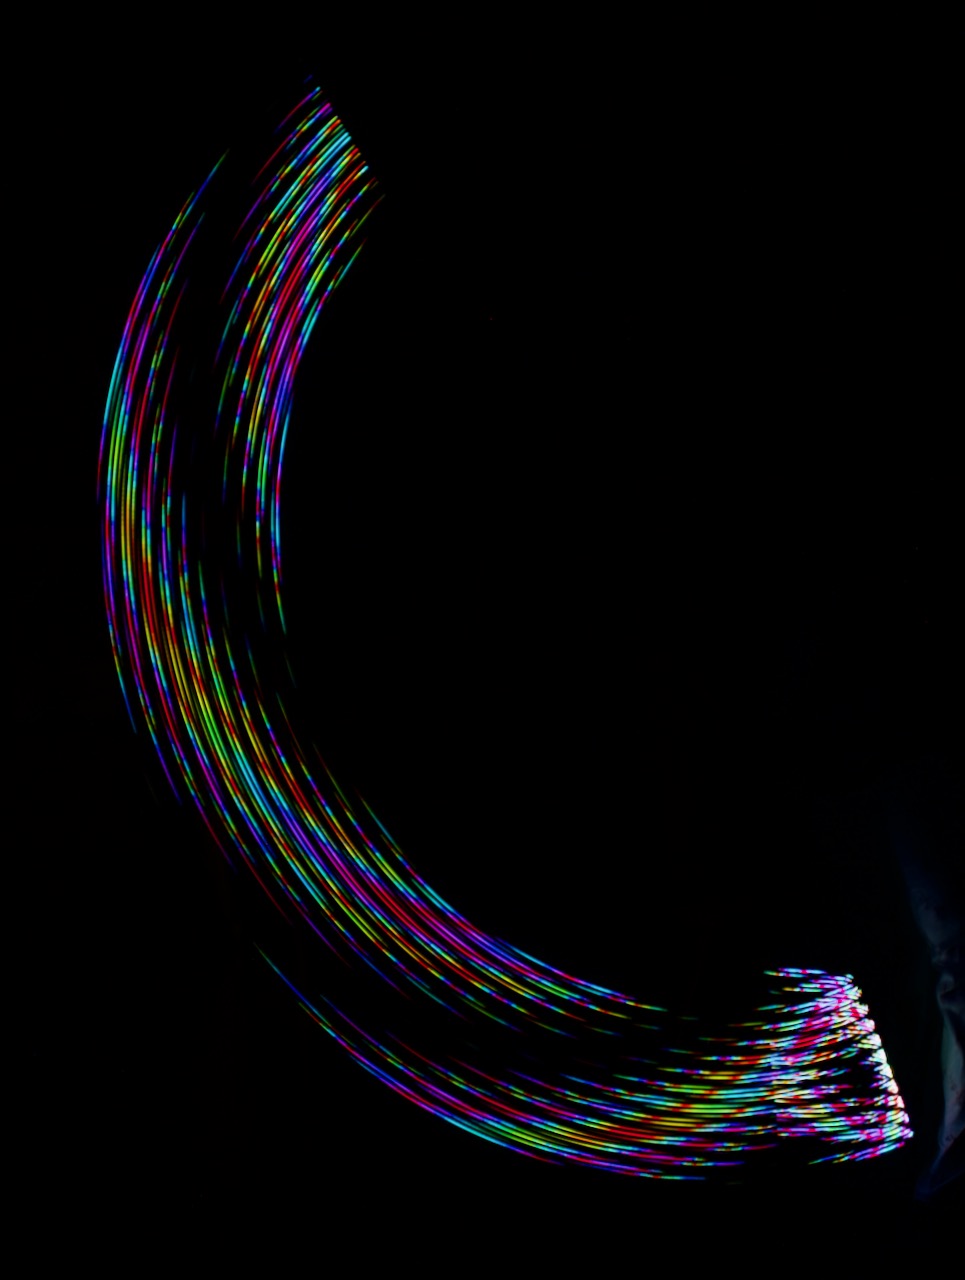
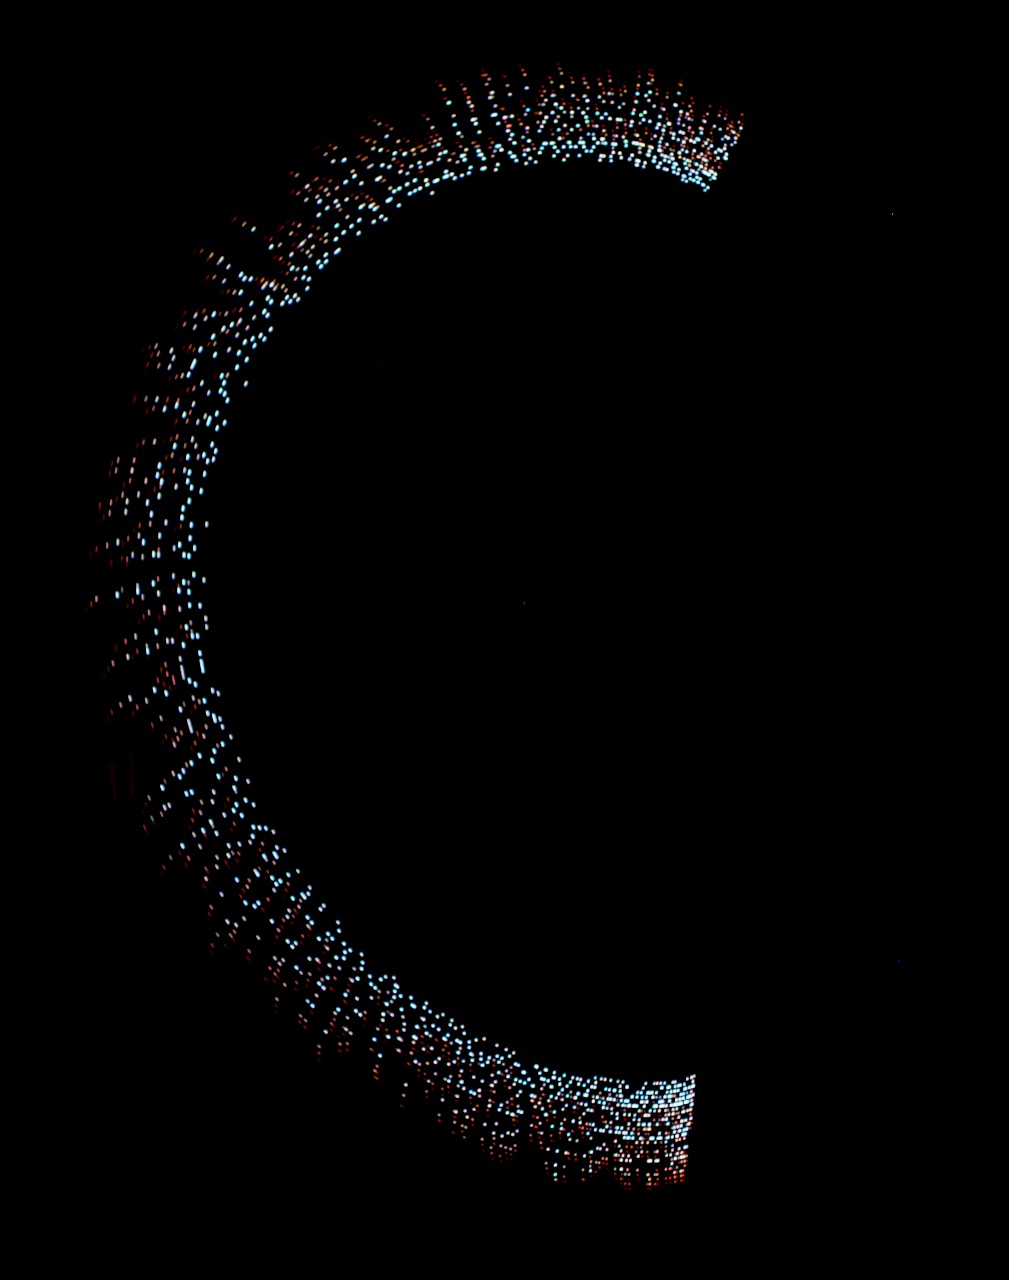
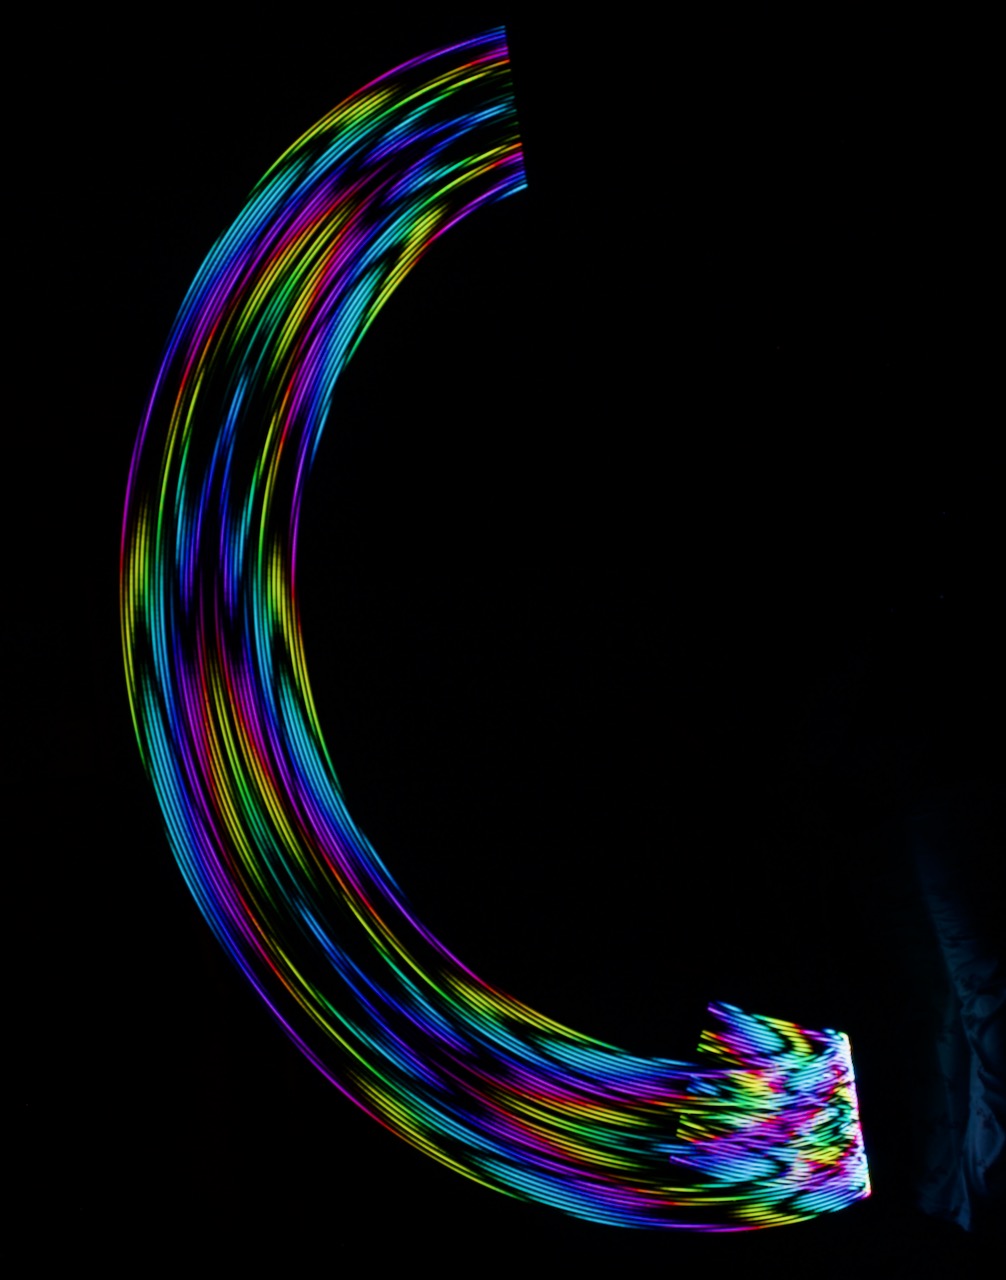
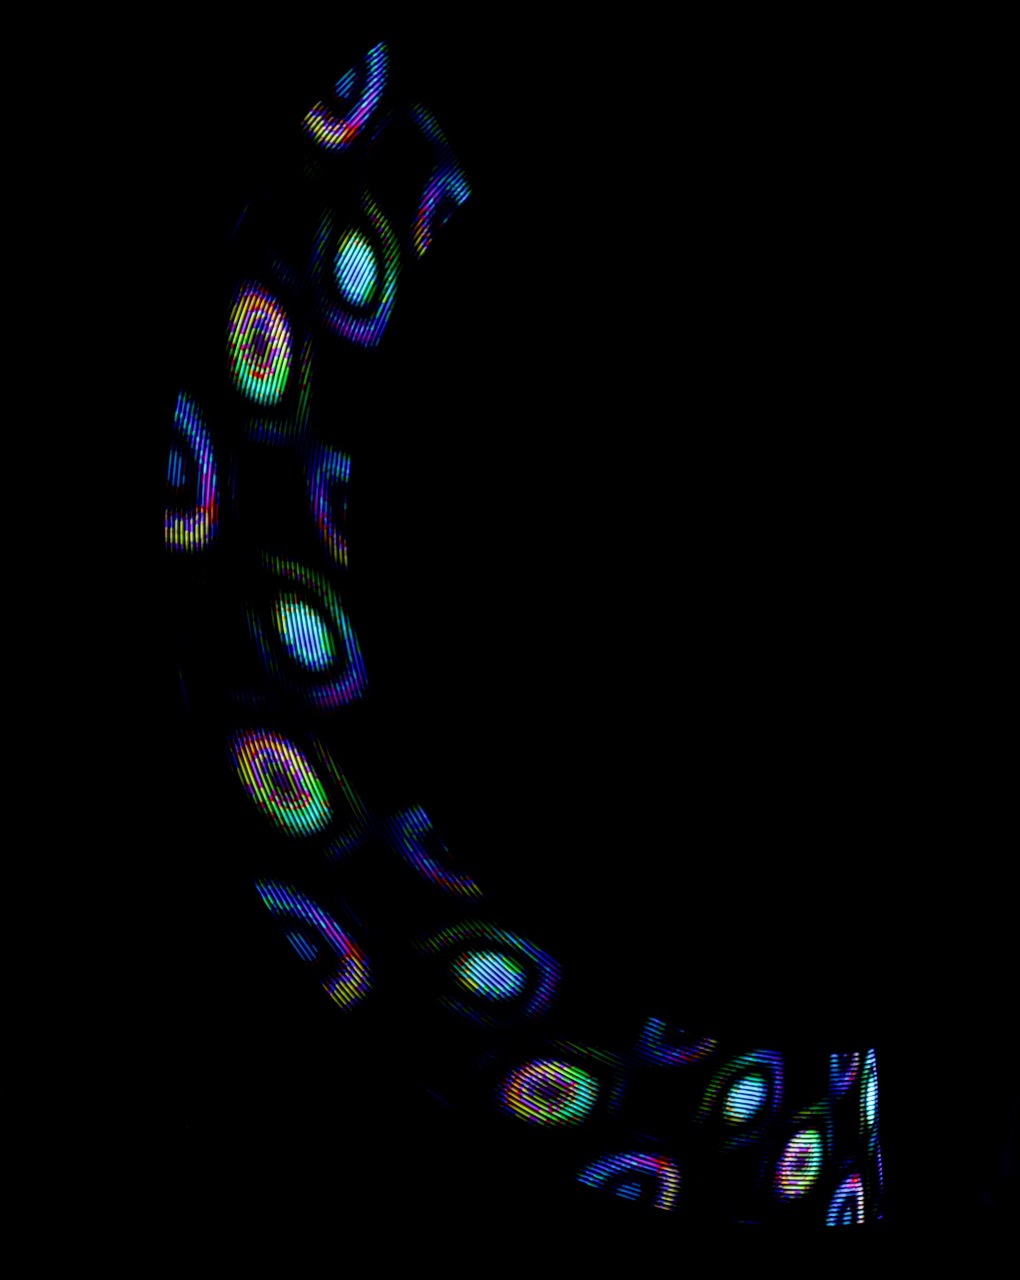
Larger individual patterns:
BTW, these are shots of SK9822 using Pixelblaze’s HDR support, which in my opinion are perfectly fine for POV applications. If you use genuine APA102, use the hsv24 function to disable HDR, or you will get choppy dashes instead of smooth lines.
Wow! Wowwowwow! Okay, well maybe I’m glad I ordered a few extra meters of SK9822s then. Rainy days project, here we come!
Can someone show me how to use this to blink all the LEDs on and off as fast as possible for a POV dops effect?
I watched that video and it was very informative but there seems to be a limit to the speed at which I can flash the pixels.
example:
var speed
export function sliderSpeed(_v){ speed = _v}
export function beforeRender(delta) {
t1 = time(.001/speed/65.563)
}
export function render(index) {
h = .5
s = 1
v = square(t1,.5)
hsv24(h, s, v)
// hsv(h,s,v)
}
If you move the speed slider in my example too high, it becomes a solid line instead of POV speed blinking. Why can’t I get them to blink any faster? I’m certain Dotstars can go way faster! I use them all the time in POV Arduino projects at much higher speeds. How do I get actual POV speeds like in the examples from Wizard above?
I mention that there are millisecond level limits for using time(). However, the delta passed to beforeRender(delta) has much more resolution, down to 1/65536th of a millisecond, or about 15.2 nanoseconds (accuracy at that level is of course limited by the CPU clock frequency).
If you only want to blink them alternating each frame, that can be done by toggling a boolean and using it for the value (booleans convert to 1 or 0). This will match the frame rate exactly, giving a blink speed 1/2 of the FPS.
Here is a seizure inducing rainbow blink that cycles the rainbow every 100ms:
var toggle = true
var t1
export function beforeRender(delta) {
  toggle = !toggle
  //instead of time() we create a sawtooth using delta
  t1  = (t1 + delta * .01) % 1
}

export function render(index) {
  h = t1 + index/pixelCount
  hsv(h, 1, toggle)
}
Thanks for the clarification! I was just experimenting with toggling a bool in the berfore render function. If I understand correctly, this should represent the maximum speed at which the lights could blink on and off, right?
My goal is to recreate your patterns in the images earlier in this thread! I’ll have to keep playing with it now that I’m starting to understand it better! Apreciate the help!
Yeah, the video is the 101… Doing POV is the 201 or maybe 301 level of coding here.
On one hand, we have people saying “I want to drive 13000 pixels, can I get a reasonable FPS?”
And the likely answer is not with one single PB, it’s just not fast enough a CPU/etc, even with output expanders to offload the pixel communication. On the other hand, we have people asking “I want to do POV and need it to blink/change as fast as possible”… And it can, but you’re pushing the other end of the window of what PBs do normally…
I just saw a nifty - LED - staff on Reddit… 4 batteries and an ESP32 driving 720 LEDs in 8 strips, and all I could think was “that would be so easy to do with a PB” not because the hardware/building is difficult bit because once built, you could way way way more easily make it do fun things using PB patterns. That’s the true strength of PB:
It makes so much stuff way easier in the vast middle of playing with LEDs and on the far edges, it can often hold it’s own still.
Totally! I wouldn’t try to do POV on more than 200 LEDs, currently I have a build using 52 LEDs and a single Lipo so I’m really just trying to get a high resolution trail with the fastest timing so you can get as much detial in the trail as posible.
Thats very close to what I used to get the above images. I was getting hundreds, sometimes over 1000 FPS.
You can turn up the LED data rate in settings too! Bump it up until things get glitchy, then drop down a step.
What kinds of LEDs did you say you have? For genuine APA102, you’ll need to swap out all hsv calls with hsv24 in patterns.
Yeah I’m using genuine Apa102s. I feel so dumb  I just went and changed the data rate in the settings. I completely forgot that was in there, and I had left it on one of the lowest settings by accident. You are my hero wizard! I’m now getting 1900FPS instead of like 250
Now I feel like I’m ready to actually make some wild patterns!
Hello here, can i dig up this canal to obtain more information about creating a DIY visual poi? ![]()
Do someone you know have information about POV application.s?
I’m trying to follow a pov tuto (Introduction | Supernova Poi | Adafruit Learning System) (supernova poi from adafruit site).
But the main problem is the number of pixel, I’m trying to figure out if I can find any trip with more than 144 pix/m but I don’t see any.
Do you know some APA102 strips with more high density, or is it ultimately possible to assemble the led strip myself (with JLPCBC idk?)
And last question, if utimalty nothing work to have a higher pixel, can I use other LEDs with high density in the strip (like this one with 332: https://s.click.aliexpress.com/e/_Aa3l5g) But is it compatible with Persistence of vision project? not sure ![]()
I’m so lost >_<
And the last question: if noooothing work, can I multiply by two the 144 adafruit pixel strip used in the tuto? Like putting one next-to / close to the first and letting the leds be just at the midline distance of the other strip, to create an illusion of 288 pixels with 2 strips next another instead of just 1 strip of 144. But idk if that can work honestly.
Some seller sold their visual poi (Visual Poi Classic for example, at 1300$ lol, very expensive!!) with 136 px for a display area of : 36.2 cm, close to 300led / meter!
i don’t understand how i can do that
Consider a PCB bar like these. It’s 240 LEDs/m.
I’m able to run these 128 APA102 2020 LEDs at about 200FPS for most patterns. I’ve done some basic POV proof-of-concepts here:

You could try to interlace two 144/m strips, but just remember that especially for PoV, the more pixels you drive, the slower it will render, and this reduces your resolution. I don’t think anyone’s tested the new Sync feature with PoV yet, but that would be a very interesting test of the timesync accuracy in the low-millisecond range.