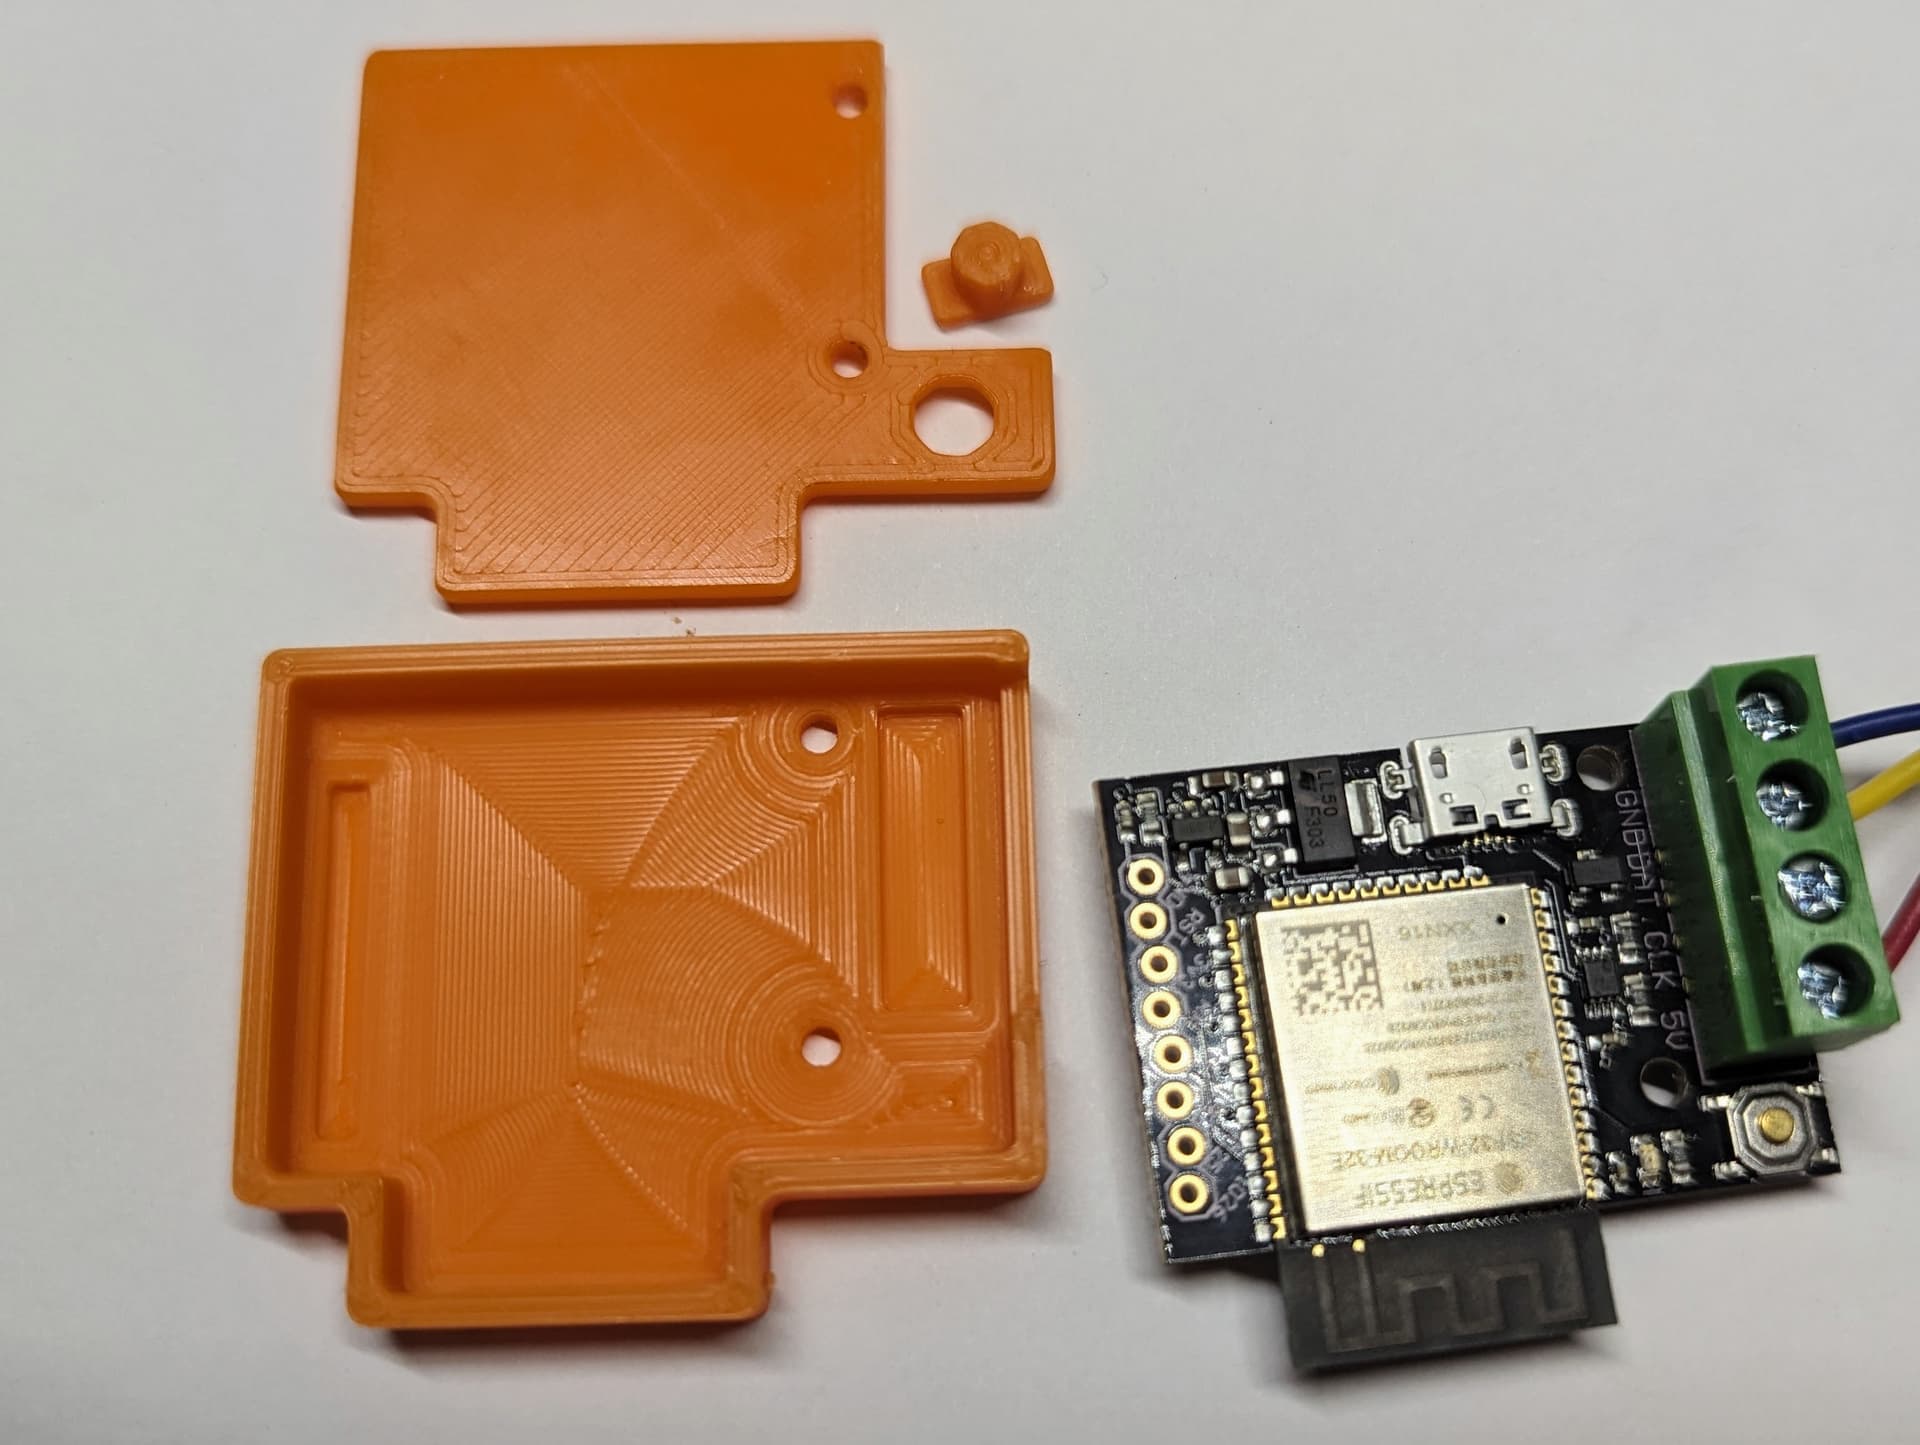
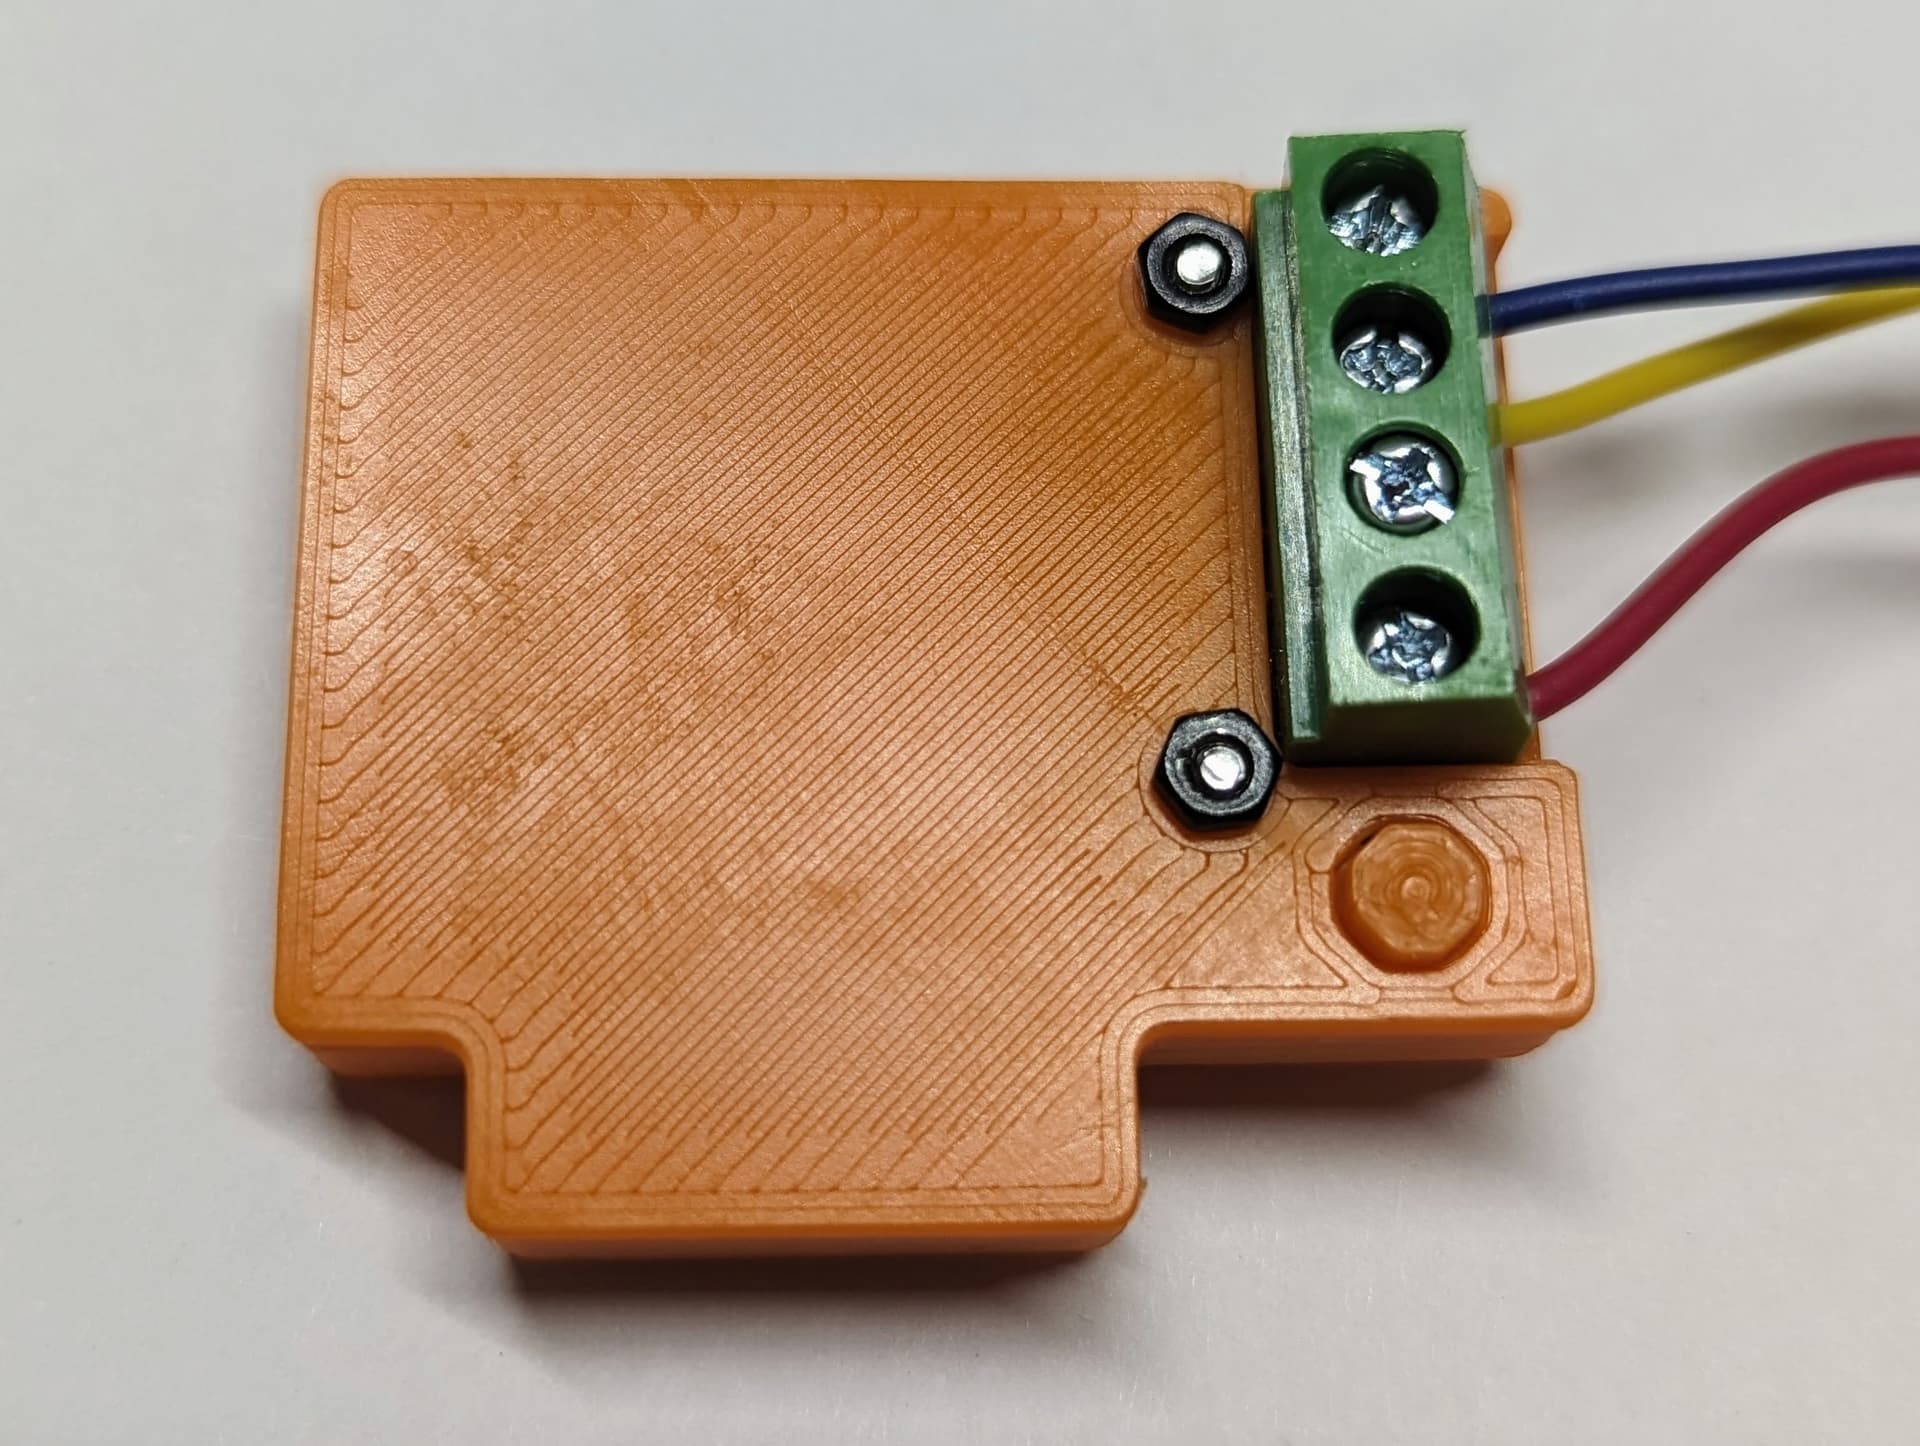
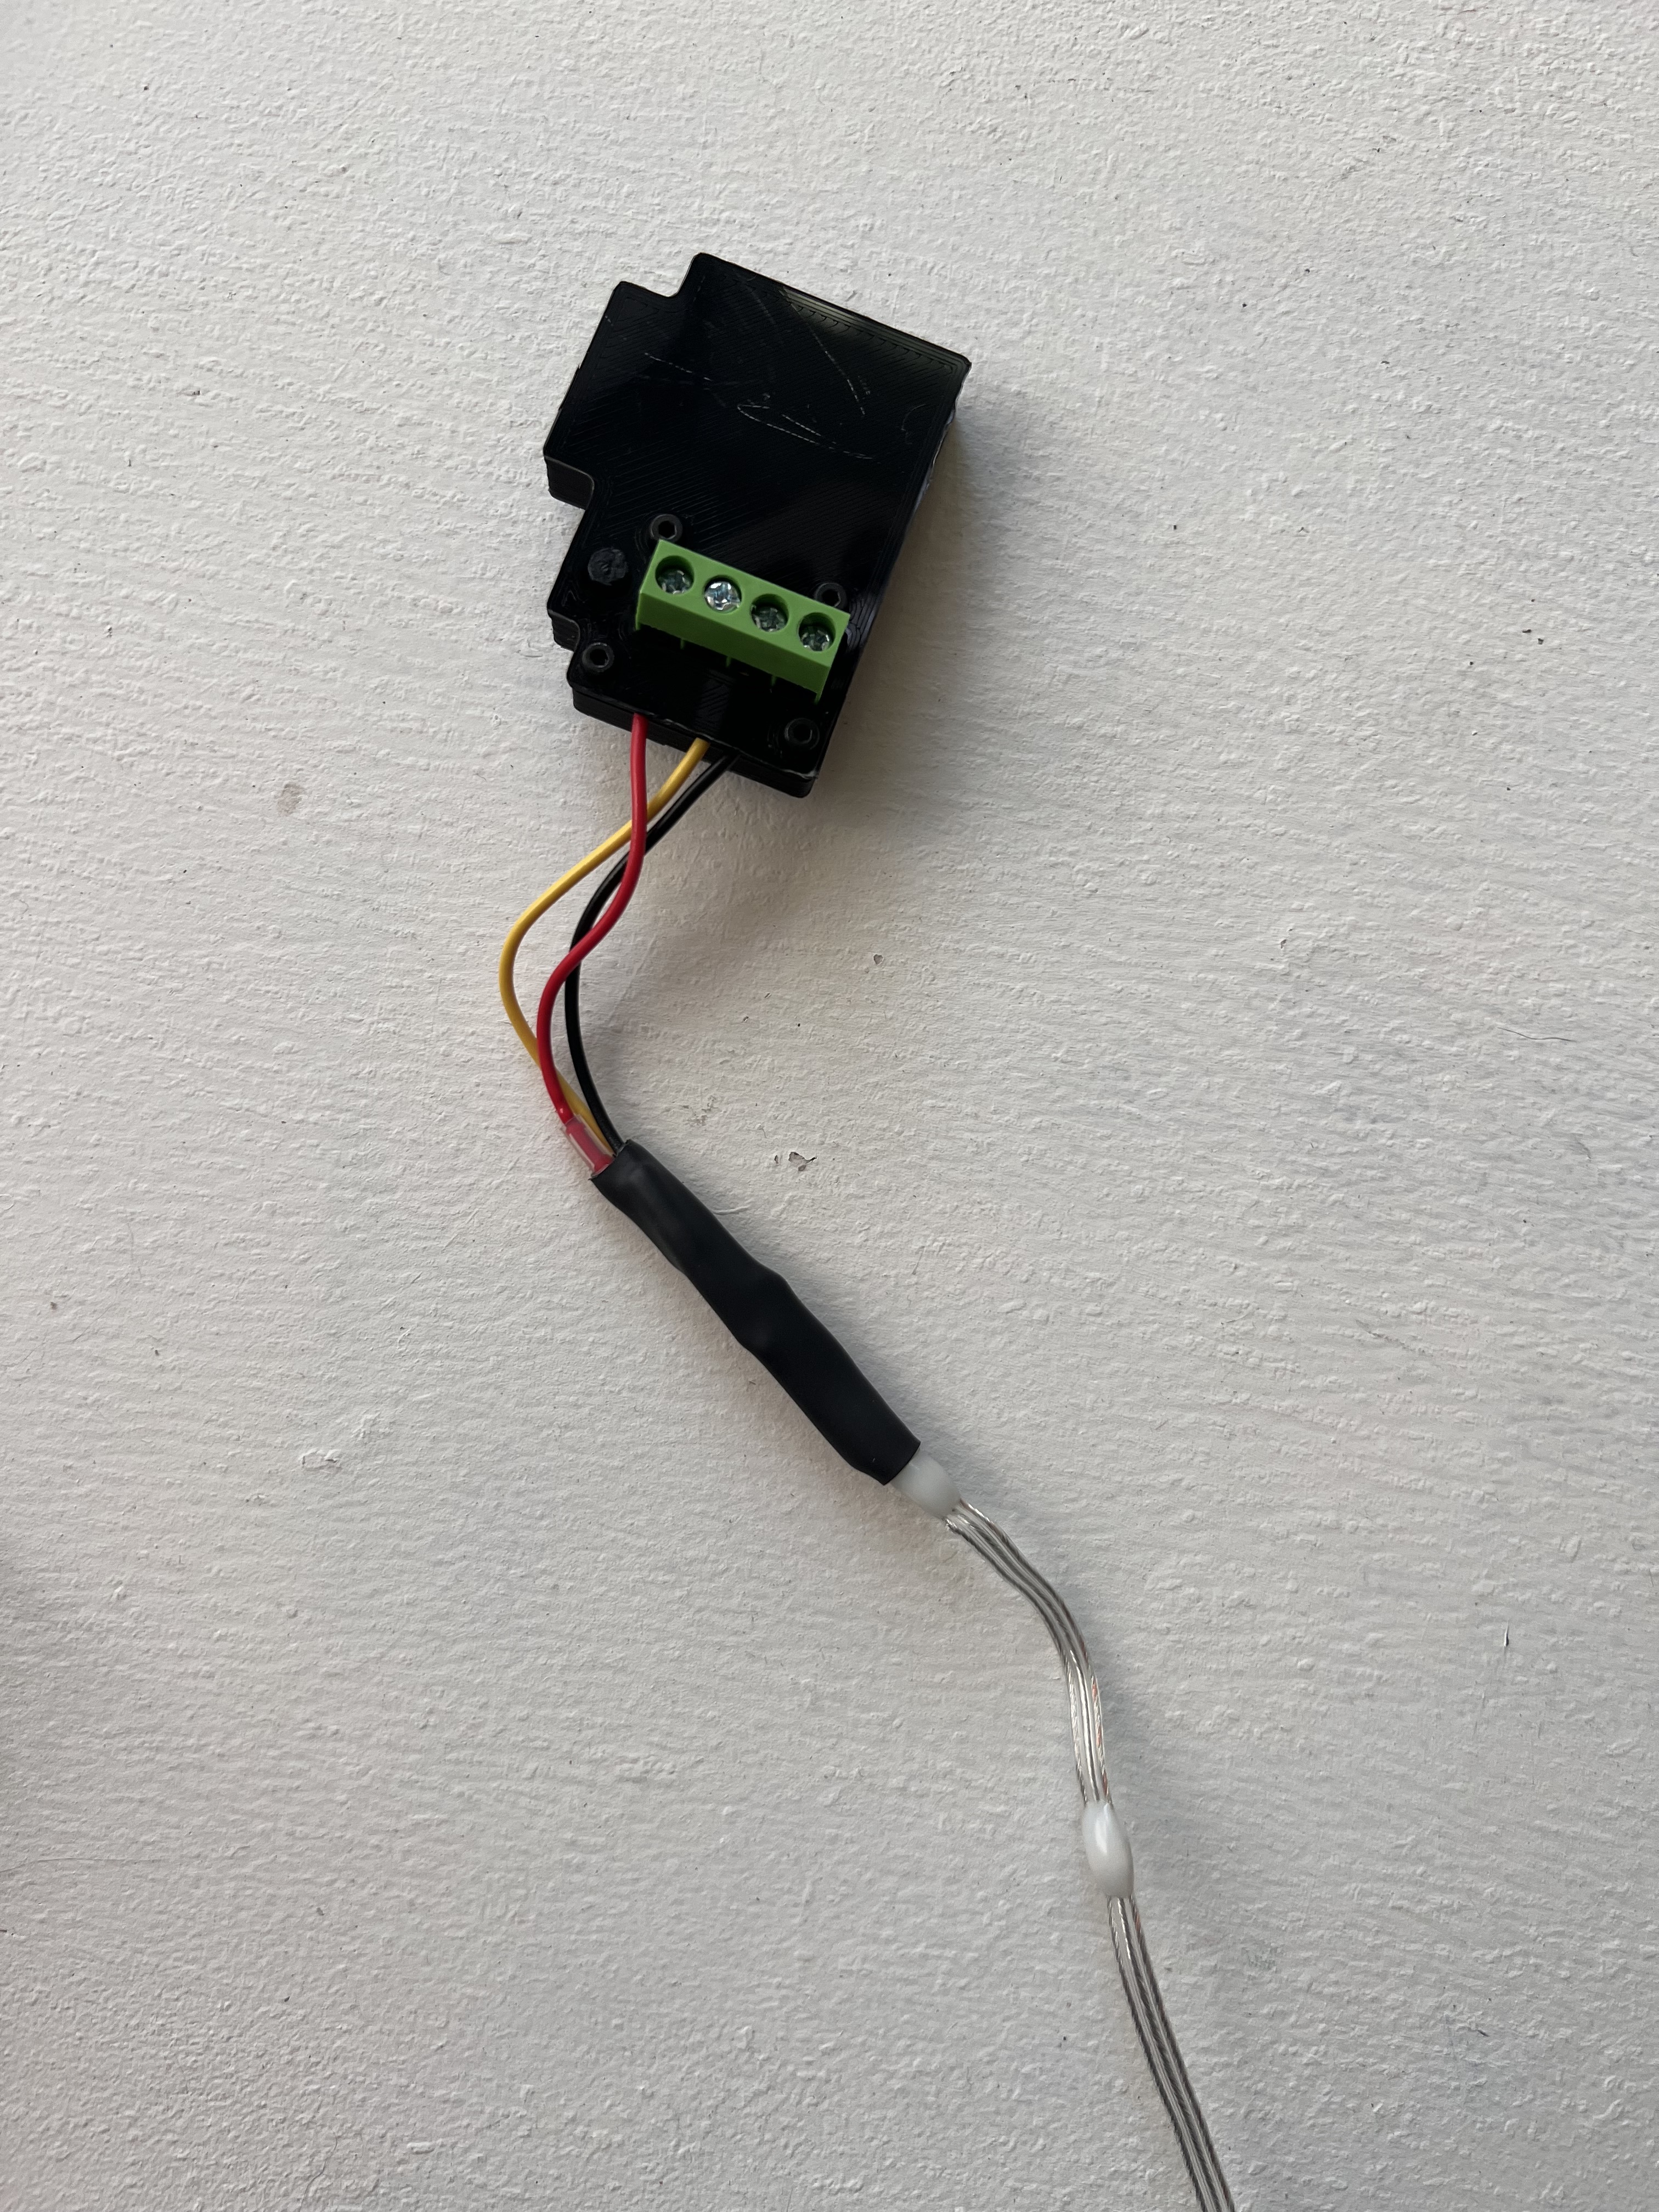
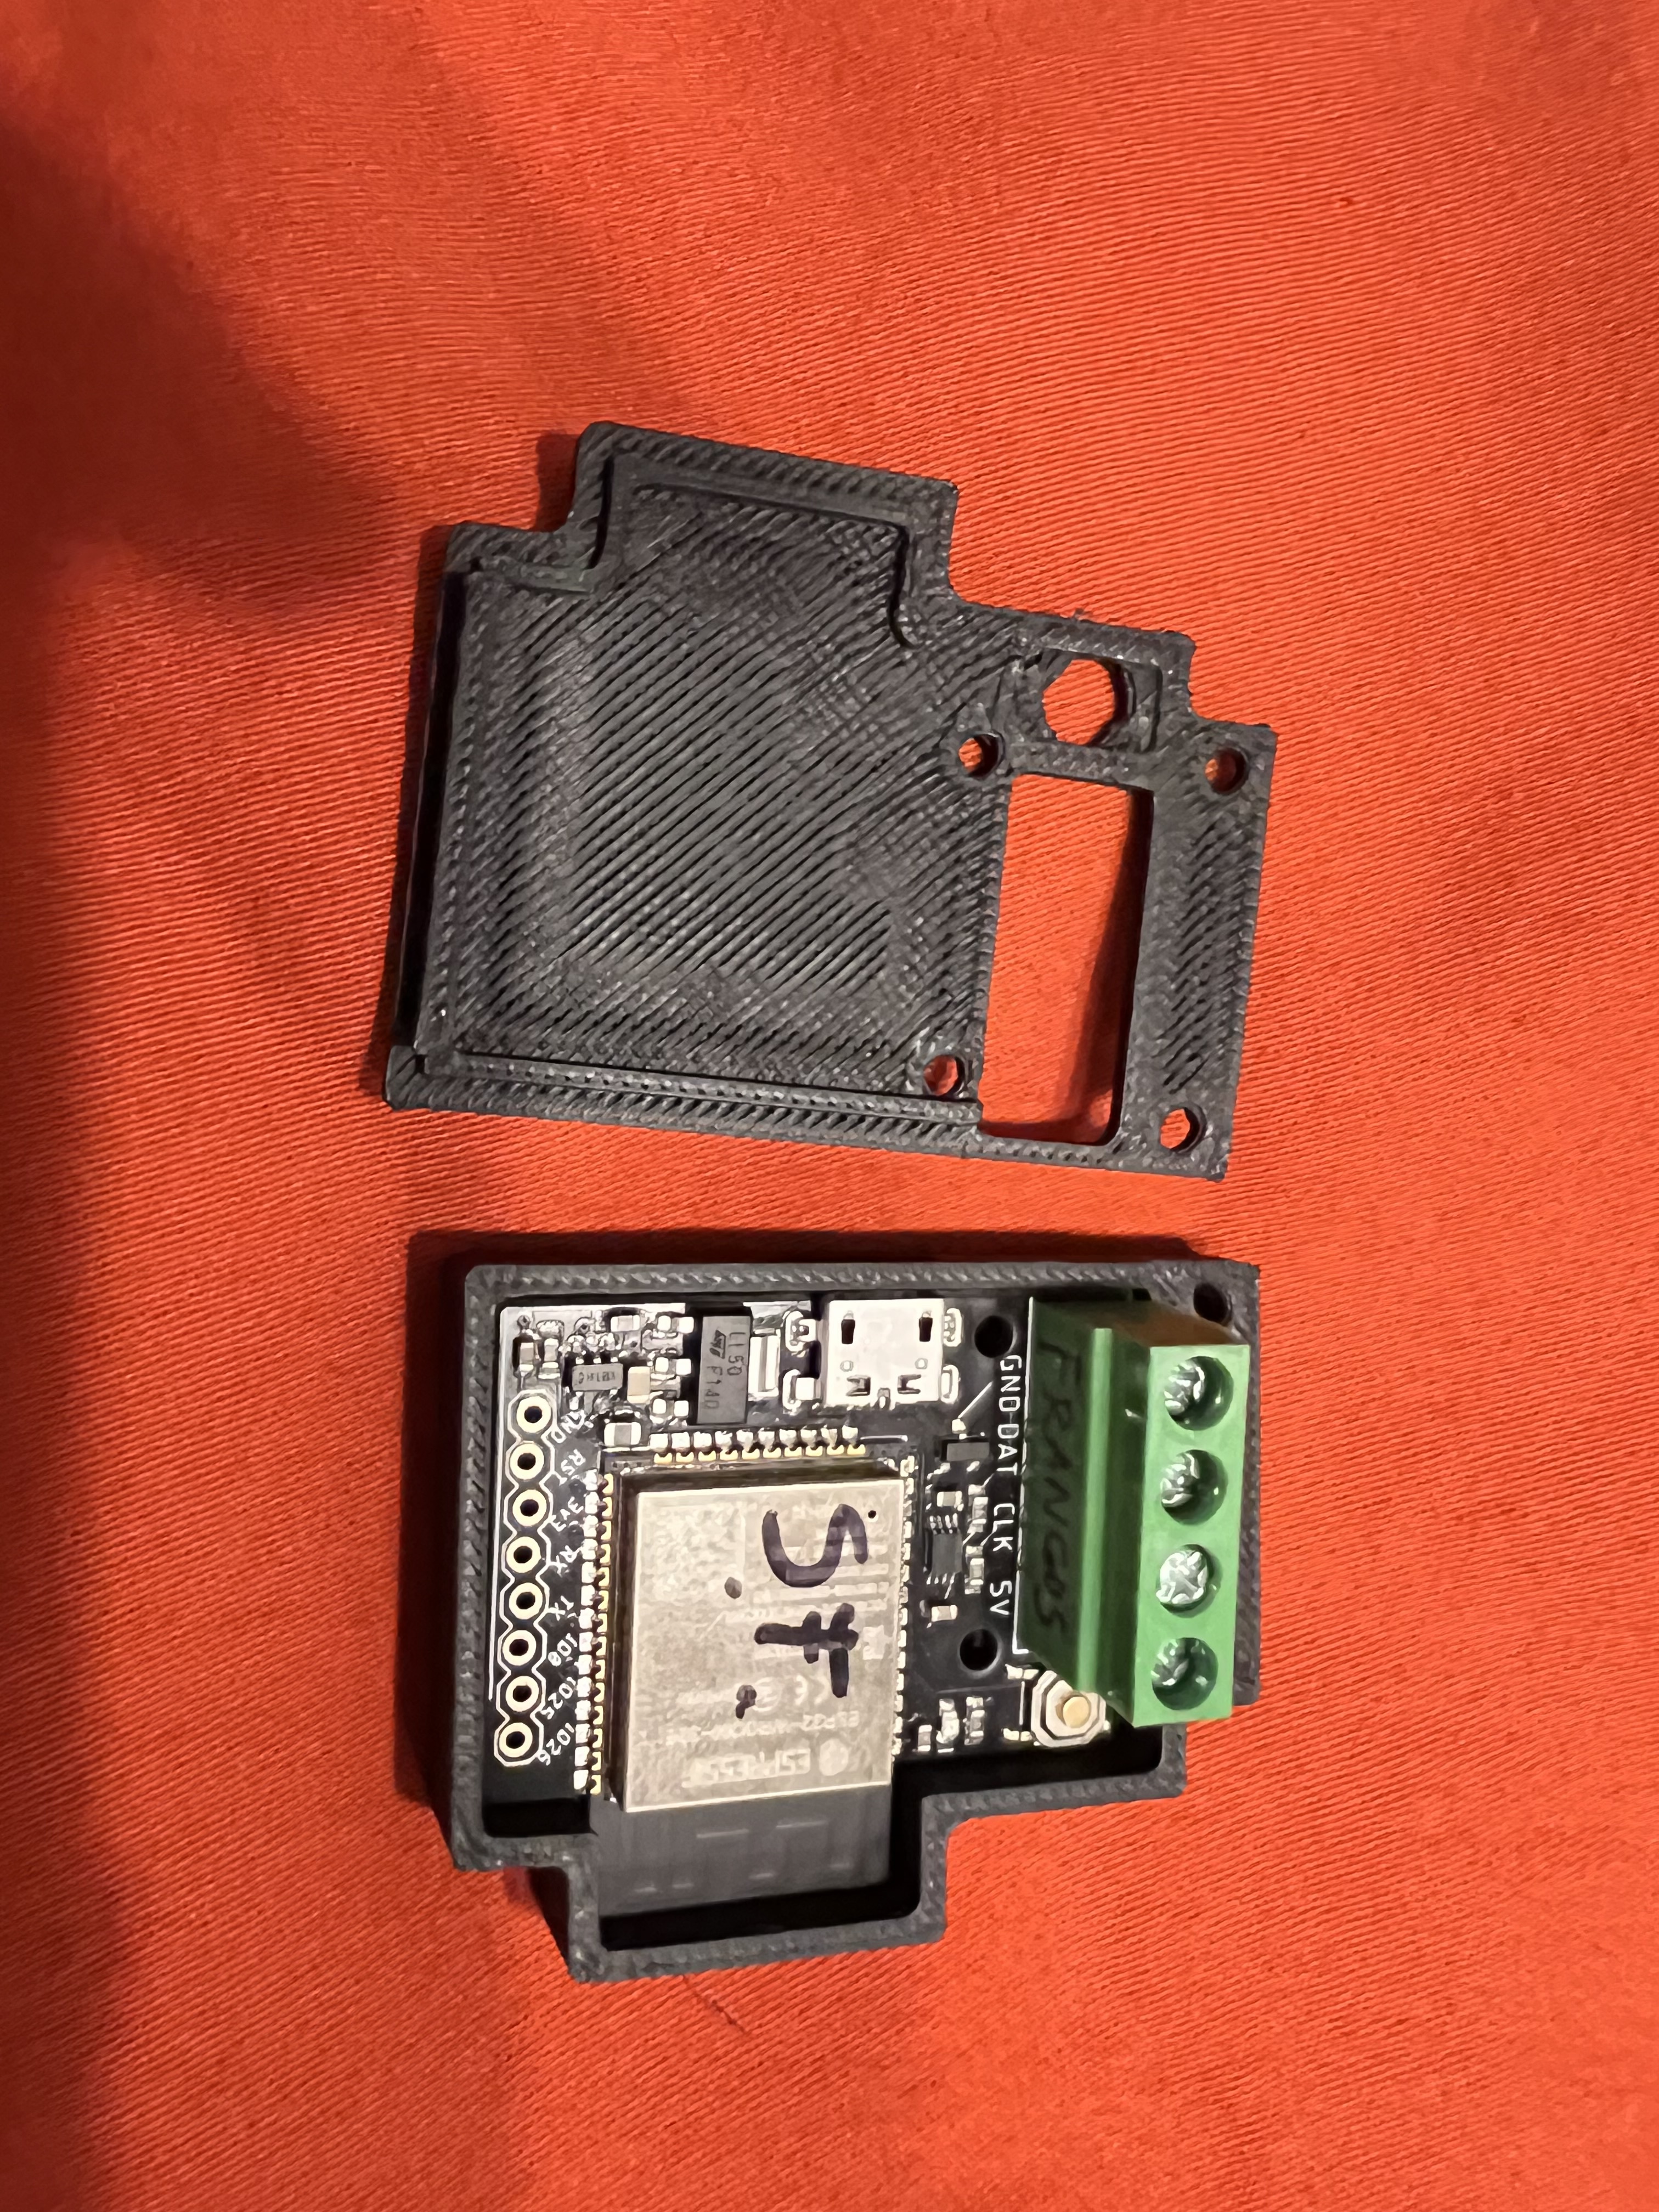
Designed a very simple minimal case for Pixelblaze V3 (https://www.printables.com/model/547229-slim-pixelblaze-v3-case) that exposes the screw terminals and has a cover for the push button. I’m thinking of making a version that provides strain relief to the wires extending from the screw terminals as well.
6 Likes
This is awesome, @GeekMomProjects ! Really great start to what @jeff I know is looking to turn into an on-demand product as well. I’d PERSONALLY prefer a version that both provides strain relief for the wires and also has a knock-out for the micro-USB port, but that’s a personal preference, and a dremel would get the Micro-USB port exposed.
(Also a version that’s just a bit taller to fit a sensor expansion board on top, but with this design otherwise, would be super cool).
This is close enough to what I want I’m going to see if I can get a couple printed up for Burning Man to just protect some of the PBs I’m using that don’t have a sensor board on them. Thanks again.
1 Like
Thank you! I can make a version that exposes the USB port very easily. I’ll try to get to it today, and post a notification when it’s up.
1 Like
Thanks – I do a lot of wearables that are designed to be within the USB-A power envelope, and other projects that are 12v power for LEDs and 5v USB power for PixelBlaze, with a tied-in ground, and I think that’s a pretty common setup.
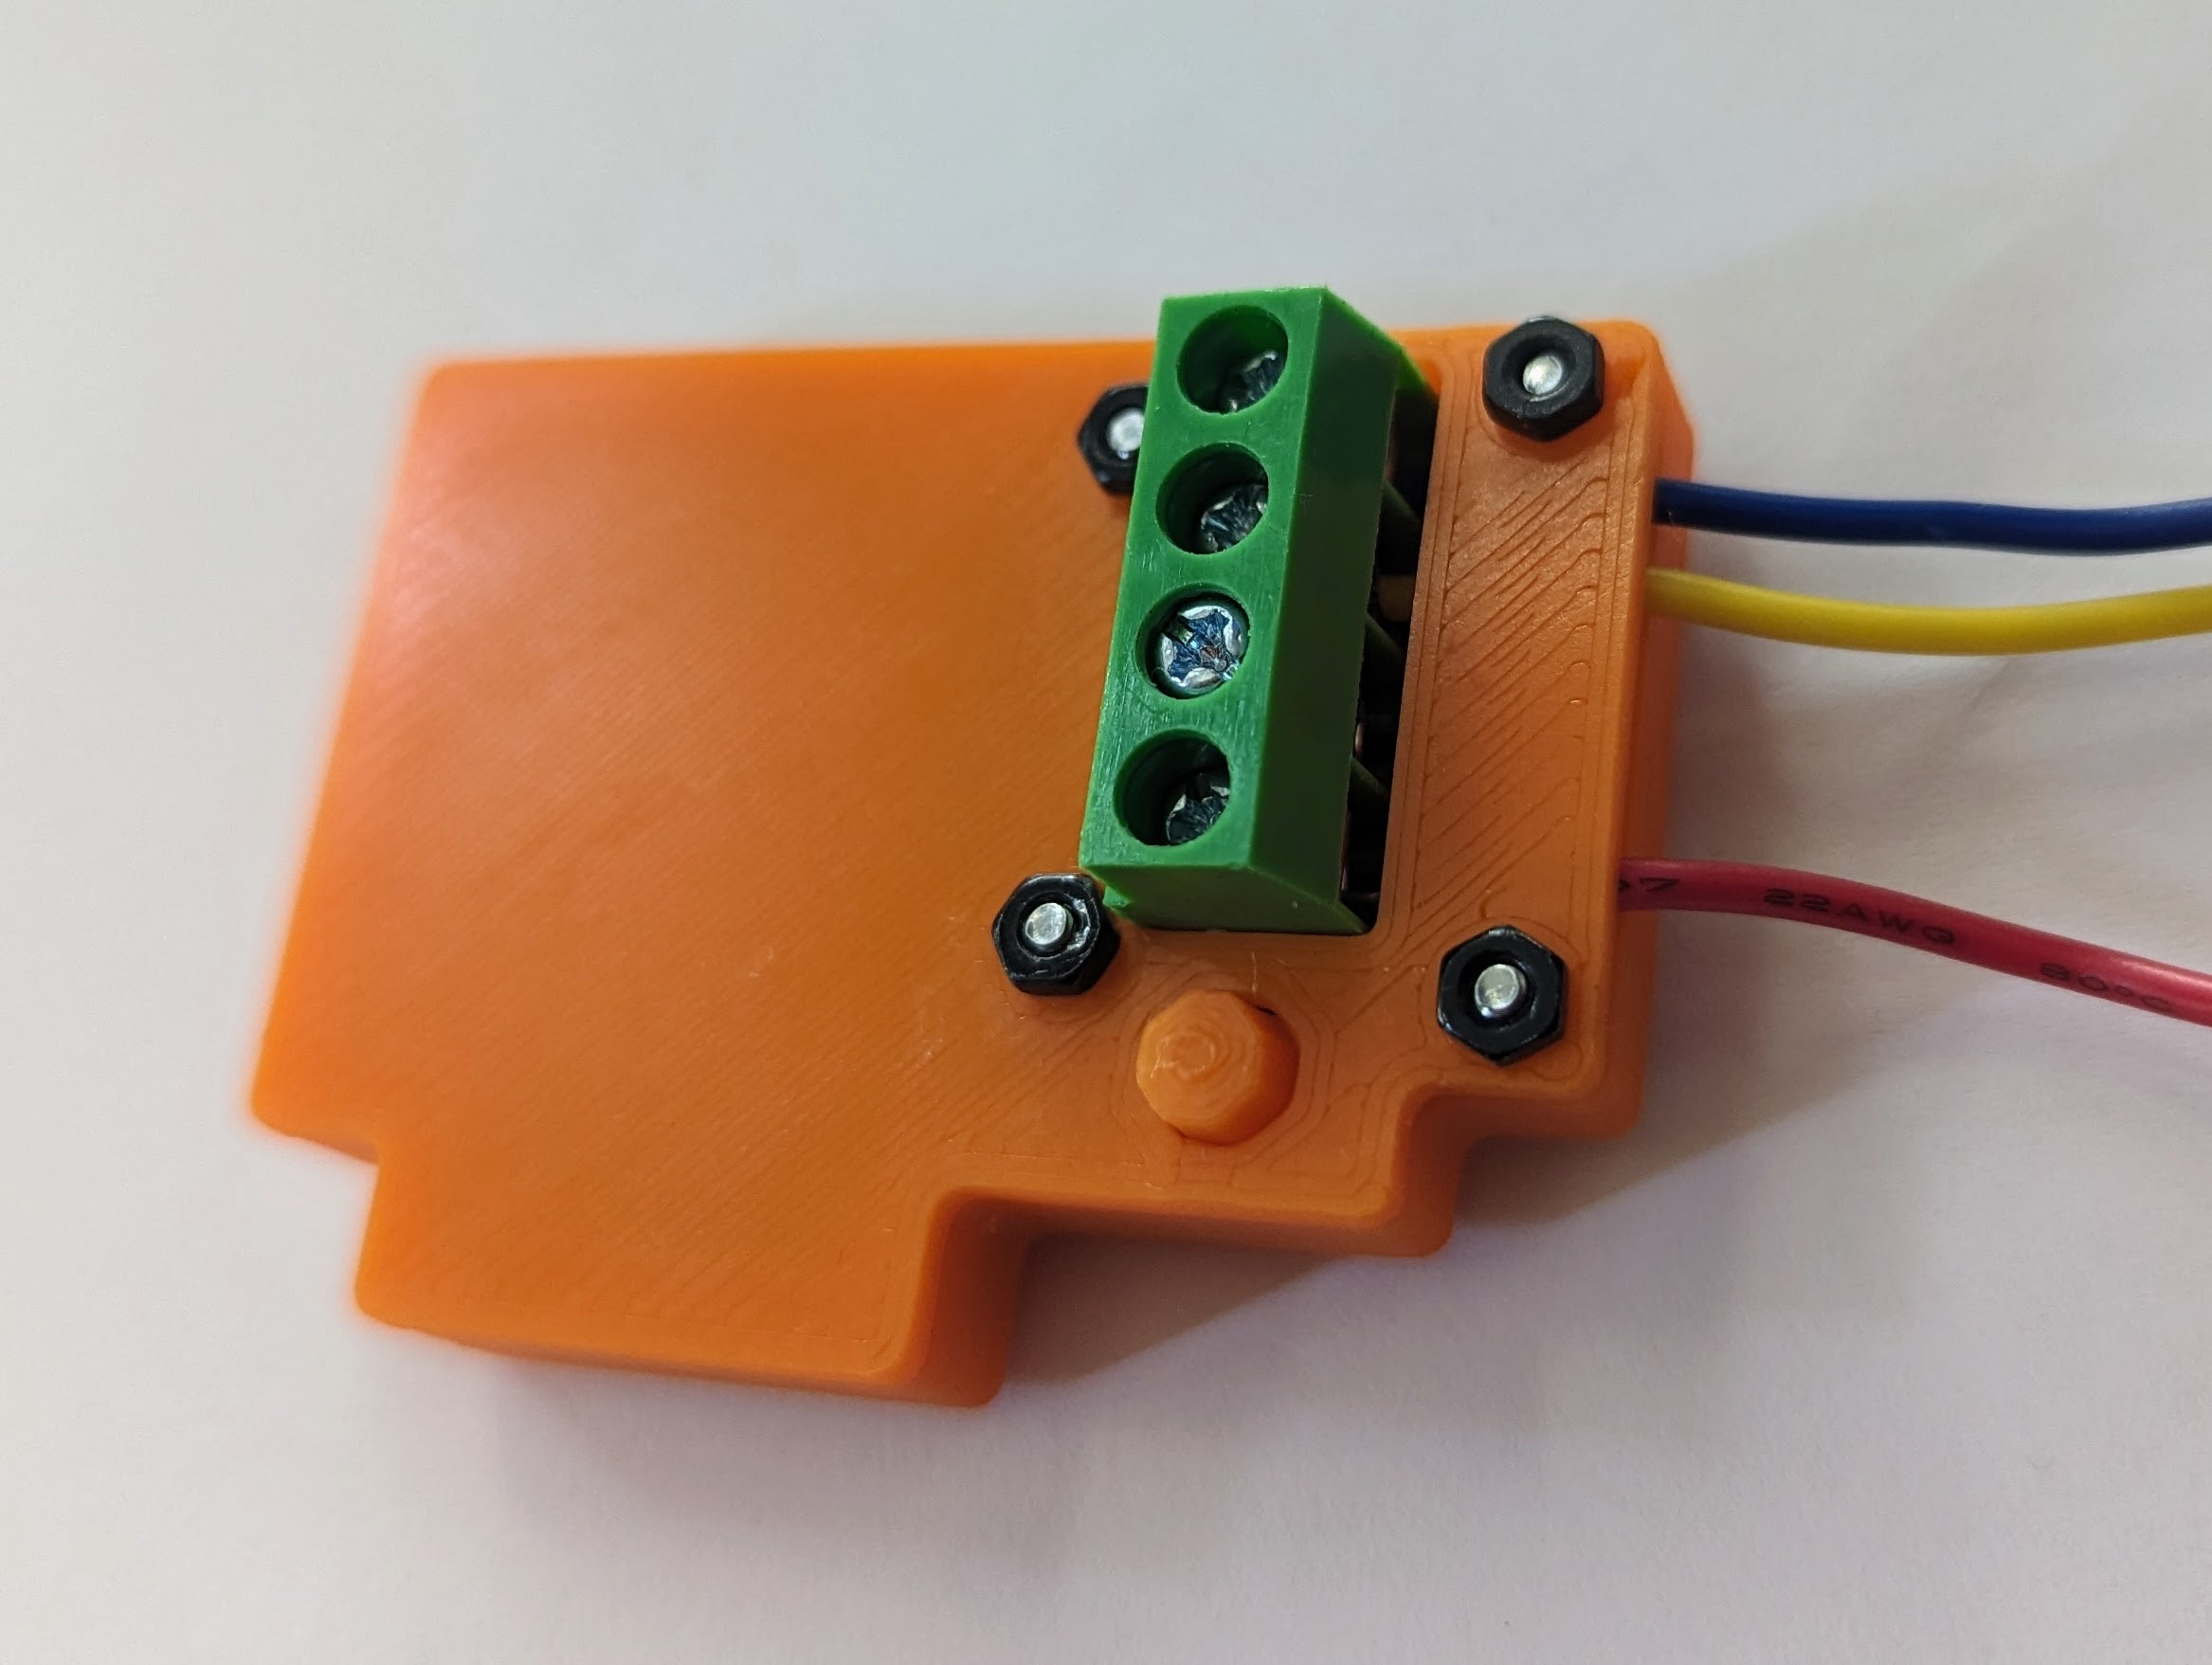
I made a slight tweak to the design to help the lid stay put in back of the case far from the screw holes, and uploaded versions that have strain relief and USB connector holes. I haven’t tested the USB hole ones to see if the hole is big enough (may depend on your cable), but the strain relief version is working well.
2 Likes
These are great! What kind of screws are you using specifically? “10mm or 12mm screws and nuts hold the lid onto the case.” is length but not width, I assume. I’m betting something like a M1.6, but I’d love to know before I have one of these printed out to figure it out via caliper!
Whoops, sorry, meant to say they were M2 screws (M2.5 will probably also work, but may be tight).
1 Like
This is a fantastic design @GeekMomProjects. Are the files available to download?
Thank you. Yes, they are here: Printables
1 Like
@GeekMomProjects many, many thanks!
1 Like
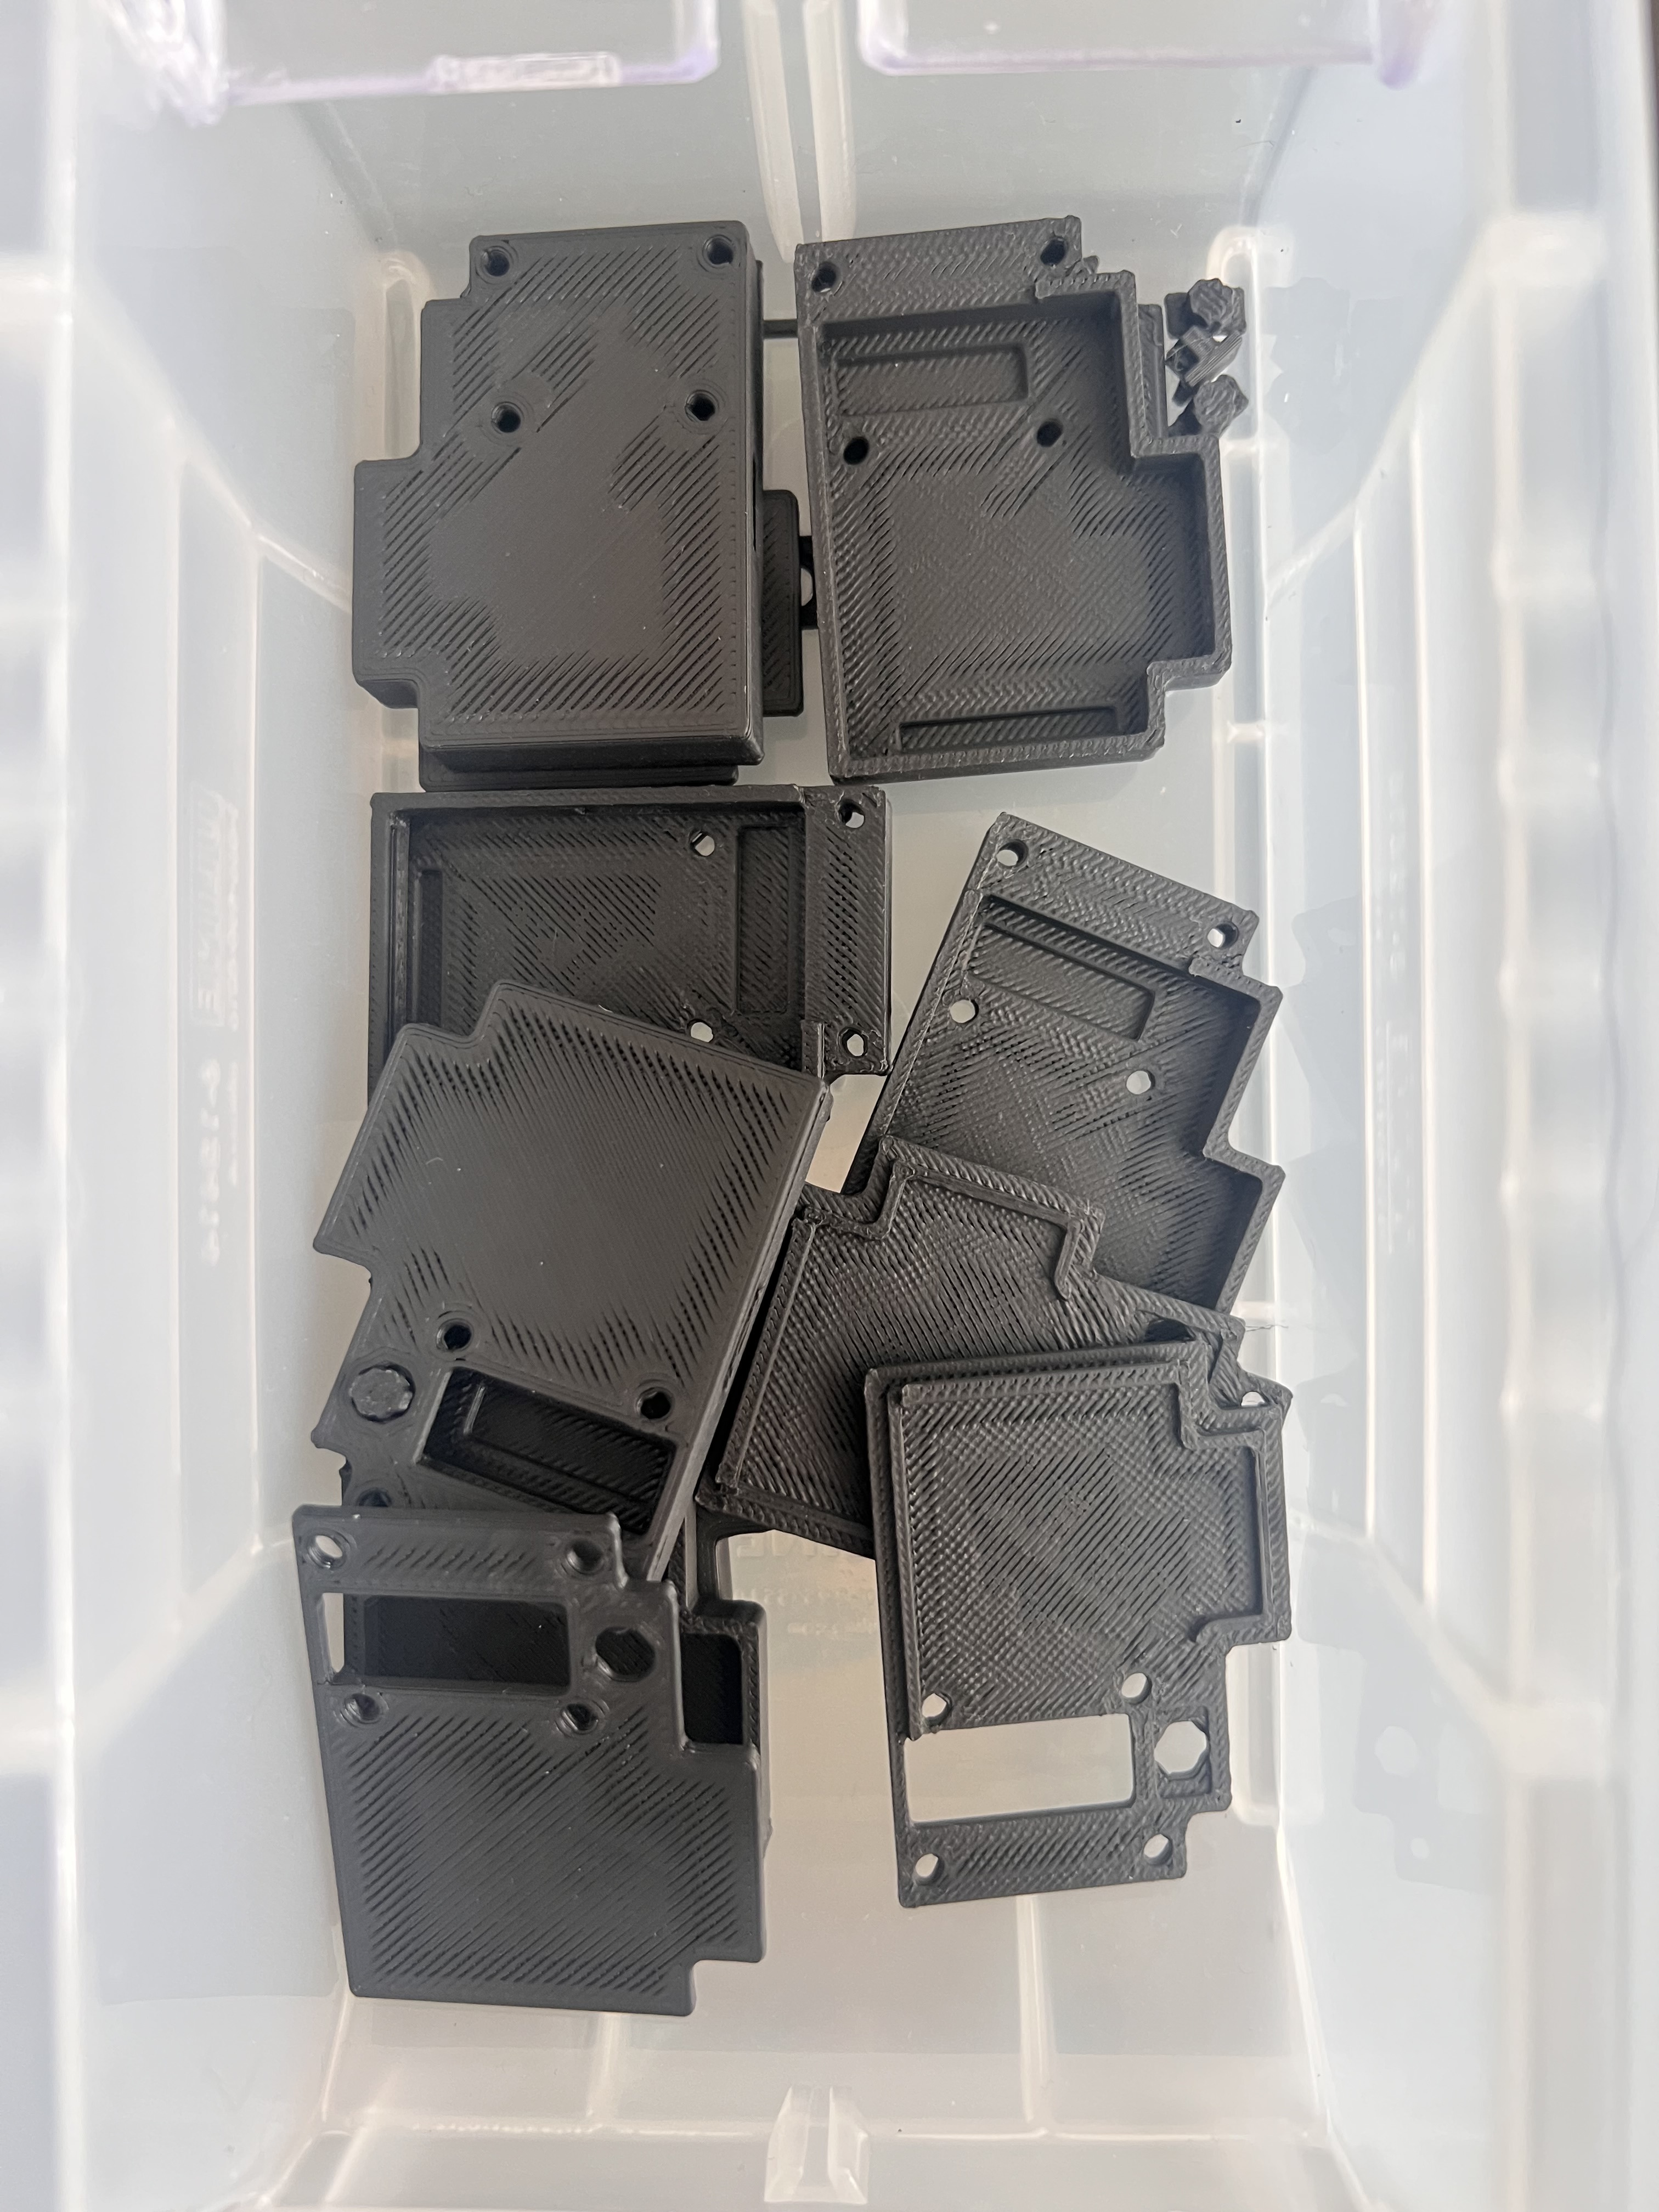
I’ve now printed and distributed around 10 of these cases to friends and camp mates – they’re incredible and everyone is loving them. I’m so so so happy with them. Exactly what I wanted in a case design.
However, if you’re thinking of a revision after the Burn (see you on Playa everyone), I’d increase the vertical clearance by maybe 1mm especially in the version with the USB cutout and strain relief; right now, when you add and tighten down the screws more than a tiny bit, especially the two screws closer to the wires, you can get accidental button presses by compressing the plastic where the button part is enough to trigger the button, which can create a WiFi reset loop.
The solution I’ve found is to either not use the screws, not use the button part, or to be VERY careful to only tighten the screws a tiny amount.
1 Like
Thank you! That’s so nice to hear!
1 Like
Oops, pressed reply too soon. I can modify the design to add a bit more clearance for the button quite easily. If I can get it done today I will.
1 Like
Thanks so much! I’ve had these cases now printed on three different printers, and the button clearance works… almost reliably across them. (Advantage of running a wearables workshop for my camp; a lot of people wanted to test it out).
My guess is your designed it for ideal state, on a well calibrated printer, in good conditions, but there’s just a little too much flex in the system when the screws are added.
By the way, the Micro-USB hole is the right size for most cables I’ve tested!
2 Likes
It makes me very happy to know that the design is useful, so thanks for letting me know, and showing all the prints!
I’ve run into problems before with tolerances because my Bambulab prints with such good resolution. I went back to the design and added 1mm of height to the case, which should help the clearance issues, but haven’t had a chance to test in a print, and can’t be sure that I didn’t inadvertently screw something else up in the process.
I probably won’t have a chance to run a test print until later this afternoon or tonight, but if you want to give the updated design a try before then, I’ve put the new versions of the STL files in a Dropbox folder here: Updated Case FIles, and you are welcome to try them.
Once I’ve verified that they’re good, I’ll upload them to Printables.
1 Like
Just did a test print, and the updated version of the case seems to work fine and has 1mm more clearance between the lid and the top of the Pixelblaze. Let me know if you experience any issues. I’m uploading the updated files to Printables within the hour, but they’re the same ones from the Drobox folder I mentioned in my last response.
1 Like
You are a hero, although I will not be able to run any prints to test it out between now and after Burning Man — thank you very much for being so willing to take feedback and iterate on this awesome design.
2 Likes
My pleasure - have a terrific time at Burning Man!
2 Likes