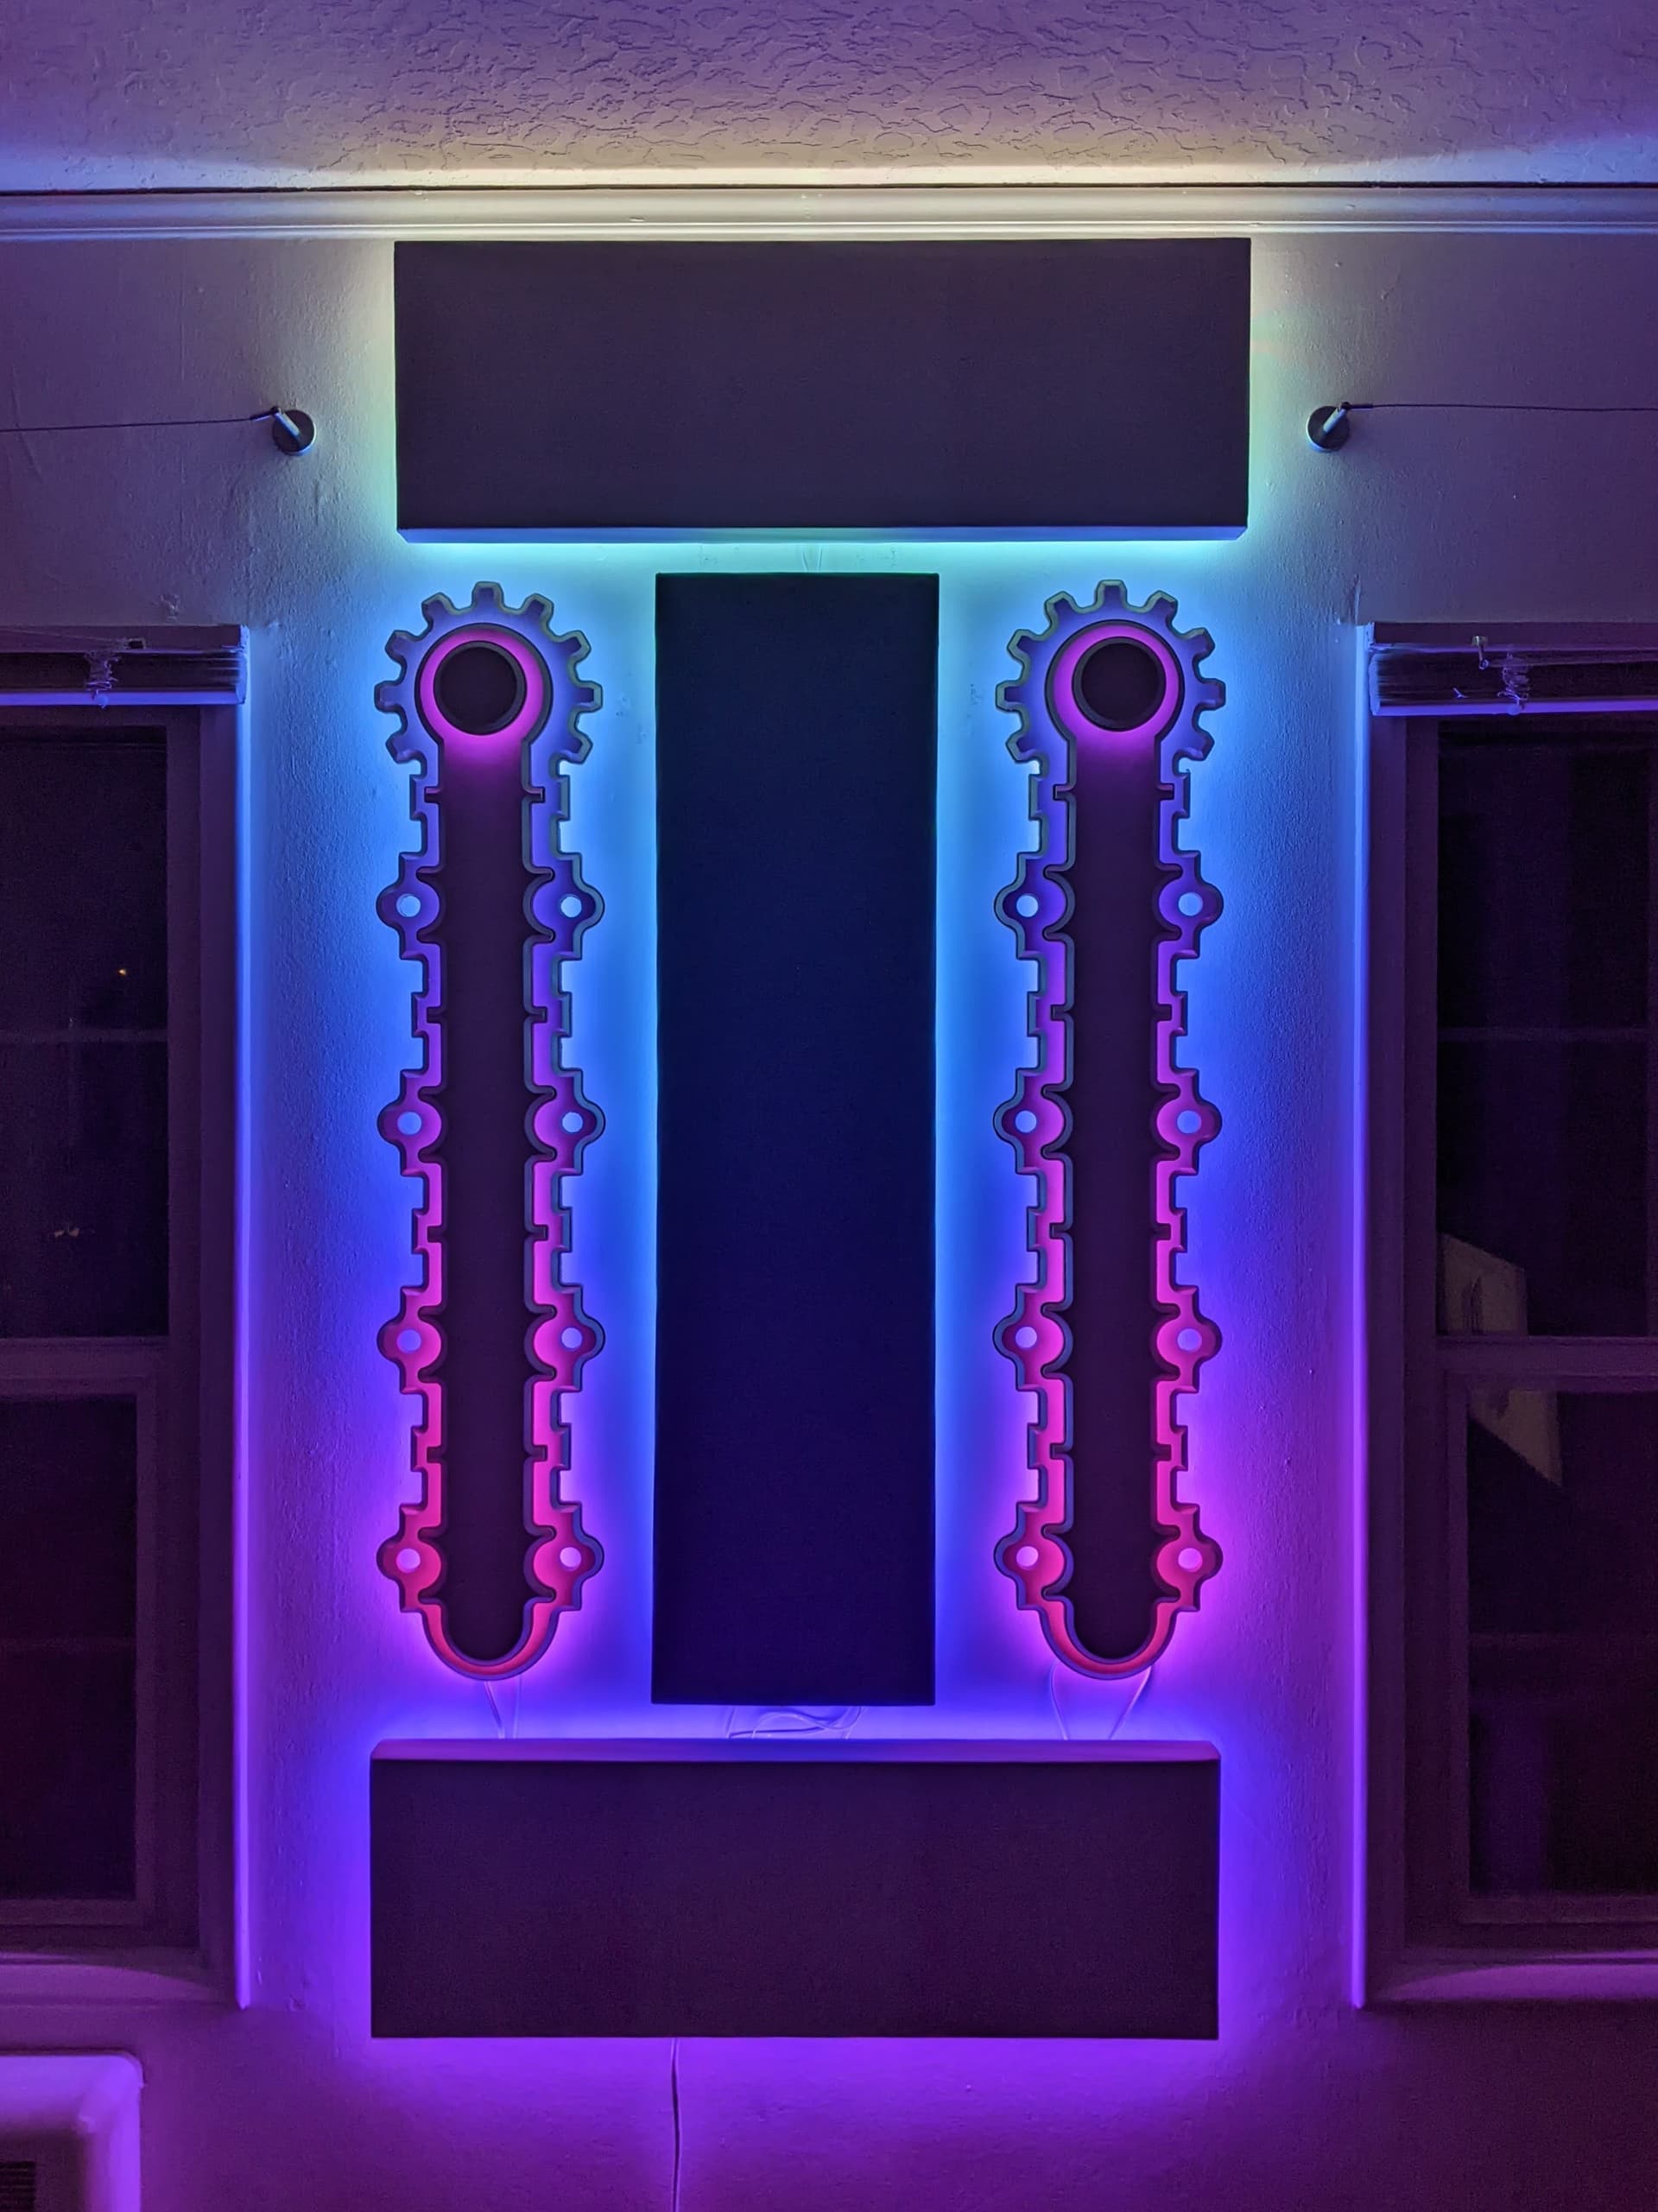
I started with a 3d model, basing the scale around my 3 sound-absorption panels and the space I had on the wall.
I’m new here, so I’m stuck with only one embedded image. For the rest (and some video), see this album on Imgur: https://imgur.com/a/u7b7Hvm . There aren’t too many (it’s late as I write this), but I’m happy to share more later.
I had a local furniture shop cut the wood for me while I embedded the power supplies and PixelBlaze into one of the sound panels.
After wiring it up and writing up my 3d map, I got my first pattern running! I have a few plans for improvement (like using one of the circular pieces as a push-button / knob to control the patterns), and I’m hoping to improve the FPS for smoother transitions.
Any chance I could get some help to increase my FPS? This piece has 1019 pixels on a single output. The end of the chain is most stable at 444ns with Buffered WS2812 pixels. This gives me about 14 FPS with the following super simple pattern:
export function beforeRender(delta) {
  t1 = time(.1)
  t2 = wave(time(.1))
}

export function render3D(index, x, y, z) {
  h = t1 + (y/2) + (z/3)
  s = .7
  v = 1
  hsv(h, s, v)
}
I’ve ordered a PixelBlaze V3 and an output expansion board, hoping they can handle my bulk of pixels better, but I’d love some community thoughts too.
This has been a super fun project so far - I’m excited to see how I can expand / improve / program it for the best piece I can.
It looks awesome!! Nice job, thanks for posting pics.
+1 to Scruffy’s optimizations.
How much does the frame rate improve when you select “No LEDs” as the output? If it improves a lot, then your limiting factor is most likely the speed of the WS2812 protocol propagating through 1019 pixels, and upgrading to a v3 won’t yield much improvement. What will work however in this situation would be to rewire it to spread those pixels across more channels (using the output expander you ordered).
Since (y/2)+(z/3) is a constant per-pixel, you could precalculate it into an array then use hueOffset[index]
Also … divison is (@wizard can correct me if I’m wrong or he’s done some clever optimization) more expensive than multiplication so I’ve taken to replacing any /constant with *(1/constant), e.g. in this case t1 + y * 0.5 + z * 0.33333333333333333333333333333333333333333333
In some projects I had a bunch of /log(constant) and got good speedup with *inverted_log_of_constant instead.
Hi @Zero ,
That looks really nice! Laser cut? CNC? I can’t tell exactly what the materials are, but the effect is great!
Here’s a longer technical explanation of the frame rate.
At the 444ns / 889ns setting, you are transmitting at about 450Kbps, a little over half of the WS2812’s possible speed. That gives you a rough max bandwidth 450Kbps / 24 bits per pixel = 18750 pixels a second. With 1019 pixels, a max theoretical FPS of 18.4 (if rendering was instantaneous), or about 54.3 milliseconds to send each frame.
Another factor in FPS is that in buffered mode the system alternates between calculating pixels and sending them out. So if it takes another 19ms to calculate the next frame, you could easily end up with a total frame time of 19 + 53 = 72ms, or 13.88 FPS.
Using a V3 might help a on the bandwidth side, it generates more accurate WS2812 timing with a fixed data rate of 800Kbps and will spend less time rendering pixels as well (about 2.6x faster on average). Taking a guess you might be looking at 10ms to render and 30ms to transmit data for a total of 40ms a frame or 25FPS.
Using an output expander can also help (even with V2) as the data no longer needs to be buffered in Pixelblaze, so rendering won’t be blocked and can run in parallel. The expander also has a fixed output data rate of 800Kbps, and an input data rate is about twice that, so I would split the strip in half and run it on 2 channels (it will still render as one solid strip). I’d also be sure to inject power at the same point, with both I think your issues with the higher data rates should also go away.
You can simulate the FPS of adding an output expander to your V2 just by configuring it as if you had one in settings. You might want to disconnected your LEDs so they don’t try to draw the output expander data stream (probbaly as a bunch of random static). Set LED type = Output Expander, add a Board, and set 2 channels for 509 + 510 pixels each.
For the most FPS you can do both. The V3’s extra CPU power will come in handy for complex patterns.
@jeff and @wizard get the prize! Setting the output type to No LEDs drives me up to 54 FPS and @wizard explains perfectly why - it takes a while to buffer and send data to 1000 pixels. So to help, I’m going to use the Output expander and connect each wall panel to an output. That way I’m maxed out at 292 pixels per channel for the bigger pieces, can run at a higher baud rate without getting random flashes, and if one LED goes out, it won’t take out the whole piece.
Setting up my V2 to pretend to have an output expander this way, I get up to 58fps. I expect the V3 will only be an improvement on that, especially when I get to creating more complex patterns.