Hey there fellow pixelblazers! I just got my v2.1 and I am absolutely in love with it! The upgrade from the SP105E I used at first with my 300 pixel WS2812B is immense! I’ve never programmed before but I’m really enjoying the learning process. I’m looking to use this as part of a sign I’m building for my amazing wife’s first multi-chair salon and one of the hurdles to this I’m trying to figure out is how to program separate sections of the LED strip. Eventually I’ll cut and solder this strip into 3 separate sections of varied lengths and I’d like to be able to assign separate programming to each of them.
For example one section of LEDs might be white using the following:
export function render(index) {
hsv(1, 0, 1)
}
While another runs a smooth rainbow with the following:
export function render(index) {
hsv(time(.1) + index/pixelCount, 1, 1)
}
What can I use to apply a function to only a set range of LEDs?
Alright color me crazy but I worked through part of this and wanted to share in case someone else runs into the same issue - I ended up with an example formula of:
export function render(index) {
if (index>200){
hsv(time(0.1) + index/pixelCount, 1, 1)
}
if (200>index){
hsv(0.9,1,1)
}
if (index<75){
hsv(1,0,1)
}
}
This gave 75 LEDs of white (last bit of function) 125 LEDs of pink and 100 LEDs of rainbow. I still don’t understand why re-ordering these if statements results in failure to have 3 sections so I think I need to understand how the order of operations is effected here (perhaps working from end of strip to beginning?) but I think at least for now I’ve got a way to break my strip into 3 sections and then throw formulas in to create certain effects.
It’s awesome to see you figured out a mostly-working approach on your own. To prevent the order of if statements from having unpredictable results, I have two suggestions: Careful boundaries, and using else.
First, careful boundaries means thinking through all possible values of index. For example, in your code, what happens if index is 200? And did you notice that if index is 1 you end up calling hsv() twice, so that the second call essentially overwrites the first? Using else might make your pattern run faster by only invoking hsv() once for every possible index.
Here’s how I might fix these two issues - notice the else and <=:
Hi!
I’ve done something similar – I’ve got 600 pixels on a 32 foot beam that I can subdivide into zones and control by setting the exported variables via the websocket API.
Here’s my pattern function:
//////////////////////
// Divide a lightstrip into zones, each
// with independent RGB settings, coded for easy JSON access
// so we can sync the zone colors to external devices or events
// 12/16/2019 - JEM

// per-zone color/pattern control constants and data array declaration
var __n_zones = 4;
var __zone_size = floor(pixelCount / __n_zones);

var __zone_state = 0;
var __zone_h = 1;
var __zone_s = 2;
var __zone_b = 3;
var __zone_effect = 4;

var __zone_cols = 5;

export var z_1 = array(__zone_cols);
export var z_2 = array(__zone_cols);
export var z_3 = array(__zone_cols);
export var z_4 = array(__zone_cols);

var __zArray = array(__n_zones);

// Load data structures before we start rendering
InitializeZoneData();


// Set hsb color of the specified zone
function SetZoneHSB(z,h,s,b) {
	var a = __zArray[z];
	a[__zone_h] = h;      // hue
	a[__zone_s] = s;      // saturation
	a[__zone_b] = b;      // brightness
}

// set on/off state of specified zone
function SetZoneState(z, state) {
	var a = __zArray[z];
    a[__zone_state] = state;
}

// set special effect for zone
// TBD - not yet implemented
function SetZoneEffect(z, effect) {
	    var a = __zArray[z];
		a[__zone_effect] = effect;
}

function InitializeZoneData() {
  var i;

// set up lookup table of individual
// zone status arrays
    __zArray[0] = z_1;
	  __zArray[1] = z_2;
    __zArray[2] = z_3;
    __zArray[3] = z_4;

// set some attractive initial colors!
    SetZoneHSB(0,0.41,0.9,0.34);
    SetZoneHSB(1,0.70,1.0,0.34);
    SetZoneHSB(2,0.81,0.9,0.34);
    SetZoneHSB(3,0.57,0.9,0.34);

// all zones on initially
   var i;
   for (i = 0; i < __n_zones; i++) {
      SetZoneState(i,true);
	    SetZoneEffect(i,0)
   }
}

// prerender pass. Reset pixel colors only when something has
// changed.
export function beforeRender(delta) {
	;
}

// per-pixel render function
export function render(index) {
	var a = __zArray[floor(index / __zone_size)];

	if (a[__zone_state]) {
      hsv(a[__zone_h],a[__zone_s],a[__zone_b]);
	}
	else {
		  hsv(0,0,0);
	}
}
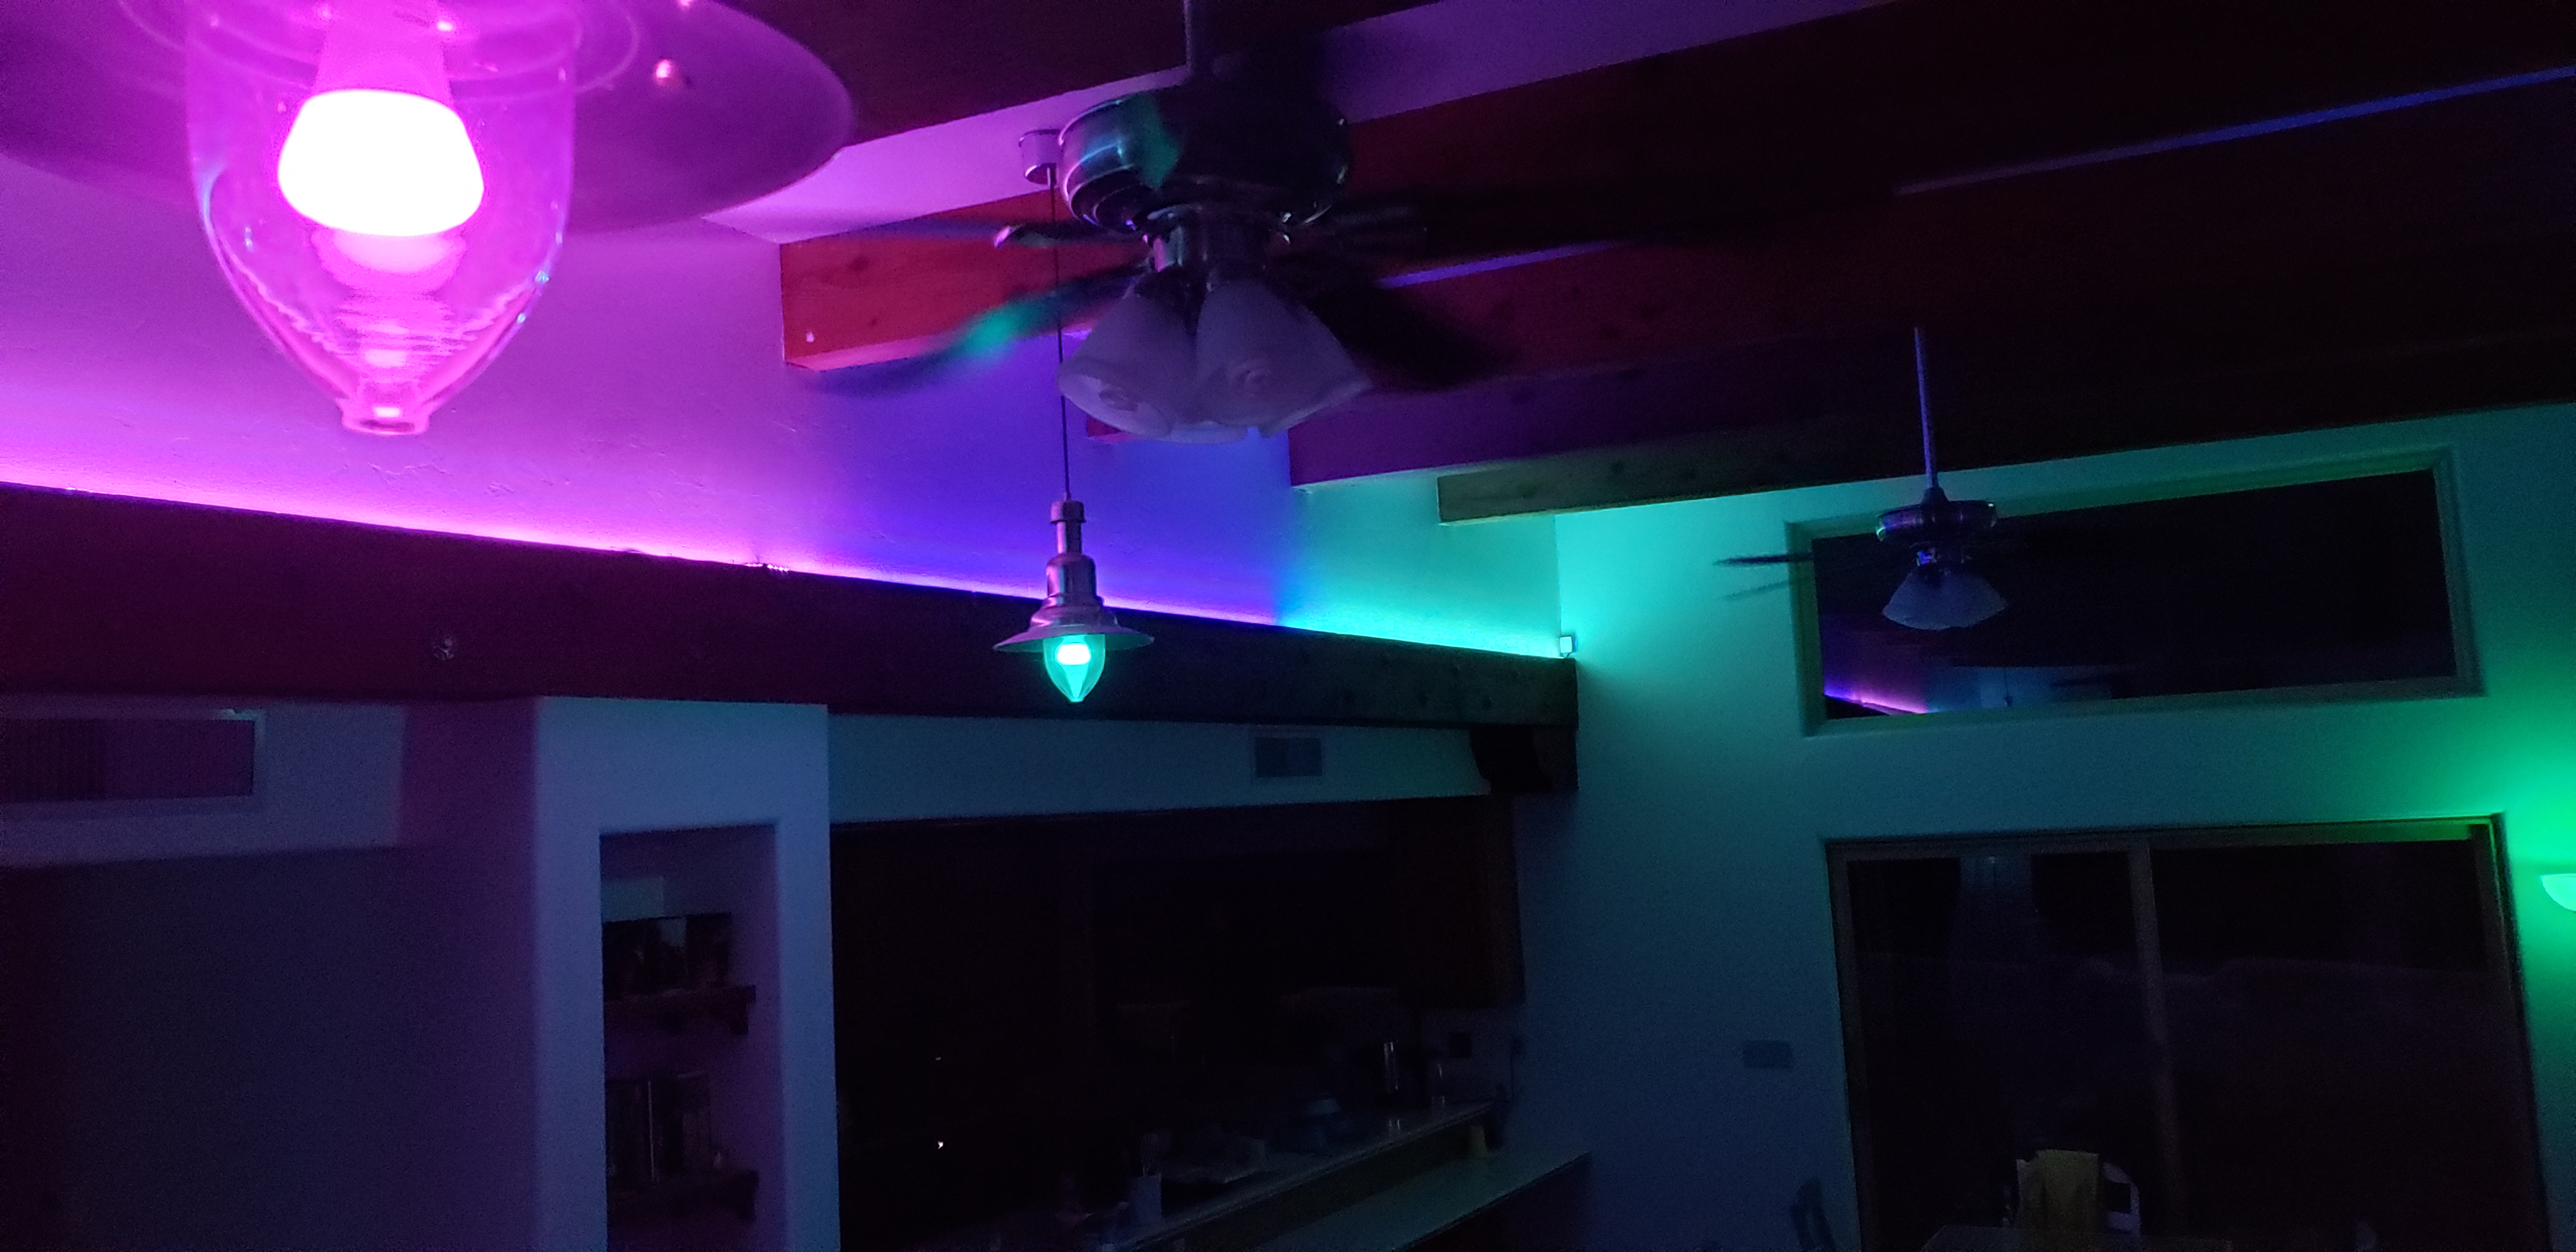
This is what it looks like in operation: (You can see the Pixelblaze in its case where the beam intersects the corner wall )
WOW! @jeff I started by using your idea and it worked swimmingly so far - I’m working on other parts of my project right now but I can’t wait to share the final project with you all! @zranger1 your setup looks awesome! Your function seems much more complicated so I’m going to take some time to chew on it.
It seems like both of these can achieve the same effect, maybe this is too complicated a question but is there a ‘best’ between them? Like will pixel-blaze have a harder time doing a longer function or is it irrelevant? I’m still wet behind the ears when it comes to programming so I’m curious on how methodology will impact performance if at all.
So they’re doing more or less the same thing – jeff’s is more straightforward about how it decides what zone you’re in. His approach allows for zones of arbitrary size, where mine subdivides the strip into equal sized zones based on pixelcount. Also, mine has code that’s not relevant to just subdividing strips – it provides for turning individual zones “on” and “off” and eventually running per-zone subpatterns or special effects.
I use this pattern to integrate pixelBlaze into my “normal” room lighting setup, which is mostly Philips Hue stuff. I wrote a protocol remapper that tells my Hue hub (diyHue) that the pixelblaze is actually an arbitrary number of overpriced Hue color bulbs. I can then use the Hue app to control the pixelblaze, and incorporate it into lighting presets and so forth. It makes my wife happy to have only one app to worry about, and I find it pretty convenient too.
(On performance, I wrote this assuming that generating an array index per pixel would be faster than evaluating multiple conditionals, but I have not tried timing it yet – cs professors everywhere are frowning…)
Ok… quick performance test result… On my longest, slowest LED string - 576 pixels of ws2812 - hard coding four zone boundaries gets me a sustained frame rate of 28.7 fps. The array indexing version runs at 28.5 fps. (This is with v2.21 firmware, watching the frame rate through the browser interface.)
So, with four zones, there is no meaningful performance difference. The calculation and array lookup is just the tiniest hair slower than hard coding the zone boundaries. As the number of zones increases, there’s going to be a point at which calculation is faster, but for practical purposes, either approach seems fine!
Here’s the hardcoded render function:
export function render(index) {
  var a
  if (index < 144) {a = __zArray[0];  }
  else if (index < 288) {a = __zArray[1];}
  else if (index < 432) {a = __zArray[2];}
  else {a = __zArray[3]; }

  hsv(a[__zone_h],a[__zone_s],a[__zone_b]);
}
And here’s the array-based function:
var __zone_size = floor(pixelCount / 4);

export function render(index) {
    var a = __zArray[index / __zone_size];
    hsv(a[__zone_h],a[__zone_s],a[__zone_b]);
}
 )
)