Show us how you’ve mounted your PB! 3D printed bracket? Rusty nail?
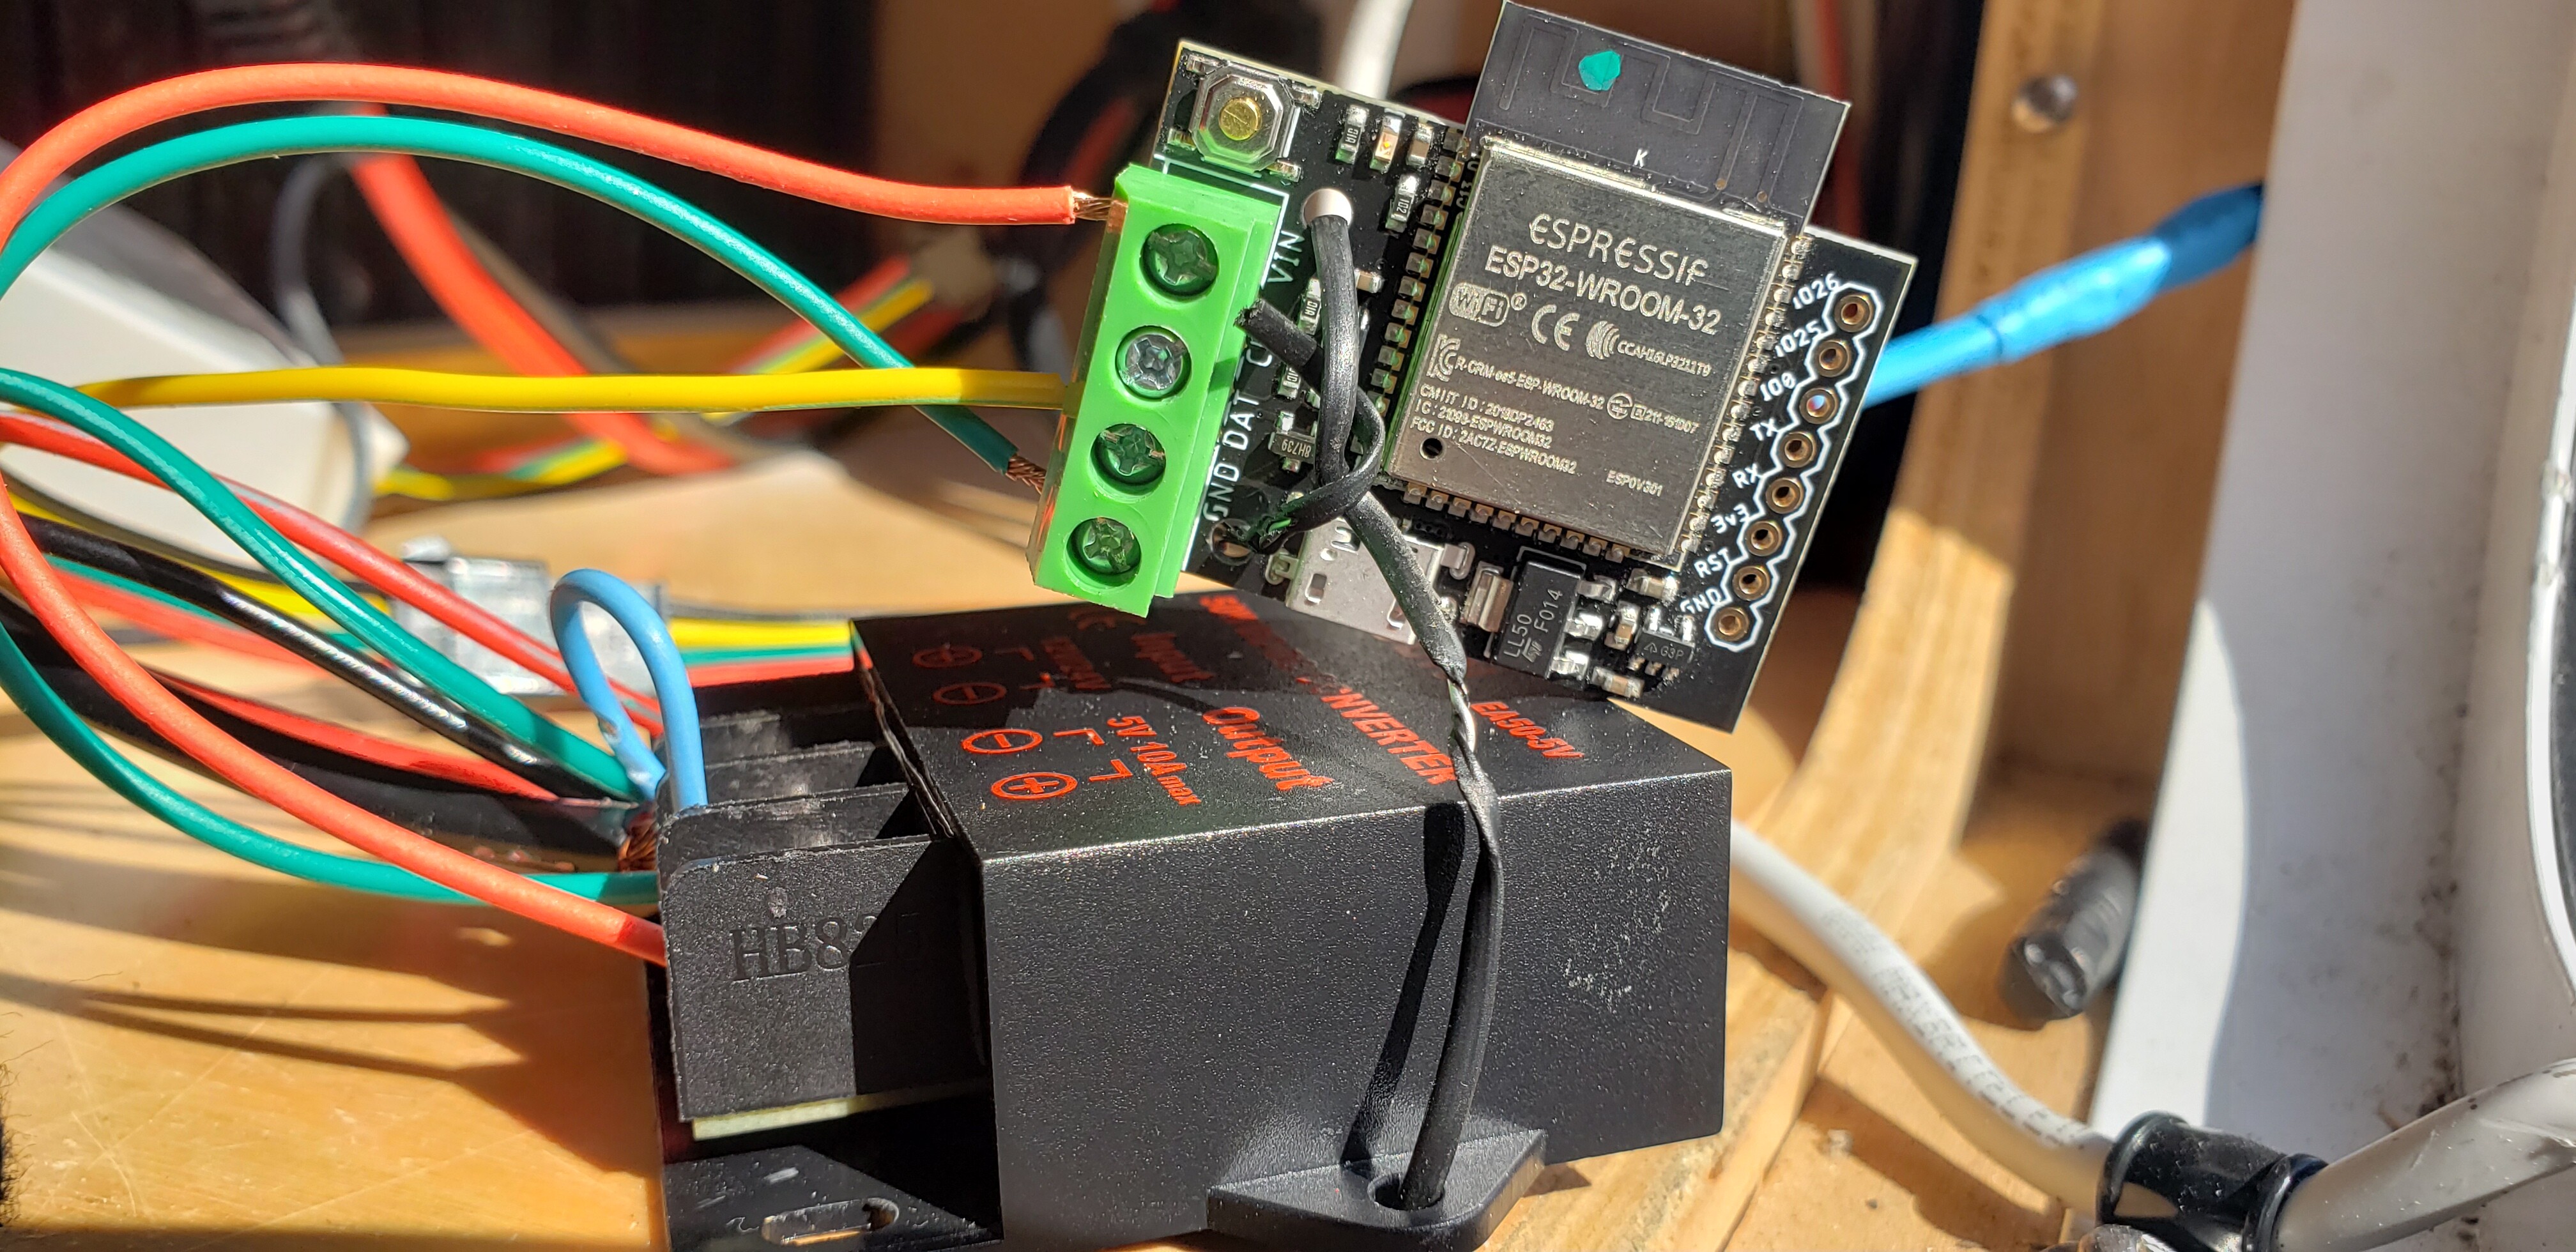
Here’s mine, temporarily wire tied to the 12/5 transformer till I figure out how I want it…
Show us how you’ve mounted your PB! 3D printed bracket? Rusty nail?
Here’s mine, temporarily wire tied to the 12/5 transformer till I figure out how I want it…
Hi @SeaLaVie,
Be sure to check out
and
I think the twist tie is right up there with zip ties, duct tape, and hot glue!
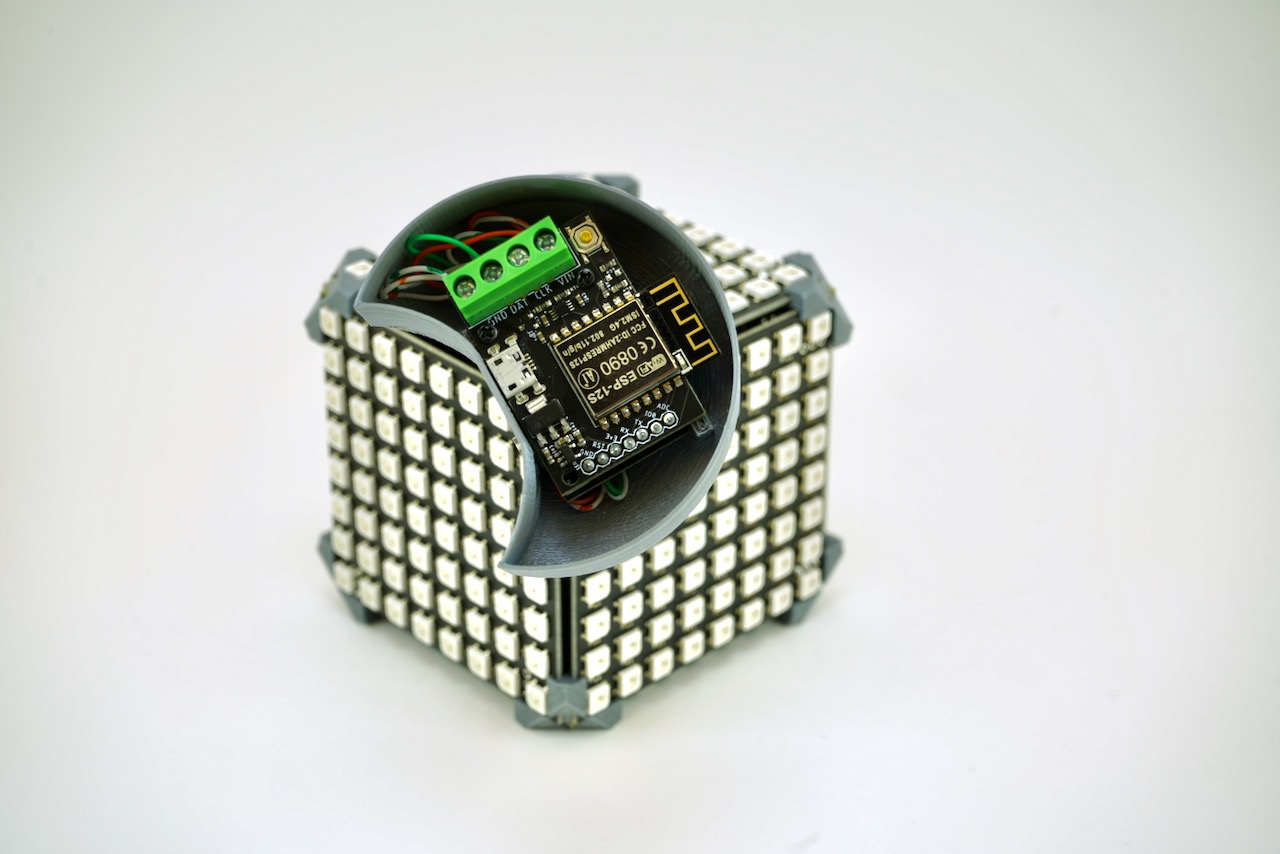
@frostnova37 Nice, is the PB attached to the black piece somehow using the mounting holes?
@zranger1 same question, curious how the PB is attached to the surface underneath. Also is that just a pot to adjust the V to the LEDs?
Tiny screws + 3D printed standoffs work well. They will self-thread just fine in printed or drilled holes.
@SeaLaVie, I am the Junk Drawer King! Pins made from a bamboo skewer, with a tiny dab of hot glue on top.
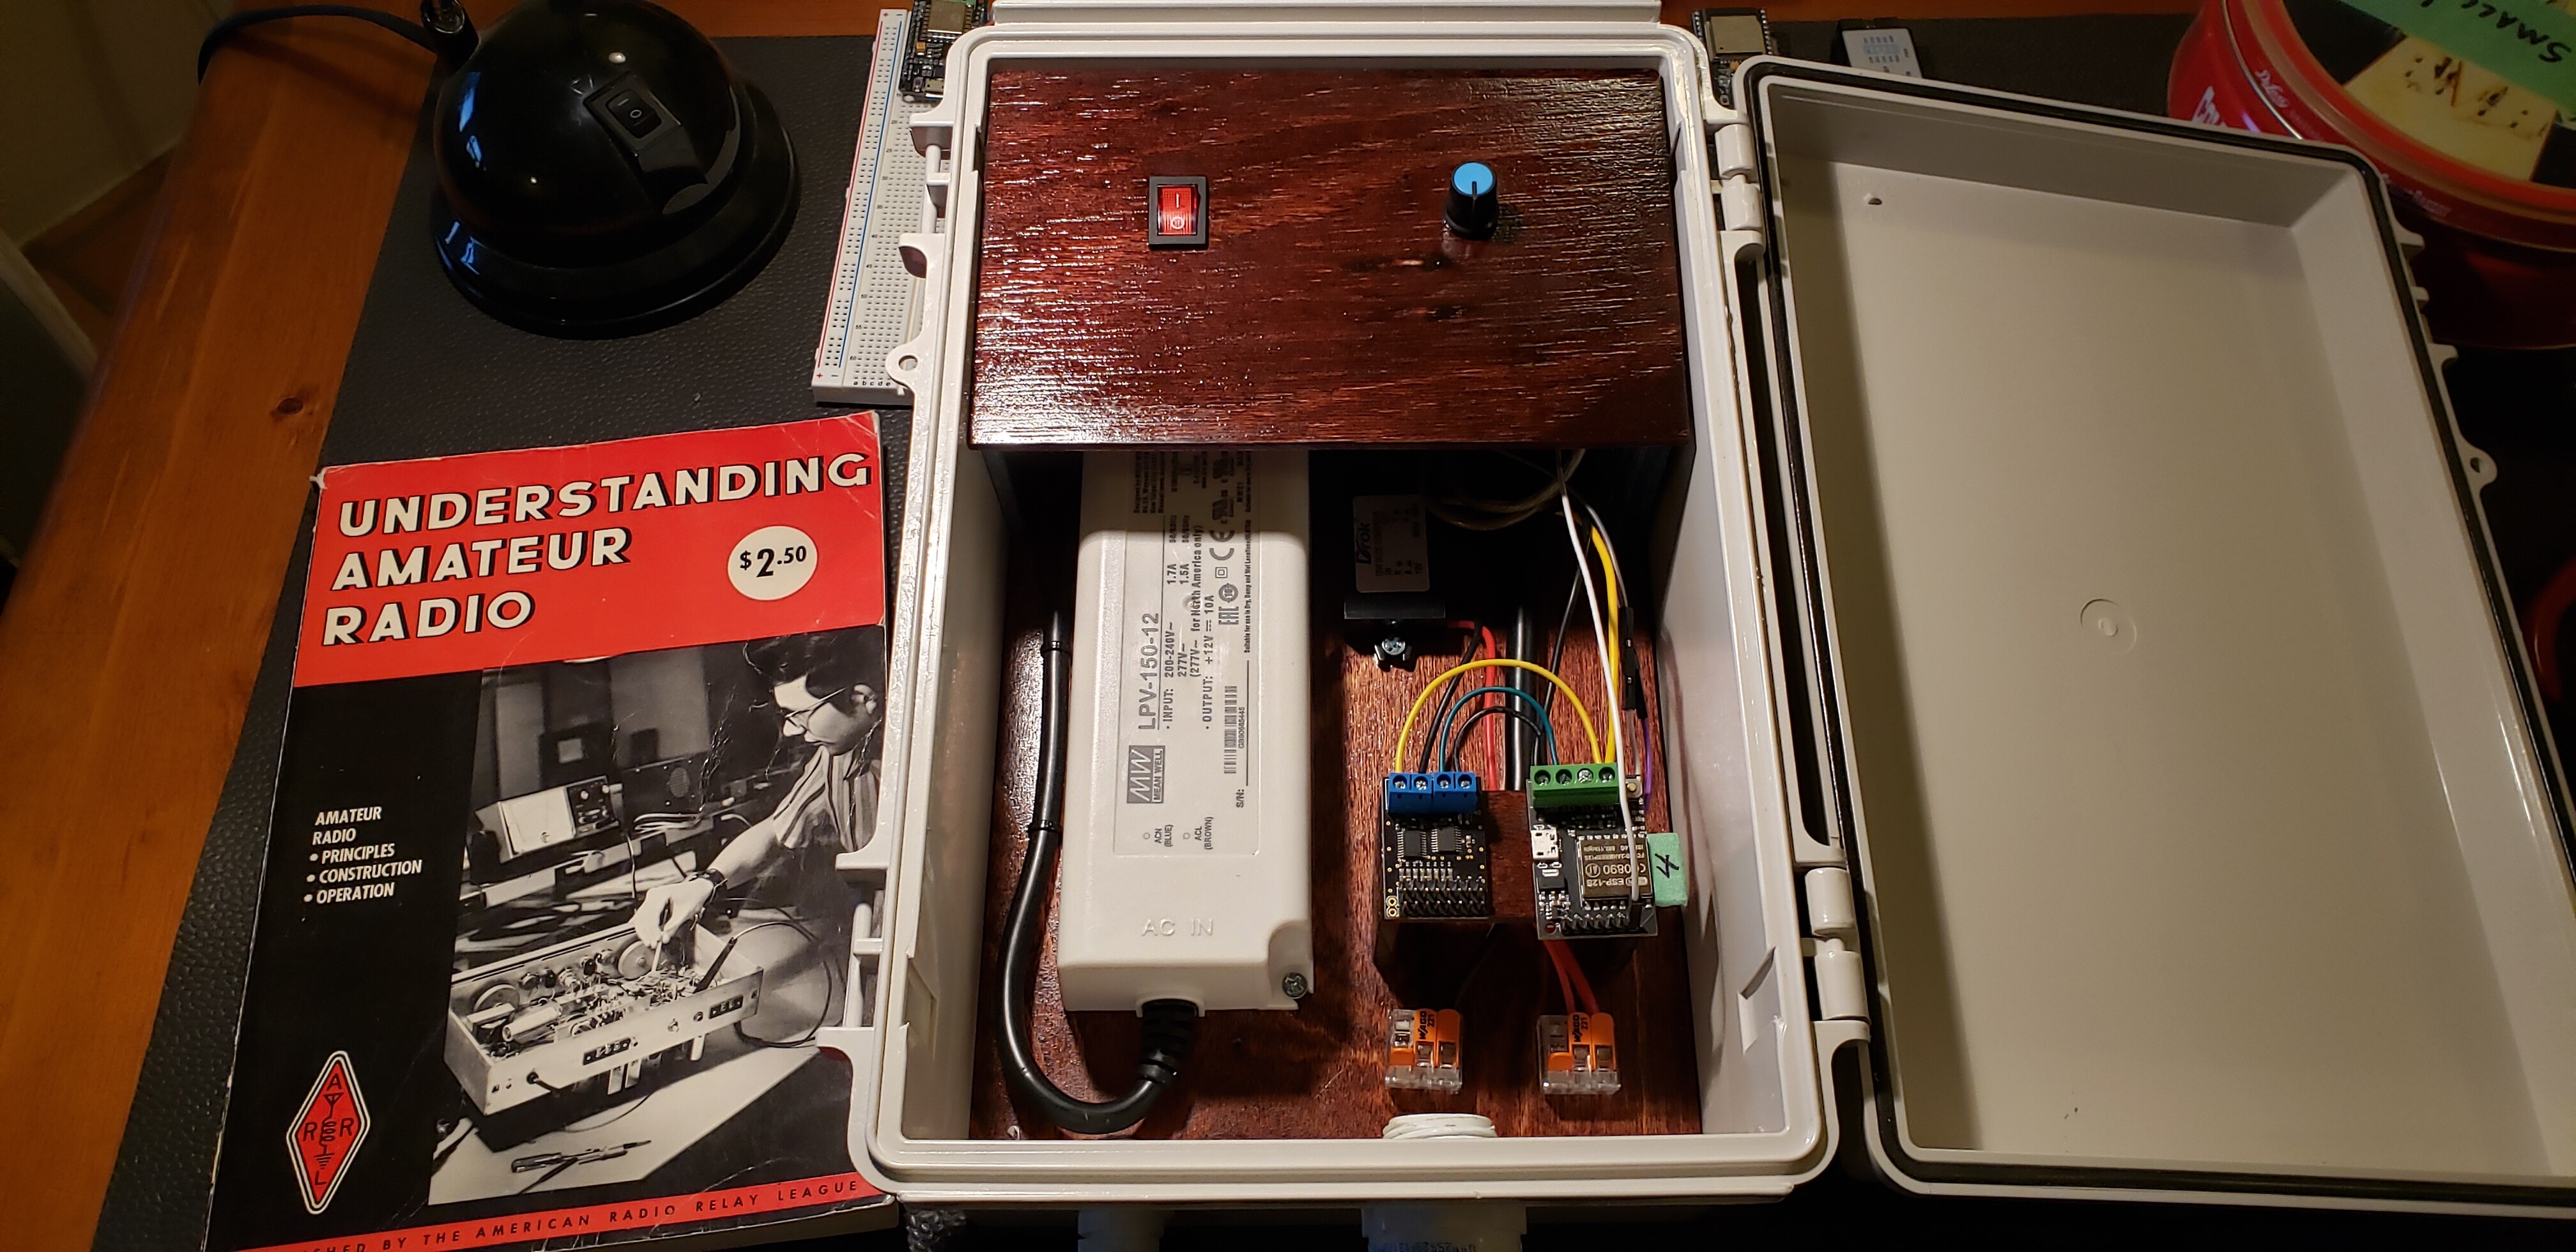
The pot lets me tune voltage to the ADC. There’s a connector on the outside of the box that gives me access to the ADC, two GPIO pins and a ground.
Sory I don’t have pictures on hand, but I’ve done a lot of:
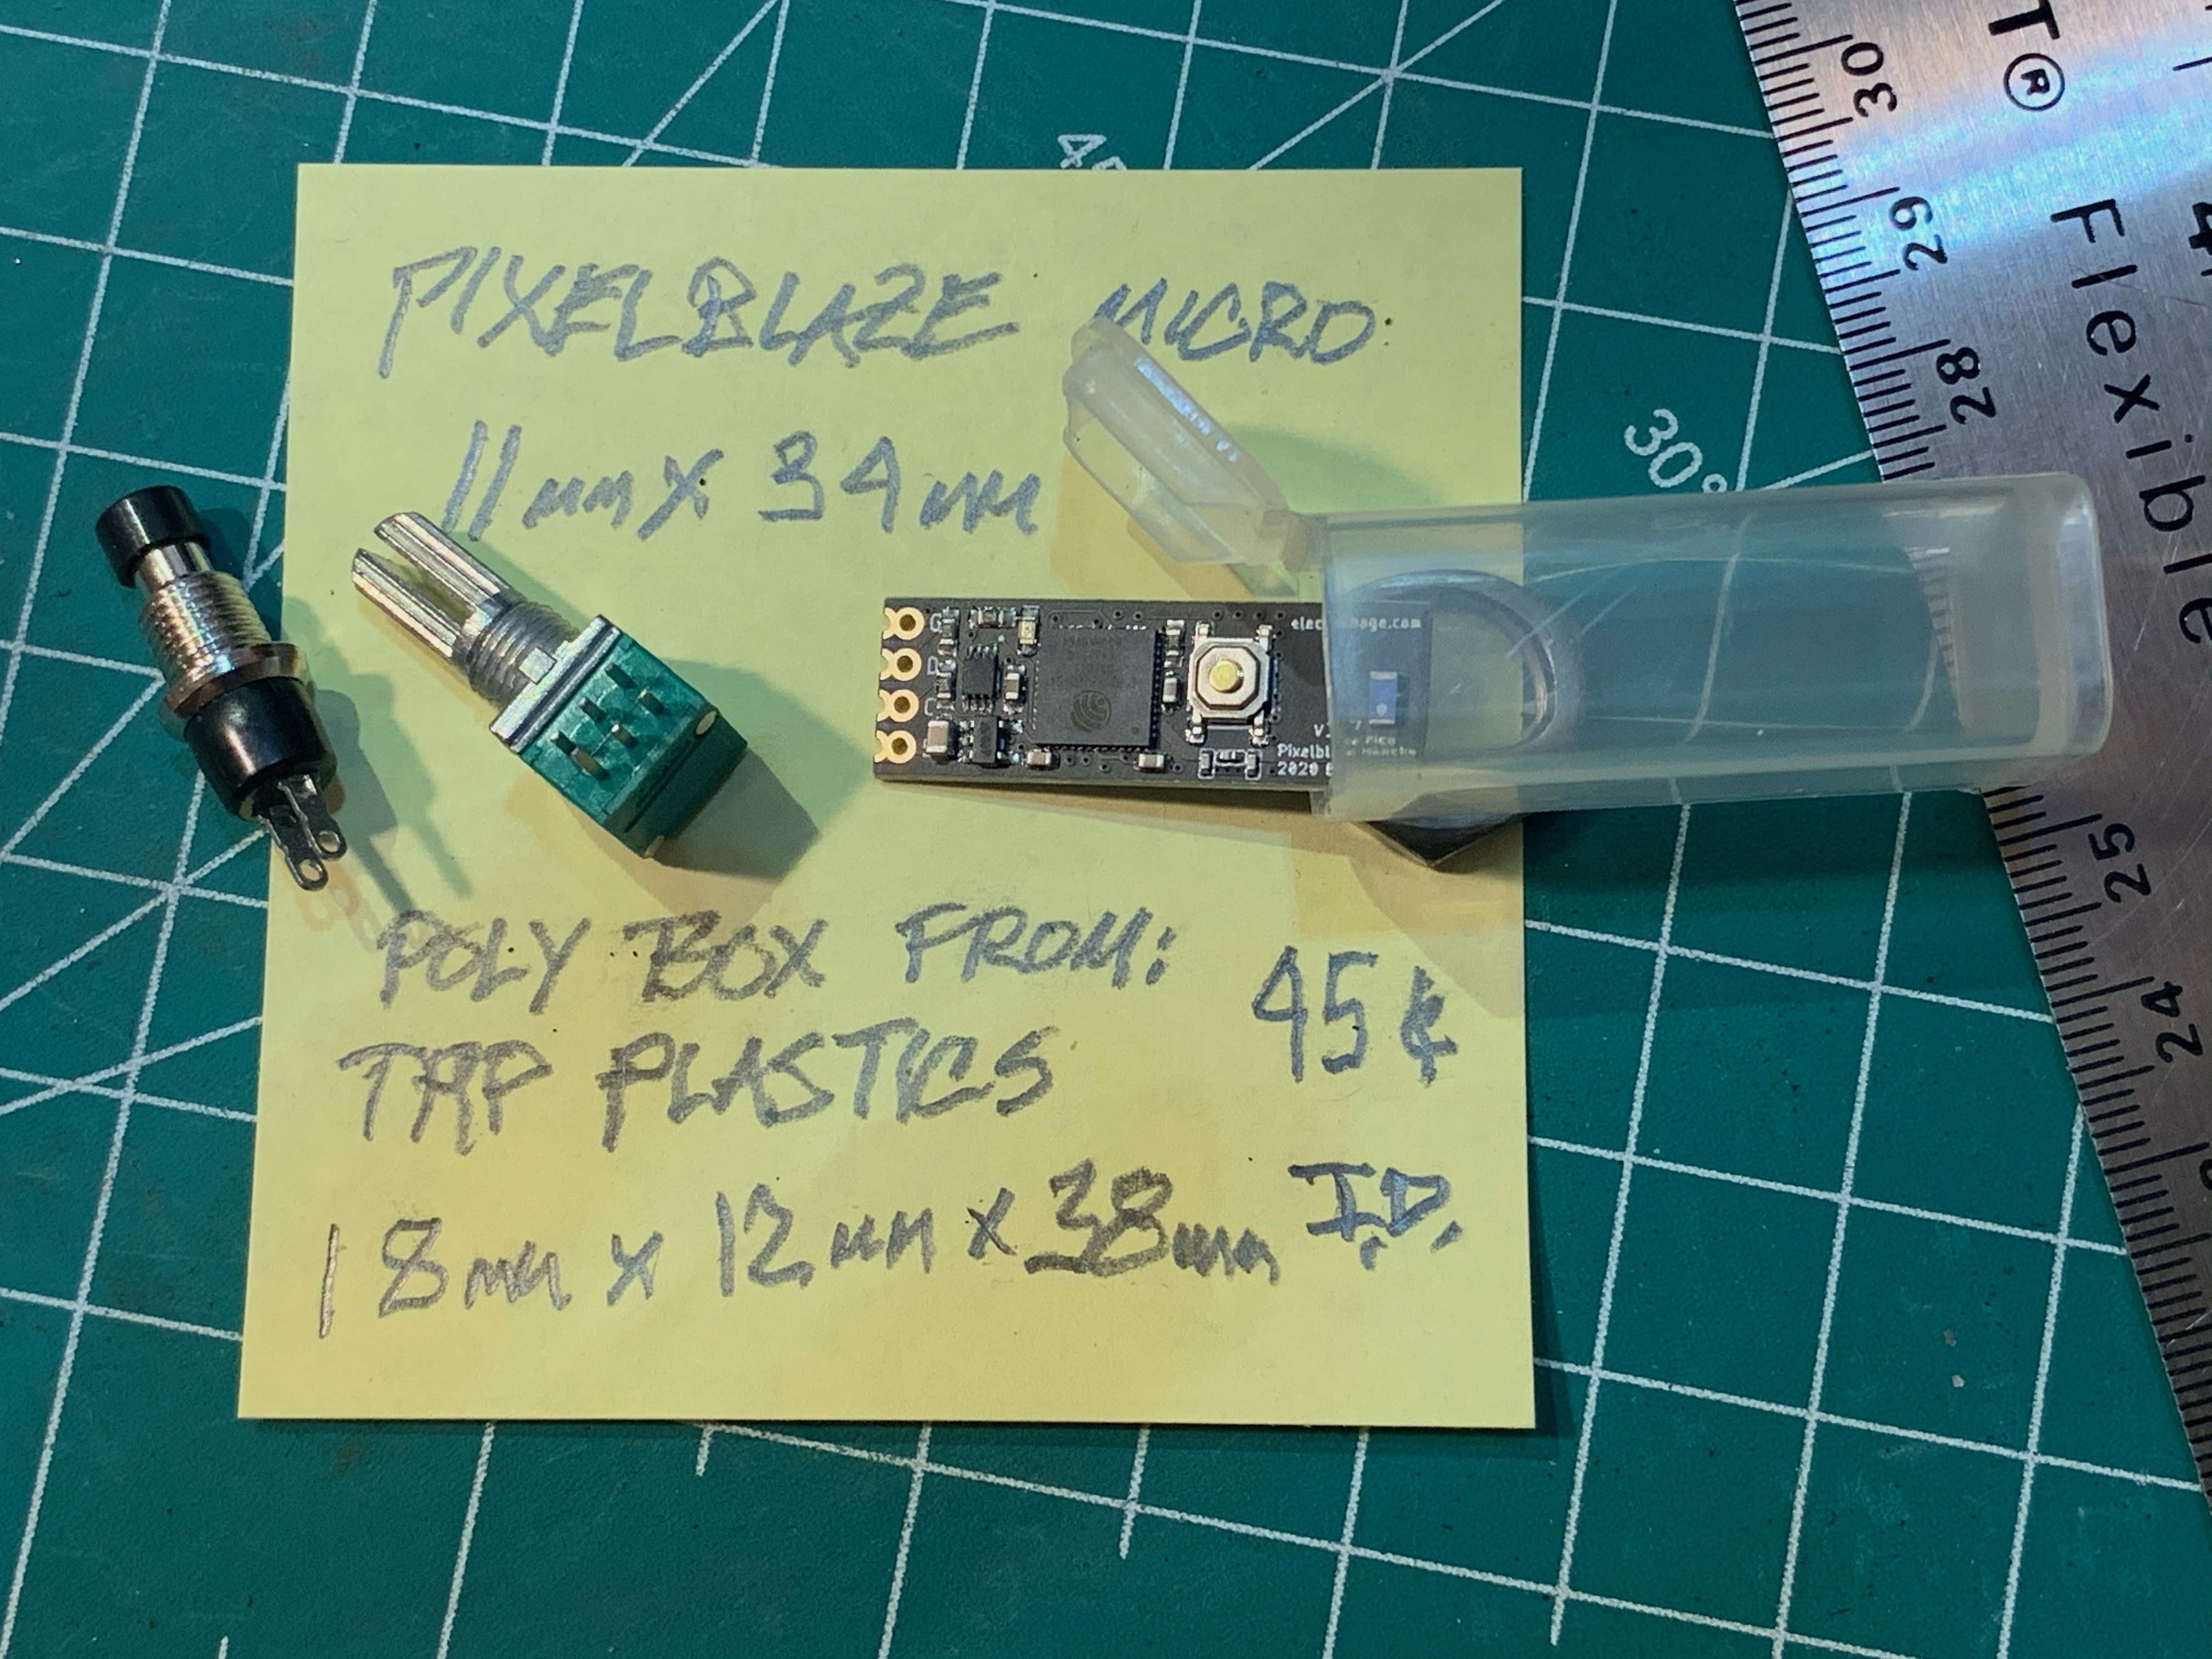
Inspired by the new V3 Pico form factor, I’ve played with a few options of standalone containers with off the shelf components.
It’s so small you could even fit a switch and/or a pot in a tiny poly box from Tap Plastics. Wait a minute…do we still have one analog port to play with on the Pico? Maybe not, but now we have UI sliders built in to the software, so who needs a physical pot any more? But how about it guys, can we hack one of the programming pads to create an analog input if needed?
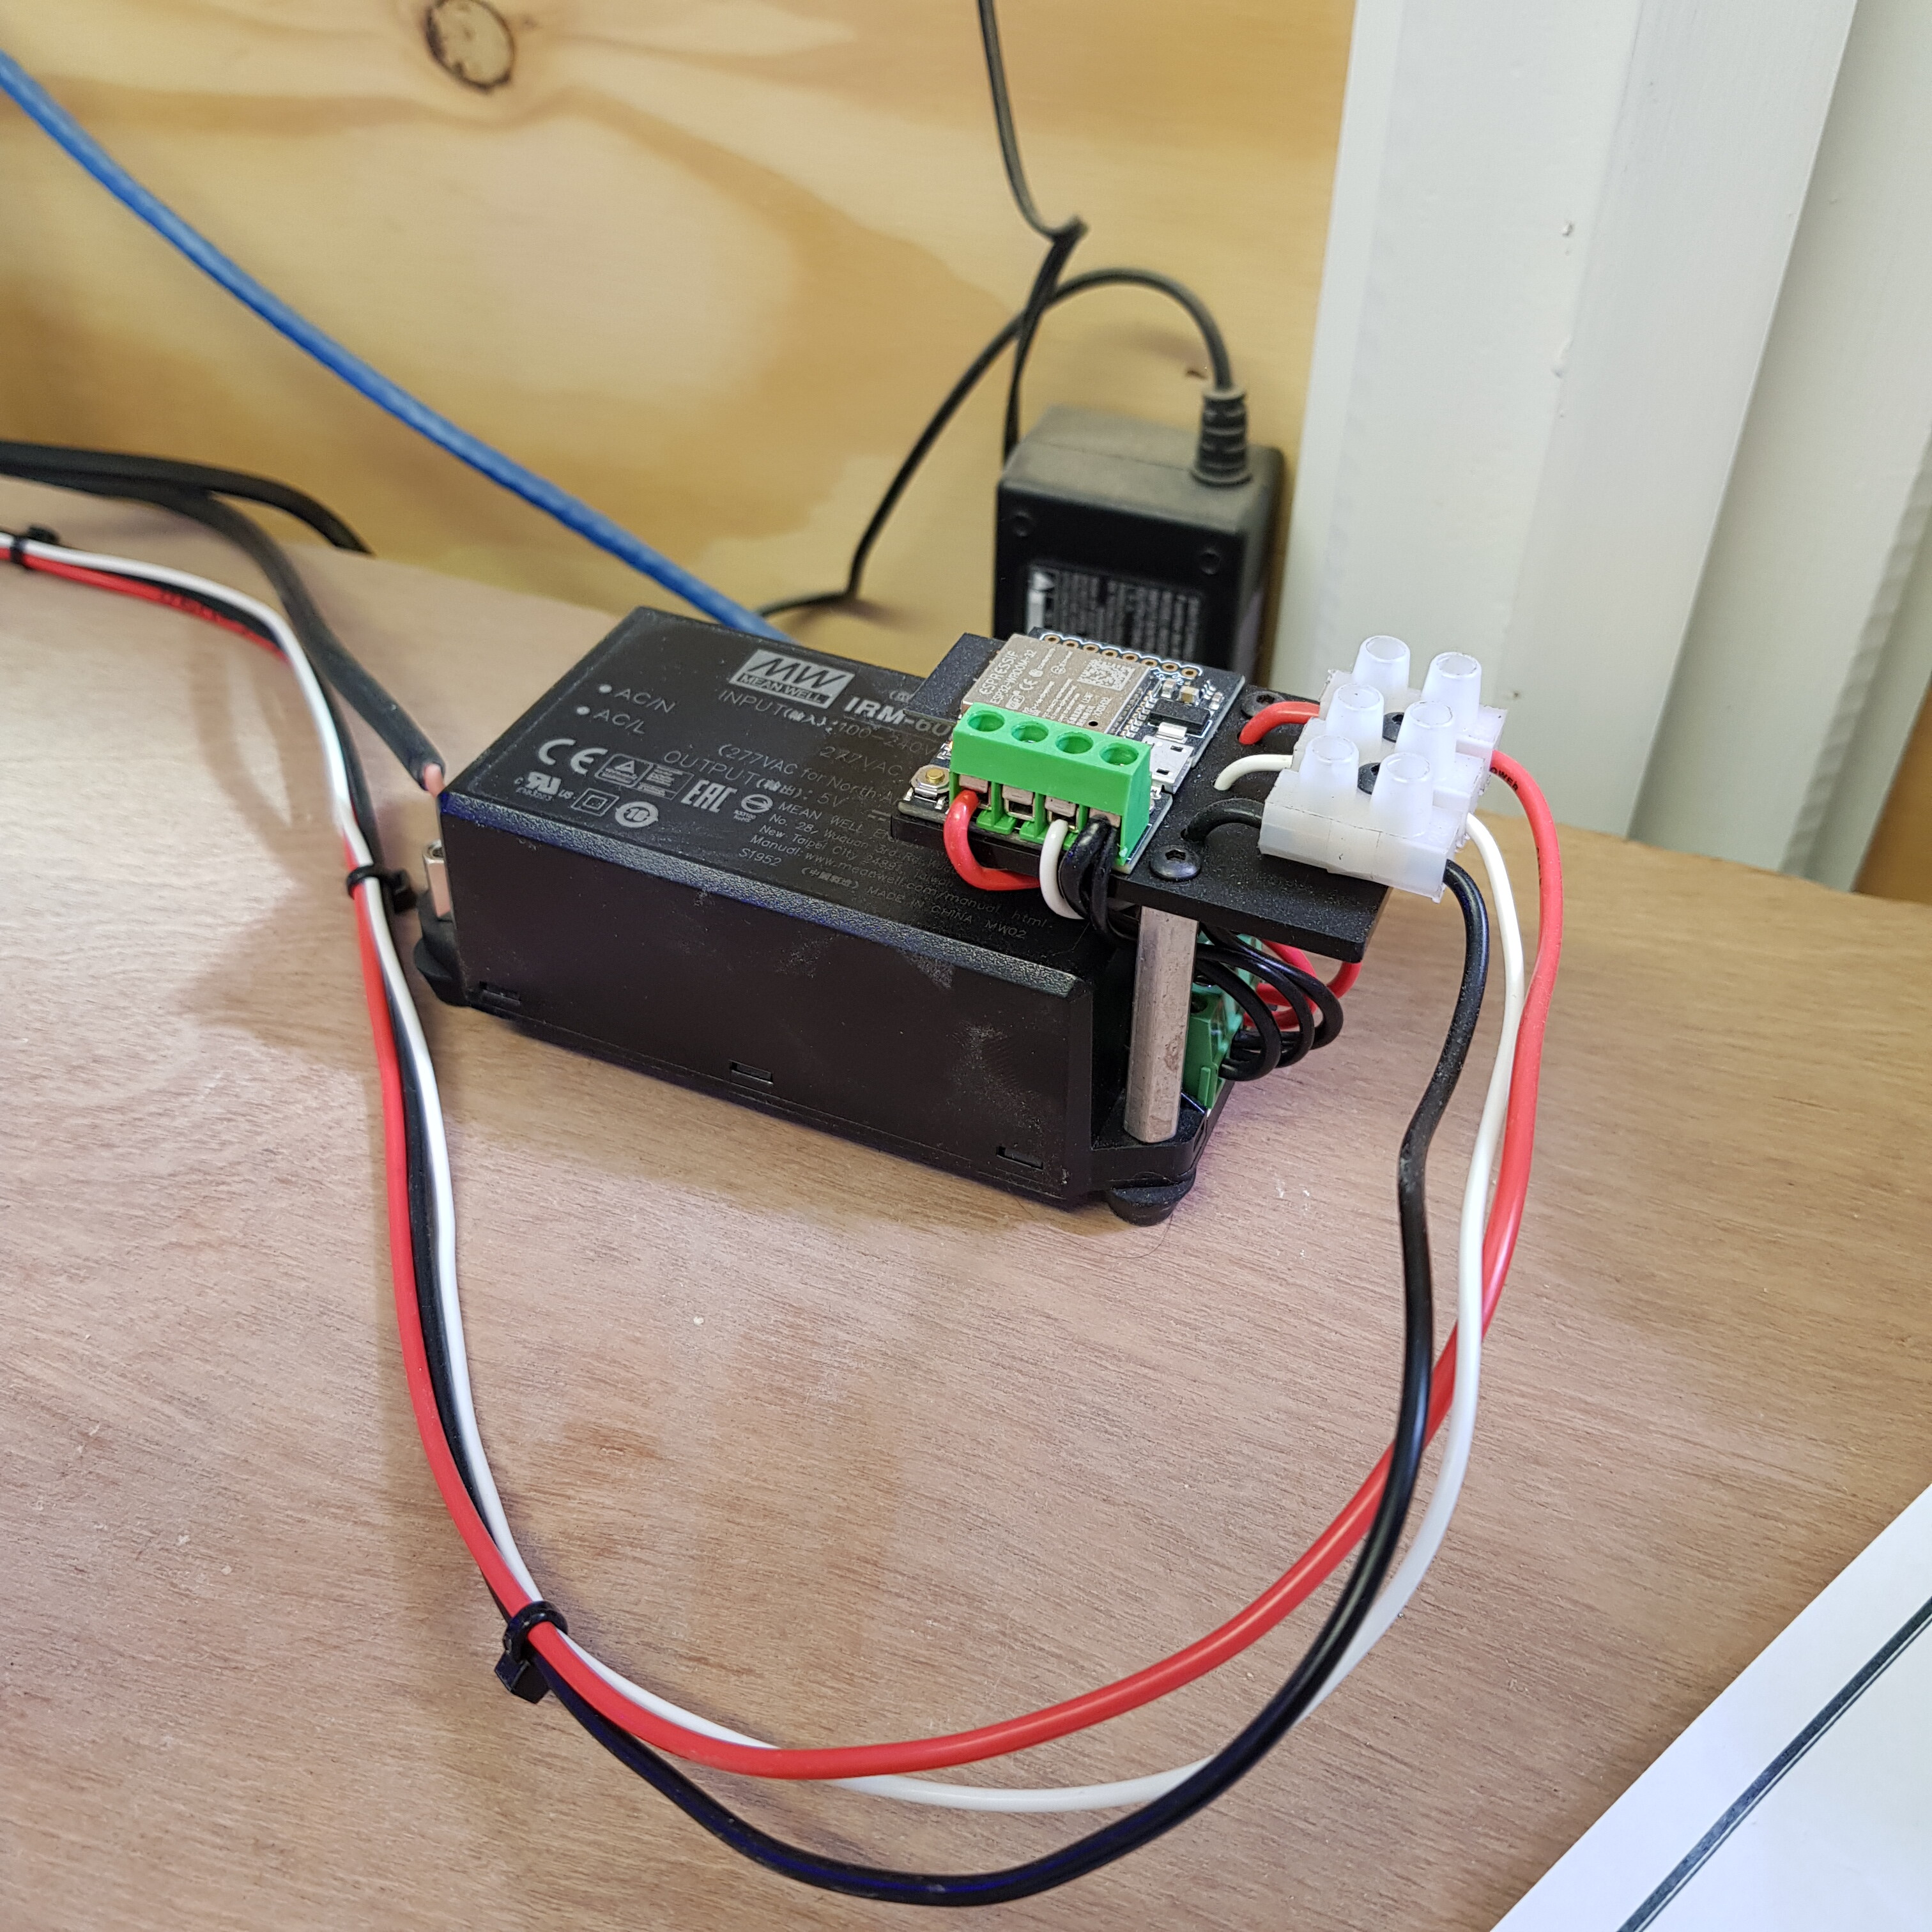
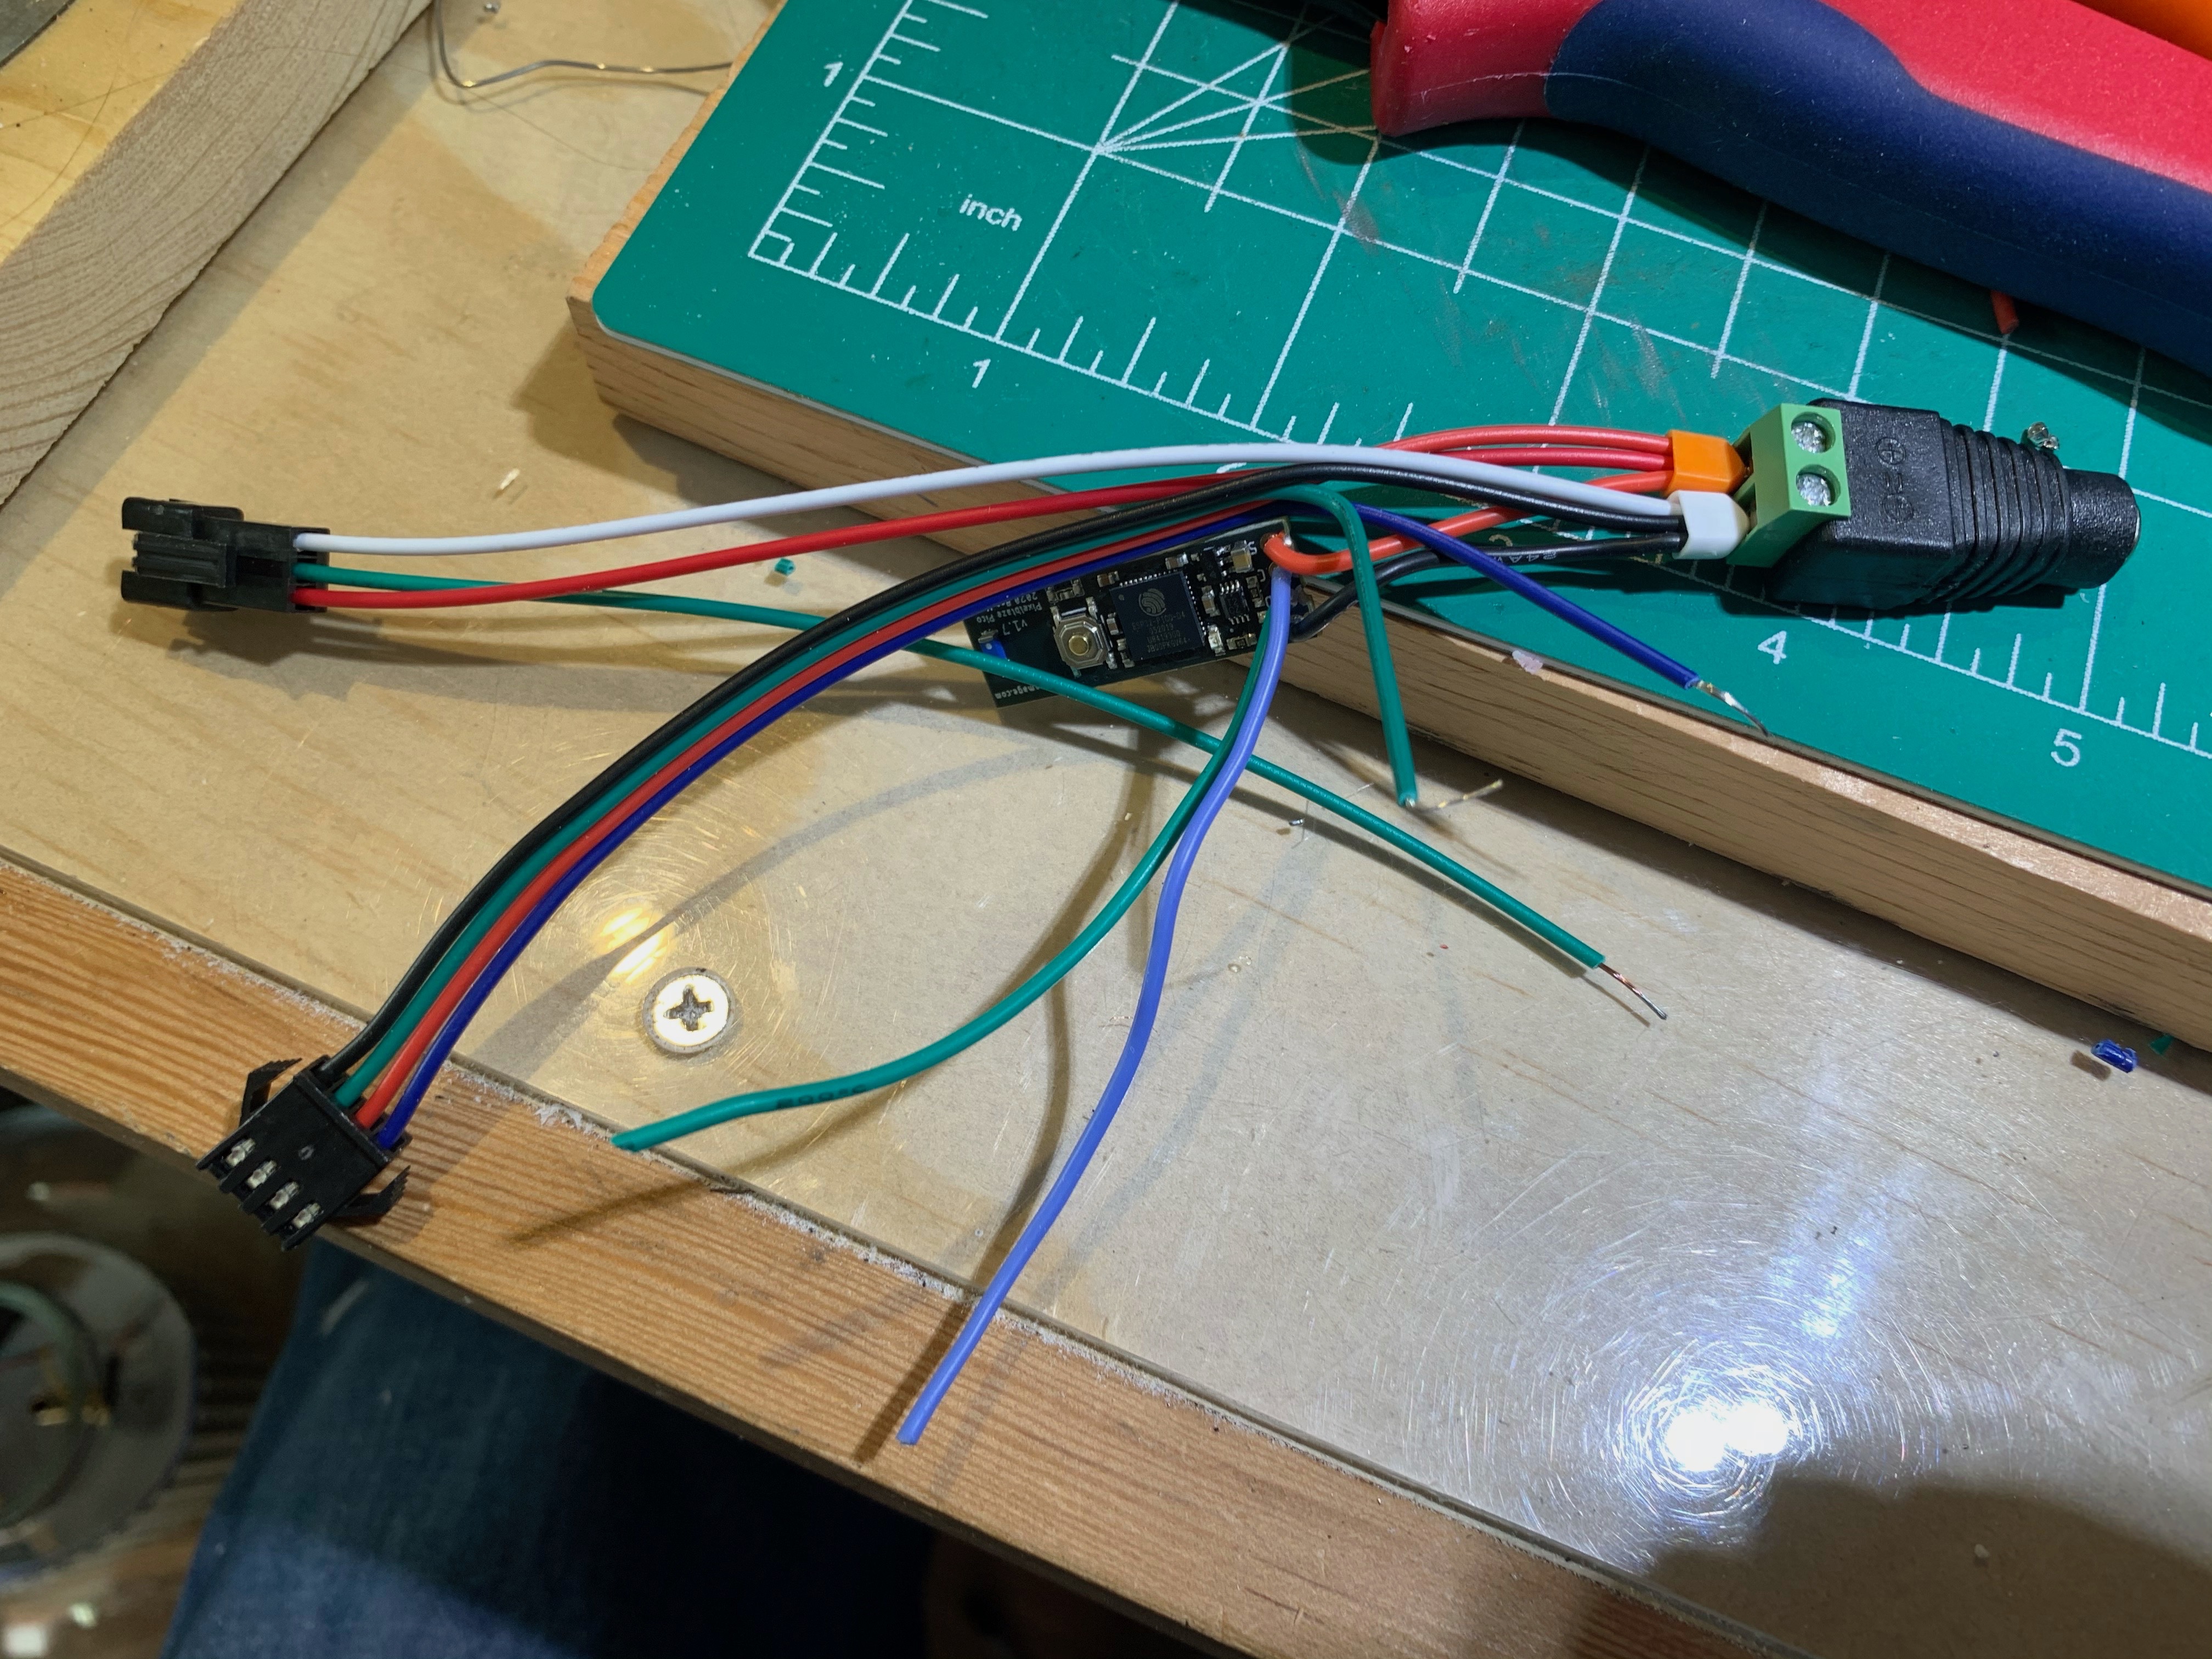
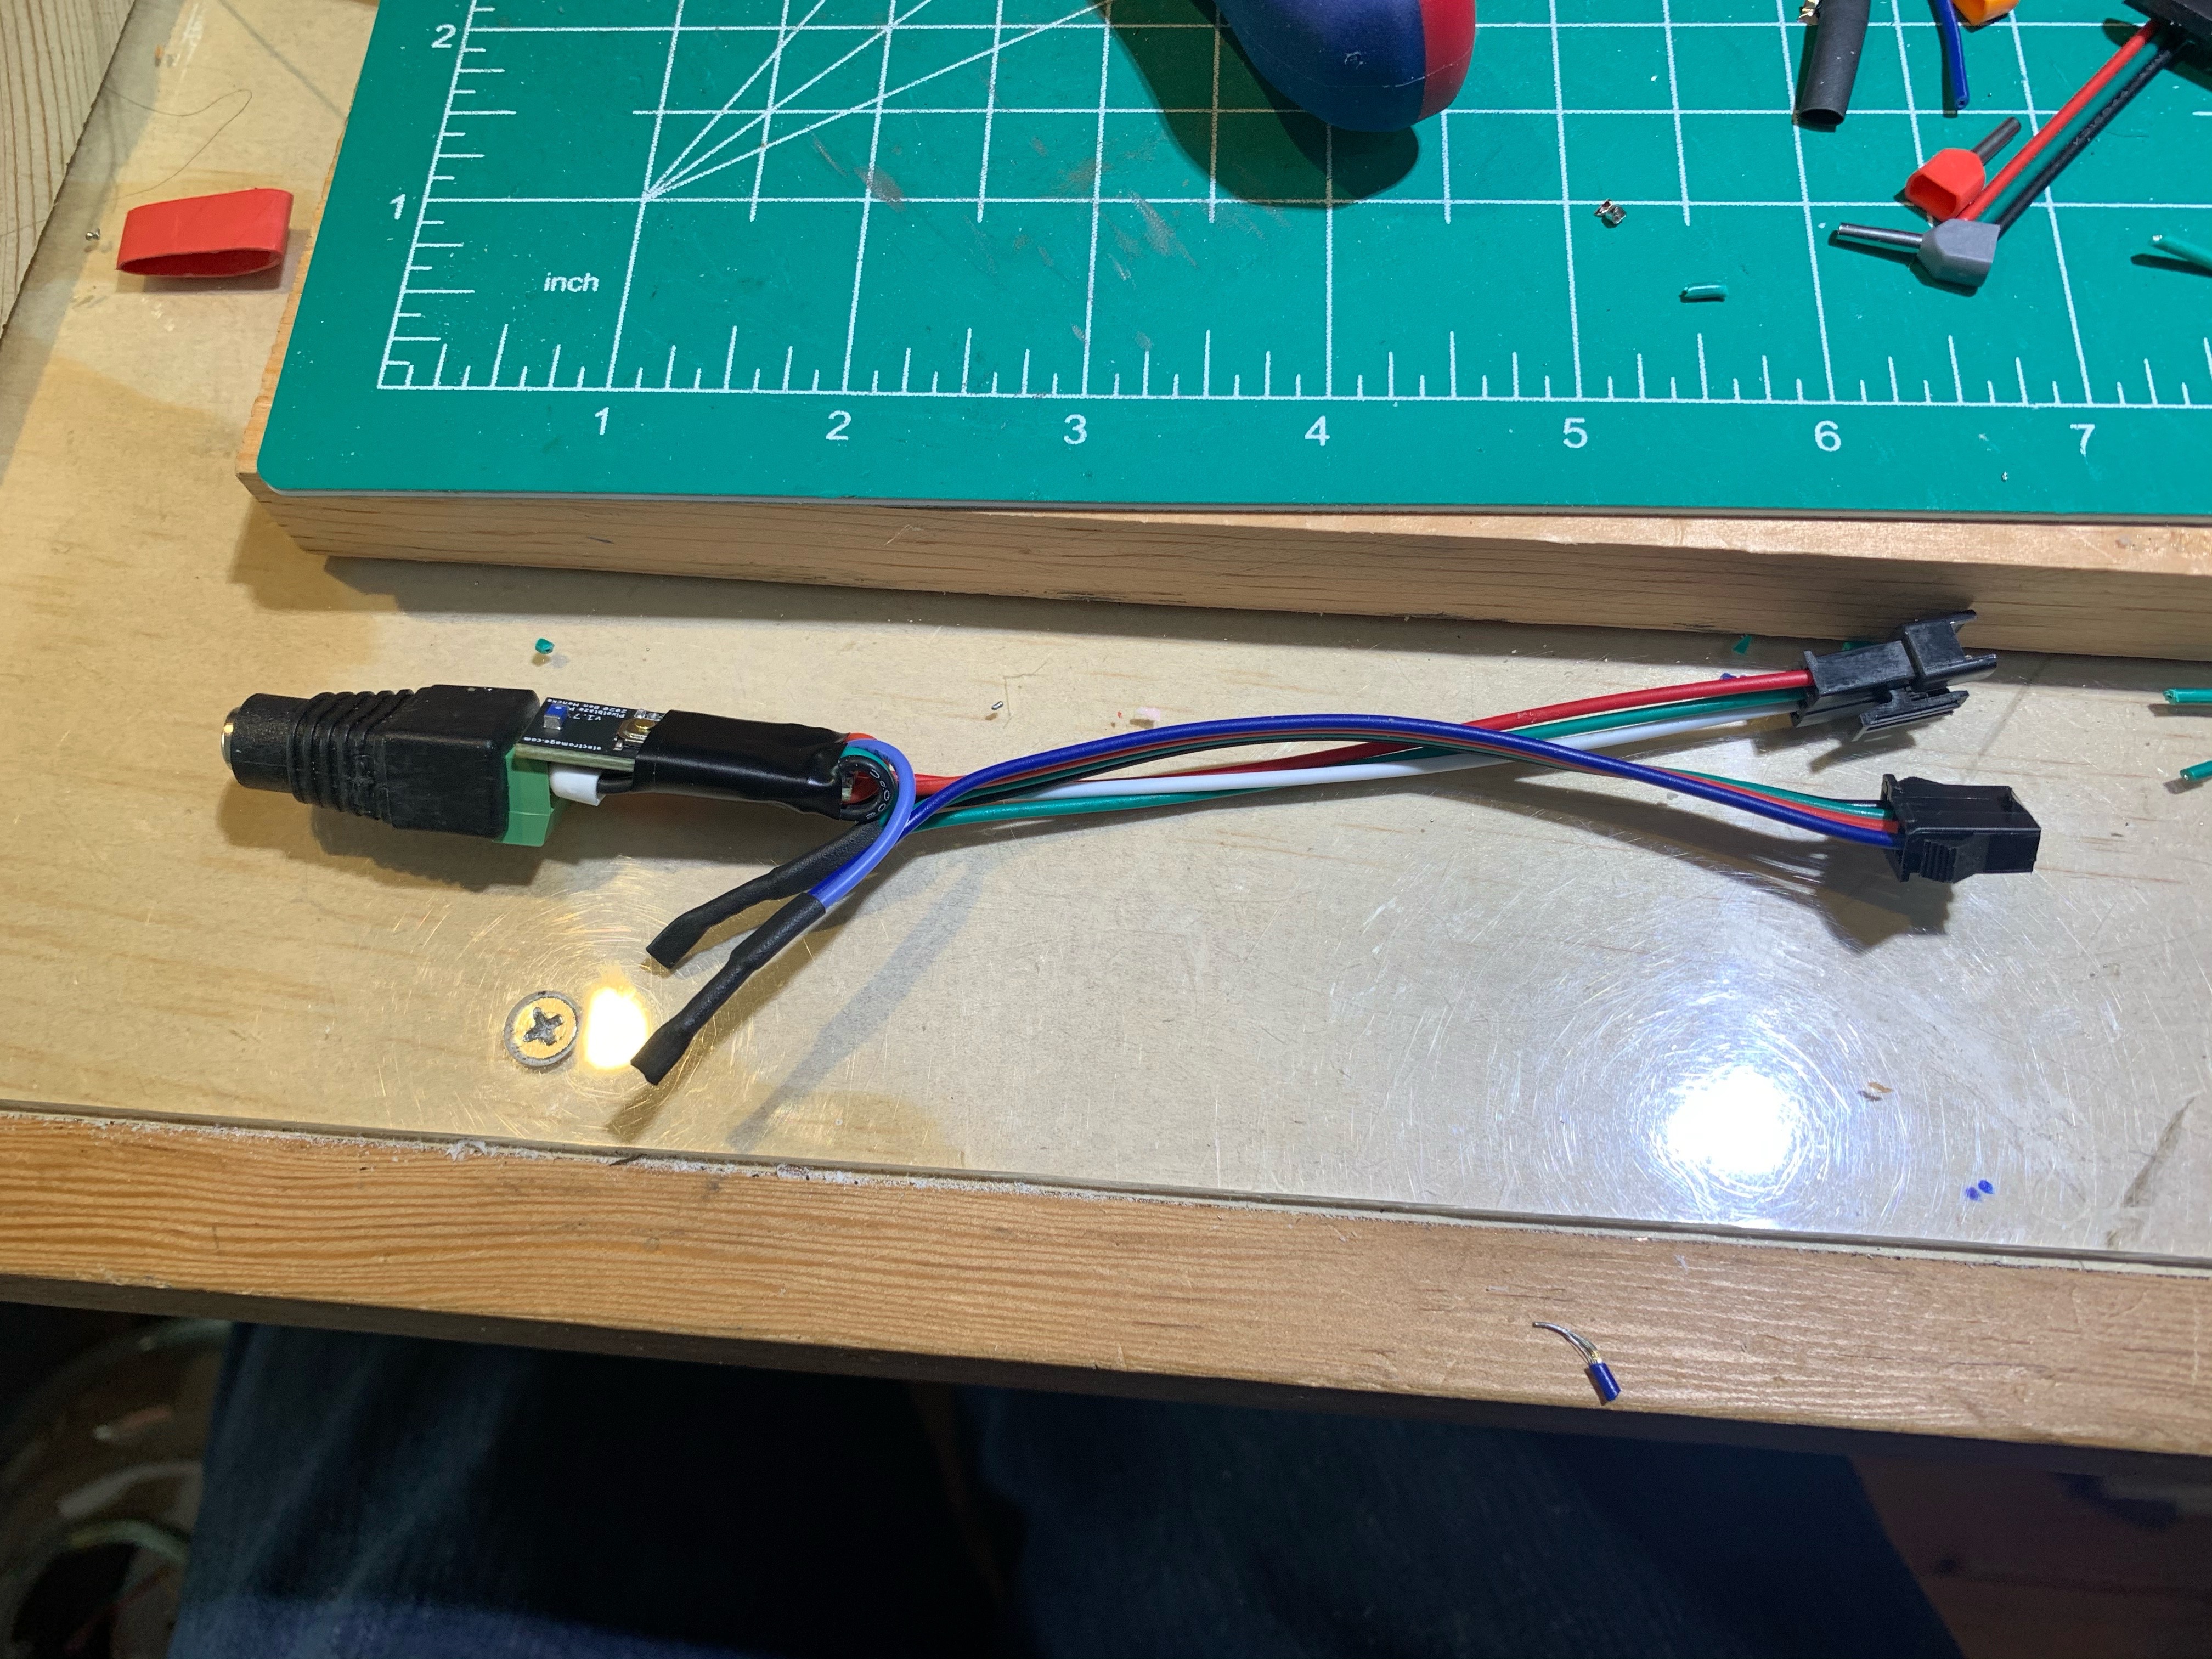
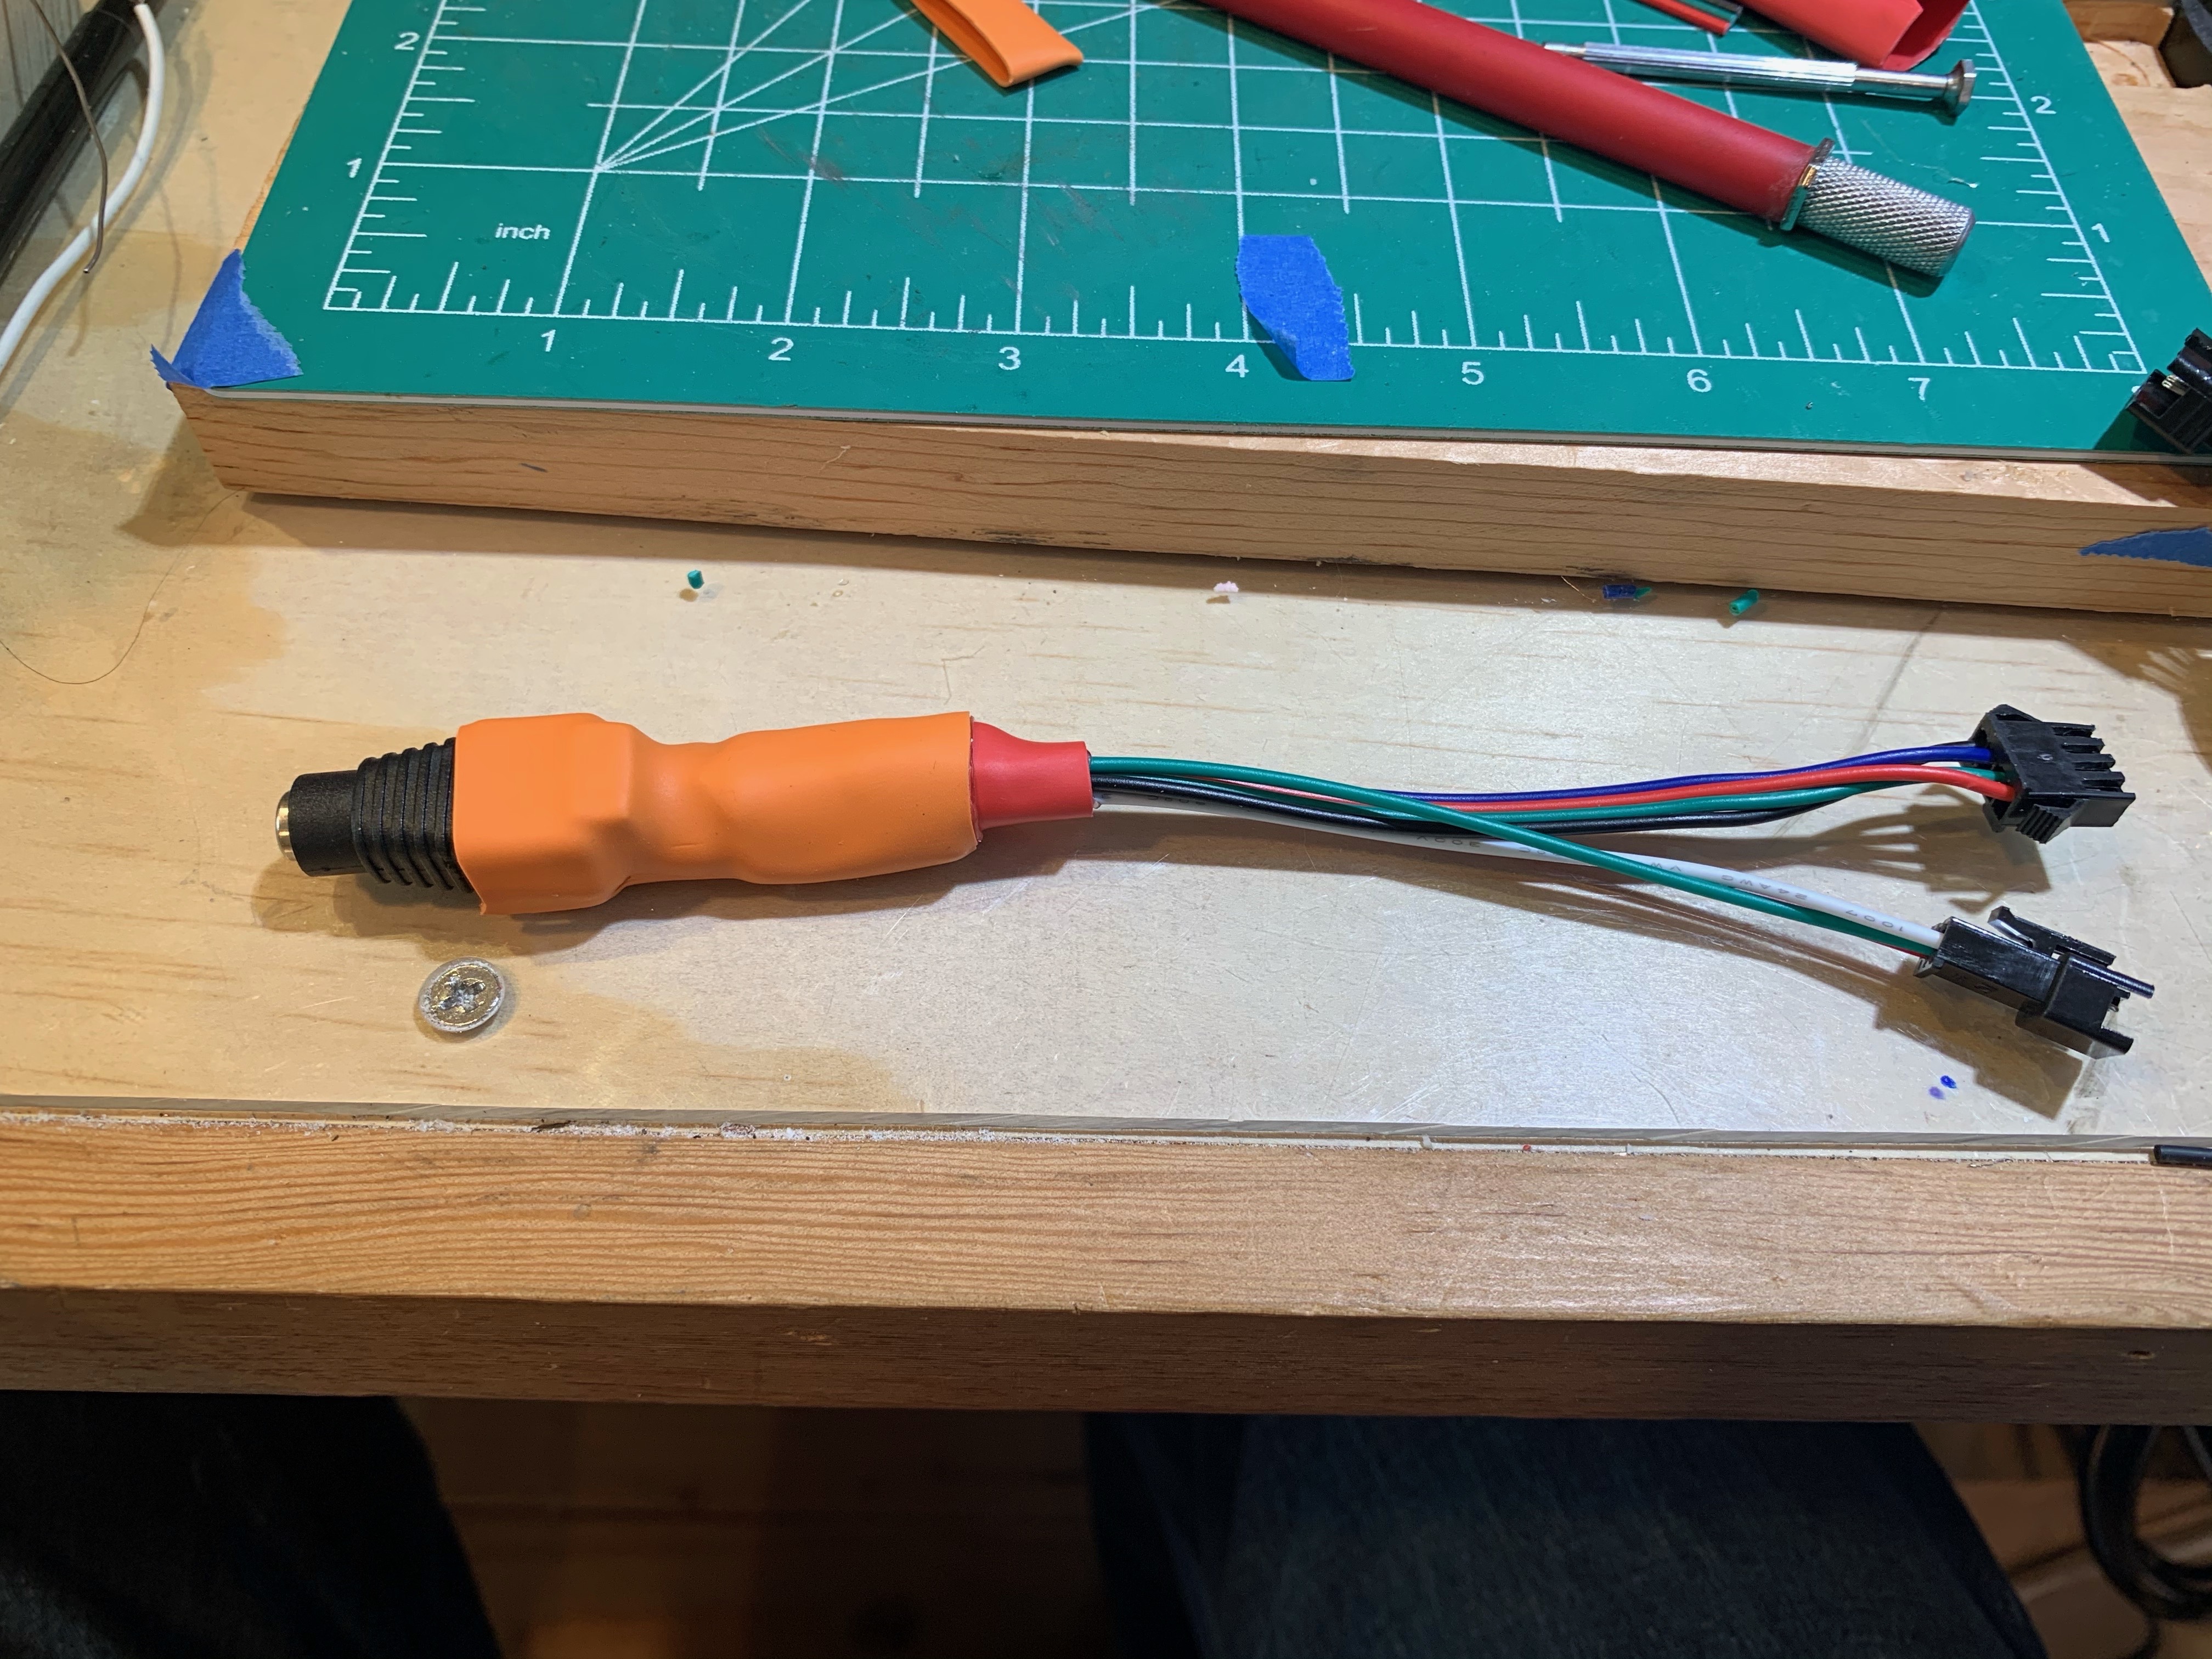
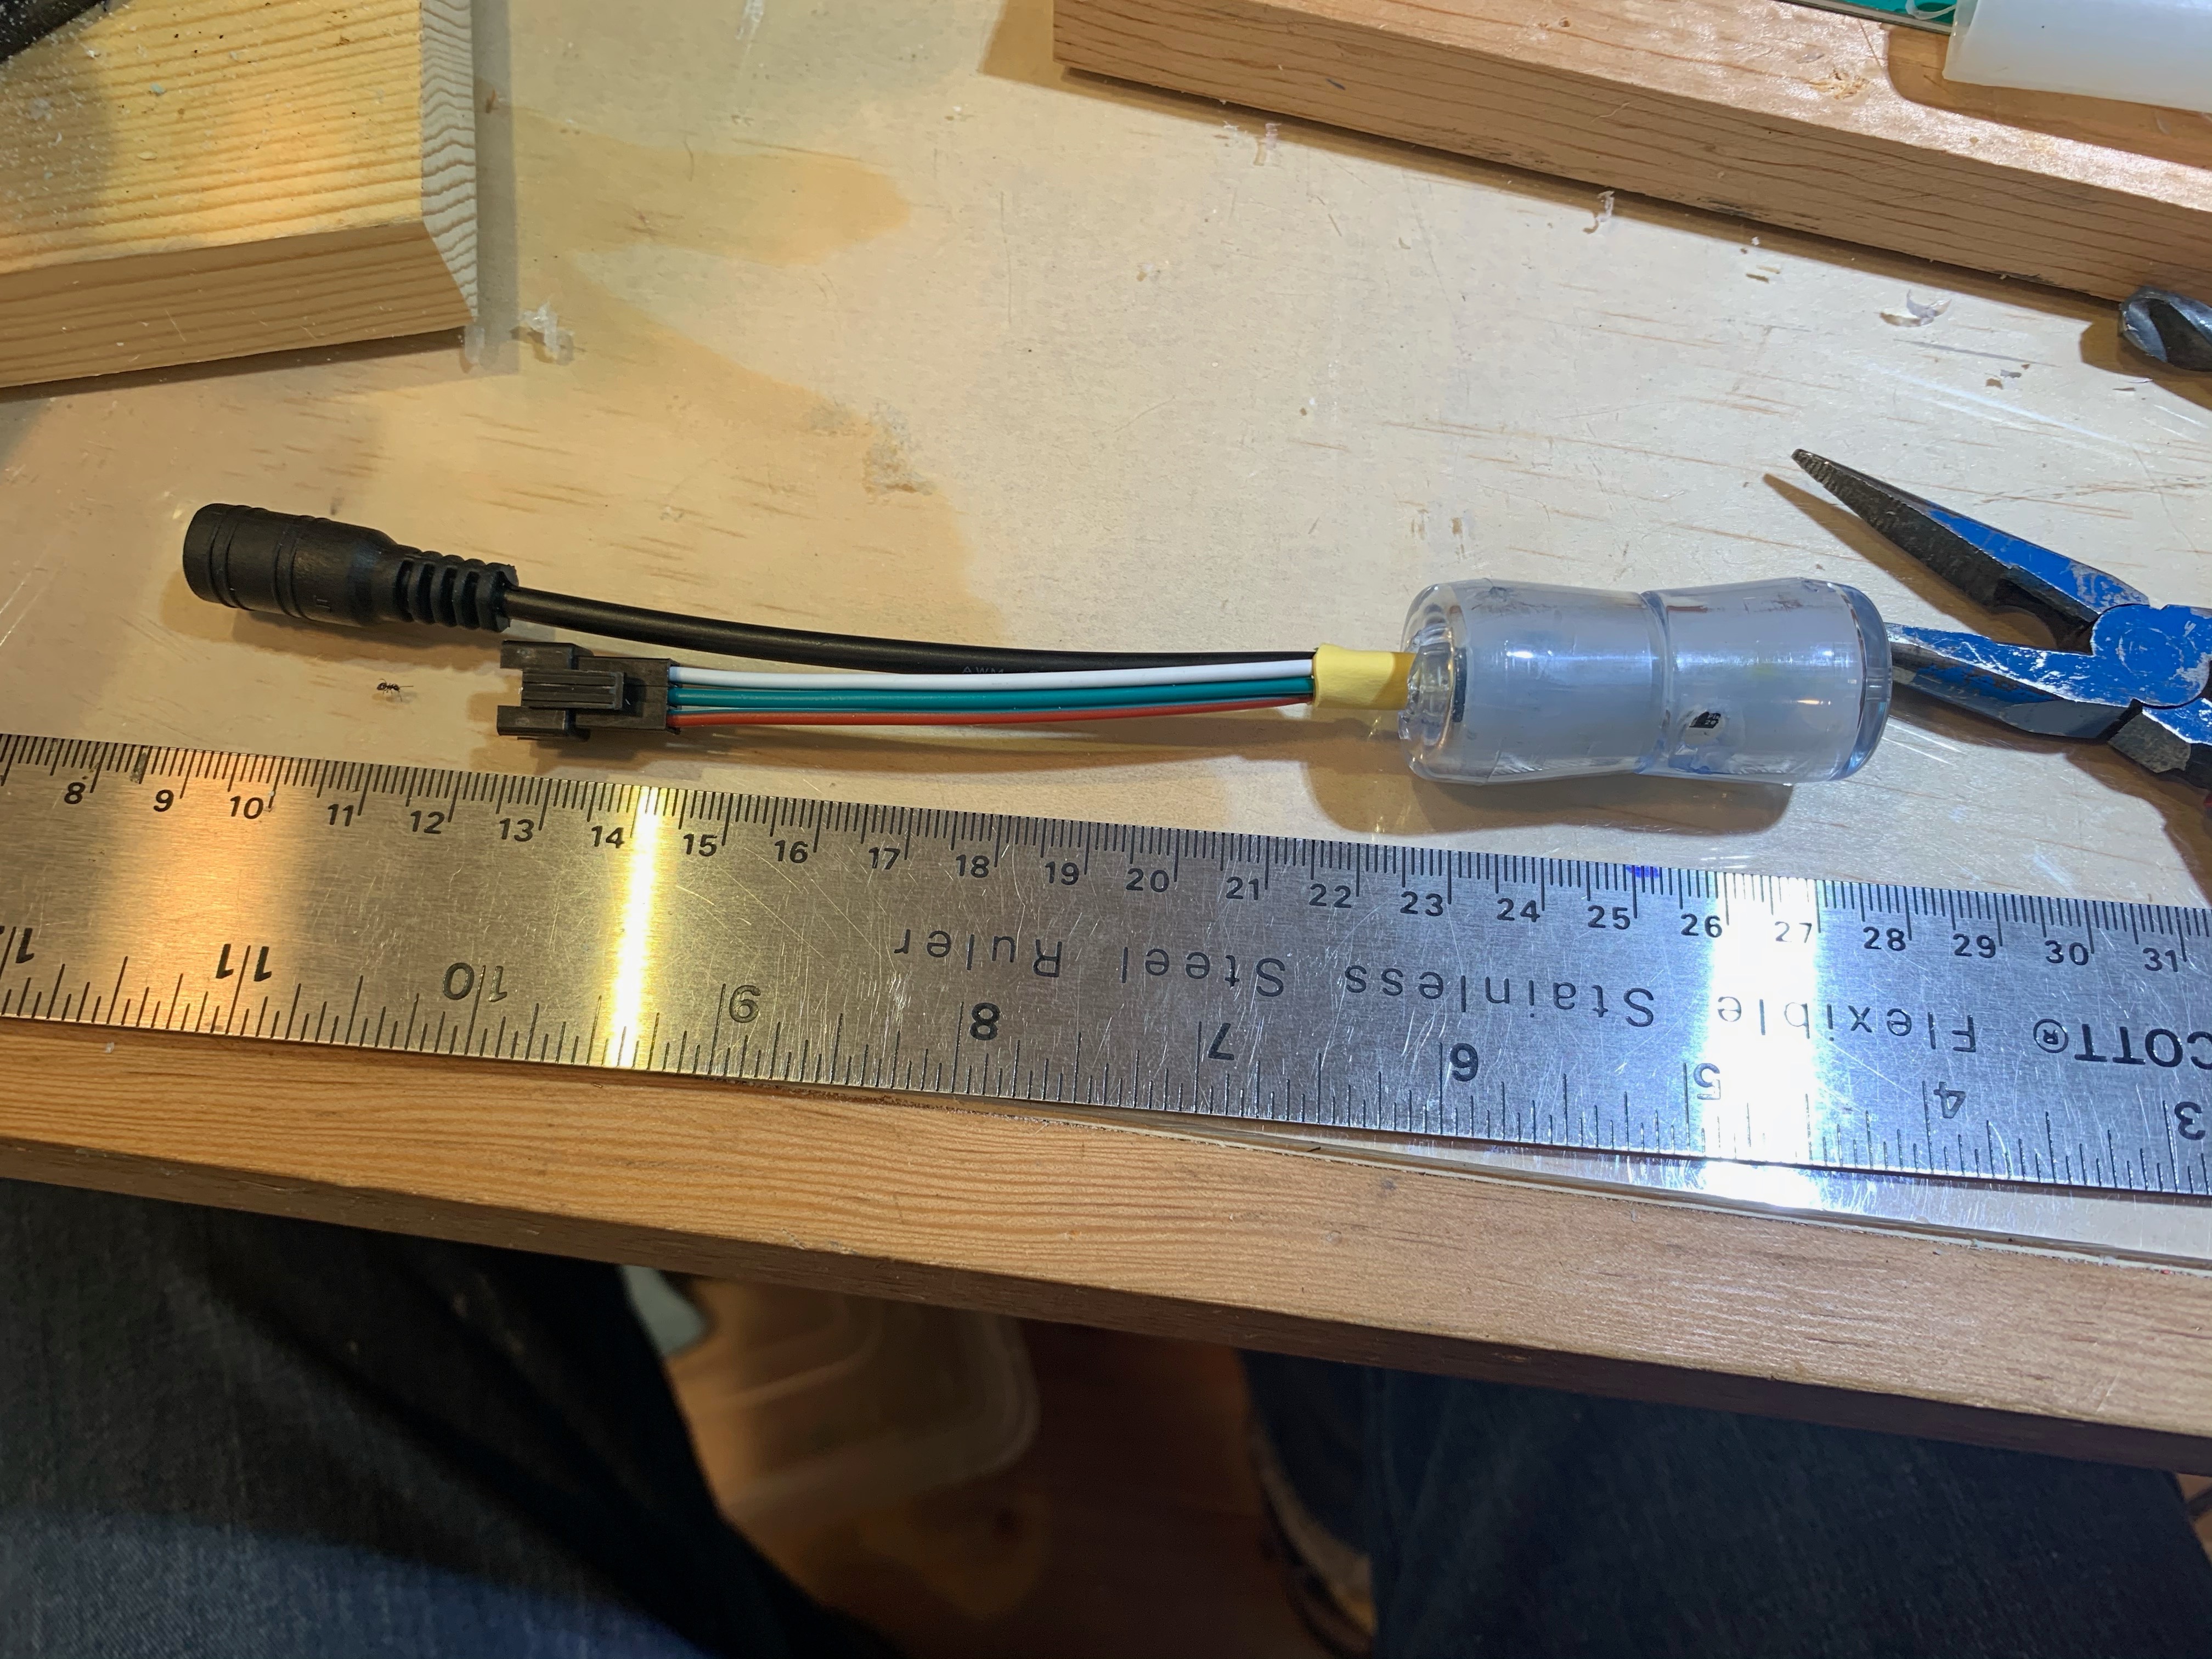
Or, add a power jack on one end. The screw terminals make an easy place to connect the incoming and outgoing power together which allows me to just have single wires for power and data soldered to the board.
It can then be shrink-wrapped entirely, or housed in a poly box. The box dimensions line up nicely with the DC power jack housing and some shrink tubing holds them together well.
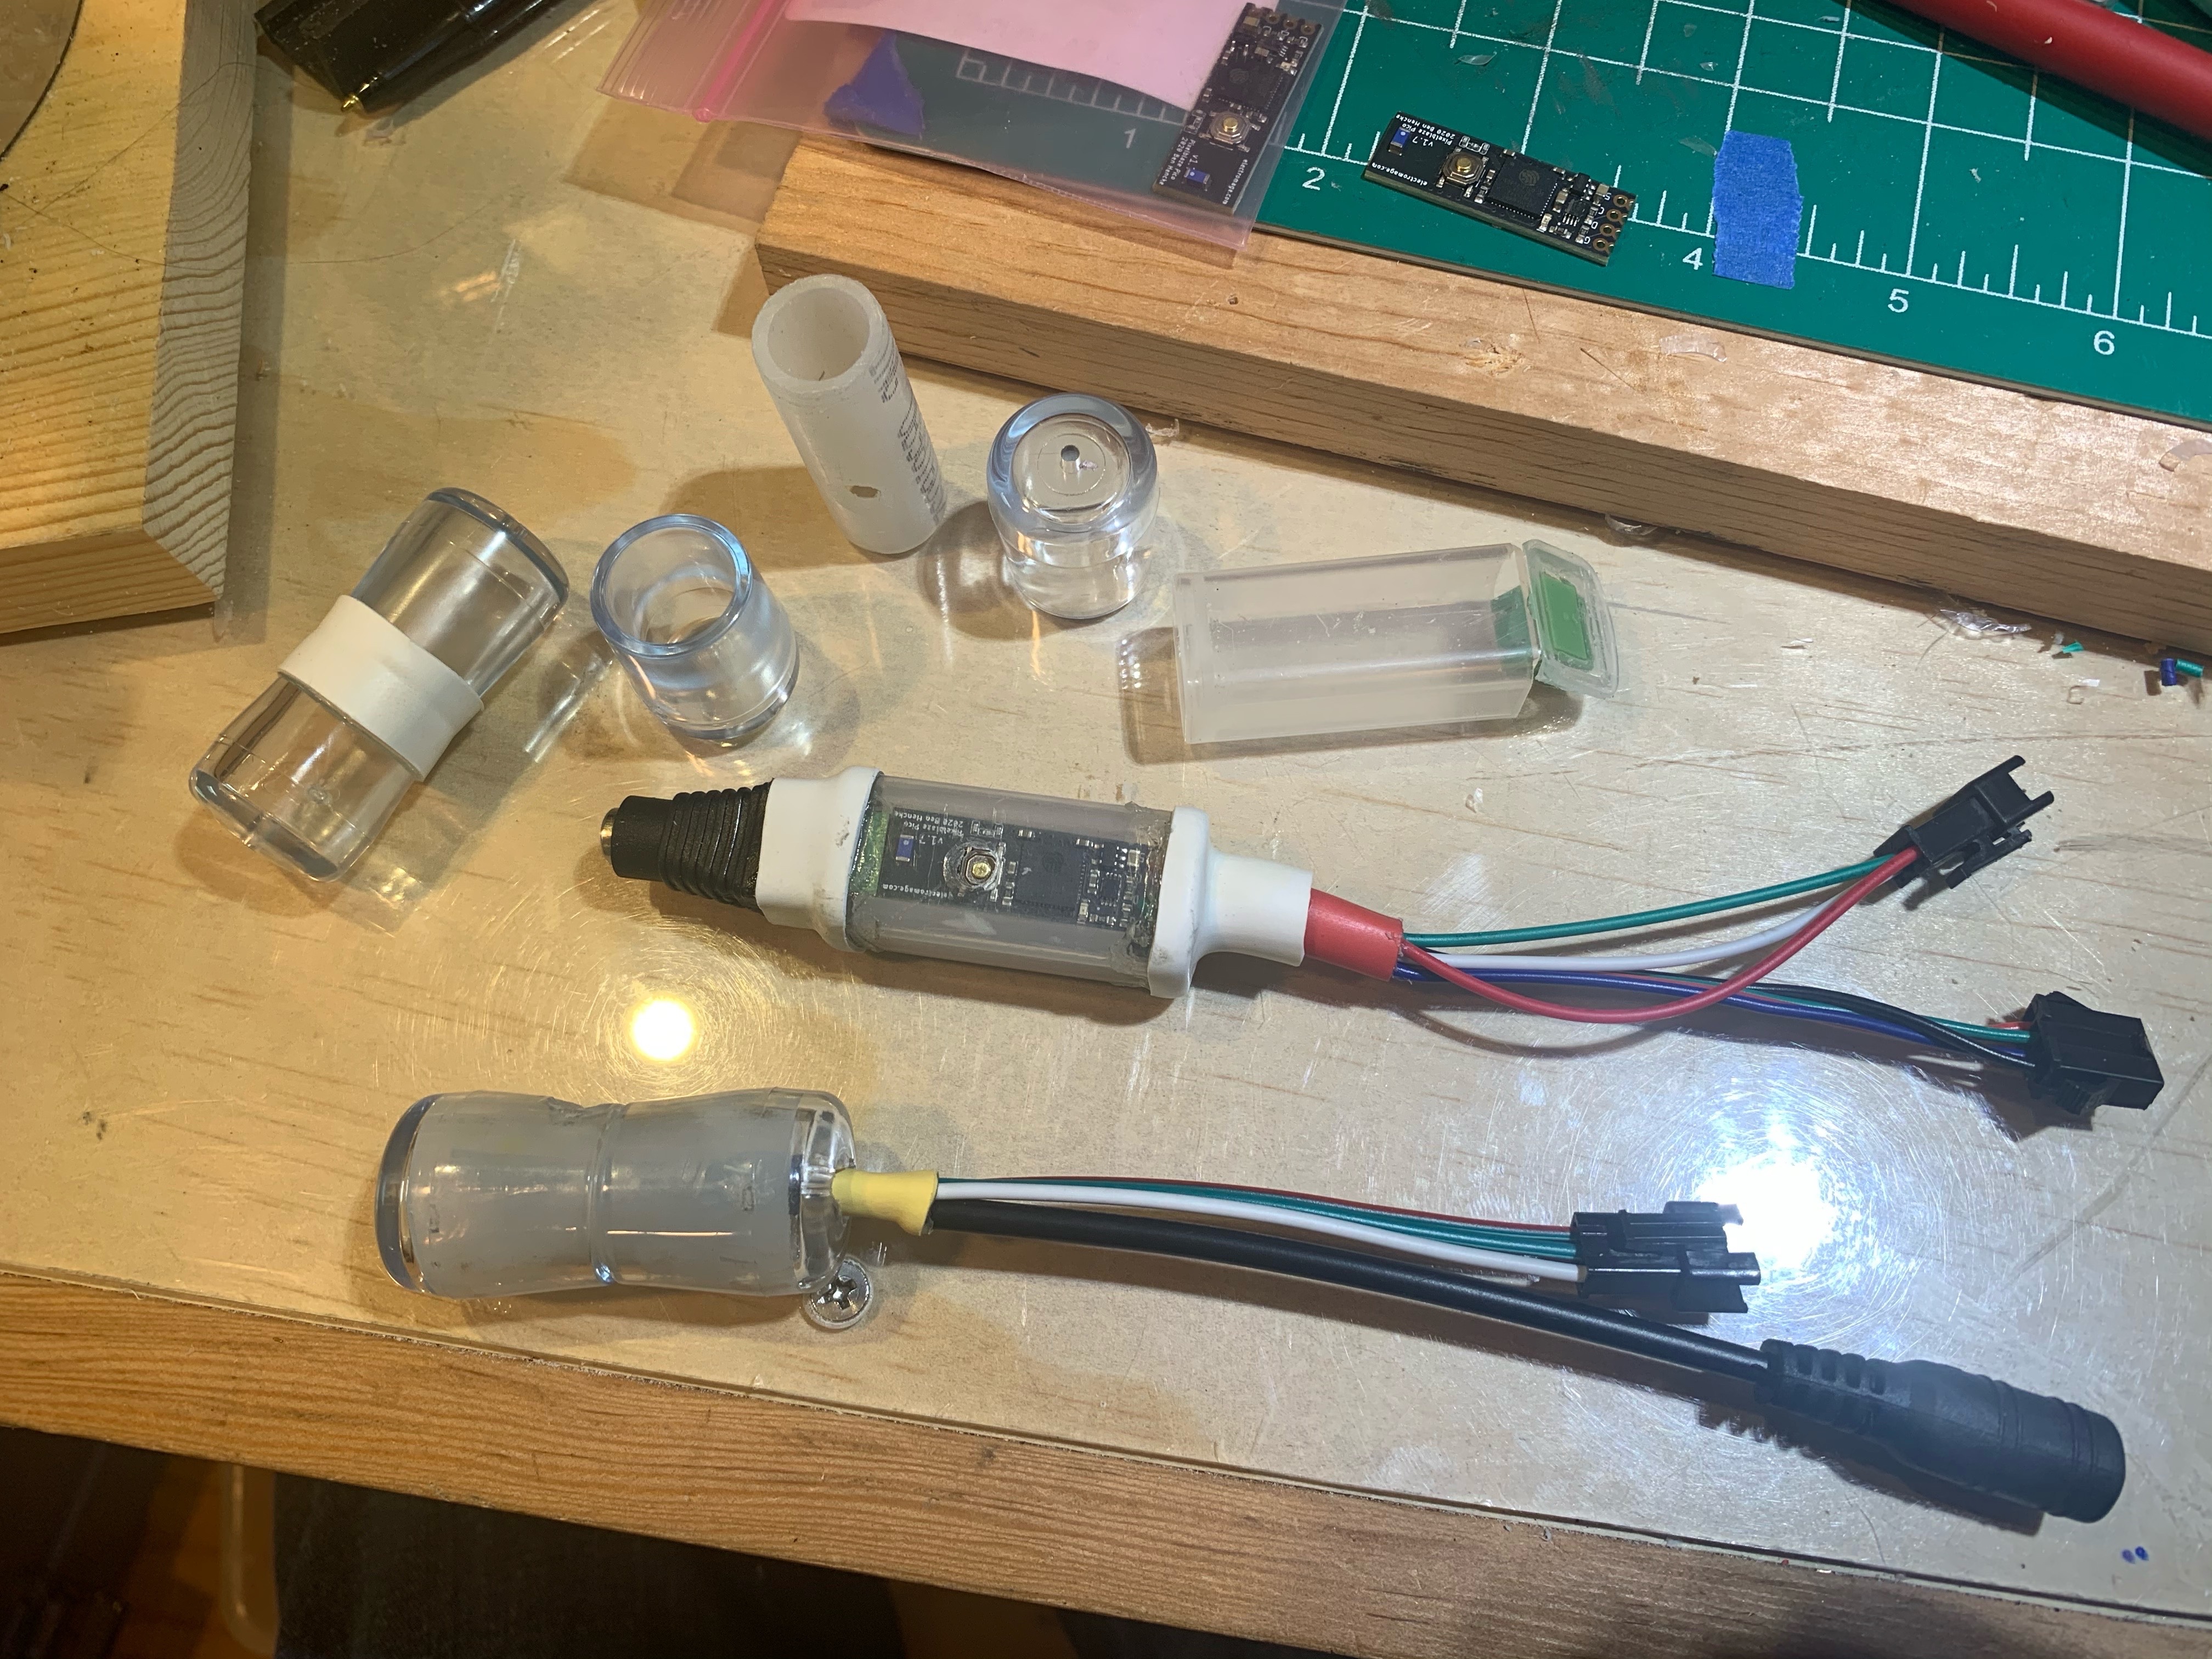
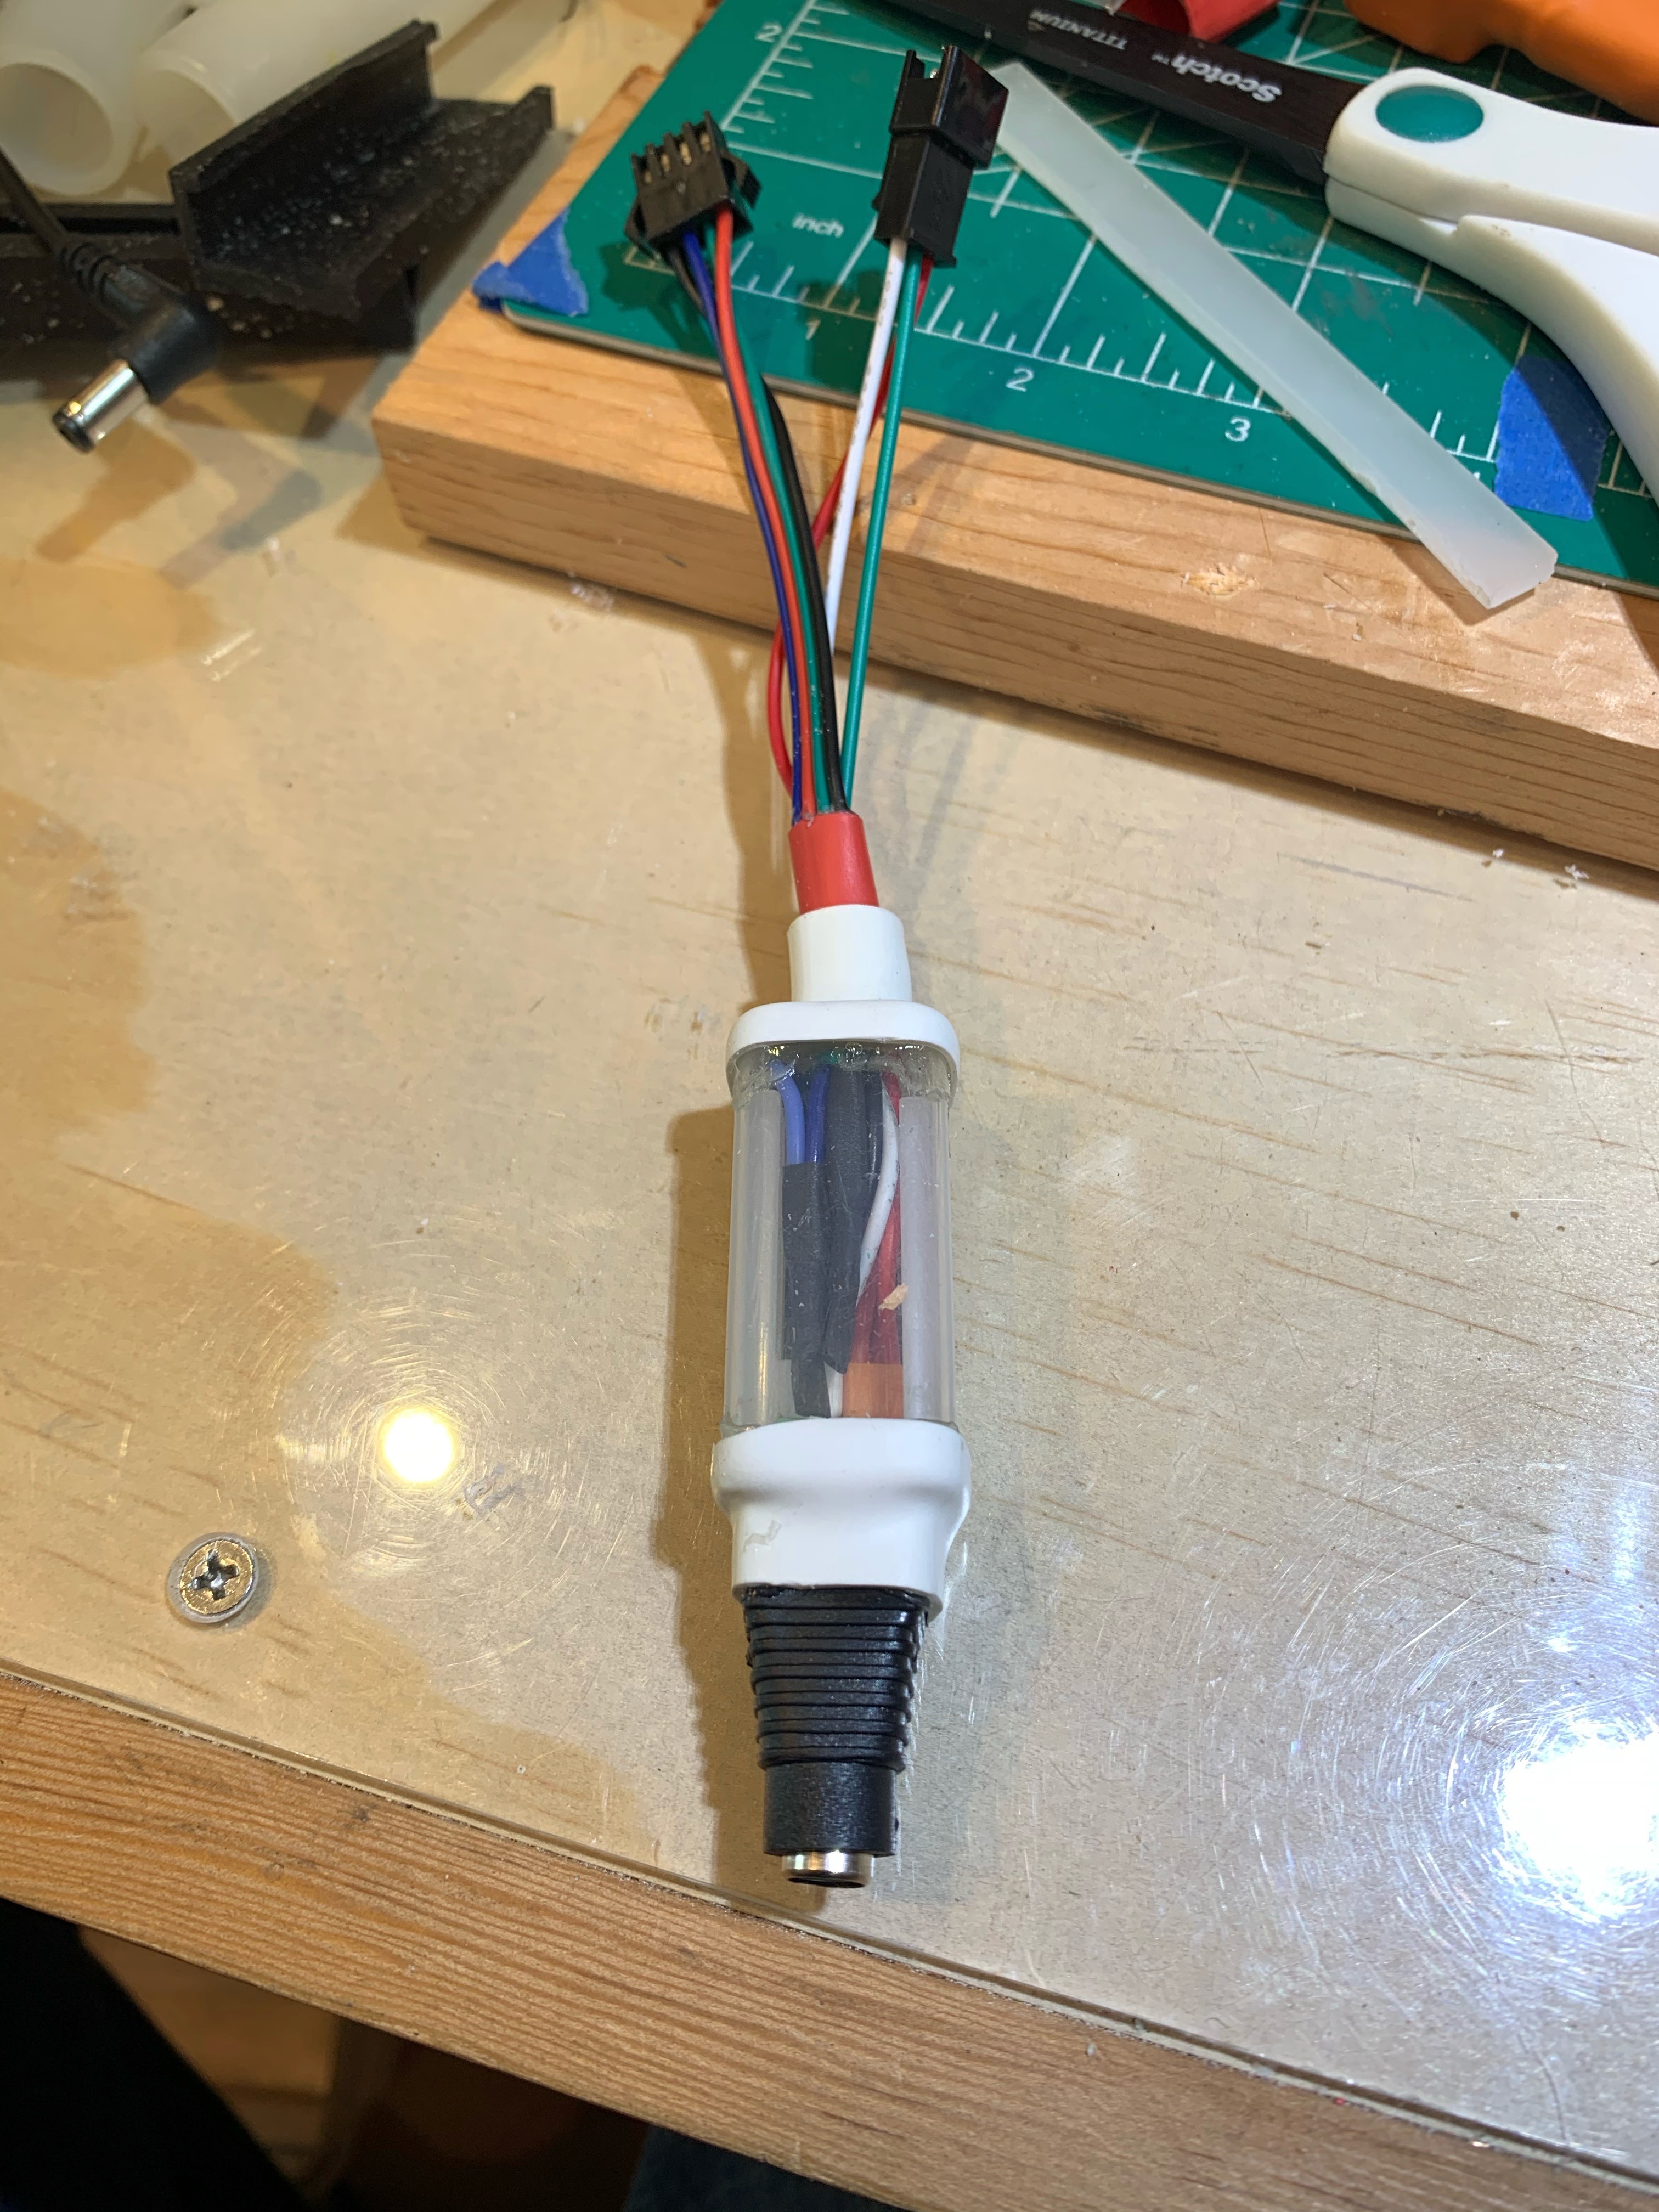
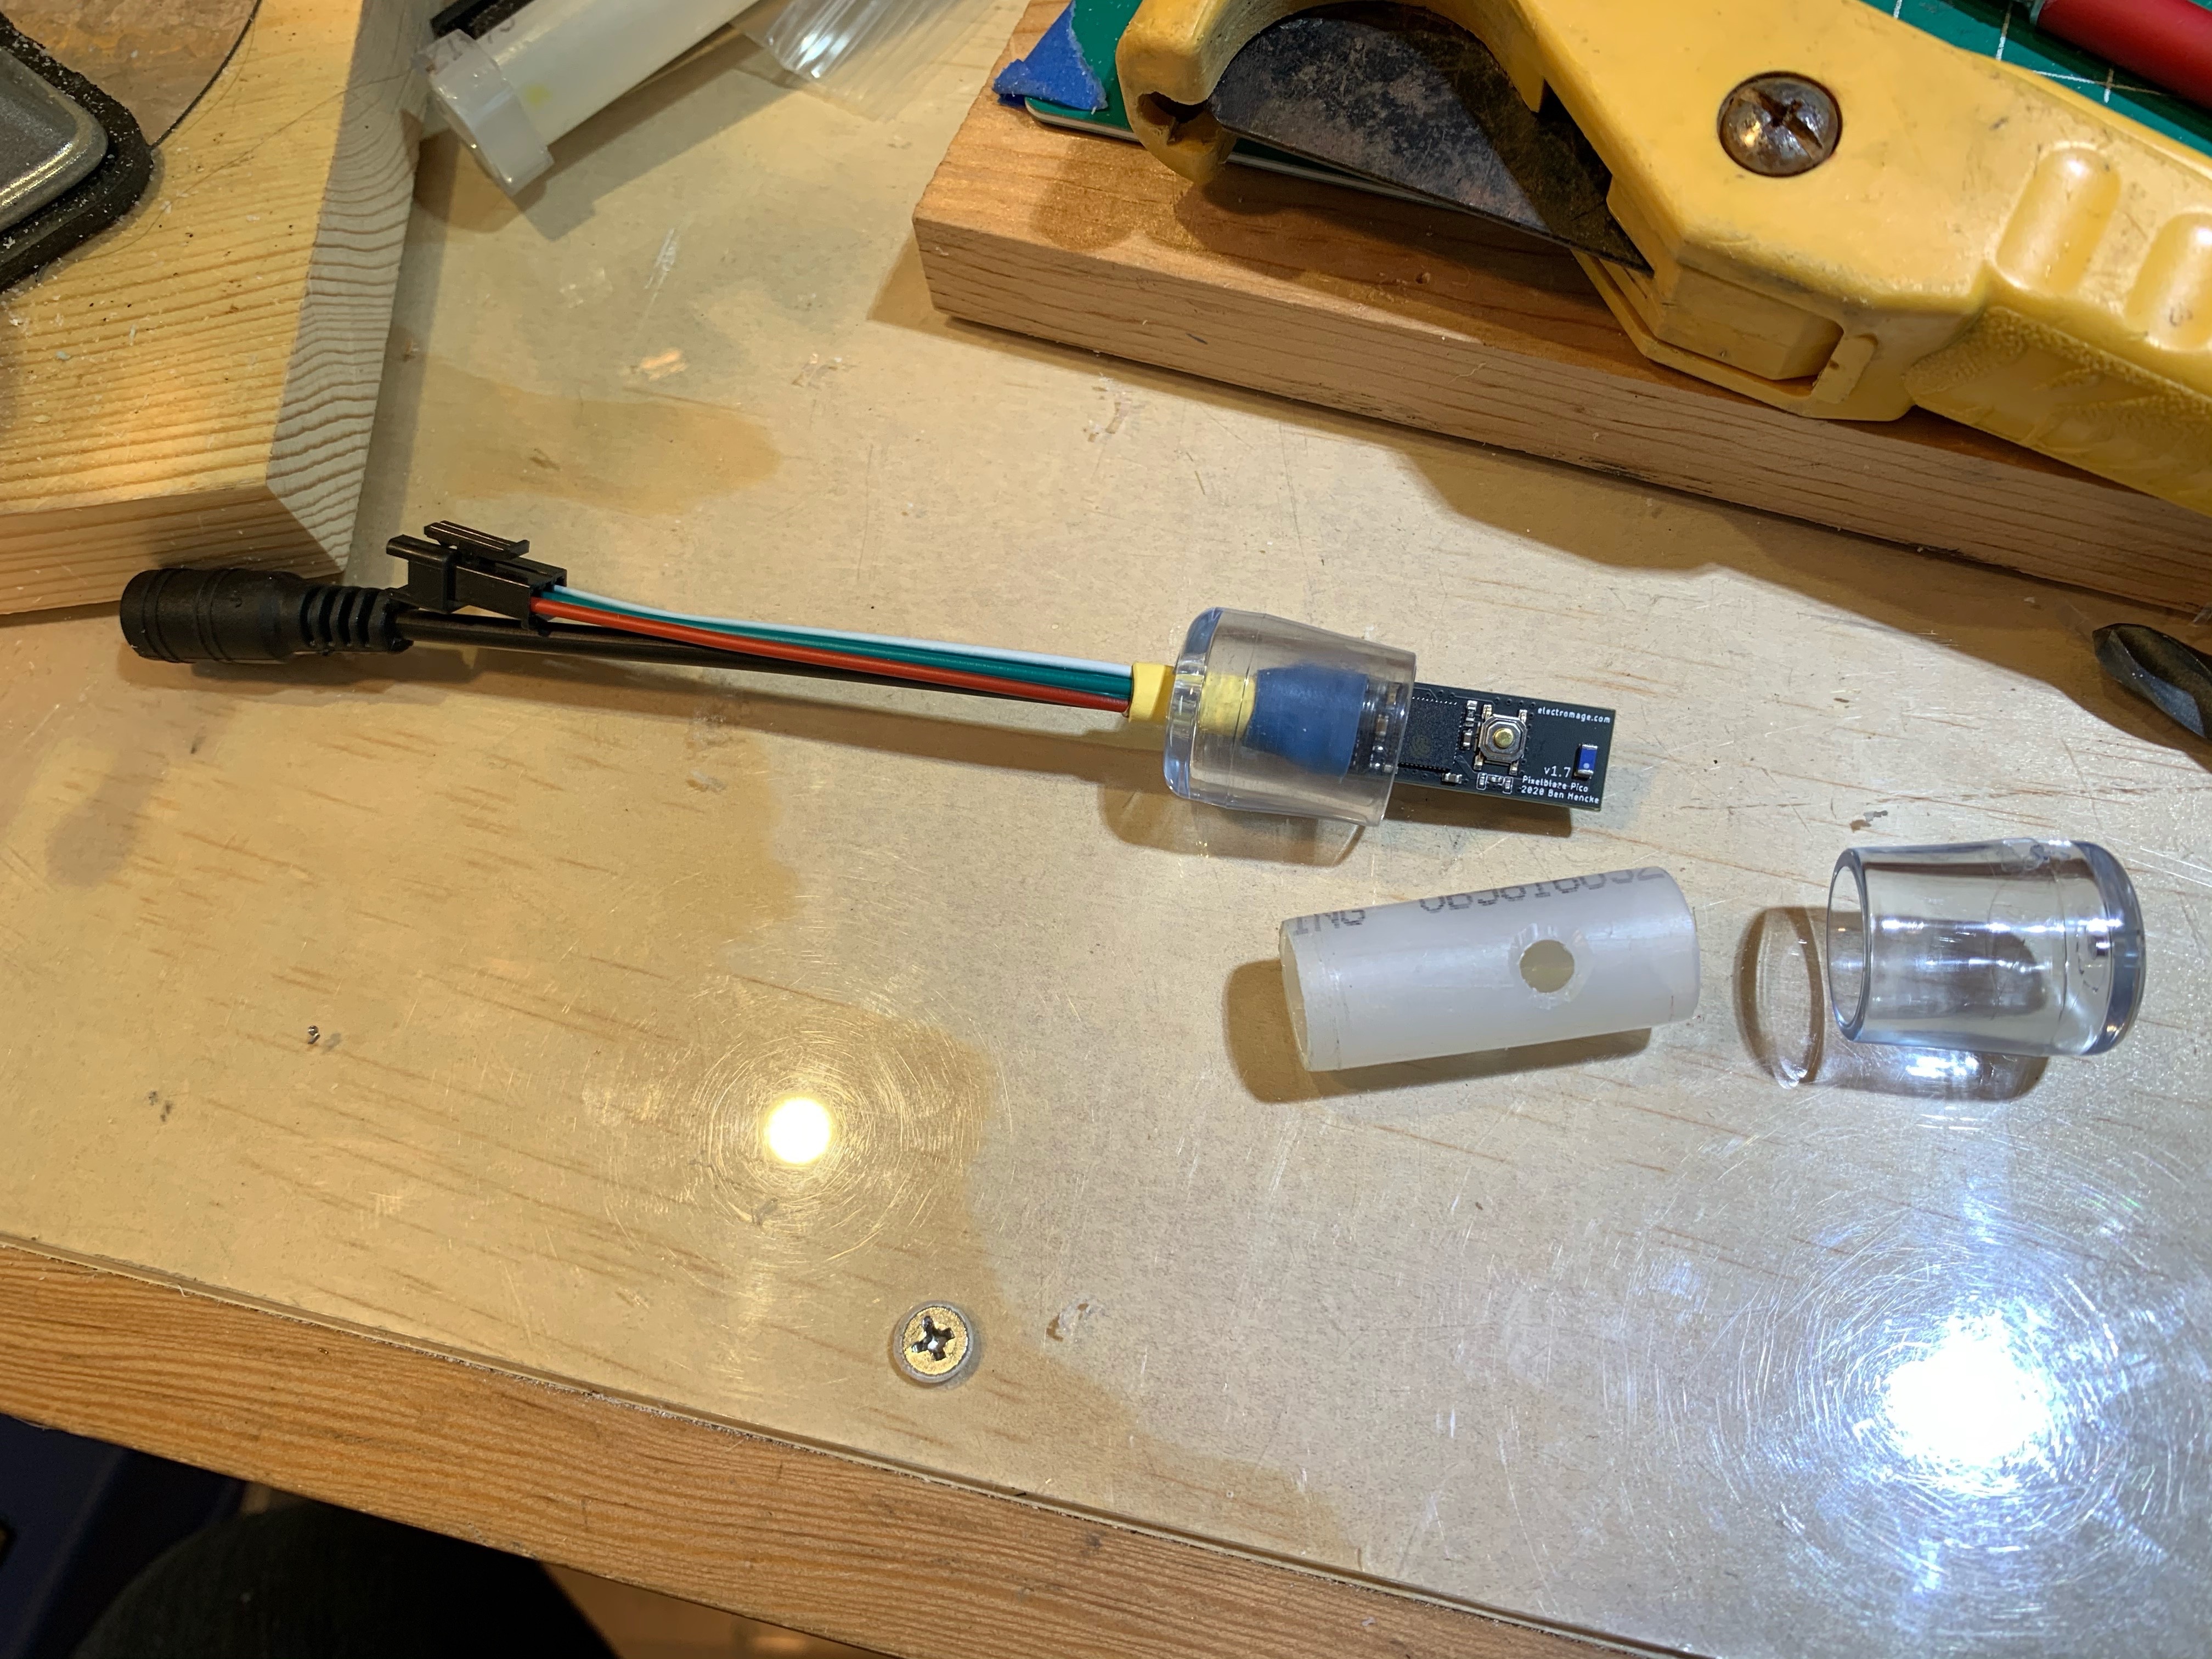
This one was really easy. I used a couple of clear plastic “Cane Tips” or floor protectors, and a short section of 1/2" “Pex” plastic water pipe. I got the floor protectors on AliExpress where they have many different sizes, but they can also be found on Amazon. The Hex piping comes from you local home or hardware store. Everything is a nice solid press fit. The thickness of the Pex tubing makes the hole for the reset button rougher than I’d like…but this a is quick and dirty approach.
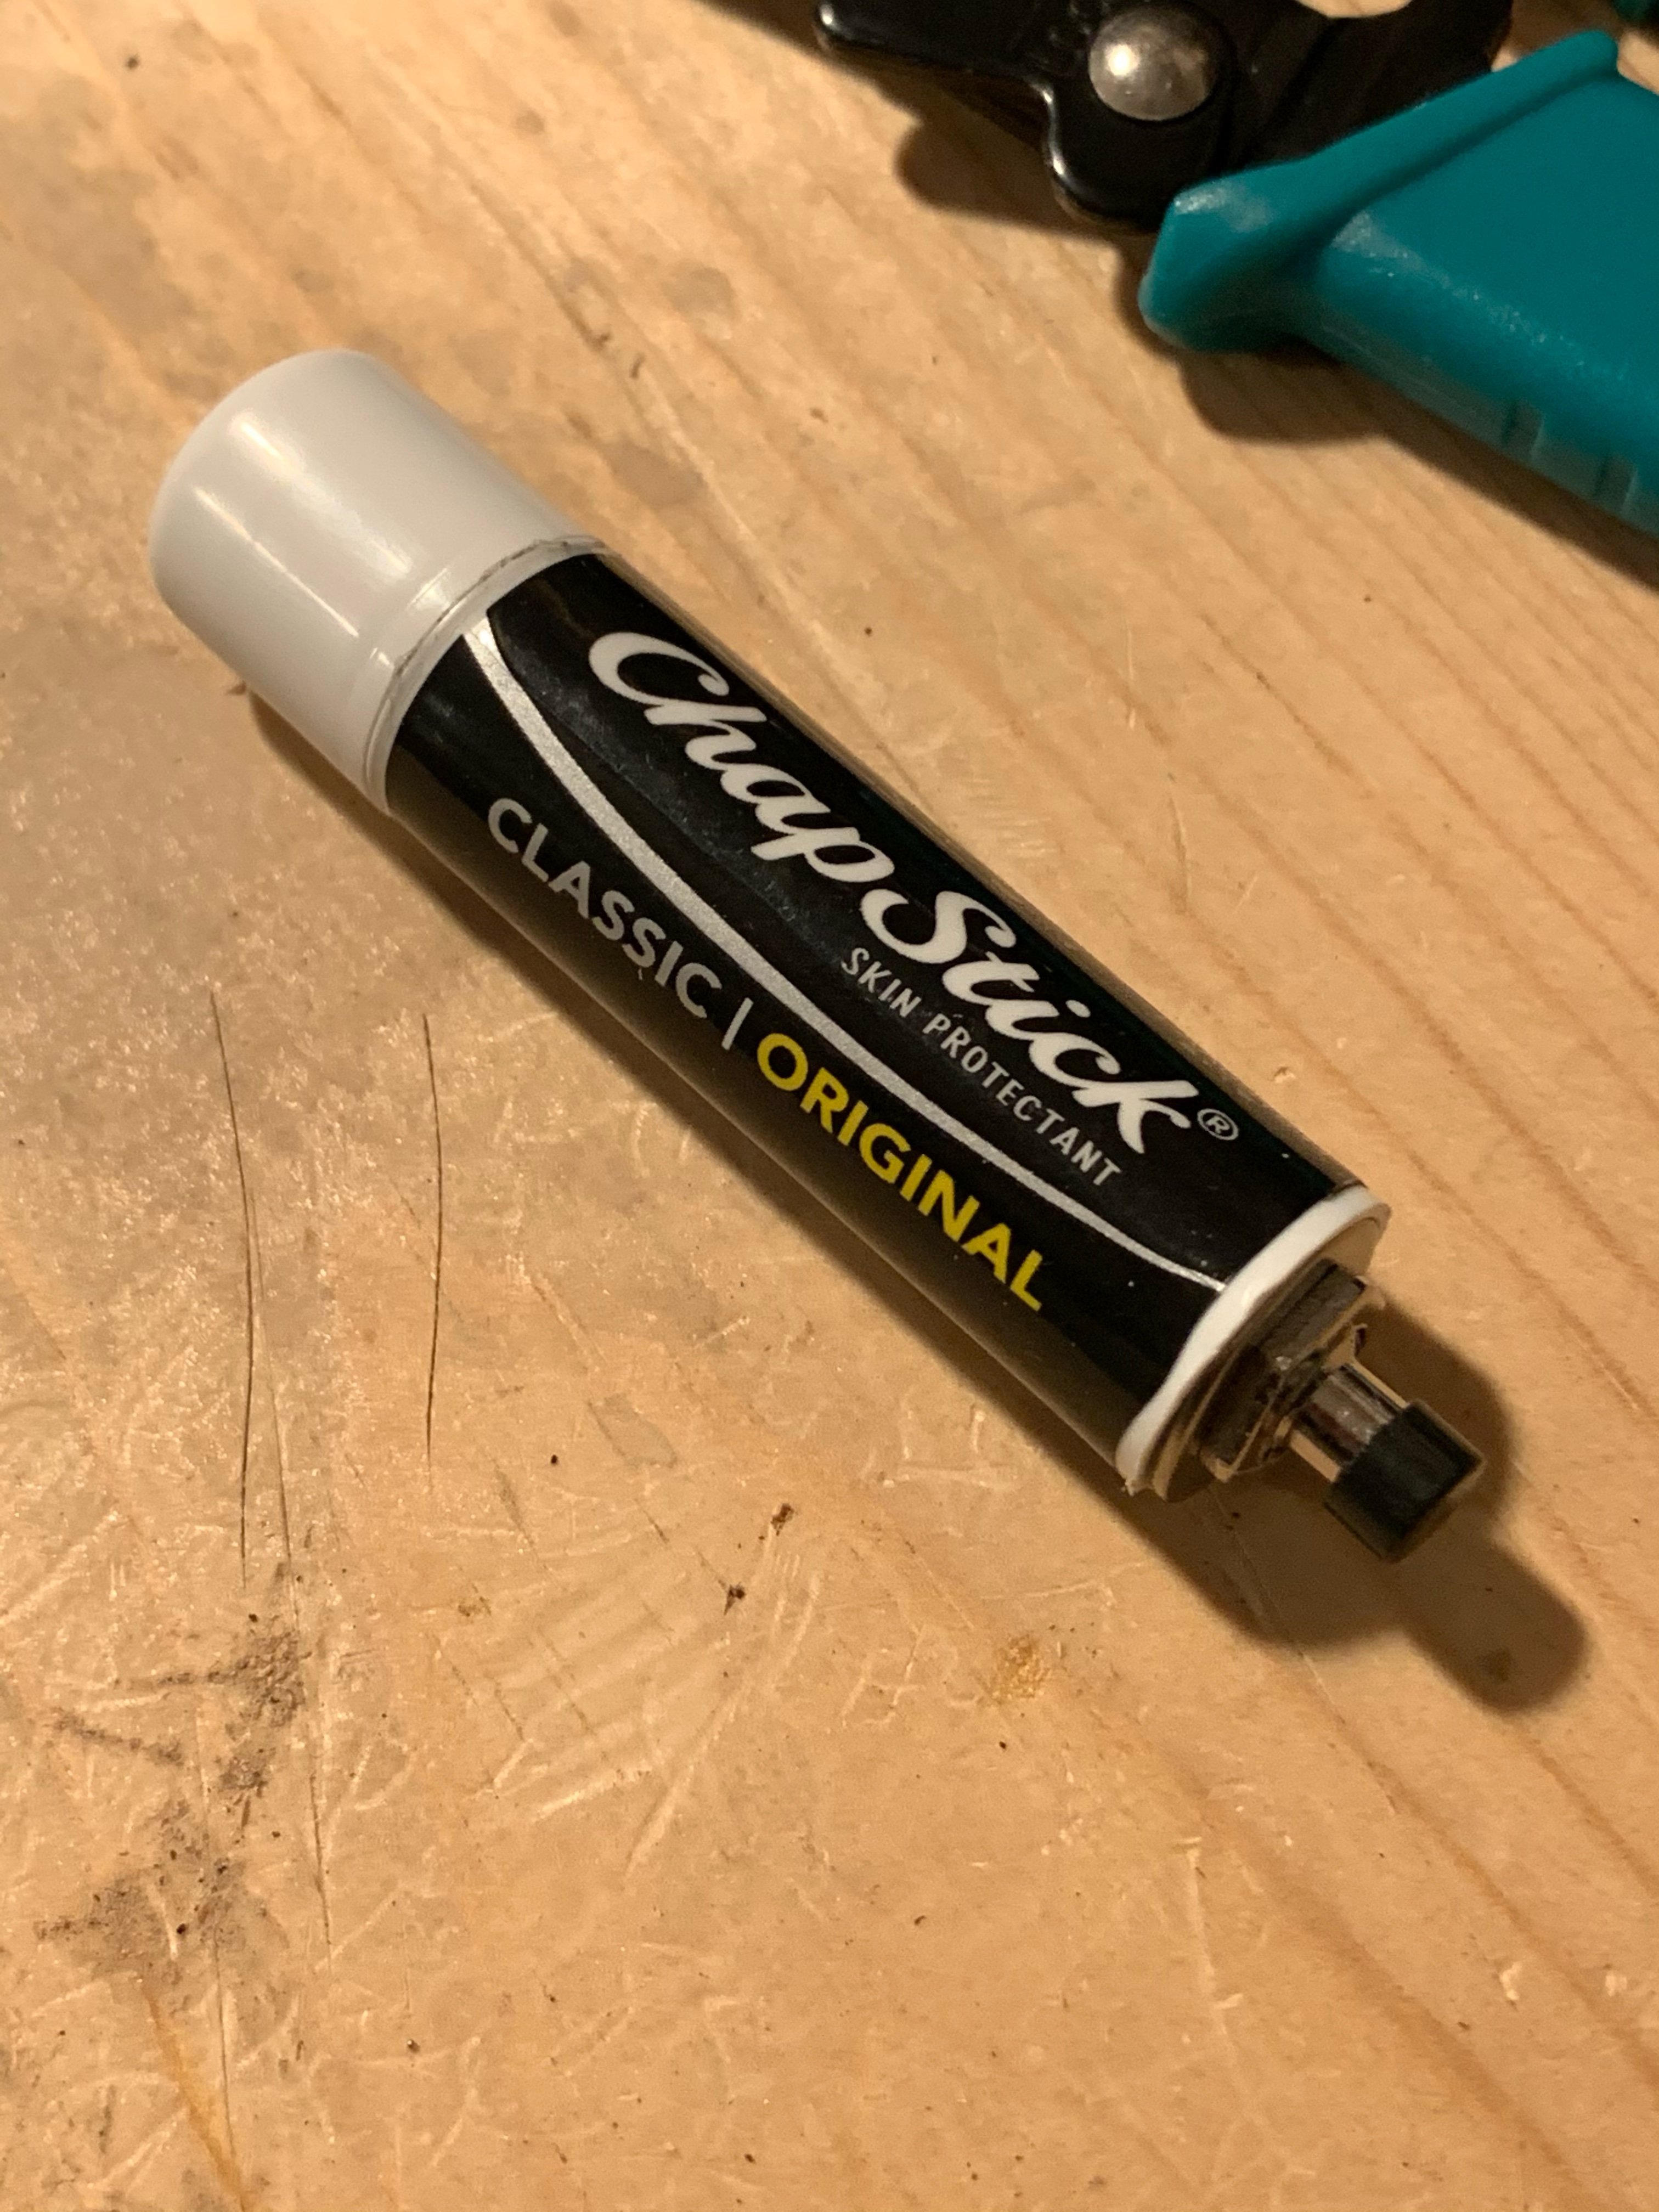
Turns out the V3 Pico fits nicely in a chap stick container (chap stick removed). I haven’t actually built it yet, but here’s the concept. The final container is made from acrylic tubing with orange colored acrylic sheet for one end and a trimmed down cane tip for the other. It will ultimately have the most polished look, but very labor intensive compared to the others.
Thanks Mr. Wizard, for giving us such a tiny and versatile form factor to play with!
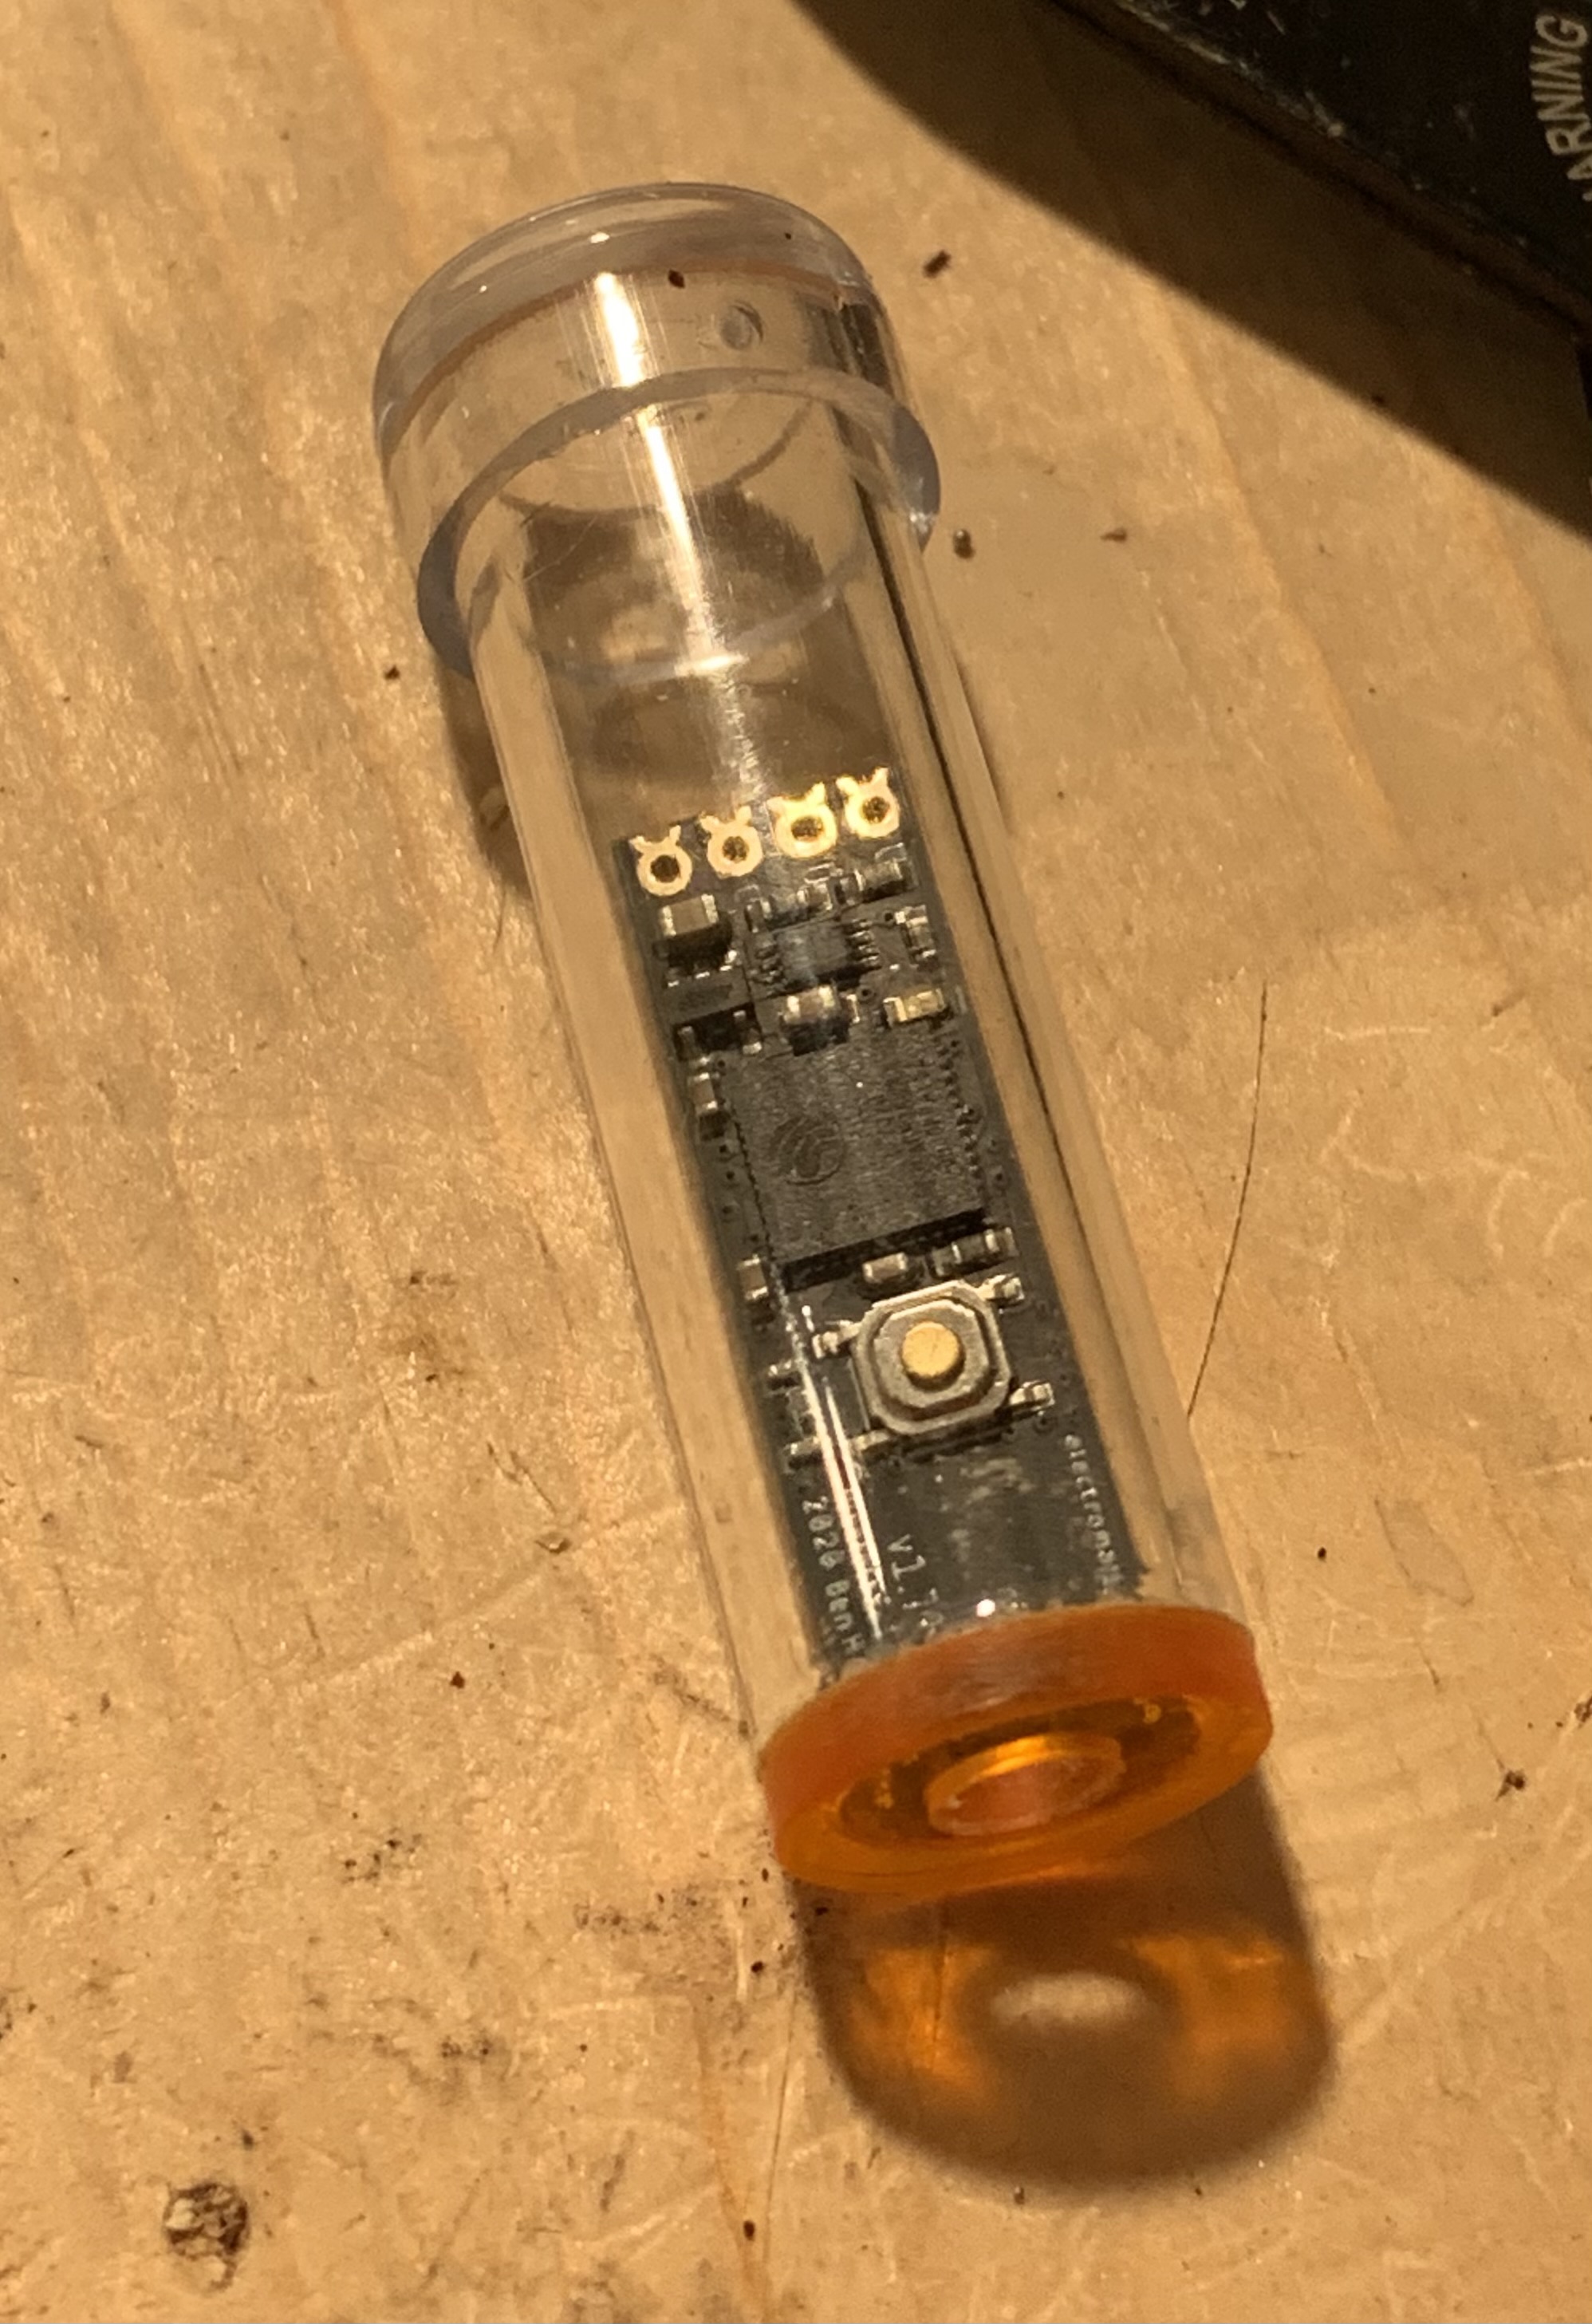
Somehow missed uploading the image of the last container…so here it is. 1/2" acrylic tubing with orange sheet acrylic glued on one end and a removable, trimmed down, cane tip on the other. You are going to have to provide the wires with your imagination…
Some serious creative energy happening here…
