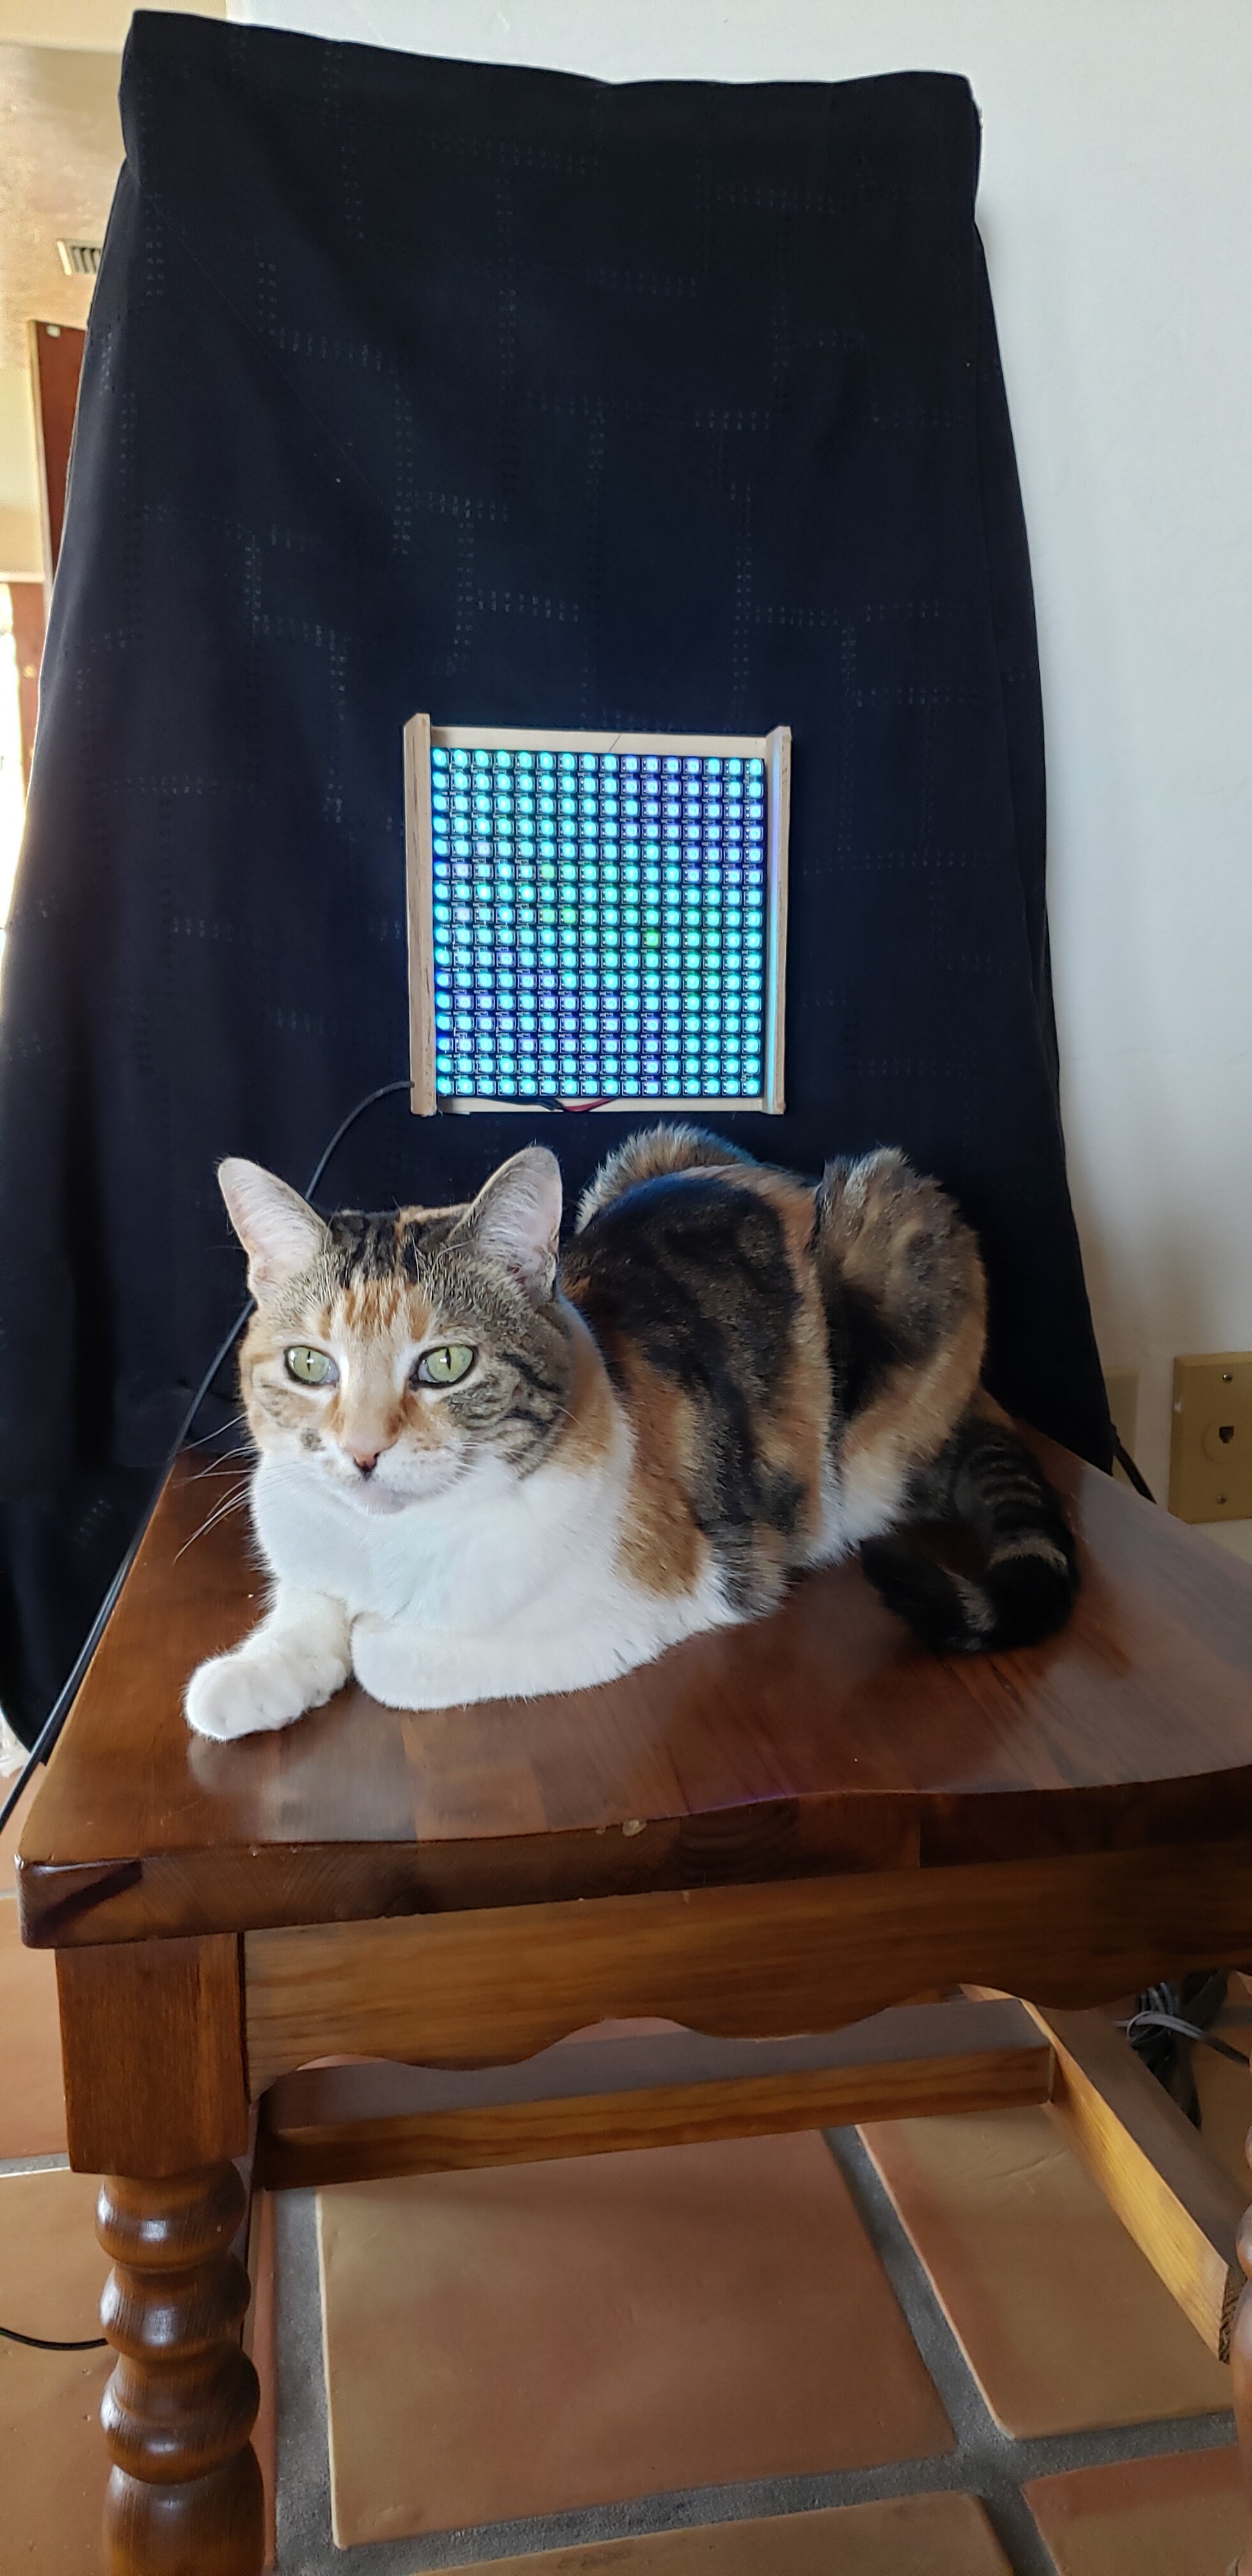
Here (and in the library as Raindrops 2D) is my take on this week’s task. It uses a trick from the pre-GPU PC era to draw the rippling, interacting waves made by raindrops falling on water. It’s a slightly subtle effect – hard to film well even without the cat “helping”, and best viewed from a few feet away from your matrix.
/* Raindrops falling on a pool...

 Requires a 2D LED array and appropriate pixel mapper.
 This is designed for a 16x16 pixel array, and while it
 scales very well in terms of frame rate, it may run out of
 memory if used on anything with more than about 600
 total pixels (on a PB2).

 MIT License

 Version  Author        Date
 1.0.0    JEM(ZRanger1) 04/09/2021
*/

// display size - enter the dimensions of your matrix here
var width = 16;
var height = 16;

// Global variables for rendering
var buffer1 = array(height);  // main drawing surface
var buffer2 = array(height);  // secondary drawing surface
var bgImage = array(height);  // static "sea floor" image.
var pb1, pb2;                 // buffer pointers for swapping
var speed = 765;              // max interval in milliseconds between drops
var nextDrop = speed;         // milliseconds to next drop (random)
var damping = 0.85;           // how quickly waves die down
var frameTimer = 9999;        // accumulator for simulation timer
var dropTimer = 9999;         // accumulator for raindrop timer

// UI
export function sliderRaindrops(v) {
  speed = 150+1400*(1-v);
}

// create 2 x 2D buffers for calculation, and one
// to hold our background image.
function allocateFrameBuffers() {
  for (var i = 0; i < height; i ++) {
    buffer1[i] = array(width);
    buffer2[i] = array(width);
    bgImage[i] = array(width);
  }
  pb1 = buffer1;
  pb2 = buffer2;
}

// generate a plausible pseudo-random underwater background.  Slowish, but only
// has to be done during initialization. (This is the usual hand-tuned
// sum-of-sine-waves texture)
function initBackground() {
  var m1 = random(8)-4;
  for (var y = 0; y < height; y++) {
    for (var x = 0; x < width; x++) {
      var x1 = x / width; var y1 = y / height;
      var dx = x - 0.5;  var dy = y - 0.5;
      var val = (wave(x1+y1) + wave(y1 * m1) +
        wave(sqrt(x1*x1+y1*y1)) + wave(sqrt(dx*dx+dy*dy))) / 4;
      bgImage[x][y] = 0.667 + (0.4*(val-0.8));
    }
  }
}

function swapBuffers()  {
  var tmp = pb1; pb1 = pb2; pb2 = tmp;
}

// No waves! No physics! We're just repeatedly applying a specialized
// weighted "blur" filter which spreads the initial "raindrop" out
// in a roughly circular fashion and attenuates it over time.
function doRipples() {
  swapBuffers();

  // we avoid having to clip or wrap our filter calculation by leaving a
  // one pixel bounding region around the whole display.
  for (var y = 1; y < height-1; y++) {
    for (var x = 1; x < width-1; x++) {
      var val = ((pb1[x-1][y] + pb1[x+1][y] + pb1[x][y-1] + pb1[x][y+1]) / 4) - pb2[x][y];
      pb2[x][y] = (val * damping);
    }
  }
}

// Initialization
allocateFrameBuffers();
initBackground();

export function beforeRender(delta) {
  frameTimer += delta;
  dropTimer += delta;

  // raindrop timer is random, with upper bound set by the
  // speed slider
  if (dropTimer > nextDrop) {
     var rx = 1+floor(random(width-2));
     var ry = 1+floor(random(height-2));
     pb1[rx][ry] = 1;

    nextDrop = random(speed);
    dropTimer = 0;
  }

  // drop calculations are limited to 33/sec because it
  // looks about right...
  if (frameTimer > 33) {
    doRipples();
    frameTimer = 0;
  }
}

export function render2D(index, x, y) {
  // convert x and y to array indices
  x = floor(x * width);
  y = floor(y * height);
  // get wave height value (which we will use for brightness) from
  // calculation buffer and gamma correct it
  bri = 0.3+pb2[x][y]; bri = bri * bri;
  // render background image using calculated brigtness,
  // with slight desaturation at wave peaks
  hsv(bgImage[x][y], 1.3-bri,bri);
}
So, I’m sure there is an obvious fix for this, but having tried to peek at two of your patterns, @zranger1, I get the error of ‘No valid render function found’ - this Raindrops 2D and Sunrise.
I’m using a 3D map, and can see the ‘export function render2D’ present in your code.
(other 3d and 2d patterns I’ve tried seem to work fine)
I am using a pixelblaze v3, with the latest (3.12) firmware.
The Pixelblaze is telling you about a mismatch between the pattern and your mapping function. For a 2D pattern with only render2D() exporter, you must have a 2D mapping function. The other 2D patterns you’ve used probably have 1D and 3D fallbacks. It doesn’t really make sense for my recent patterns, so I didn’t include extra renderers.
However, for a 3D map, you can get any 2D pattern to at least draw something by adding a render3D() function like this:
export render3D(index,x,y,z) {
   // use whichever 2 axes work best with your physical layout.
   render2D(index,x,y);
}
This may look strange, depending on your physical layout. If you want to render the 2D pattern only on a specific plane along one axis, you can put a check for it in your render3D(). For example, to render the 2D pattern at 0.5 on the z axis, you could do something like this:
var tolerance = 0.02;
export function render3D(index,x,y,z) {
  // in case there is no pixel at exactly 0.5 on the z axis...
  if (abs(z-0.5) <= tolerance) {
    render2D(index,x,y);
  }
}
Hello Zranger,
i am building a 4m high mast and i wanted to use your latest pattern “Stacker”
Hope to see it working soon. I think of adding ADC for sound level (like more colour rings when more noise, or similar effect. Could you give me some hints on code to add? I have only limited coding skills.
Thanks,
Jacob
First, let me fix my mistake. The latest update to the Stacker pattern – this time with all the controls working, instead of being inadvertently left commented out – is up in the library now. If you’ve already downloaded the old one (with no working UI sliders), I highly recommend replacing it with the new one.
If I were going to add sound reactivity to Stacker (or almost anything else), here’s how I’d go about it:
First, I’d grab the beat detection code from @jeff’s Music Sequencer pattern (also in the library, discussed in this thread.) You could actually take as much or as little of the rest of his music analysis code as you like.
I’d plug it into Stacker, and let the beat drive the movement speed. Since Stacker’s speed is timer controlled in milliseconds per move, it’d be easy to convert from beats per minute by just dividing the bpm until you think it looks good.
You could also use the Music Sequencer’s phrase and measure detection system to, say, change the number of segments and/or color every few bars. Once you’ve got the music analysis code in, you can use it to change pretty much any of Stacker’s settings.
If you’re not used to coding for Pixelblaze, this may be a little challenging, but we can help if you get stuck. And I’m also curious about how it might look – if I can get a little free time this weekend, I’ll knock together a sound reactive version and see what happens.
 / Pixelblaze")